कला
सुन्दरता र कल्याण
हस्तकला
संस्कृति र इतिहास
मनोरञ्जन
वातावरण
खाना र पेय
रिभर्स इन्जिनियरिङ
विज्ञान
खेलकुद
प्रविधि
पहिर्न मिल्ने
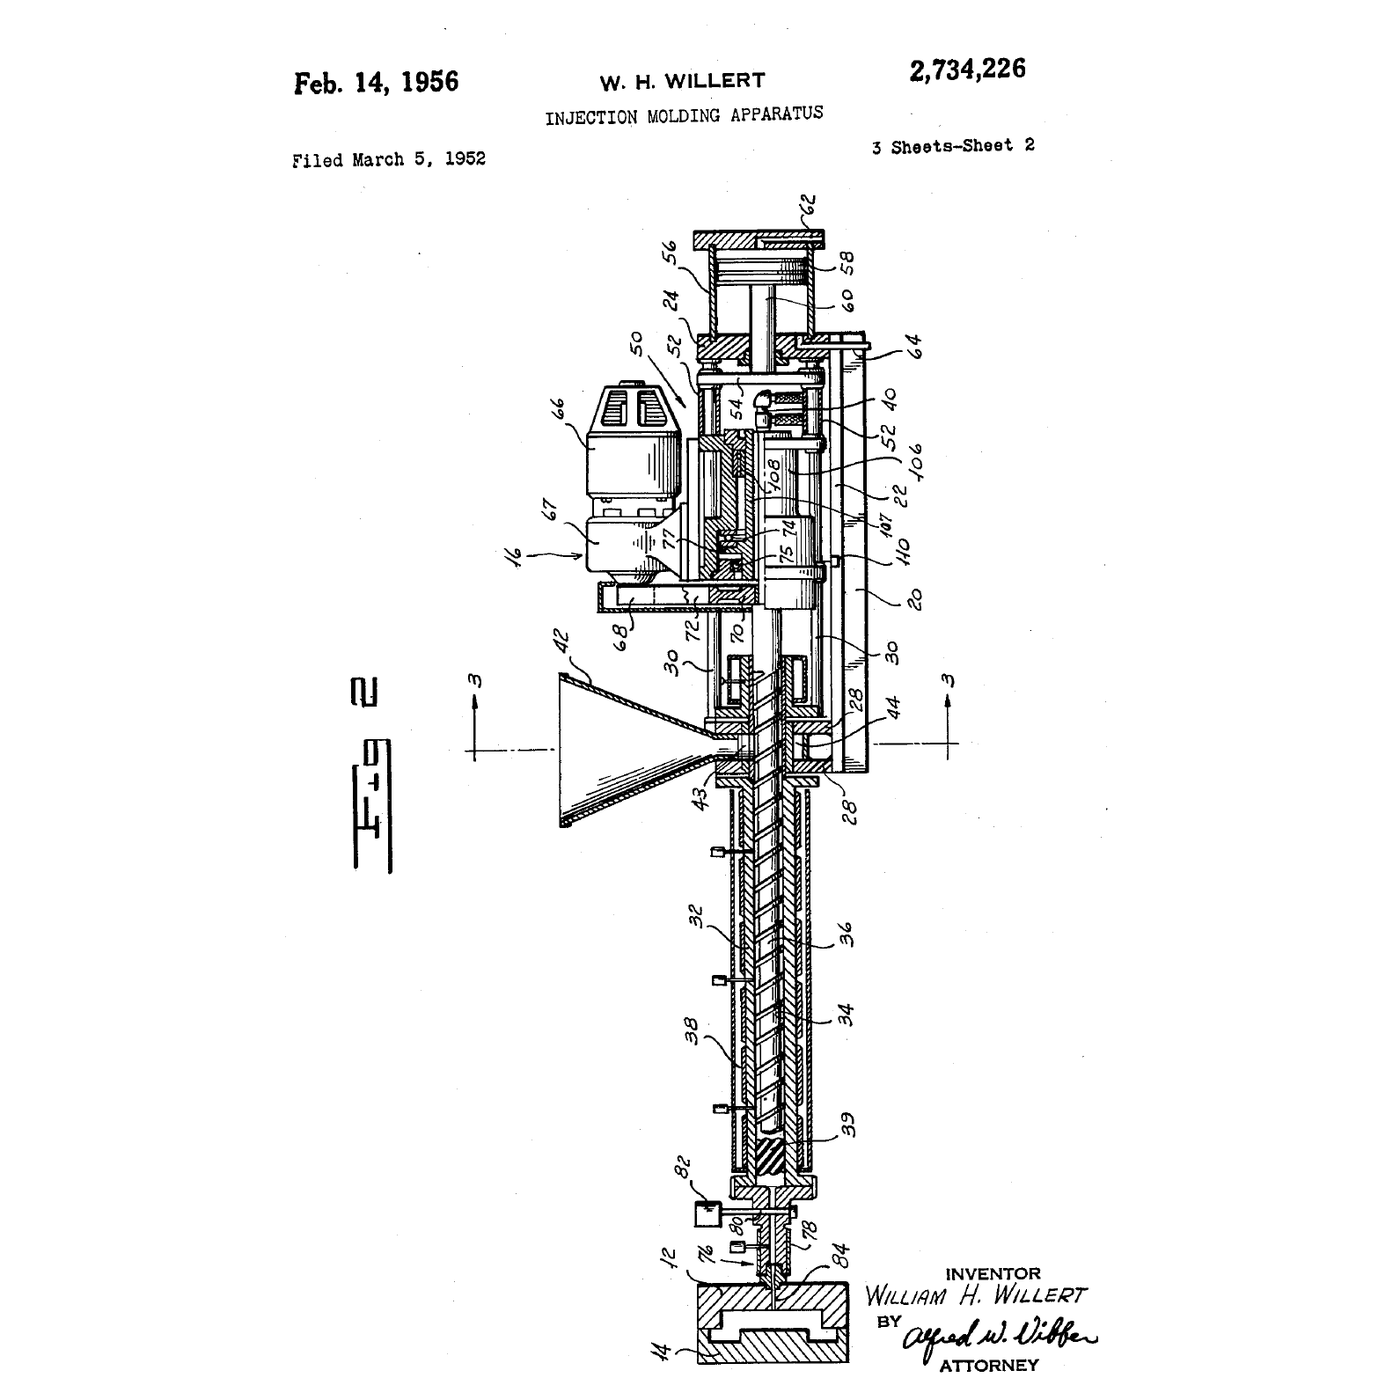

Melt, Mix and Shoot: One Screw Doing Two Jobs
The injection moulding rung already in the catalogue describes the process: melt, force into a cavity, cool, eject. It does not say how the melting is done, and for the first eighty years of the industry the answer was bad.
A ram pushed cold pellets through a heated tube round a 'torpedo' and hoped. Polymers conduct heat about a thousand times worse than steel, so the middle of the charge arrived cold while the outside cooked, the melt was never properly mixed, and the cycle was measured in minutes.
William Willert's 1952 answer was to make the screw do both jobs: **rotate** to convey, melt and mix — heating the polymer mostly by shearing it, from the inside — and then **slide forward as a ram** to inject. One shaft, two motions, and the machine that made plastic cheap.
मध्यम
About 3 hours
निर्देशनहरू
1
1
Read the claim, and name what it replaced
Read the claim, and name what it replaced
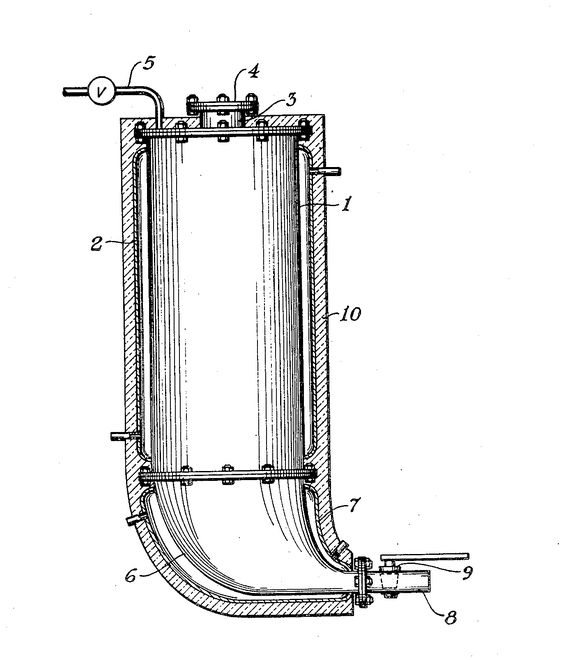
**US 2,734,226**, *Injection Molding Apparatus*, **William H. Willert** of Clifton, New Jersey; application **5 March 1952**, Serial No. 274,897, patented **14 February 1956**; 10 claims, US class 18-30. Expired. The drawing on this page is the patent's own sheet 2.
The specification opens by describing what it is fixing. It relates to *a mechanism for plasticizing and delivering* plastic, so that the material is *thoroughly mixed and plasticized* and reaches the mould in an *optimumly plasticized condition*. And it names the prior art directly: *over and over, various forms of "preplasticizers"* had been tried, *all the various types of preplasticizer units* falling short.
Write down the three things the arrangement does at once, because the invention is that they share one shaft:
1. **Convey.** The flights drag pellets forward from the hopper.
2. **Melt and mix.** The channel narrows, the polymer is sheared, and shear does most of the heating — step 4 works out how much.
3. **Inject.** Melt accumulates ahead of the screw tip, pushing the screw BACK; then the whole screw is driven forward as a ram and that accumulated shot is injected.
The three zones along the screw have names worth knowing: **feed** (deep flights, solid pellets), **compression** or transition (the channel shallows, the solid bed melts against the barrel), and **metering** (shallow flights, homogenising what is now fully molten).
2
2
You already own a ram machine — find where it runs out
You already own a ram machine — find where it runs out
A filament 3D printer is, in its melting arrangement, the machine Willert replaced: a solid rod of polymer is pushed as a **ram** through a short heated tube, and everything depends on conduction from the wall. That makes it the best bench demonstration of the problem there is, because you can drive it until it fails.
Print a single-wall tube — a 'vase mode' cylinder 60 mm across — and run the same print at rising flow. Increase speed in steps and, at each step, catch the extrusion mid-air and weigh a measured length, or simply measure the printed wall with the calipers.
Plot **actual flow against commanded flow**. The two agree, and agree, and then the line bends over: beyond some rate the hot end cannot get heat into the middle of the filament fast enough, the core arrives unmelted, pressure climbs and the extruder skips.
That knee is the conduction limit from step 4, and it is the entire reason the industry abandoned ram melting. Note two things about how it fails:
- **Raising the temperature helps less than you expect**, because the limit is how fast heat crosses the filament, not how hot the wall is. Beyond a point you are only degrading the surface.
- **A longer melt zone helps a lot.** That is what a high-flow hot end is: more length, so more time at the wall. A screw solves it differently — by making the melt film thin and adding shear — and gets an order of magnitude more.
Record the knee flow rate in mm³/s. You will compare it with a moulding machine's in step 4.
यस चरणका सामग्री:
 PLA फिलामेन्ट1 टुक्रा
 PETG फिलामेन्ट1 टुक्रा
चाहिने औजार:
 ३डी प्रिन्टर
 डिजिटल क्यालिपर ६ इन्च
 डिजिटल तराजु
 रोकघडी
 अवरक्त तापमापक
 सफा सुरक्षा चस्मा
 प्रयोगशाला कापी (प्रतिलिपिसहित)
3
3
Find the shear heat
Find the shear heat
Shear heating is not a detail of the theory; on a production machine it is most of the energy in the melt. You can see it on the bench in two ways.
**On the printer.** Get the hot end to steady state with no extrusion and note the heater duty cycle — many firmwares report PWM, or you can watch how often the heater LED pulses. Now extrude hard and watch again. The heater works **less**, not more, because the filament being forced through the nozzle is dissipating its own work as heat. If your firmware shows nothing, put the infrared thermometer on the nozzle block and watch the overshoot when a fast extrusion stops.
**With a hand press.** Put a disc of polypropylene sheet between two steel plates, warm the stack to just below softening, and squeeze it in the shop press while reading the surface with the infrared thermometer. Squeezing forces the polymer to flow radially — that is shear — and the temperature rises where the flow is fastest, at the rim, not where the heating is.
Neither is a calibrated measurement. Both show the direction, which is the thing worth carrying: **in a polymer, flow is a heat source.** Step 4 turns that into numbers.
Hot ends reach 250 °C and up, and molten polymer sticks to skin. Never clear a nozzle with fingers, never put a hand under a moving gantry, and ventilate — ABS and some filled filaments give off genuinely unpleasant volatiles at temperature.
यस चरणका सामग्री:
 पलिप्रोपिलिन पाता1 टुक्राPLA फिलामेन्ट1 टुक्रा
चाहिने औजार:
३डी प्रिन्टर जलचालित कार्यशाला प्रेस (१२ टन)अवरक्त तापमापक
 MAX6675 मोड्युलसहित K प्रकारको थर्मोकपल
 नरम स्टिलको प्लेट
 तातो हावाको बन्दुकसफा सुरक्षा चस्मा
 नाइट्राइल पन्जा
 धुवाँ कक्ष (नली भएको)प्रयोगशाला कापी (प्रतिलिपिसहित)
4
4
Conduction, shear and residence time
Conduction, shear and residence time
Jupyter नोटबुक लोड हुँदैछ…
चाहिने औजार:
 रेखाचित्र कागज
5
5
History and context
History and context
**Attribution.** US 2,734,226, *Injection Molding Apparatus*, William H. Willert, Clifton NJ; filed 5 March 1952, granted 14 February 1956, expired. The drawing on this page is the patent's own.
**What came before.** Injection moulding of a sort dates to the Hyatt brothers in 1872, pushing celluloid through a heated cylinder with a plunger — the celluloid rung is already in the catalogue. For eighty years the machines stayed plungers, and the industry worked around the consequences: thick sections were unmouldable, engineering polymers with narrow processing windows were impossible, and shot-to-shot consistency was poor because no two charges melted the same way.
The screw extruder itself was old — rubber and thermoplastics had been extruded on screws since the nineteenth century. **Willert's contribution is not the screw, it is making the screw reciprocate**, so that one shaft plasticises continuously between shots and then becomes the injection ram. That deletes the transfer between a preplasticizer and a separate ram, which was where the previous generation lost its temperature uniformity.
**Why it mattered.** Cycle times fell, engineering thermoplastics became mouldable, and the cost per part collapsed. Practically every plastic object made since is made on a machine that works this way; look at the photograph of any moulding machine and the long horizontal barrel with a hopper part-way along it is this patent.
**Honest limits.** A screw is a shear machine, and shear degrades some polymers as surely as heat does — PVC and some filled compounds need gentle screws and short residence times. Residence time is a real constraint, as step 4's last table shows: a small part on a large machine cooks. And none of this is bench-reproducible; a moulding machine is a serious piece of industrial equipment, which is why every hands-on step here uses a printer, a press and a heat gun to isolate the *principles* rather than pretending to reproduce the machine.
सामग्री
3- 2 टुक्राप्लेसहोल्डर
- 1 टुक्राप्लेसहोल्डर
- 1 टुक्राप्लेसहोल्डर
आवश्यक उपकरणहरू
14- प्लेसहोल्डर
- प्लेसहोल्डर
- प्लेसहोल्डर
- प्लेसहोल्डर
- प्लेसहोल्डर
- प्लेसहोल्डर
- प्रयोगशाला कापी (प्रतिलिपिसहित)10% कमिसनप्लेसहोल्डर
- जलचालित कार्यशाला प्रेस (१२ टन)10% कमिसनप्लेसहोल्डर
- प्लेसहोल्डर
- प्लेसहोल्डर
- 1 vendor sell this, none ship to you yetप्लेसहोल्डर
- प्लेसहोल्डर
- प्लेसहोल्डर
- प्लेसहोल्डर
सम्बन्धित ब्लुप्रिन्ट
यी ब्लुप्रिन्टहरूले ज्ञान साझा गर्छन् — प्रविधि, सामग्री वा सिद्धान्त
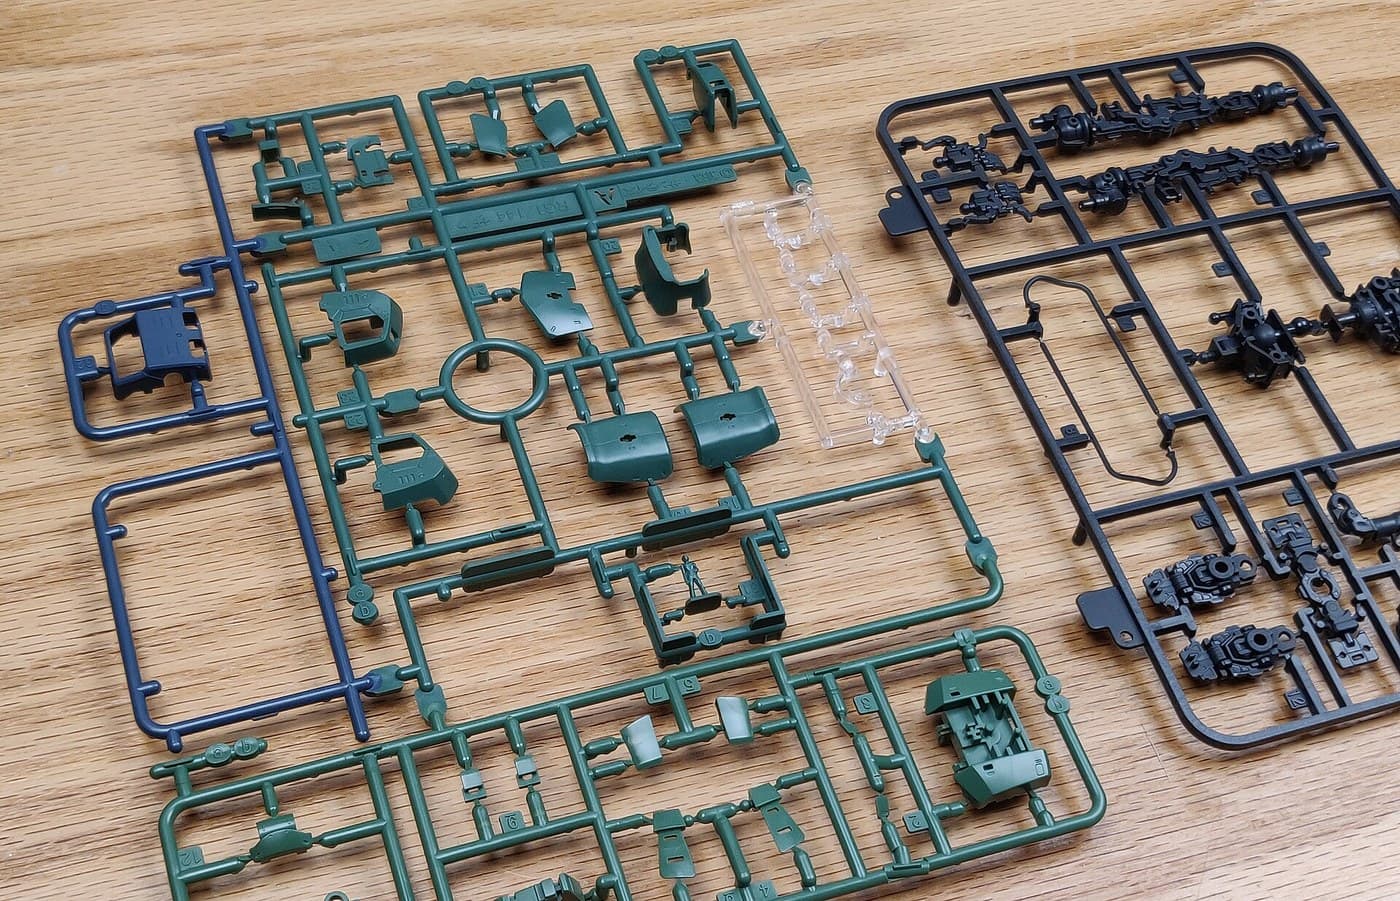
Injection Moulding
Pixel द्वारा
इन्जेक्सन मोल्डिङ
३७
०
०
०
३
०
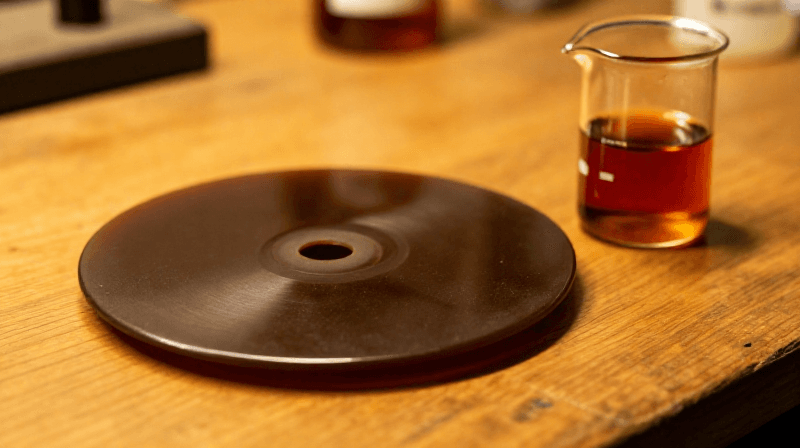
खतरनाक
Making Bakelite — The First Fully Synthetic Plastic That Launched the Age of Polymers
Charlie द्वारा
औद्योगिक
५१
०
०
०
१
०
खतरनाक
Making Celluloid — The First Synthetic Plastic That Changed Everything
Charlie द्वारा
औद्योगिक
७९
०
०
०
३
०
Extruded Polystyrene Foam
Emma द्वारा
प्लास्टिक बनाउने
२६
०
०
०
०
०
CC0 सार्वजनिक डोमेन
यो ब्लुप्रिन्ट CC0 अन्तर्गत जारी गरिएको छ। तपाईं अनुमति नसोधी प्रतिलिपि, परिमार्जन, वितरण र प्रयोग गर्न सक्नुहुन्छ।
ब्लुप्रिन्ट मार्फत उत्पादनहरू किनेर सिर्जनाकर्तालाई सहयोग गर्नुहोस् सिर्जनाकर्ता कमिसन विक्रेताले तोकेको, वा यो ब्लुप्रिन्टको नयाँ संस्करण बनाउनुहोस् र आम्दानी बाँड्न आफ्नो ब्लुप्रिन्टमा जडानको रूपमा समावेश गर्नुहोस्।