कला
सुन्दरता र कल्याण
हस्तकला
संस्कृति र इतिहास
मनोरञ्जन
वातावरण
खाना र पेय
रिभर्स इन्जिनियरिङ
विज्ञान
खेलकुद
प्रविधि
पहिर्न मिल्ने
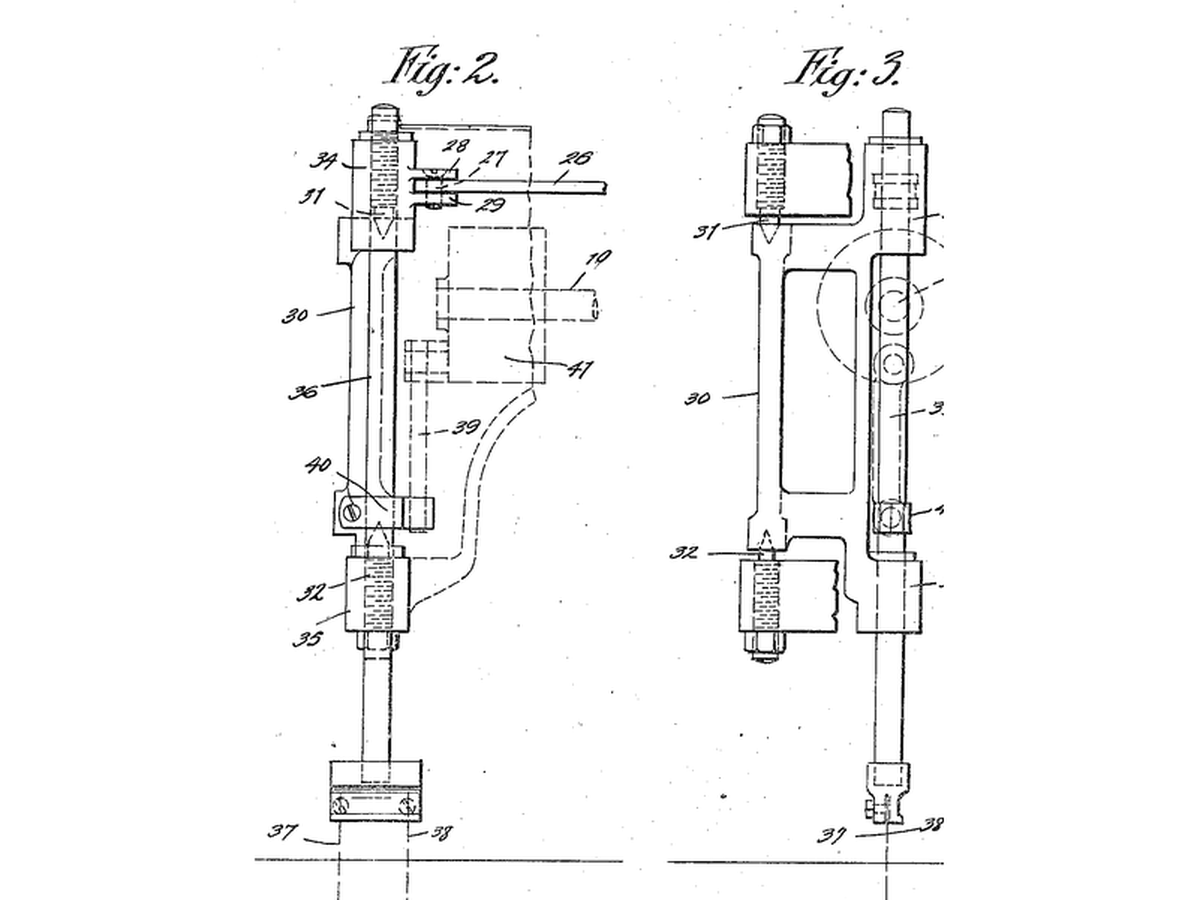


Zigzag Stitch Mechanism
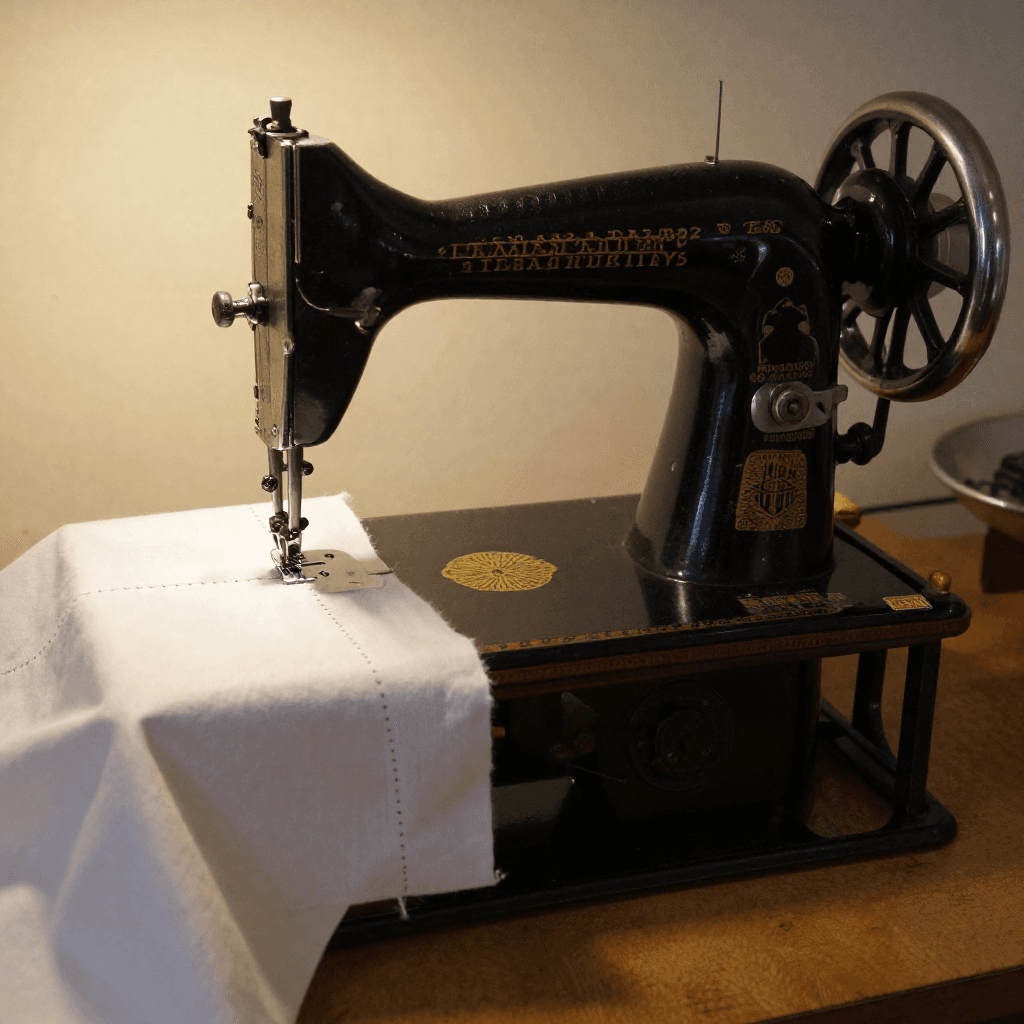
The lock-stitch machine already published sews a straight line, and a straight line of thread cannot stretch - which is why early machines could not sew knitted cloth, finish a raw edge, or work a buttonhole. The next rung is a mechanism that swings the needle bar sideways between stitches, driven by a cam turning with the main shaft.
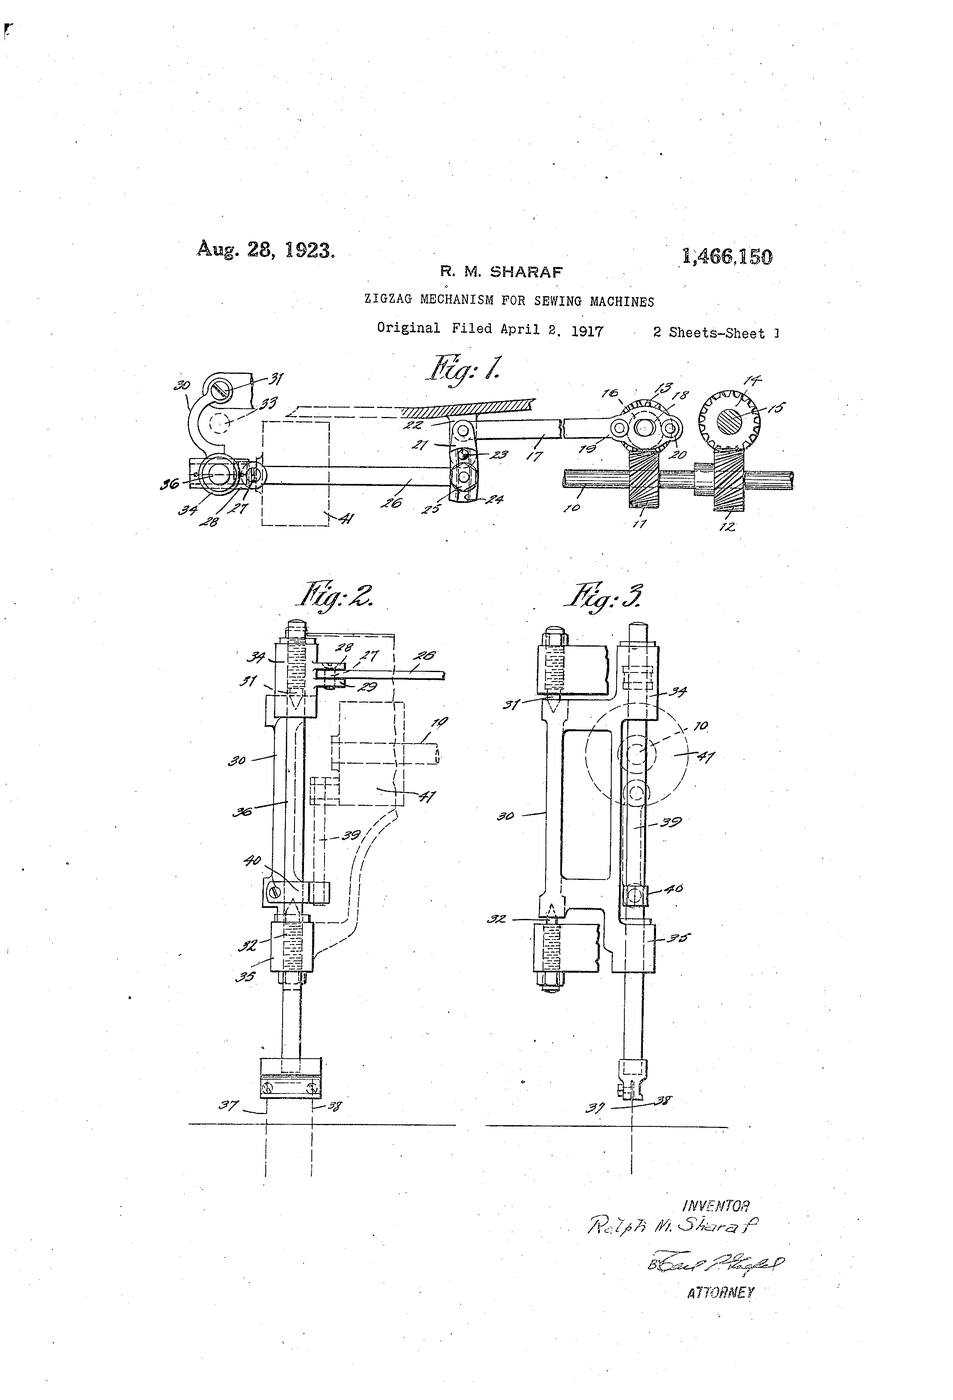
**US 1,466,150**, "Zigzag mechanism for sewing machines", Ralph M. Sharaf, filed 2. April 1917, granted 28. August 1923: a cam-driven vibration of the needle bar while the machine stitches, with the throw adjustable. Domestic zigzag machines followed in the 1950s.
**You build the motion in wood** - a cam, a follower and a pen drawing the needle's path - then sew both stitches on jersey and pull them until something gives.
मध्यम
3 hours
निर्देशनहरू
1
1
Cut a cam
Cut a cam
From 18 mm plywood cut a 60 mm disc and drill its pivot hole 5 mm off centre: that offset is half the zigzag width. Cut a second disc with a 10 mm offset for a wider stitch.
यस चरणका सामग्री:
 प्लाइउडको पाता1 टुक्रा
चाहिने औजार:
 हाते आरा
 तारविनाको ड्रिल
 रुलर
रुलर2
2
Follower and needle bar
Follower and needle bar
Screw a pivoted arm to the board so one end rides on the cam's edge and the other carries a dowel - the needle bar. A spring keeps the follower against the cam. Tape a marker to the dowel.
यस चरणका सामग्री:
 मेसिन स्क्रु4 टुक्रा
 दबाब स्प्रिङ सेट1 सेट
 काठको चुकुल1 टुक्रा
 नमेटिने मसीको मार्कर1 टुक्रा
चाहिने औजार:
 तातो टाँसोको बन्दुक
 बेन्चको भाइस
3
3
Draw the stitch
Draw the stitch
Pull a strip of graph paper steadily under the pen while turning the cam by hand, one turn per stitch. Measure the width of the trace; swap cams and repeat. Lock the follower to draw a straight line for comparison.
यस चरणका सामग्री:
 रेखाचित्र कागज1 पाना
 मास्किङ टेप1 रोल
चाहिने औजार:
रुलर4
4
Sew the real thing
Sew the real thing
Cut six 200 x 50 mm jersey strips. Join them in pairs with a 100 mm seam: straight stitch, zigzag 3 mm, zigzag 5 mm, all at 2.5 mm stitch length.
यस चरणका सामग्री:
 टी-सर्टको बुनेको कपडाको बिटो1 टुक्रा
 पोलिएस्टर धागो10 मिटर
चाहिने औजार:
 सिलाइ मेसिन
 कपडा काट्ने कैँची
5
5
Pull until it gives
Pull until it gives
Mark 100 mm across each seam. Pull each pair apart steadily by hand and note the marked length when the thread snaps - or when it does not, and the cloth simply stretches.
चाहिने औजार:
रुलर नाप्ने फित्ता
6
6
Thread geometry and your results
Thread geometry and your results
Jupyter नोटबुक लोड हुँदैछ…
7
7
History & Context
History & Context
**What the patent specifies:** a cam-driven mechanism that vibrates the needle bar laterally during stitching, with adjustable throw. **Modern build (derived):** a plywood cam and follower drawing the path, plus real seams for the test.
The same sideways swing gave overcast edges, buttonholes and decorative stitches, and cam stacks later let a machine select a pattern. Its limits: a zigzag uses more thread, can tunnel thin cloth if the tension is wrong, and the needle bar's sideways travel puts a limit on machine speed.
सामग्री
9- 1 टुक्राप्लेसहोल्डर
- 4 टुक्राप्लेसहोल्डर
- 1 सेटप्लेसहोल्डर
- 1 टुक्राप्लेसहोल्डर
- 1 टुक्राप्लेसहोल्डर
- 1 पानाप्लेसहोल्डर
- 1 रोलप्लेसहोल्डर
- 1 टुक्राप्लेसहोल्डर
- 10 मिटरप्लेसहोल्डर
आवश्यक उपकरणहरू
8- प्लेसहोल्डर
- 1 vendor sell this, none ship to you yetप्लेसहोल्डर
- प्लेसहोल्डर
- प्लेसहोल्डर
- प्लेसहोल्डर
- प्लेसहोल्डर
- प्लेसहोल्डर
- 1 vendor sell this, none ship to you yetप्लेसहोल्डर
सम्बन्धित ब्लुप्रिन्ट
यी ब्लुप्रिन्टहरूले ज्ञान साझा गर्छन् — प्रविधि, सामग्री वा सिद्धान्त
CC0 सार्वजनिक डोमेन
यो ब्लुप्रिन्ट CC0 अन्तर्गत जारी गरिएको छ। तपाईं अनुमति नसोधी प्रतिलिपि, परिमार्जन, वितरण र प्रयोग गर्न सक्नुहुन्छ।
ब्लुप्रिन्ट मार्फत उत्पादनहरू किनेर सिर्जनाकर्तालाई सहयोग गर्नुहोस् सिर्जनाकर्ता कमिसन विक्रेताले तोकेको, वा यो ब्लुप्रिन्टको नयाँ संस्करण बनाउनुहोस् र आम्दानी बाँड्न आफ्नो ब्लुप्रिन्टमा जडानको रूपमा समावेश गर्नुहोस्।