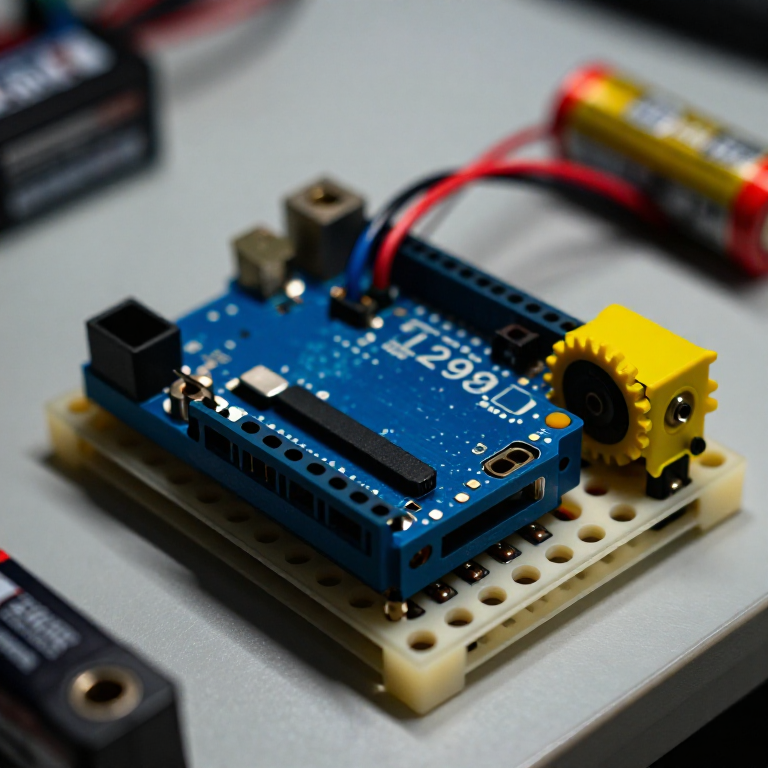


Controlling a DC Motor with an L298N Driver
An Arduino pin can't power a motor directly — it can't supply enough current, and it can't reverse the flow. An L298N H-bridge solves both: the Arduino sends low-power control signals, and the driver switches the motor's own battery to run it forwards, backwards and at any speed. This is the core building block of every wheeled robot.
Mga Tagubilin
Wire the driver, motor and battery
Wire the driver, motor and battery
Push the L298N's control header into the breadboard. From the Arduino, jumper pin 8 to IN1, pin 9 to IN2, and pin 10 to ENA. Connect the DC motor's two wires to the OUT1/OUT2 screw terminals, and a 4×AA battery pack to the +12V and GND motor terminals. IMPORTANT: join all the grounds together — Arduino GND, driver GND and battery GND — or the motor won't run.
Mga materyales para sa hakbang na ito:
 Arduino Uno R3 SMD1 piraso
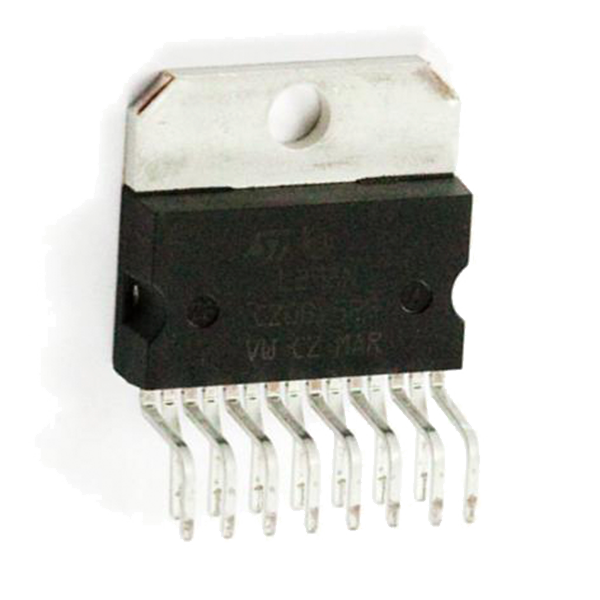 Full-Bridge Motor Driver Dual - L298N1 piraso
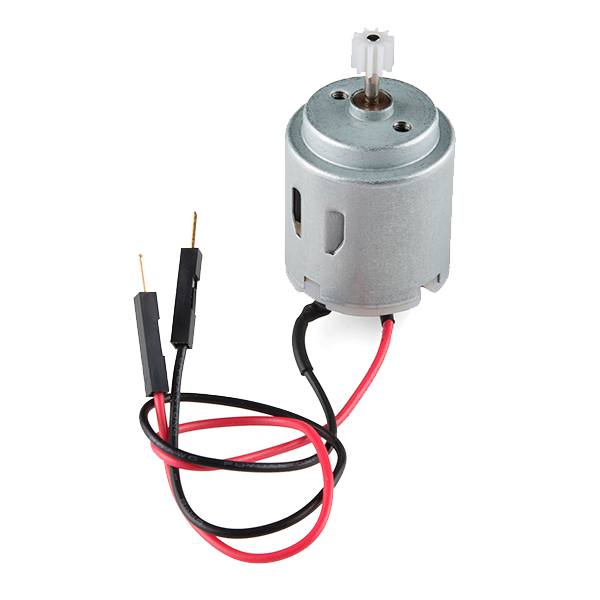 Hobby Motor - Gear1 piraso
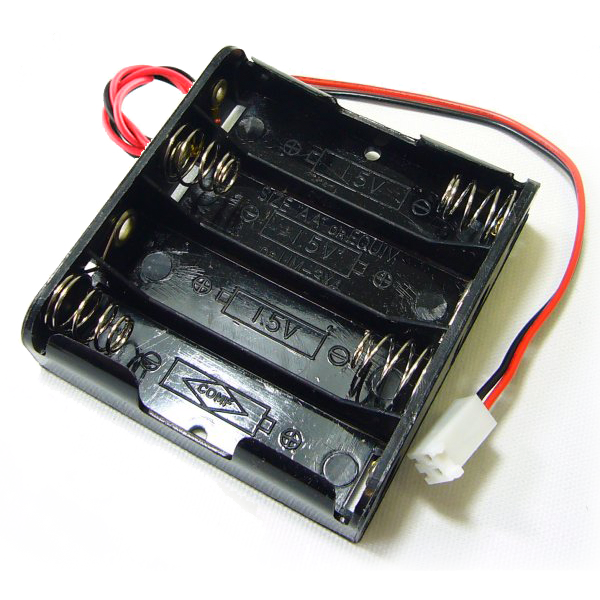 Battery Holder - 4xAA Square Terminated1 piraso
 Breadboard - Classic1 piraso
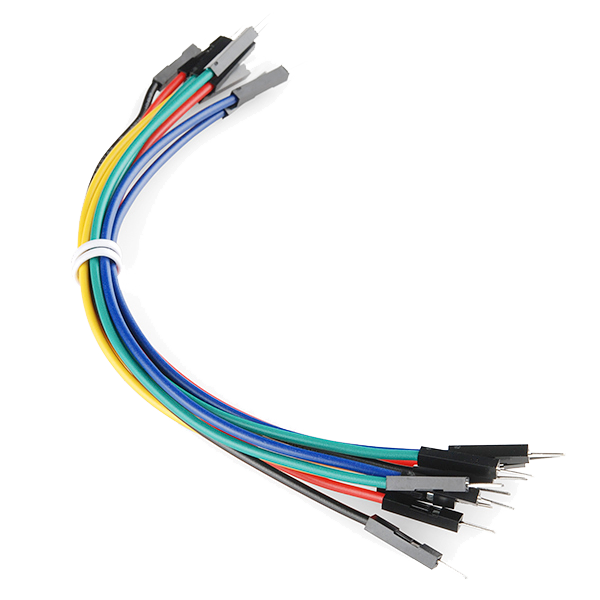 Jumper Wires Premium M/M 20 AWG - 15.5 cm1 pakete
Connect and open the IDE
Connect and open the IDE
Plug the Arduino into your computer with the USB cable, open the Arduino IDE, and select Arduino Uno and its serial port. Leave the motor battery switched off until the code is uploaded.
Mga materyales para sa hakbang na ito:
 SparkFun Cerberus USB Cable - 1.8 meter1 piraso
Mga kailangang kasangkapan:
 Kompyuter na May Arduino IDE
Upload the motor sketch
Upload the motor sketch
Paste this sketch and upload, then switch on the battery. The motor runs forward, stops, reverses, and stops — on a loop.
Test and control it
Test and control it
Watch the motor go forward, stop, reverse. IN1/IN2 set the direction (swap which is HIGH to flip it); the number in analogWrite(ENA, ...) sets the speed from 0 (off) to 255 (full). If the motor doesn't spin, check that all three grounds are joined and the battery is on.
Make it a robot
Make it a robot
The L298N drives TWO motors. Wire a second motor to OUT3/OUT4 and control it with IN3, IN4 and ENB on three more Arduino pins. Two motors on a chassis with wheels gives you a robot base you can drive — turn by running the wheels at different speeds or directions.
Mga Materyales
7- Arduino Uno R3 SMD10% komisyon1 piraso$26.95
- Full-Bridge Motor Driver Dual - L298N10% komisyon1 piraso$3.55
- Hobby Motor - Gear10% komisyon1 piraso$2.54
- Battery Holder - 4xAA Square Terminated10% komisyon1 piraso$4.14
- Breadboard - Classic10% komisyon1 piraso$9.46
- 1 pakete$4.99
- SparkFun Cerberus USB Cable - 1.8 meter10% komisyon1 piraso$5.66
Mga Kinakailangang Kasangkapan
1- Placeholder
Kaugnay na Blueprint
Ang mga blueprint na ito ay nagbabahagi ng kaalaman — mga teknik, materyales, o prinsipyo


CC0 Pampublikong Domain
Ang blueprint na ito ay inilabas sa ilalim ng CC0. Malaya kang kumopya, magbago, mamahagi, at gumamit nang walang pahintulot.
Suportahan ang Maker sa pamamagitan ng pagbili ng mga produkto sa kanilang Blueprint Komisyon ng Maker itinakda ng mga Vendor, o lumikha ng bagong bersyon ng Blueprint na ito at isama bilang koneksyon sa iyong Blueprint upang ibahagi ang kita.