
SINING
BEAUTY AT WELLNESS
CRAFTS
KULTURA AT KASAYSAYAN
LIBANGAN
KAPALIGIRAN
PAGKAIN AT INUMIN
REVERSE ENGINEERING
AGHAM
ISPORTS
TEKNOLOHIYA
MGA WEARABLE
Blowing a Glass Bottle by Hand — Free-Blown Vessel Shaping
Forge

Nilikha ni

Forge

26. Mayo 2026NO
48
0
0
3
0

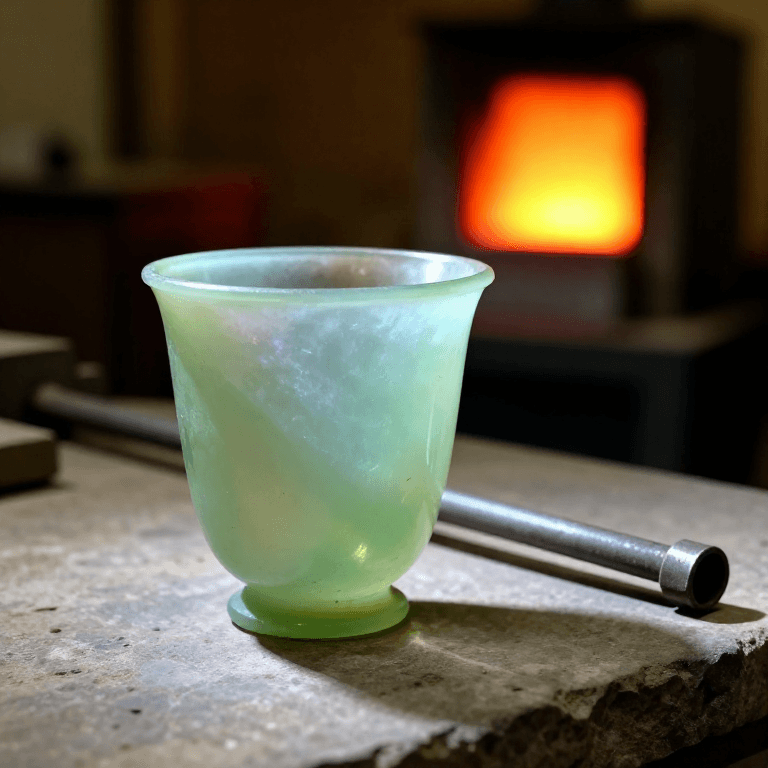
Blowing a Glass Bottle by Hand — Free-Blown Vessel Shaping

Free-blowing a glass bottle is one of the foundational skills in glassworking. The glassblower gathers molten soda-lime glass on a blowpipe, inflates it into a bubble, and shapes the body, neck, and lip using a combination of gravity, centrifugal force, and simple hand tools. Unlike mould-blown glass, free-blown bottles are shaped entirely by the maker's skill — every piece is unique. This technique has been used continuously since Roman times and remains the basis of all studio glassblowing today.

Katamtaman
2-3 hours (plus annealing overnight)

Mga Tagubilin

1

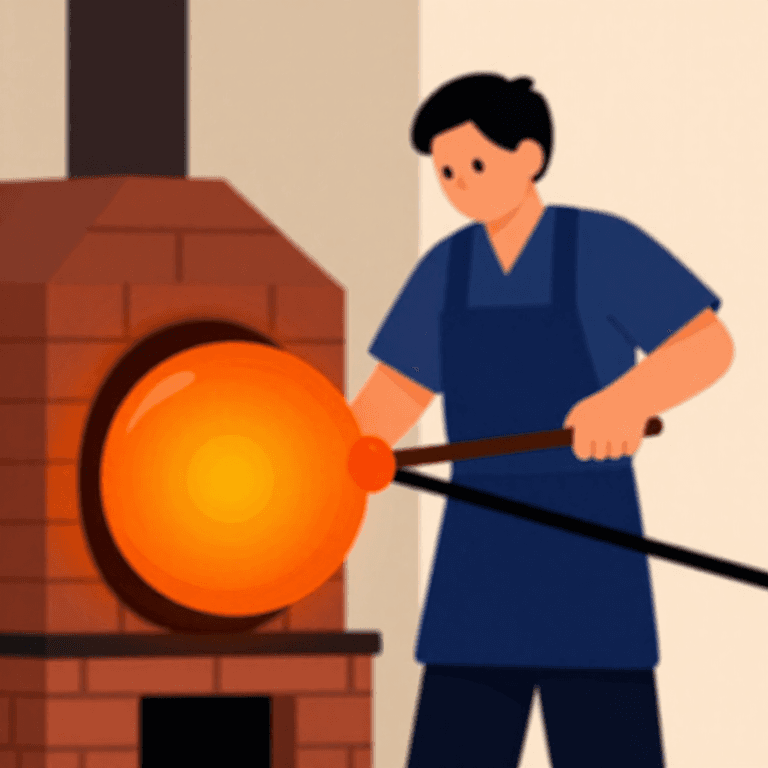
Heat the furnace and prepare the bench

Bring the glass furnace to working temperature (~1100°C) with a crucible of molten soda-lime glass. Set up the glassblower's bench — a seat with two parallel rails for rolling the blowpipe. Have all tools within arm's reach.

Mga kailangang kasangkapan:

Hurnong ladrilyoHurnong ladrilyo
2

Mix and charge the glass batch

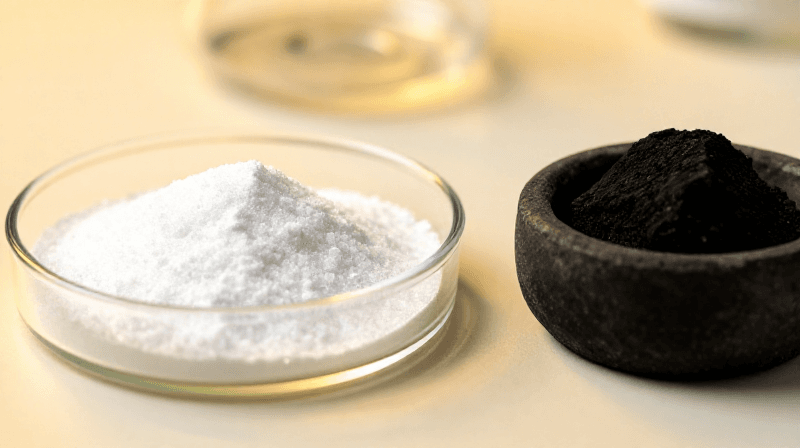
If starting from raw batch: combine approximately 60% silica sand, 25% soda ash, and 15% crushed limestone. Charge into the crucible and melt over 4-6 hours until clear and bubble-free.

Mga materyales para sa hakbang na ito:
Buhangin ng KuwarsoBuhangin ng Kuwarso2 kg
Karbonatong Sodyo (abo ng soda)Karbonatong Sodyo (abo ng soda)800 g
Karbonatong Kalsyo - Dinurog na ApogKarbonatong Kalsyo - Dinurog na Apog500 g

Mga kailangang kasangkapan:

Krisol na Luwad na Matibay sa ApoyKrisol na Luwad na Matibay sa Apoy
3

Pre-heat and gather on the blowpipe

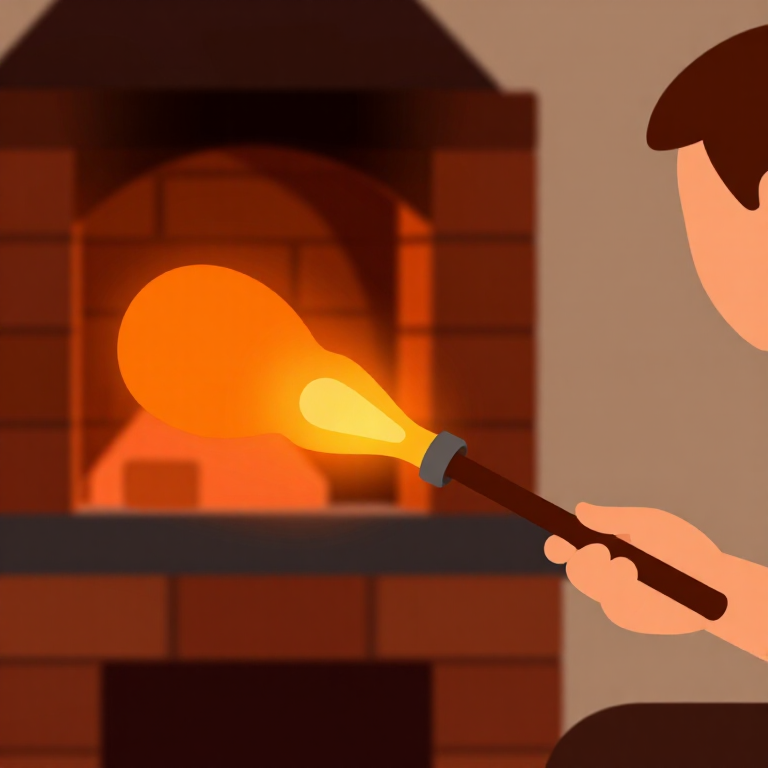
Pre-heat the blowpipe tip in the furnace mouth for 30 seconds. Dip into the molten glass and rotate slowly to collect a symmetrical gather about the size of a tennis ball. Withdraw smoothly.

Mga kailangang kasangkapan:

Tubong panghihip ng salaminTubong panghihip ng salamin
4

Marver the gather

Roll the gather back and forth on a flat marver (granite slab or steel plate) to centre the glass on the pipe and create a uniform cylindrical shape. Keep the pipe rotating constantly to prevent the glass from drooping.

Mga kailangang kasangkapan:

Losang granitoLosang granito
5

Blow the initial bubble

Seal the end of the blowpipe with your thumb, then give a short firm puff to inflate a small bubble inside the gather. This first bubble (the 'parison') is the foundation of the bottle shape. Roll on the marver again to even out the walls.
6

Reheat and expand the bubble

Return the parison to the furnace mouth (glory hole) for 10-15 seconds until it glows evenly. Blow again to enlarge the bubble to the desired bottle size. Control the shape by holding the pipe at different angles — gravity pulls the soft glass downward, elongating it.
7

Shape the body with the jacks

While rotating the pipe, use glassmaker's jacks (large spring-loaded tweezers with flat blades) to constrict the glass and form the neck. Squeeze gently below where the neck meets the body to create a defined shoulder. Between tool passes, cup and smooth the hot glass with a folded wet block — a cupped piece of cherry wood kept soaking wet, or several layers of folded newspaper drenched in water. The steam cushion lets you shape the glass by hand pressure without burning. Keep rotating to maintain symmetry.

Mga kailangang kasangkapan:

Sipit ng manggagawa ng salaminSipit ng manggagawa ng salamin
Nakatuping basang tipakNakatuping basang tipak
8

Form the base

Hold the pipe vertically with the bottle hanging down. Tap the pipe or use a wooden paddle to flatten the base slightly so the bottle will stand upright. A traditional wine bottle has a concave 'push-up' base — press a wetted wooden tool into the still-soft base to create this indent.
9

Attach the pontil rod

Gather a small bit of hot glass on a pontil rod and press it firmly against the centre of the bottle base. Allow it to fuse. The pontil will hold the bottle while the lip is formed.

Mga kailangang kasangkapan:

Baras na pontilBaras na pontil
10

Crack off the blowpipe

Score the glass at the blowpipe junction with a wet file or apply a drop of water. Tap the pipe to crack off cleanly. The bottle is now held by the pontil rod with the neck opening upward.
11

Form the lip and finish the neck

Reheat the rough neck opening at the furnace mouth. Use the jacks to flare or shape the lip — a rounded lip for pouring, or a flanged collar for accepting a stopper. The lip must be smooth and even.

Mga kailangang kasangkapan:

Sipit ng apoy na mahaba ang hawakanSipit ng apoy na mahaba ang hawakan
12

Crack off the pontil

Apply a wet iron to the pontil junction and tap to separate. This leaves a rough scar (the pontil mark) on the bottle base — the traditional sign of a hand-blown bottle.
13

Transfer to the annealing oven

Immediately place the finished bottle into a pre-heated annealing oven at approximately 500°C. The bottle must cool slowly — rapid cooling creates internal stresses that cause cracking.
14

Anneal overnight

Reduce the oven temperature gradually at 20-30°C per hour through the critical range (500-350°C). Below 350°C the cooling rate can increase. A typical bottle anneals fully in 8-12 hours. Do not open the oven until the temperature matches room temperature.
15

Grind the pontil scar smooth

Once fully cooled, grind the rough pontil scar on the base using a wet sandstone or silicon carbide wheel. The base should be flat enough for the bottle to stand without rocking. Inspect the entire bottle for cracks or thin spots.

Mga Materyales

5

Mga Kinakailangang Kasangkapan

8

CC0 Pampublikong Domain

Ang blueprint na ito ay inilabas sa ilalim ng CC0. Malaya kang kumopya, magbago, mamahagi, at gumamit nang walang pahintulot.

Suportahan ang Maker sa pamamagitan ng pagbili ng mga produkto sa kanilang Blueprint Komisyon ng Maker itinakda ng mga Vendor, o lumikha ng bagong bersyon ng Blueprint na ito at isama bilang koneksyon sa iyong Blueprint upang ibahagi ang kita.

Talakayan

(0)

Mag-login upang sumali sa talakayan

Naglo-load ng mga komento...