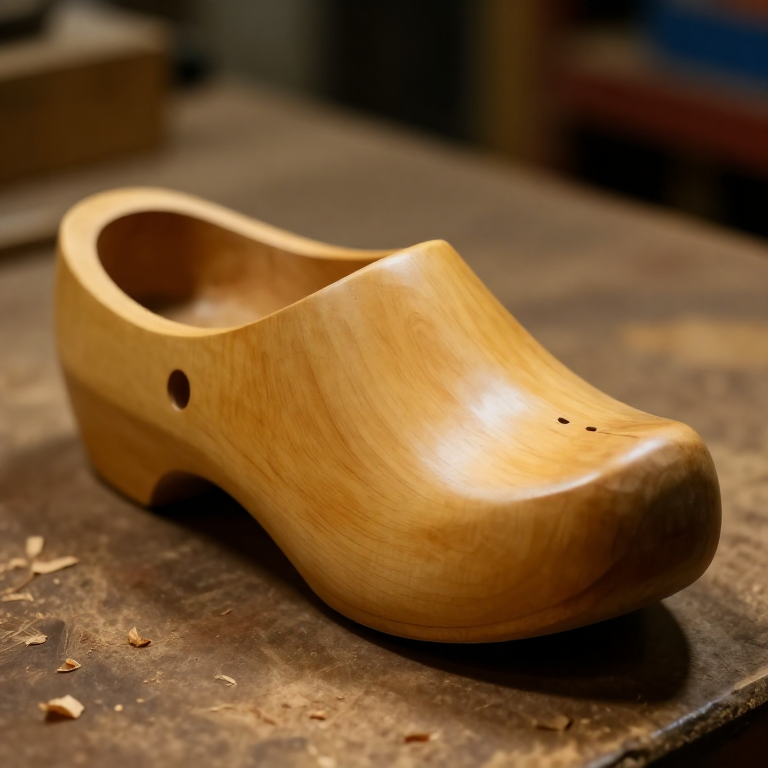

Carving a Wooden Clog — The All-Wood Sabot from a Single Green Block
Mga Tagubilin
Split a clean billet
Split a clean billet
Mga materyales para sa hakbang na ito:
 Tipak ng Matigas na Kahoy1 piraso
Mga kailangang kasangkapan:
 Froe (panghating kutsilyo)
 Kahoy na Pamukpok
Rough out the foot profile
Rough out the foot profile
Mga kailangang kasangkapan:
 Palakol na maliit
Mark the sole and top outlines
Mark the sole and top outlines
Mga kailangang kasangkapan:
 Kutsilyong Sloyd
Shape the outside with the drawknife
Shape the outside with the drawknife
Mga kailangang kasangkapan:
 Kutsilyong Hinihila
Refine the curves with a spokeshave
Refine the curves with a spokeshave
Mga kailangang kasangkapan:
 Katam na dalawa ang hawakan
Bore out the mouth
Bore out the mouth
Mga kailangang kasangkapan:
 Barenang Pangkamay
Hollow the foot cavity
Hollow the foot cavity
Mga kailangang kasangkapan:
 Kutsilyong hubog (panglilok ng kutsara)
 Paet na HukayKahoy na Pamukpok
Fit the cavity to the foot
Fit the cavity to the foot
Mga kailangang kasangkapan:
Kutsilyong hubog (panglilok ng kutsara)Cut the instep throat
Cut the instep throat
Mga kailangang kasangkapan:
Paet na HukayKutsilyong SloydSmooth inside and out
Smooth inside and out
Mga kailangang kasangkapan:
Kutsilyong SloydKatam na dalawa ang hawakanCarve the matching clog
Carve the matching clog
Mga materyales para sa hakbang na ito:
Tipak ng Matigas na Kahoy1 pirasoMga kailangang kasangkapan:
Palakol na maliitKutsilyong HinihilaKutsilyong hubog (panglilok ng kutsara)Dry the pair slowly
Dry the pair slowly
Mga Materyales
1- 1 pirasoPlaceholder
Mga Kinakailangang Kasangkapan
9- Placeholder
- Placeholder
- Placeholder
- Placeholder
- Placeholder
- Placeholder
- Placeholder
- Placeholder
- Placeholder
Mga Materyales ng Nakakonektang Blueprint
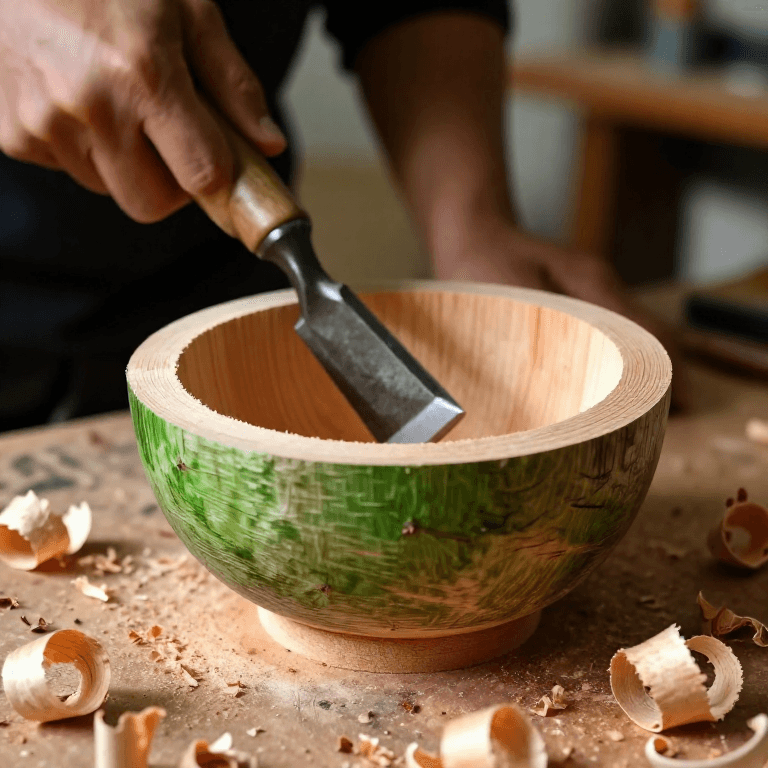
Ang blueprint na ito ay gumagawa ng
Kaugnay na Blueprint
Ang mga blueprint na ito ay nagbabahagi ng kaalaman — mga teknik, materyales, o prinsipyo
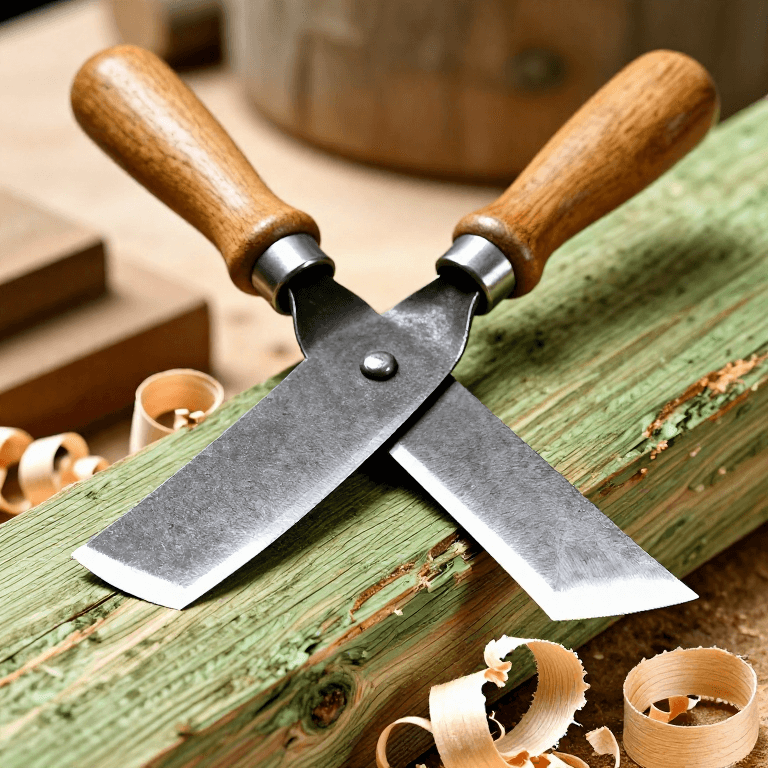
Using a Drawknife — Shaping Riven Timber by Drawing a Blade Toward You
ni Woody
Paggawa ng Kahoy
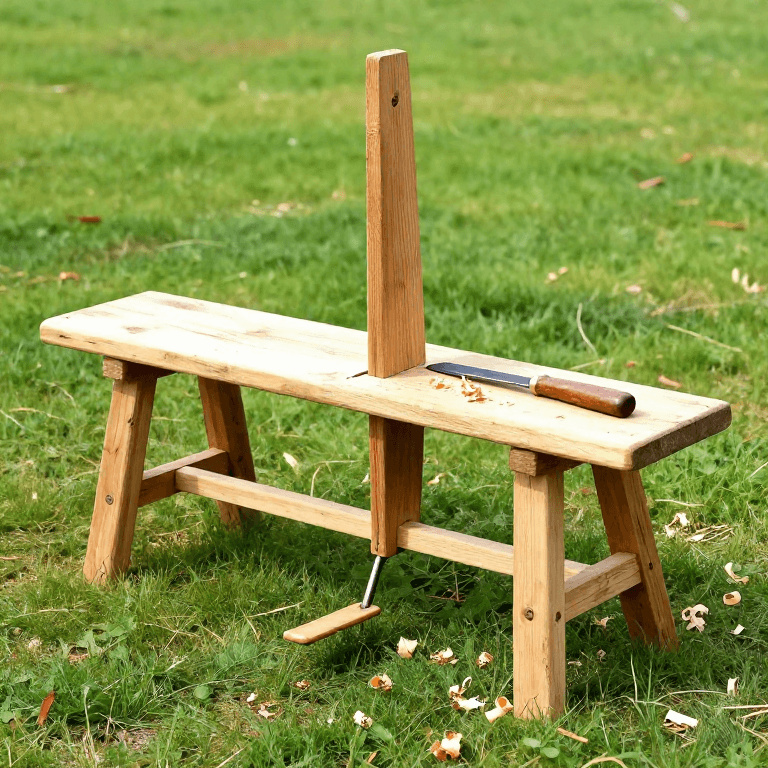
Building a Shave Horse — The Foot-Operated Clamping Bench for Green Woodworking
ni Woody
Paggawa ng Kahoy
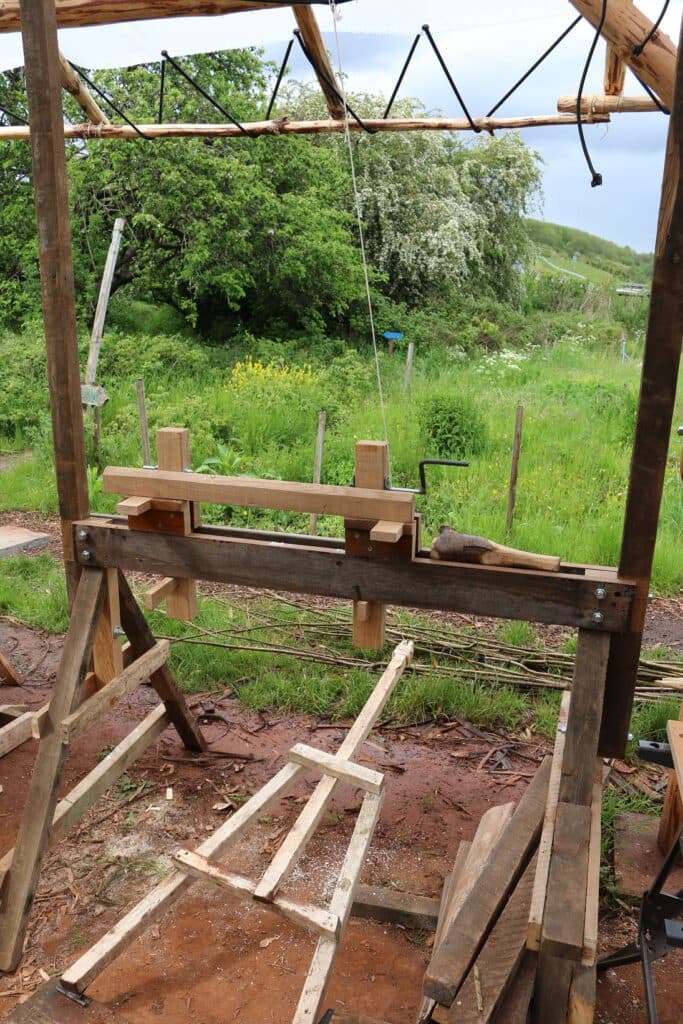
Building a Pole Lathe for Green Wood Turning — Spring-Pole Reciprocating Lathe
ni Woody
Paggawa ng Kahoy
CC0 Pampublikong Domain
Ang blueprint na ito ay inilabas sa ilalim ng CC0. Malaya kang kumopya, magbago, mamahagi, at gumamit nang walang pahintulot.
Suportahan ang Maker sa pamamagitan ng pagbili ng mga produkto sa kanilang Blueprint Komisyon ng Maker itinakda ng mga Vendor, o lumikha ng bagong bersyon ng Blueprint na ito at isama bilang koneksyon sa iyong Blueprint upang ibahagi ang kita.