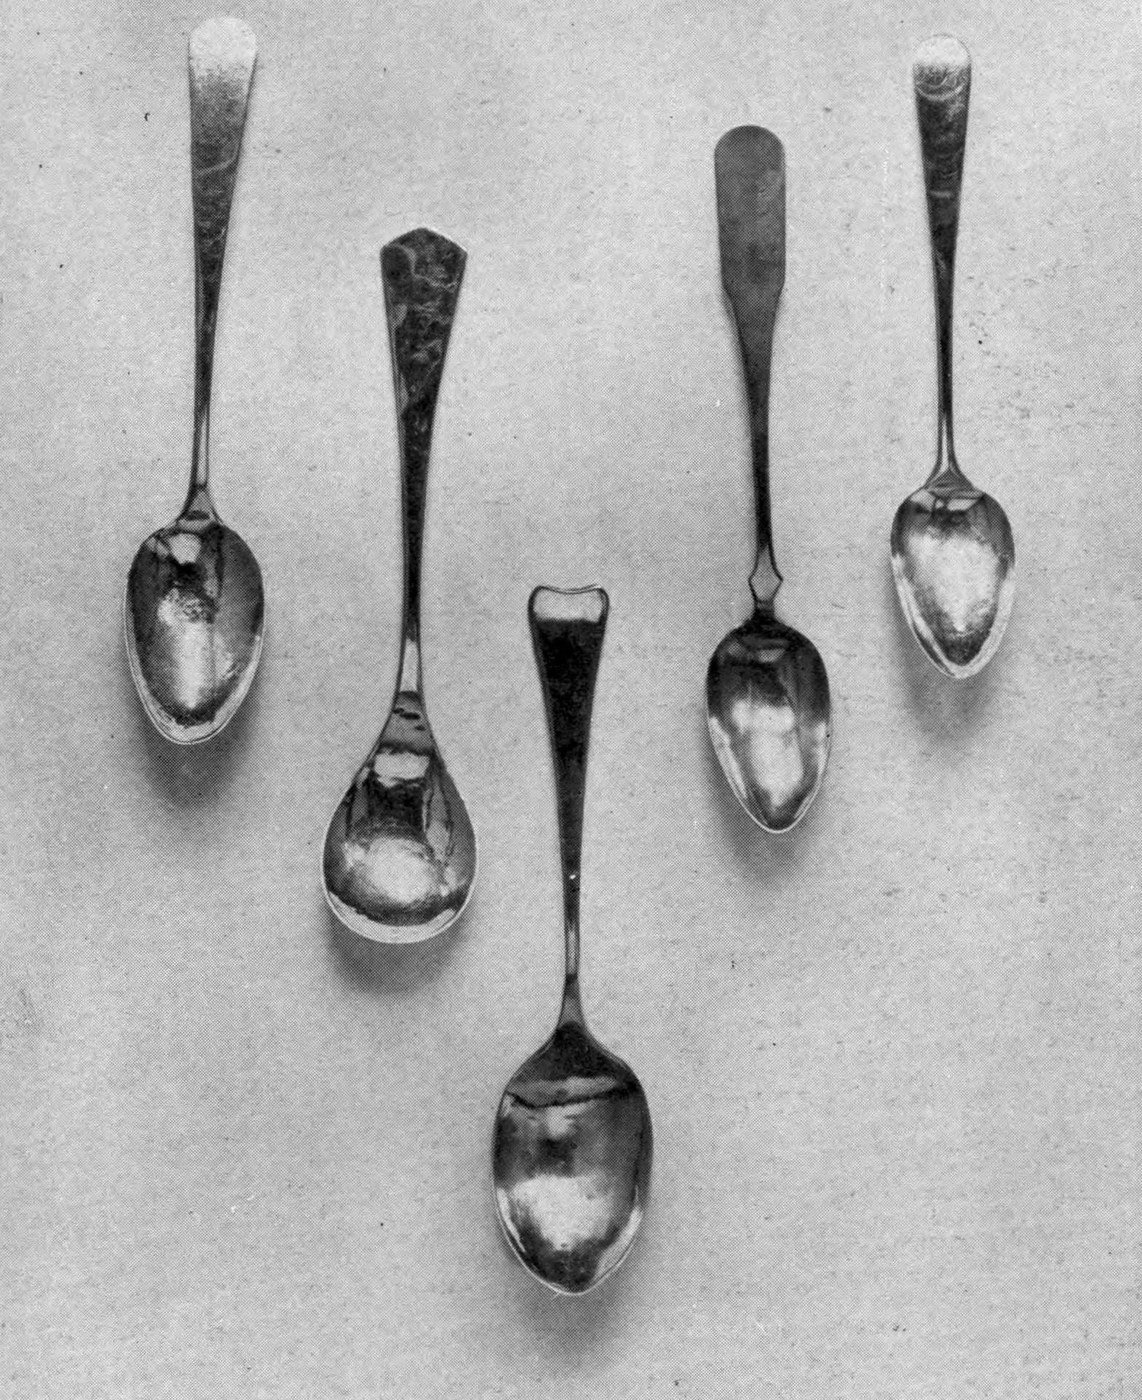


Teaspoon Forged from a Silver Bar (Payne 1914)
Mga Tagubilin
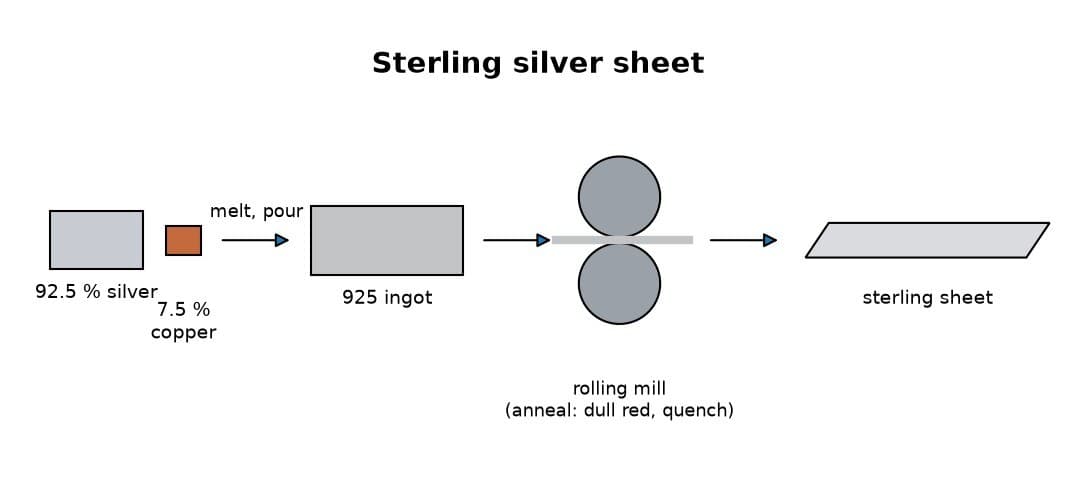
Cut the silver bar
Cut the silver bar
Mga materyales para sa hakbang na ito:
 Laminang Sterling na Pilak1 piece 4 × ½ × ⅛ in
Mga kailangang kasangkapan:
 Panggurlis
 Lagaring Pang-alahas
Forge out the bowl
Forge out the bowl
Mga kailangang kasangkapan:
 Bunsen burner
 Sipit
 Palihan
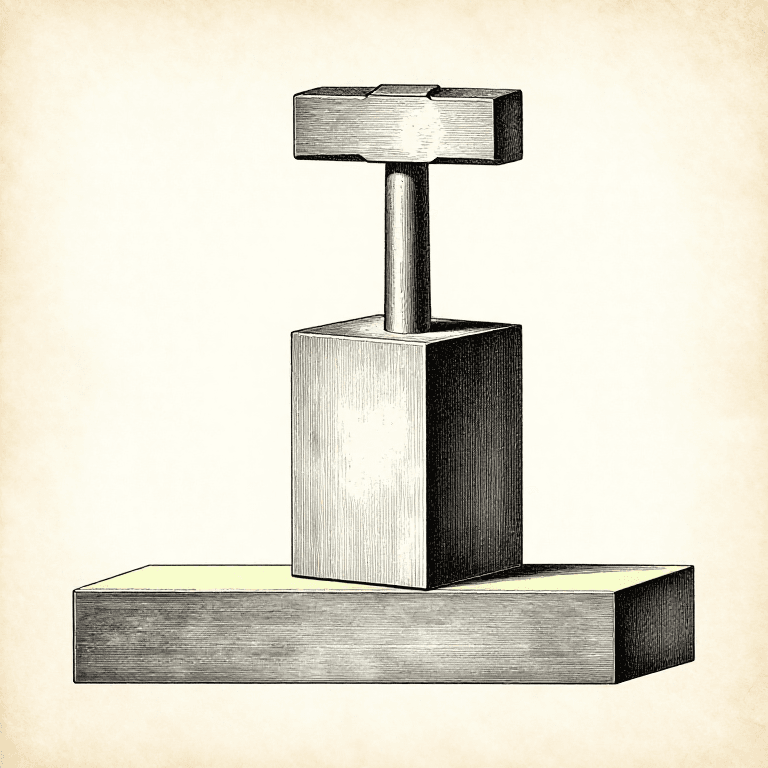
 Martilyo
Work bowl, then shank and handle
Work bowl, then shank and handle
Mga kailangang kasangkapan:
PalihanMartilyoAnneal and repeat
Anneal and repeat
Mga materyales para sa hakbang na ito:
 Tubig1 as required
Mga kailangang kasangkapan:
Bunsen burnerSipit Sisidlang salamin
Trim with shears and file
Trim with shears and file
Mga kailangang kasangkapan:
 Malakas na gunting sa metal
 Kikil (Kikil na Pangkamay)
Polish out the file marks
Polish out the file marks
Mga kailangang kasangkapan:
 Telang emeri
Anneal to even the fire scale
Anneal to even the fire scale
Mga materyales para sa hakbang na ito:
Tubig1 as requiredMga kailangang kasangkapan:
Bunsen burnerSipitSisidlang salaminPlanish with smooth hammers
Planish with smooth hammers
Mga kailangang kasangkapan:
 Martilyong pampakinisPalihan
 Tulos
Final polish with rouge
Final polish with rouge
Mga kailangang kasangkapan:
 Pamunas na pampakintab ng alahas
 Pulang pampakintab ng platero
Mga Materyales
2- 1 piece 4 × ½ × ⅛ inPlaceholder
- 2 as requiredPlaceholder
Mga Kinakailangang Kasangkapan
14- Placeholder
- Placeholder
- Placeholder
- Placeholder
- Placeholder
- Placeholder
- Placeholder
- Placeholder
- Placeholder
- Placeholder
- Placeholder
- Placeholder
- Placeholder
- Placeholder
Ang blueprint na ito ay gumagawa ng

Kaugnay na Blueprint
Ang mga blueprint na ito ay nagbabahagi ng kaalaman — mga teknik, materyales, o prinsipyo
CC0 Pampublikong Domain
Ang blueprint na ito ay inilabas sa ilalim ng CC0. Malaya kang kumopya, magbago, mamahagi, at gumamit nang walang pahintulot.
Suportahan ang Maker sa pamamagitan ng pagbili ng mga produkto sa kanilang Blueprint Komisyon ng Maker itinakda ng mga Vendor, o lumikha ng bagong bersyon ng Blueprint na ito at isama bilang koneksyon sa iyong Blueprint upang ibahagi ang kita.