Making Wooden Shingles — Riving Roof Tiles from a Bolt of Timber
Before fired clay tiles or slate became affordable, every roof in the temperate world was covered in wooden shingles — thin, flat pieces of riven timber that overlap like fish scales to shed rain. A single roof might need a thousand shingles, but a skilled worker with a froe and mallet can produce several hundred in a day. Shingles made from durable heartwood — oak, cedar, chestnut, or larch — last 30 to 50 years without treatment.
Shingles must be riven, never sawn. A riven shingle has intact grain running from top to bottom — water runs along the fibres and drips off the bottom edge without soaking in. A sawn shingle has cut fibres that act like tiny straws, wicking water into the wood and rotting it within a few years. This is the fundamental reason riving survived alongside sawmills for centuries — shingles were one product where the old method was simply better.
The technique requires a bolt (a short log section) of straight-grained wood and a froe — an L-shaped cleaving blade that gives precise control over the split line. Each shingle is split from the bolt, then shaved smooth on one face with a drawknife. The result is a lightweight, weather-resistant roof tile produced entirely from hand tools and local timber.
ہدایات
Select and crosscut a bolt
Select and crosscut a bolt
Split the bolt into halves and quarters
Split the bolt into halves and quarters
Rive shingles with a froe
Rive shingles with a froe
درکار اوزار:
 Froe
Froe Wooden Mallet
Dress the face with a drawknife
Dress the face with a drawknife
درکار اوزار:
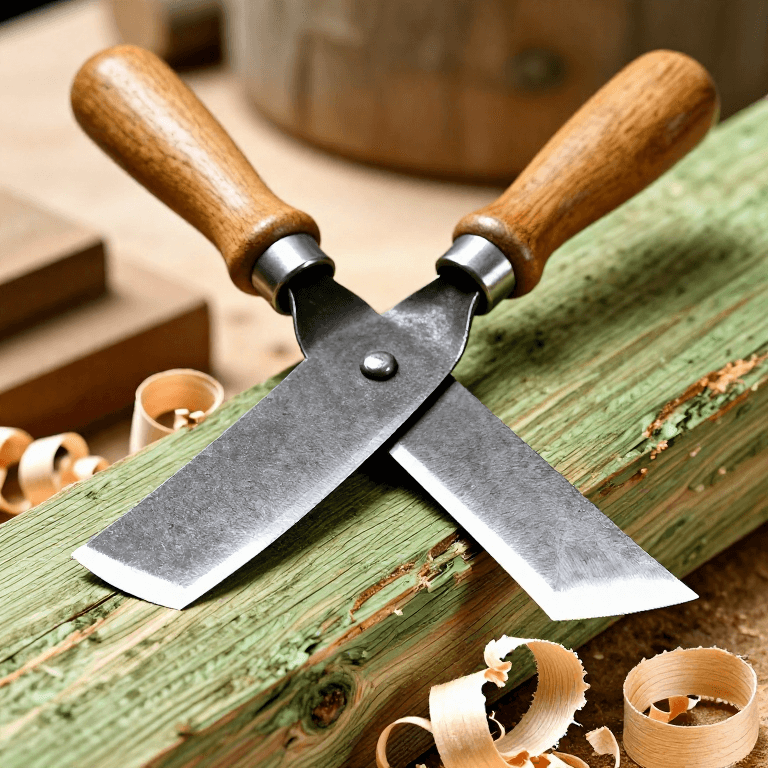
 Drawknife
Taper the top edge
Taper the top edge
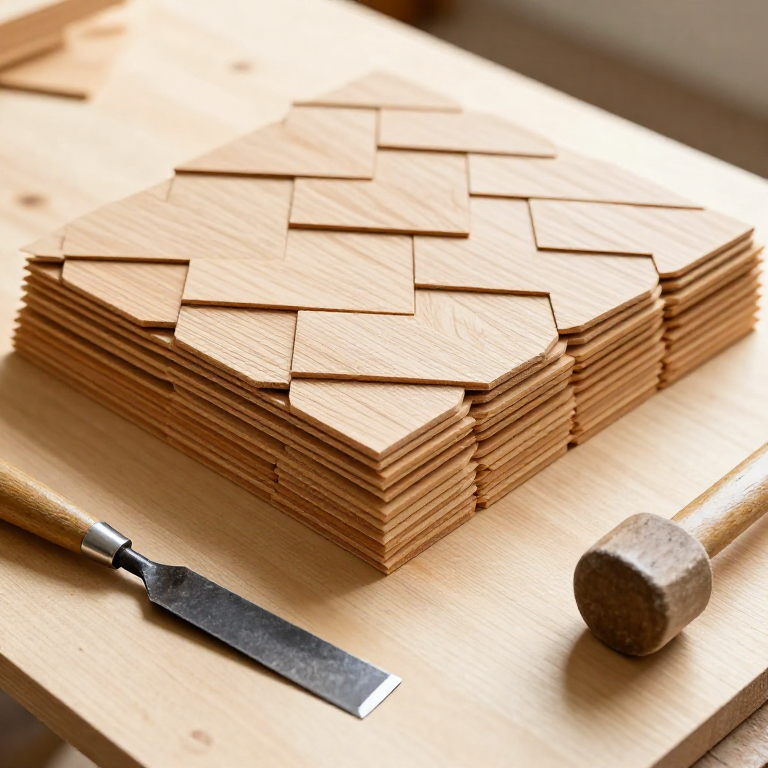
Stack and season before installation
Stack and season before installation
منسلک بلیو پرنٹ مواد

متعلقہ بلیو پرنٹ
یہ بلیو پرنٹ علم بانٹتے ہیں — تکنیک، مواد یا اصول


CC0 پبلک ڈومین
یہ بلیو پرنٹ CC0 کے تحت جاری کیا گیا ہے۔ آپ اجازت لیے بغیر اس کام کو نقل، ترمیم، تقسیم اور کسی بھی مقصد کے لیے استعمال کرنے کے لیے آزاد ہیں۔
میکر کی حمایت کریں ان کے بلیو پرنٹ کے ذریعے پروڈکٹس خرید کر جہاں وہ میکر کمیشن وینڈرز کی طرف سے مقرر، کماتے ہیں، یا اس بلیو پرنٹ کی نئی تکرار بنائیں اور آمدنی شیئر کرنے کے لیے اسے اپنے بلیو پرنٹ میں کنکشن کے طور پر شامل کریں۔