SZTUKA
Piękno i dobre samopoczucie
RZEMIOSŁO
KULTURA I HISTORIA
ROZRYWKA
ŚRODOWISKO
JEDZENIE I NAPOJE
INŻYNIERIA ODWROTNA
NAUKI
LEKKOATLETYKA
TECHNOLOGIA
URZĄDZENIA DO NOSZENIA
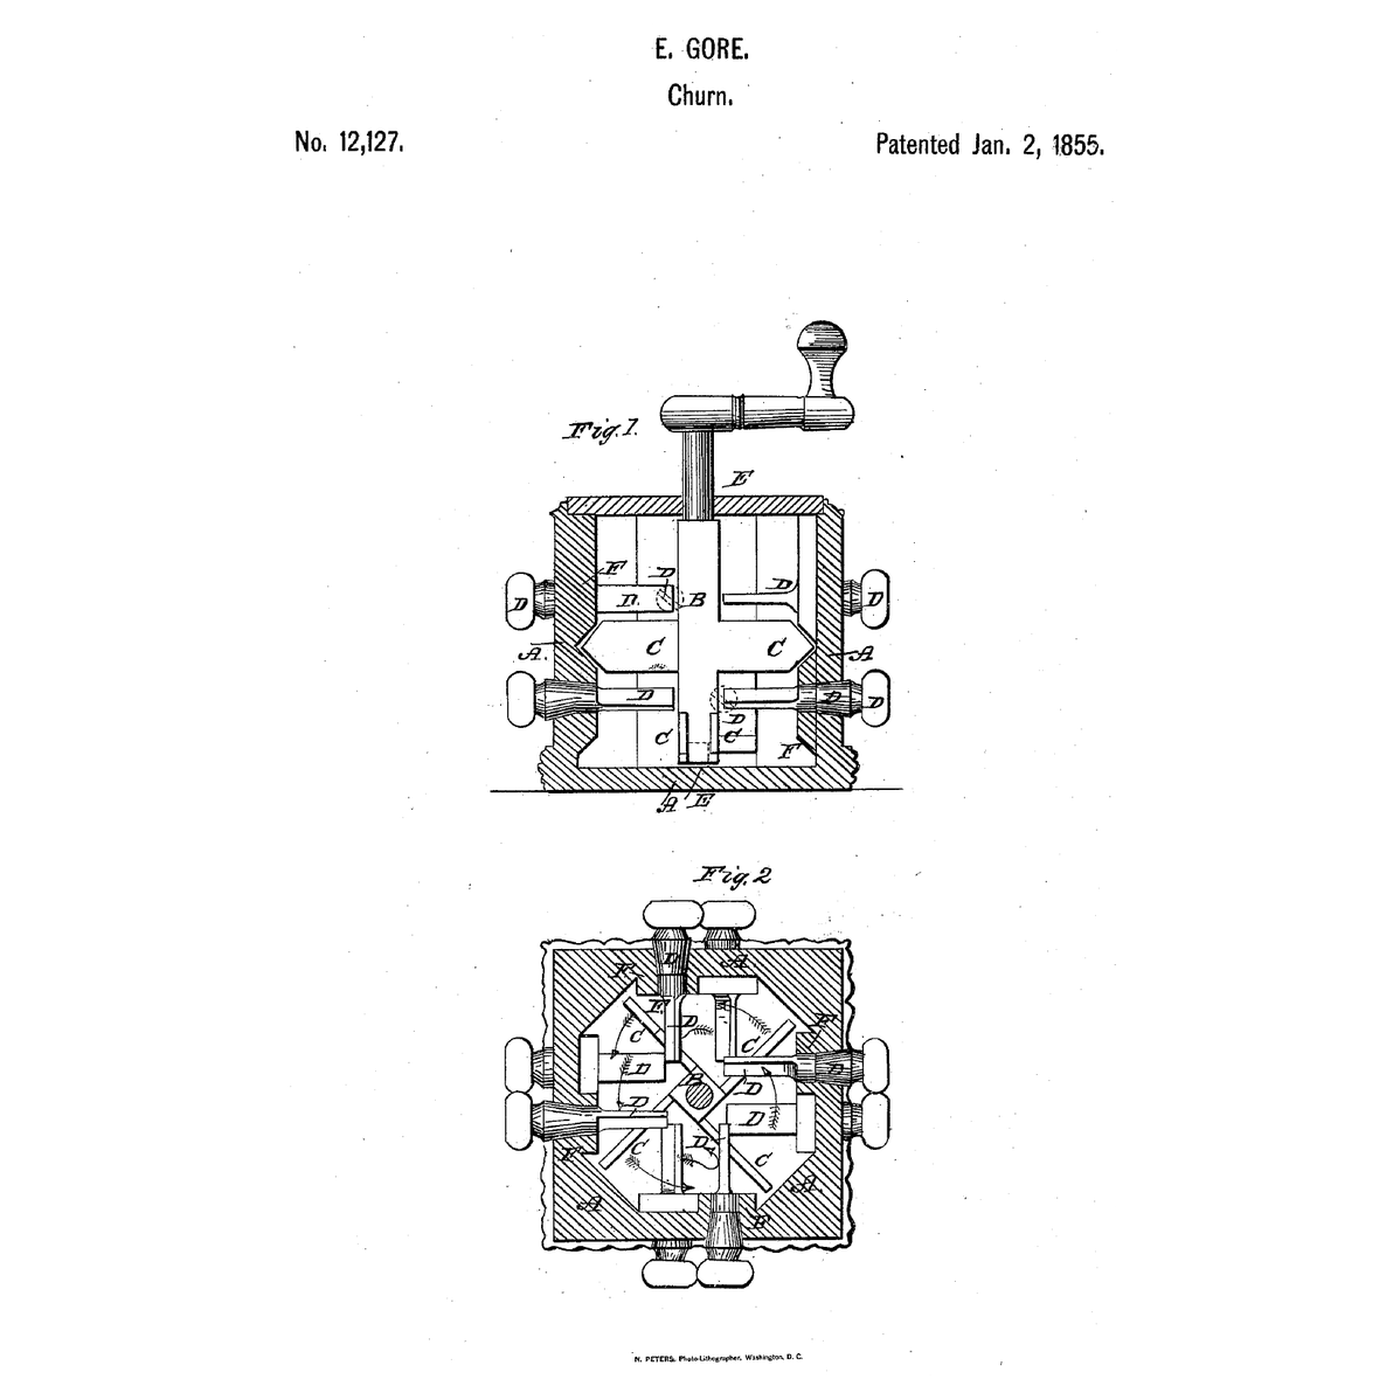


Adjustable-Pin Resistance Churn: Flat-Ended Pins Turned From Outside Set the Churn's Grip
Gore let the maker set, from outside, how hard the cream is worked.
Ezekiel Gore of Bennington, Vermont, received US 12,127, dated 2 January 1855, for a churn whose sides are pierced for "a series of adjustable pins, flattened at their inner extremities, which may be turned by the hand from the exterior of the churn, so as to present a greater or less surface of resistance to the cream." Thick cream gets the pins' edges, thin cream their sides; short ribs on the sides add agitation, and floats on the spindle sweep close past them. He wrote that the pins let the time of churning "be regulated to suit the pleasure of the operator."
This rung compares the pins' areas, then prints the pins, bushings, floats, ribs and step, builds the churn, and makes butter.
Średniozaawansowany
About 4 hours, plus printing
Instrukcje
1
1
Edge or side
Edge or side
Wczytywanie notatnika Jupyter…
2
2
Fixed breakers set for the job, before it
Fixed breakers set for the job, before it
The embedded blueprint lifts its breakers to gather the butter. Gore turns pins from outside to set how much the cream is resisted.
3
3
Read US 12,127
Read US 12,127
"It is manifest that the resisting surface exposed to the moving mass of cream within the churn, will be greater or less according as the flattened ends of the pins D are turned edge wise or side wise. When the cream is thick the pins are turned so that only their edges will oppose the cream. When the latter is thin, then their sides are presented."
4
4
Print the parts
Print the parts
Print eight pins with their flat blades and thumb balls (/uploads/blueprints/adjustable-pin-resistance-churn-pin.stl), eight flanged bushings (/uploads/blueprints/adjustable-pin-resistance-churn-bushing.stl), two float hubs (/uploads/blueprints/adjustable-pin-resistance-churn-float-hub.stl), eight ribs (/uploads/blueprints/adjustable-pin-resistance-churn-rib.stl) and the step (/uploads/blueprints/adjustable-pin-resistance-churn-step.stl). Print the pins on their side. Print in PETG at 0.2 mm layers, 30 % infill, 4 walls; wash before first use.
Materiały do tego kroku:
 Filament PETG1 sztuka
Potrzebne narzędzia:
 Drukarka 3D z filamentem (FDM)
5
5
Case and pins
Case and pins
Use a square food-grade container about 180 mm across and 200 mm deep. Drill 14 mm holes two to a side at two heights, offset from the floats' levels. Seat a bushing in each hole from inside with a leather washer under its flange and food-safe silicone round it. Push a pin through each from inside so its blade stands in the churn and its ball outside; a second leather washer pushed on outside gives the friction that holds its setting.
Materiały do tego kroku:
 Pojemnik do przechowywania klasy spożywczej1 sztuka
 Pasek skórzany1 sztuka
 Uszczelniacz silikonowy1 sztuka
Potrzebne narzędzia:
 Wiertarko-wkrętarka akumulatorowa
 Zestaw otwornic
 Zestaw wierteł
 Papier ścierny
6
6
Ribs, spindle, floats and cover
Ribs, spindle, floats and cover
Seal the ribs upright to the walls between the pins with food-safe silicone. Stand the step in the bottom, a 10 mm square hardwood spindle in it, and slide the two float hubs on at levels that pass just above and below the pins. Cut the lid in half, fix one half with a hole for the spindle, and glue a crank arm and dowel handle on top.
Materiały do tego kroku:
Uszczelniacz silikonowy1 sztuka Kołki z twardego drewna1 sztuka
 Deska sosnowa1 sztuka
 Klej do drewna1 sztuka
Potrzebne narzędzia:
 Piła ręcznaWiertarko-wkrętarka akumulatorowaZestaw wierteł
7
7
The build in 3D
The build in 3D
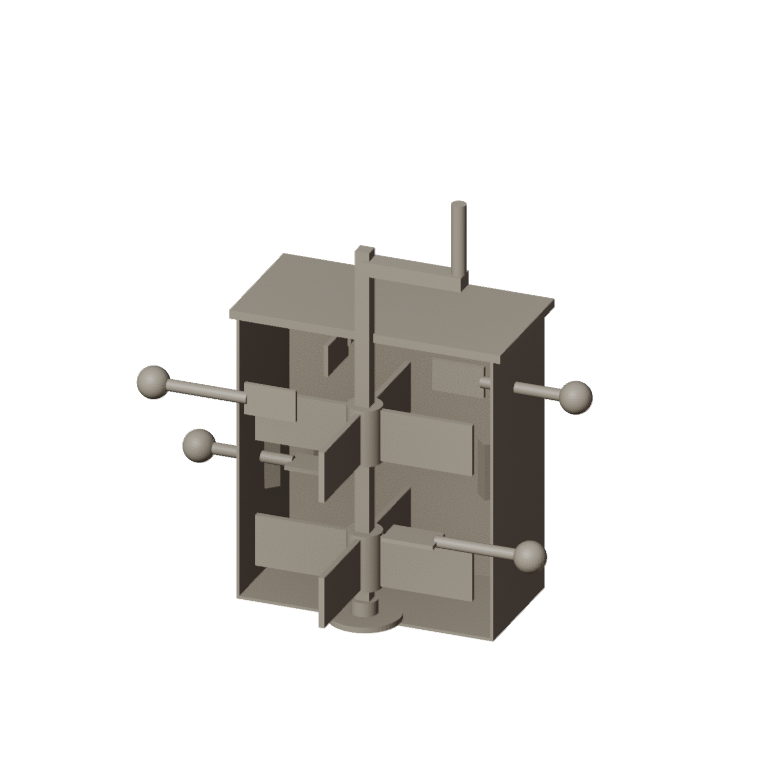
FreeCAD model of this build, not of the patent: the square case cut away to show the spindle with two float hubs, the flat-ended pins at two levels with their thumb balls outside, and the ribs on the walls.
8
8
Set the pins and churn
Set the pins and churn
Let the heavy cream stand until it reaches about 15 °C, checked with the thermometer. Pour in 2 litres. Turn the pins side-on for thin cream or edge-on for thick, and crank steadily; time until the butter comes. Turn the pins edge-on and crank slowly to gather it. Pour off the buttermilk, add cold water, churn a little and pour off again until it runs clear; work in a pinch of salt and weigh the butter.
Materiały do tego kroku:
 Śmietanka kremówka2000 ml
 Sól morska gruboziarnista1 sztuka
 Woda1 sztuka
Potrzebne narzędzia:
 Termometr z sondą pozostawianą w potrawie
 Stoper
 Cyfrowa waga kuchenna
 Duża misa ze stali nierdzewnej
9
9
Pins that turn themselves, a case that drips
Pins that turn themselves, a case that drips
Adjustable-pin churn troubleshooting.
Flow
Loading...
10
10
History and honest limits
History and honest limits
**Ezekiel Gore** of Bennington, Vermont, received US 12,127, dated 2 January 1855 (the drawing sheet reads "E. Gore"). The specification names the spindle B and the floats C, then says the floats are attached "to the spindle C"; the spindle is meant. He said no particular novelty was claimed for the floats, and noted that some held butter made very quickly to be of poorer quality. He claimed making the pins with flat inner ends, turned right or left to present a large or small resisting surface.
**Honest limits.** A container, leather washers and printed parts stand in for his case; the notebook compares areas, not measured forces. FDM prints hold food in their layer lines, so wash well and replace when worn. Your times and weights are the result.
Materiały
10- 1 sztukaZastępnik
- Zastępnik
- 1 sztukaZastępnik
- 2 sztukZastępnik
- 1 sztukaZastępnik
- 1 sztukaZastępnik
- 1 sztukaZastępnik
- 2000 mlZastępnik
- 1 sztukaZastępnik
- 1 sztukaZastępnik
Wymagane narzędzia
10- Zastępnik
- 1 vendor sell this, none ship to you yetZastępnik
- Zastępnik
- Zastępnik
- Zastępnik
- Zastępnik
- Zastępnik
- Zastępnik
- Zastępnik
Pliki projektowe
1Powiązane blueprinty
Te blueprinty dzielą się wiedzą — technikami, materiałami lub zasadami
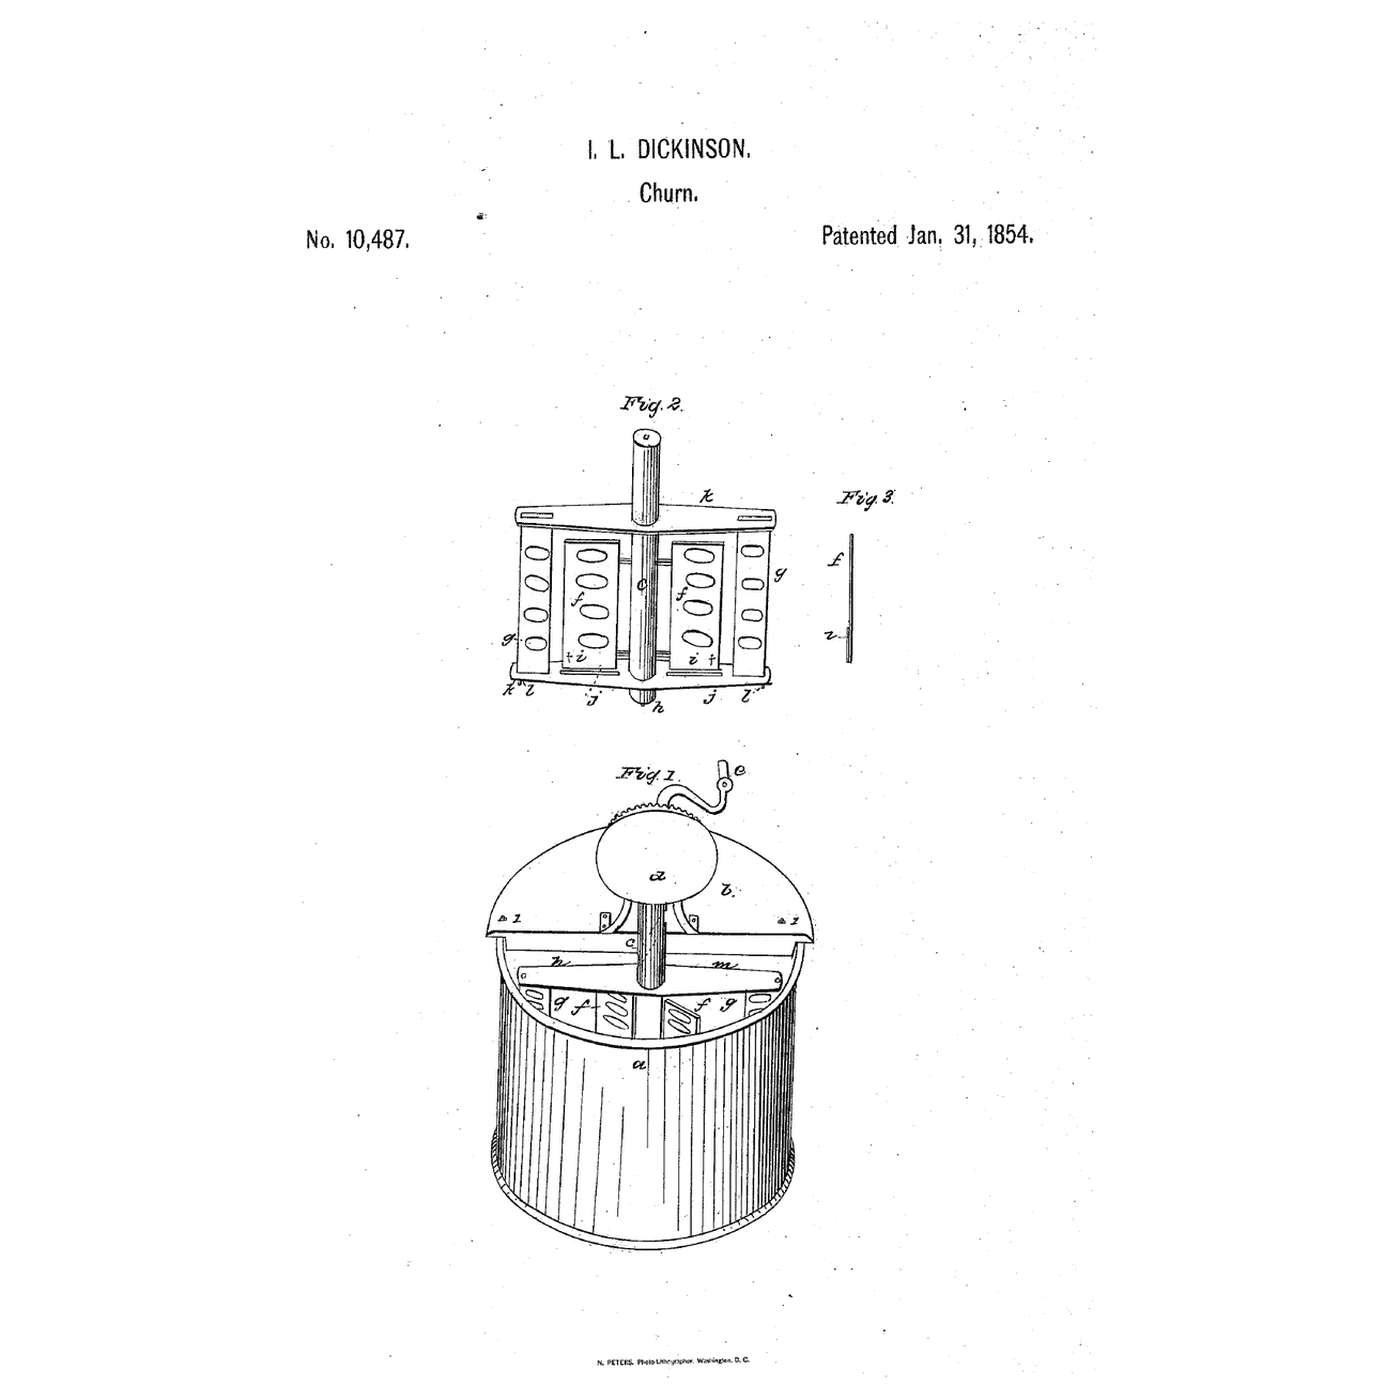
Liftable-Breaker Dasher Churn: Breakers Stand Still to Churn, Then Lift and Turn to Gather
autor: Emma
JEDZENIE I NAPOJE
4
0
0
0
0
0
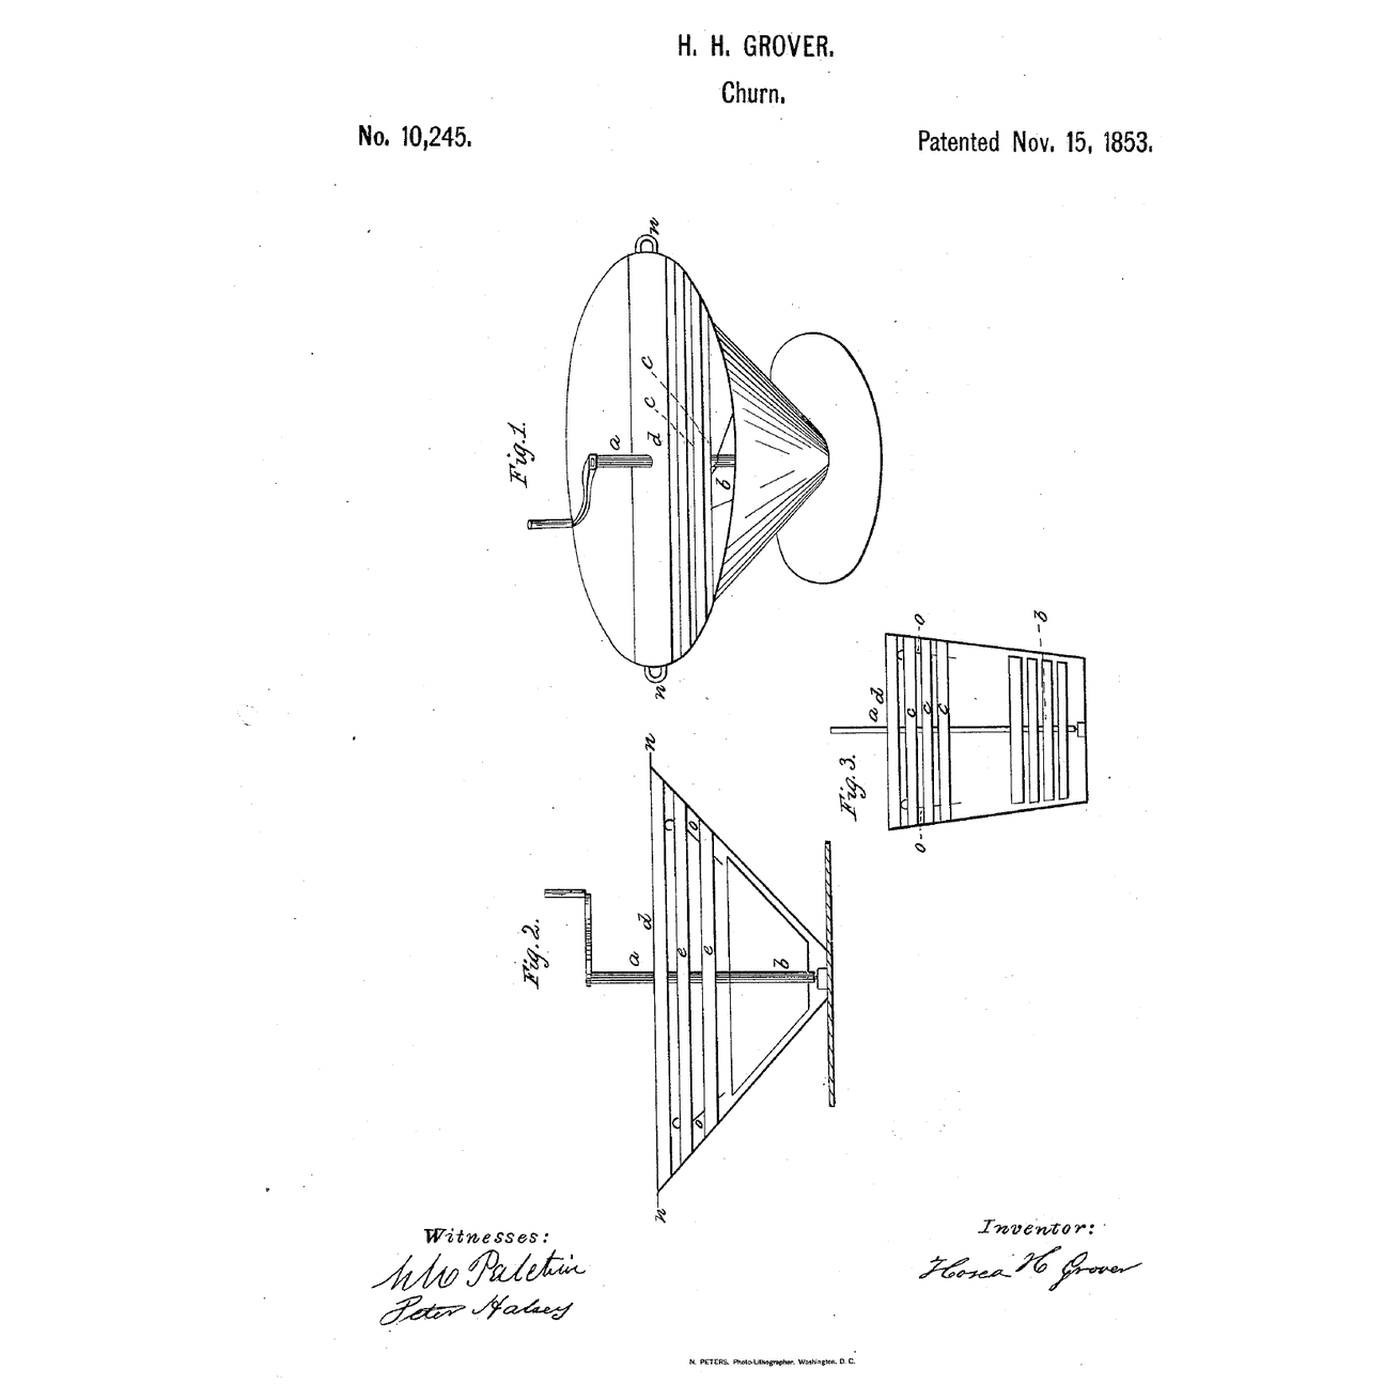
Flaring-Tub Slat-Reactor Churn: The Cream Climbs the Flare and Is Beaten Back by Slats
autor: TheChef
JEDZENIE I NAPOJE
4
0
0
0
0
0

Churning Butter from Cream — The 5,000-Year-Old Fat Separation
autor: TheChef
RZEMIOSŁO
47
0
0
0
0
0
CC0 Domena publiczna
Ten plan jest udostępniany na licencji CC0. Możesz go swobodnie kopiować, modyfikować, rozpowszechniać i wykorzystywać do dowolnych celów, bez konieczności uzyskiwania zgody.
Wesprzyj Makera kupując produkty przez jego plan, za co zarabia Prowizja Makera ustalony przez sprzedawców, lub stwórz nową iterację tego planu i dołącz go jako połączenie w swoim własnym planie, aby dzielić się przychodami.