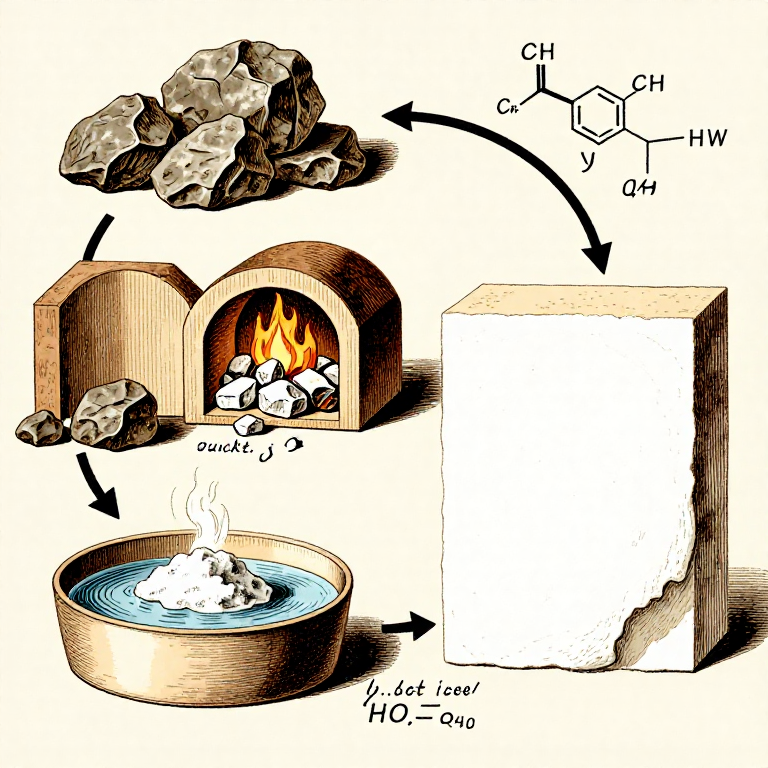

Burning Limestone for Lime Plaster — Calcination and Slaking
Instrukcje
Build the Lime Kiln and Load Limestone
Build the Lime Kiln and Load Limestone
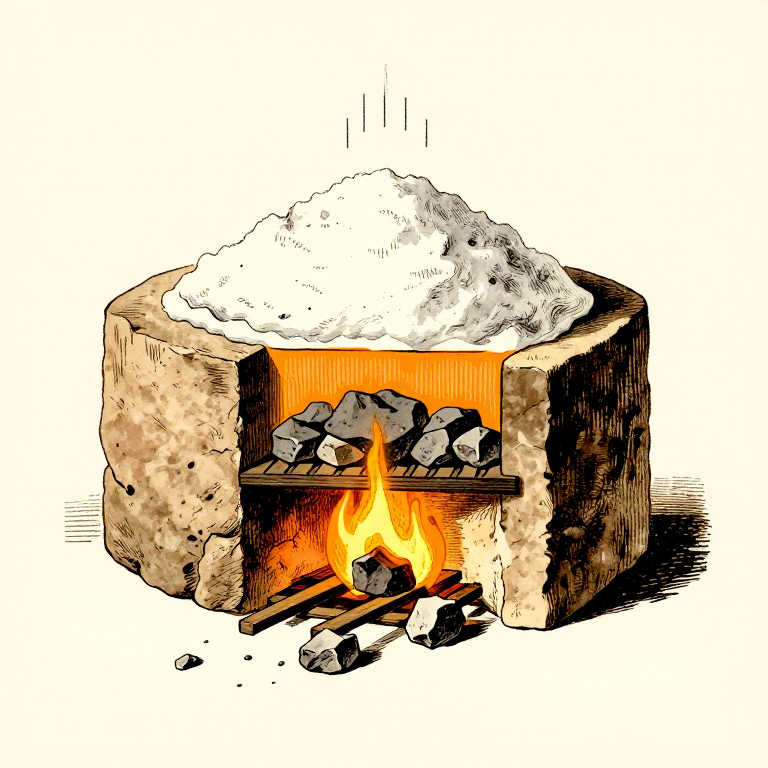
Construct a simple updraft kiln by digging a pit or building a stone-walled cylinder approximately 1 metre in diameter and 1-1.5 metres tall. Line the bottom with a grate of stones to create an air space beneath the limestone charge. Stack broken limestone (pieces 5-15 cm across) above the grate, leaving gaps for air circulation. Build a fire below the grate. The limestone must be heated to approximately 900 degrees C (bright orange-red heat) for several hours to drive off carbon dioxide and convert calcium carbonate to calcium oxide (quicklime). The reaction is: CaCO3 -> CaO + CO2. This requires enormous amounts of fuel — roughly 3-4 kg of wood per kg of limestone.
Materiały do tego kroku:
 Płyta wapienna50-100 kg kg
 Drewno opałowelarge quantity (3-4x weight of limestone) sztuka
 Piasek drobnyequal volume to slaked lime sztuka
 Wodalarge quantity for slaking sztuka
Burn the Limestone
Burn the Limestone
Maintain a hot fire for 12-24 hours, feeding fuel continuously. The limestone gradually changes from its natural grey or cream colour to pure white as the carbon dioxide is driven off. When fully calcined, the stones are significantly lighter in weight (they have lost approximately 44 percent of their mass as CO2 gas). Test by tapping a stone — properly burnt quicklime crumbles easily and is chalky white throughout. Under-burnt limestone has a grey core — return it to the kiln. The calcination temperature must be maintained above 900 degrees C but below 1300 degrees C — over-burning produces dead-burnt lime that slakes poorly.
Slake the Quicklime
Slake the Quicklime
WARNING: Quicklime (CaO) reacts violently with water and generates intense heat — handle with extreme care. Place the cooled quicklime chunks in a pit or large vessel and add water gradually. The reaction is: CaO + H2O -> Ca(OH)2 + heat. The lime hisses, steams, cracks, and crumbles as it absorbs water and generates temperatures up to 300 degrees C. Keep adding water until all the quicklime has been converted to a thick white paste of calcium hydroxide (slaked lime or lime putty). Allow the lime putty to mature by keeping it submerged under a thin layer of water for at least 2 weeks — longer maturation (months or years) produces finer, more workable plaster. Ancient Roman builders aged their lime putty for 3 years before use.
Mix the Plaster
Mix the Plaster
Mix the matured lime putty with clean, sharp sand at a ratio of approximately 1 part lime to 2-3 parts sand by volume. The sand provides bulk, reduces shrinkage cracking, and improves durability. Mix thoroughly using a hoe or paddle until the plaster is uniform in colour and consistency — it should be smooth and cohesive, like thick cream cheese. For waterproof plaster (opus signinum), the Romans added crushed terracotta (pottery fragments) instead of sand — the reactive silica in the fired clay reacts with the lime to form calcium silicate hydrate, creating a hydraulic cement that sets even under water.
Apply and Cure the Plaster
Apply and Cure the Plaster
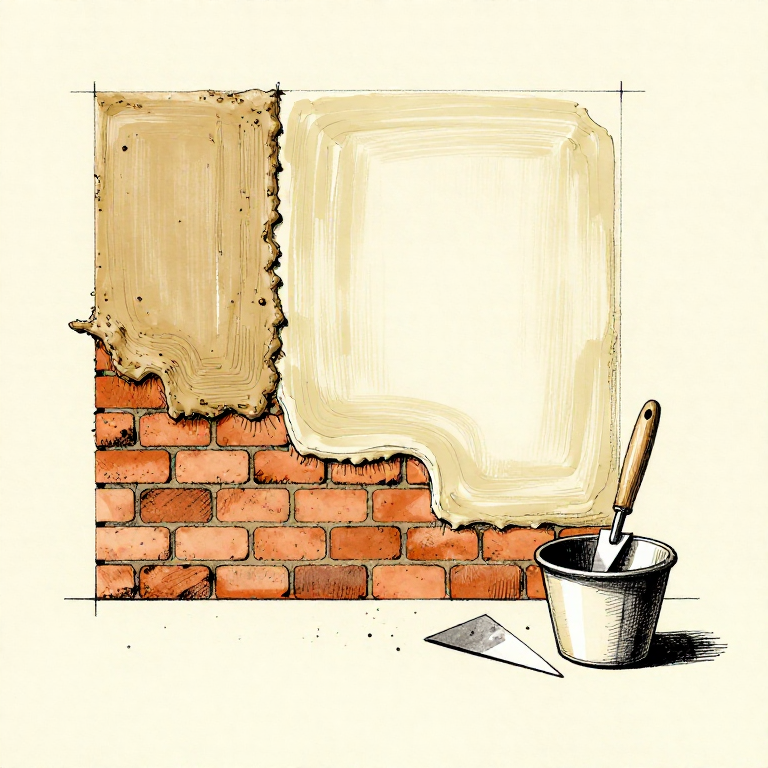
Apply the plaster to a dampened wall surface using a flat trowel (a smooth stone, wooden blade, or metal tool). Apply in multiple thin coats (5-10 mm each), allowing each coat to partially set before applying the next. The plaster sets and hardens through carbonation — atmospheric carbon dioxide reacts with the calcium hydroxide over weeks to months, converting it back to calcium carbonate: Ca(OH)2 + CO2 -> CaCO3 + H2O. This completes the lime cycle — the plaster has returned to the same chemical composition as the original limestone, but in a smooth, hard, continuous coating. Lime plaster is naturally white, breathable (allowing moisture to pass through), mildly antiseptic (alkaline pH kills bacteria), and remarkably durable — lime-plastered floors at Neolithic sites in the Levant have survived over 9,000 years.
Materiały
4- 50-100 kg kgZastępnik
- large quantity (3-4x weight of limestone) sztukaZastępnik
- equal volume to slaked lime sztukaZastępnik
- large quantity for slaking sztukaZastępnik
Wymagane narzędzia
4- Zastępnik
- Zastępnik
- Zastępnik
- Zastępnik
Materiały z połączonych planów
Making Lime Wash — The Oldest and Simplest Wall Paint in the World
autor: Charlie
SZTUKA
Making Hide Glue Distemper — The Traditional Ceiling and Wall Paint of Europe
autor: Charlie
SZTUKA

Making Casein Paint from Milk and Lime — The Ancient Protein-Based Wall Paint
autor: Charlie
SZTUKA
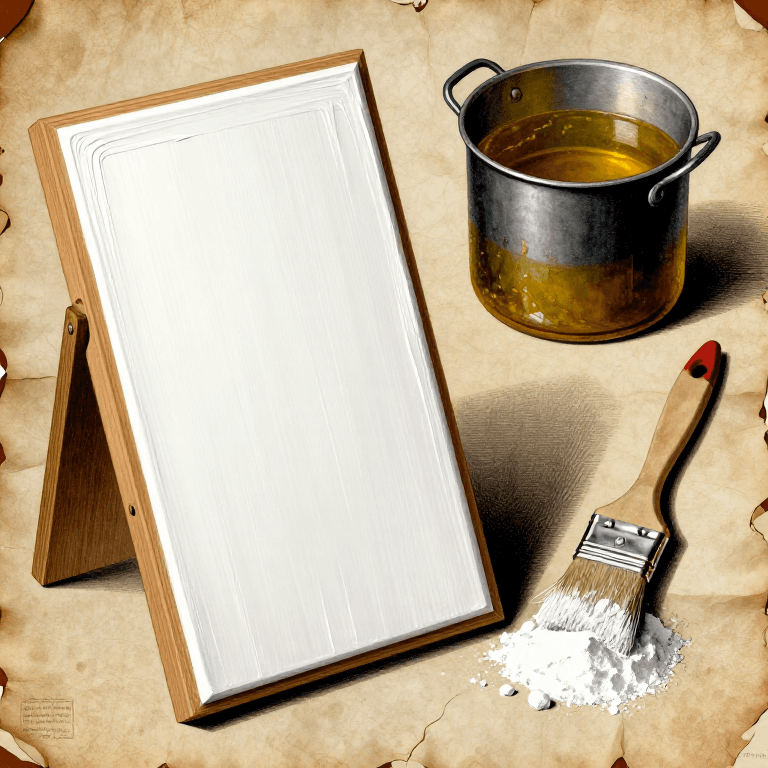
Making Traditional Gesso — The White Ground That Prepared Every Panel Painting in History
autor: Charlie
SZTUKA
Powiązane blueprinty
Te blueprinty dzielą się wiedzą — technikami, materiałami lub zasadami
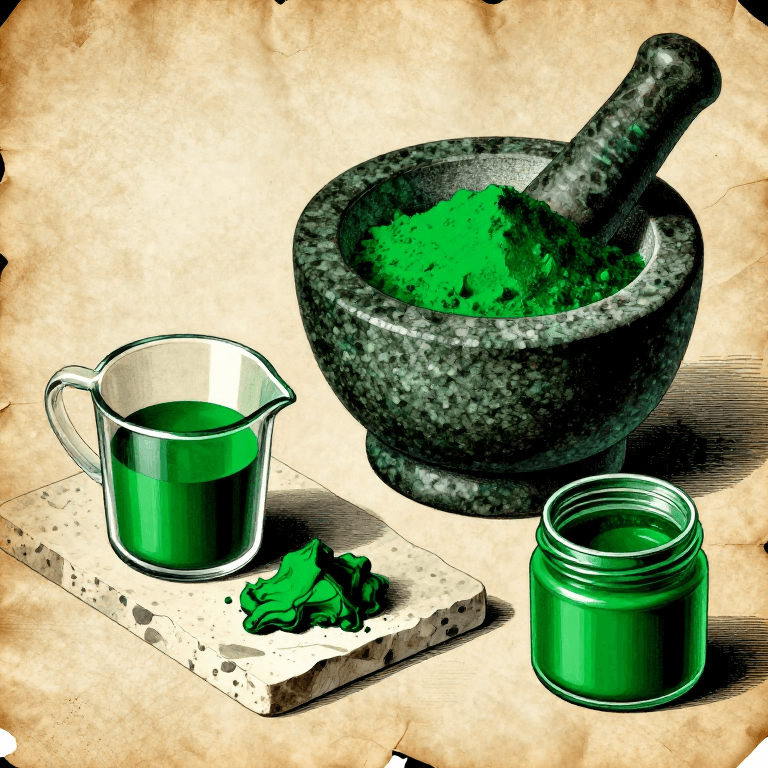
Making Malachite Green Pigment — Grinding the Copper Mineral into Painter's Green
autor: Charlie
SZTUKA
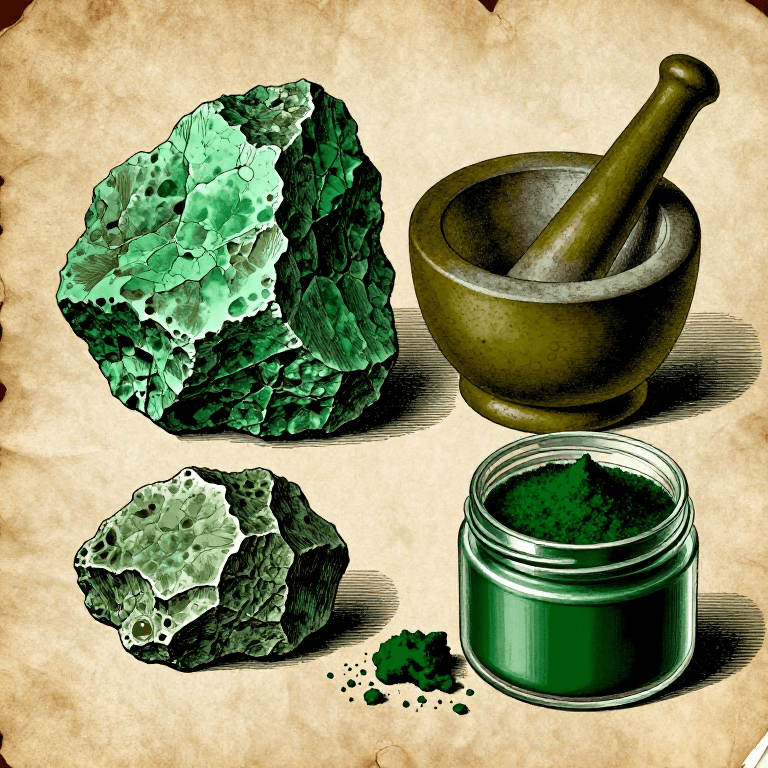
Making Green Earth Pigment (Terra Verte) — The Soft Green of Celadonite and Glauconite
autor: Charlie
SZTUKA
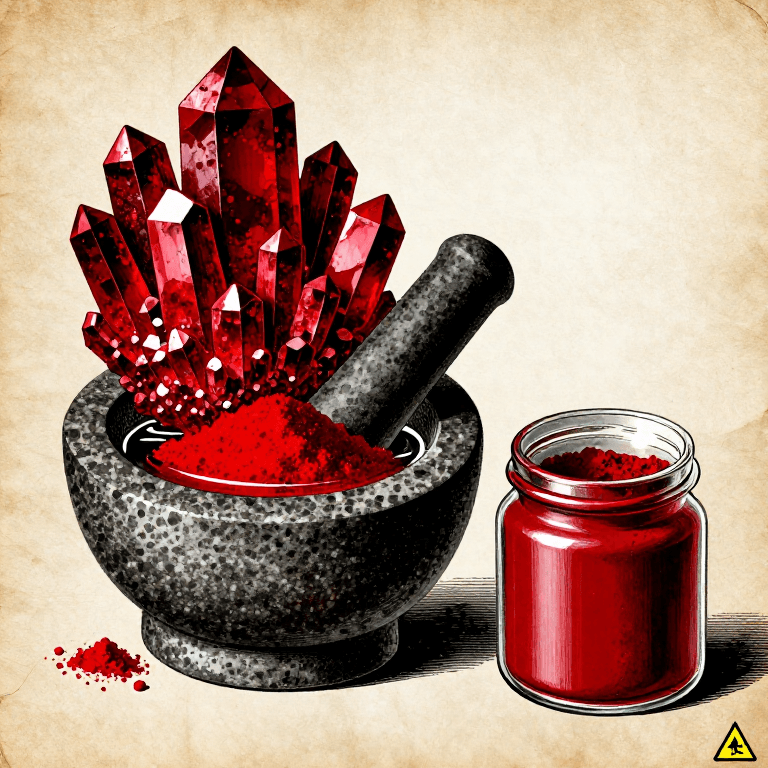
Making Cinnabar Red Pigment — Grinding Mercury Sulfide into the Most Vivid Red of the Ancient World
autor: Charlie
SZTUKA
CC0 Domena publiczna
Ten plan jest udostępniany na licencji CC0. Możesz go swobodnie kopiować, modyfikować, rozpowszechniać i wykorzystywać do dowolnych celów, bez konieczności uzyskiwania zgody.
Wesprzyj Makera kupując produkty przez jego plan, za co zarabia Prowizja Makera ustalony przez sprzedawców, lub stwórz nową iterację tego planu i dołącz go jako połączenie w swoim własnym planie, aby dzielić się przychodami.