Współpraca
SZTUKA
Piękno i dobre samopoczucie
RZEMIOSŁO
KULTURA I HISTORIA
ROZRYWKA
ŚRODOWISKO
JEDZENIE I NAPOJE
INŻYNIERIA ODWROTNA
NAUKI
LEKKOATLETYKA
TECHNOLOGIA
URZĄDZENIA DO NOSZENIA
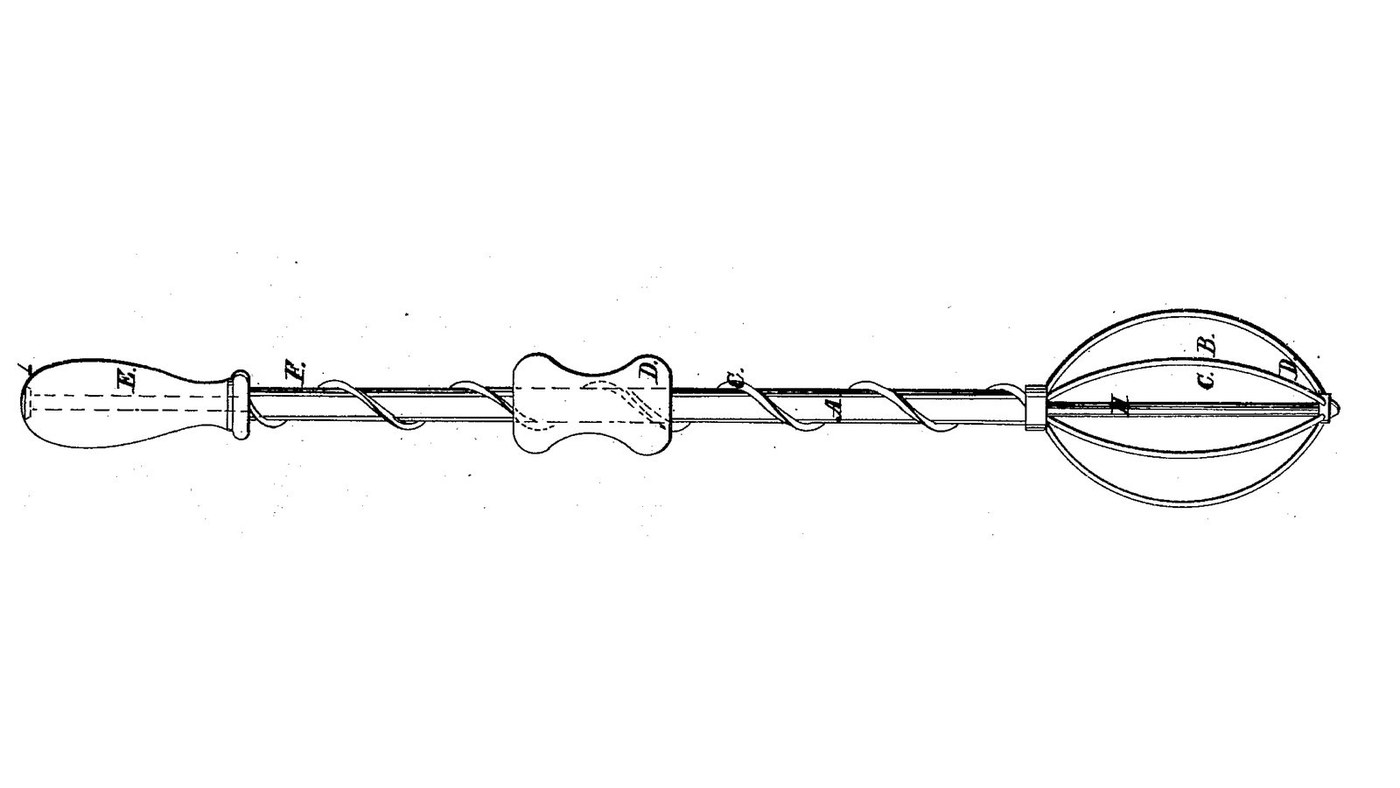


Screw-and-Nut Egg Beater: Slide a Nut Along a Spiral on the Shaft and the Wire Beater Spins Back and Forth
Frederick Ashley of New York received US 28,047, dated 1 May 1860, for an egg beater. A shaft with a spiral thread wound round it ends in a cage of beating wires. Hold the handle in one hand and slide the nut up and down the thread with the other: the shaft spins one way, then the other, and the wires beat the eggs. He adds that it can churn cream to butter or stir ice cream as it freezes.
The patent gives no sizes; every size here is ours.
Początkujący
About 3 hours, plus printing
Instrukcje
1
1
A push becomes a spin
A push becomes a spin
Wczytywanie notatnika Jupyter…
2
2
A hand-worked egg beater, the year before
A hand-worked egg beater, the year before
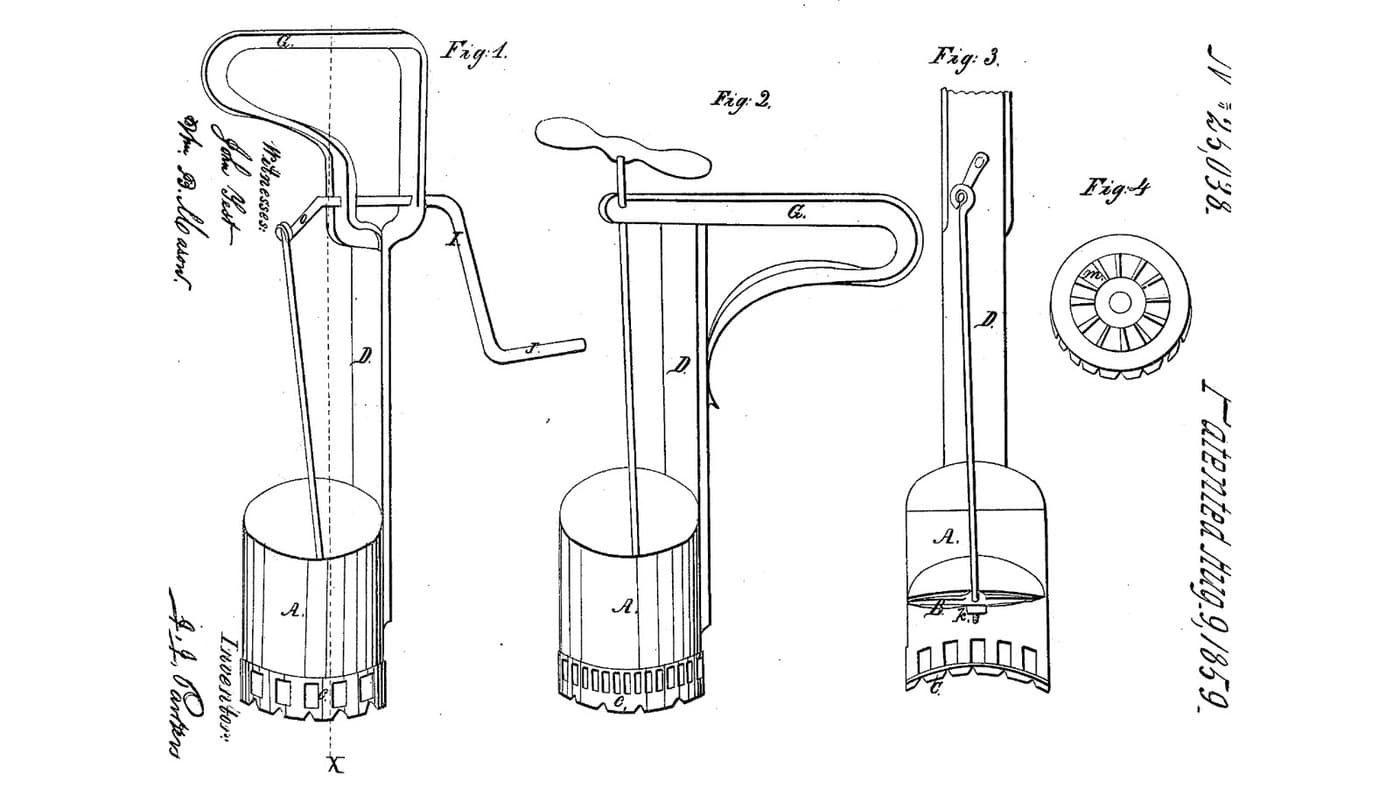
Parker pumps the eggs through a grate. Ashley spins a cage of wires through them.
3
3
Read US 28,047
Read US 28,047
"The lower end of the shaft A is placed in the dish or vessel containing the eggs to be beaten; the handle E is taken hold of by one hand of the operator, and the nut D by the other. The nut D is then moved up and down alternately, giving to the beating wires B a rapid motion forward and back, until the eggs are thoroughly “beat” or broken and mixed."
4
4
Print the nut D
Print the nut D
Nut 32 mm across and 40 long, bored 8.8 mm, with a helical slot at 80 mm pitch for the 3 mm thread. PETG, 0.2 mm layers, 100 % infill.
5
5
Print the wire hub
Print the wire hub
Hub 20 mm across and 15 long, bored 8.4 mm, with six holes for the wire bows. PETG, 0.2 mm layers, 100 % infill.
6
6
Print the foot cap
Print the foot cap
Cap 16 mm across and 10 tall, bored 8.4 mm, 4 deep, with six holes for the wire bows' lower ends. PETG, 0.2 mm layers, 100 % infill.
7
7
Shaft A and thread C
Shaft A and thread C
Cut 330 mm of 8 mm stainless rod and round its ends with the file. Wind 3 mm stainless wire tightly round it, two full turns spread evenly from 120 to 280 mm above its foot (80 mm a turn), and bend each end of the wire into a small hole drilled in the rod so it cannot slip.
Materiały do tego kroku:
 Pręt ze stali nierdzewnej1 sztuka
 Drut ze stali nierdzewnej1 sztuka
Potrzebne narzędzia:
 Piła do metalu
 Pilniki (pilnik ręczny)
 Imadło warsztatowe
 Szczypce okrągłe
 Wiertarko-wkrętarka akumulatorowa
 Zestaw wierteł
8
8
Beating wires B
Beating wires B
Bend six bows of 1.6 mm stainless wire, each reaching 35 mm out from the shaft and 80 mm long. Push the hub onto the shaft 80 mm above its foot and the cap onto its foot, and set each bow's ends in the hub's and cap's holes, 60 degrees apart; pin the hub and cap to the rod each with a short piece of wire through a drilled hole.
Materiały do tego kroku:
Drut ze stali nierdzewnej1 sztuka Filament PETG1 sztuka
Potrzebne narzędzia:
 Drukarka 3D z filamentem (FDM)Szczypce okrągłeWiertarko-wkrętarka akumulatorowaZestaw wierteł
9
9
Nut D, collar and handle E
Nut D, collar and handle E
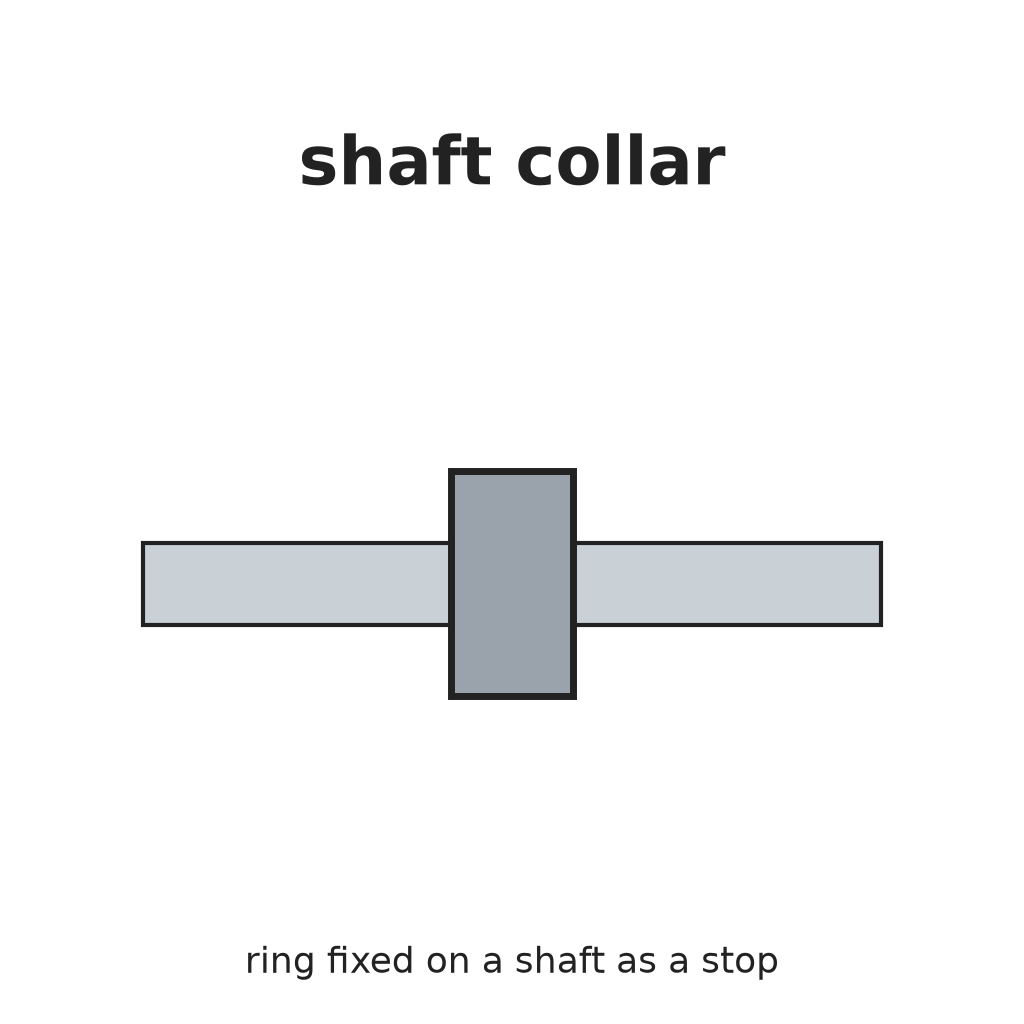
Thread the nut onto the shaft from the top, turning it to follow the wire. Fit a shaft collar 300 mm above the foot, and a hardwood handle 30 mm across and 95 long bored 8.6 mm on the top above it, so the shaft turns freely in the handle.
Materiały do tego kroku:
 Shaft Collar1 sztuka
 Kołki z twardego drewna1 sztuka
Potrzebne narzędzia:
Wiertarko-wkrętarka akumulatorowaZestaw wierteł Papier ścierny
10
10
The build in 3D
The build in 3D
FreeCAD model of this build: the shaft A with the wire thread C, the nut D on it, the collar and handle E, and the six bows of the beating wires B between the hub and the foot cap.
11
11
Beat eggs
Beat eggs
Break four eggs into a bowl. Stand the beater's foot in them, hold the handle in one hand and slide the nut up and down the thread with the other, timing it, until the yolks and whites are evenly mixed.
Materiały do tego kroku:
 Jajo4 sztuk
Potrzebne narzędzia:
 Miska szklana
 Stoper
12
12
Troubleshooting
Troubleshooting
Screw egg beater troubleshooting.
Flow
Loading...
13
13
History and honest limits
History and honest limits
**Frederick Ashley** of New York, US 28,047, 1 May 1860, "Egg-Beater". He claimed the beating wires with the screw-threaded shaft and nut, and noted it could be applied to churning cream or freezing ice cream, or fixed to a churn with its beaters in two sections turning contrary ways. Every size here is ours, and our nut and hub are printed.
Materiały
6- 1 sztukaZastępnik
- 2 sztukZastępnik
- 1 sztukaZastępnik
- 1 sztukaZastępnik
- 1 sztukaZastępnik
- 4 sztukZastępnik
Wymagane narzędzia
10- Zastępnik
- Zastępnik
- Zastępnik
- Zastępnik
- 1 vendor sell this, none ship to you yetZastępnik
- Zastępnik
- Zastępnik
- Zastępnik
- Zastępnik
- Zastępnik
Pliki projektowe
4Według tego planu powstaje

Powiązane blueprinty
Te blueprinty dzielą się wiedzą — technikami, materiałami lub zasadami

CC0 Domena publiczna
Ten plan jest udostępniany na licencji CC0. Możesz go swobodnie kopiować, modyfikować, rozpowszechniać i wykorzystywać do dowolnych celów, bez konieczności uzyskiwania zgody.
Wesprzyj Makera kupując produkty przez jego plan, za co zarabia Prowizja Makera ustalony przez sprzedawców, lub stwórz nową iterację tego planu i dołącz go jako połączenie w swoim własnym planie, aby dzielić się przychodami.