SZTUKA
Piękno i dobre samopoczucie
RZEMIOSŁO
KULTURA I HISTORIA
ROZRYWKA
ŚRODOWISKO
JEDZENIE I NAPOJE
INŻYNIERIA ODWROTNA
NAUKI
LEKKOATLETYKA
TECHNOLOGIA
URZĄDZENIA DO NOSZENIA
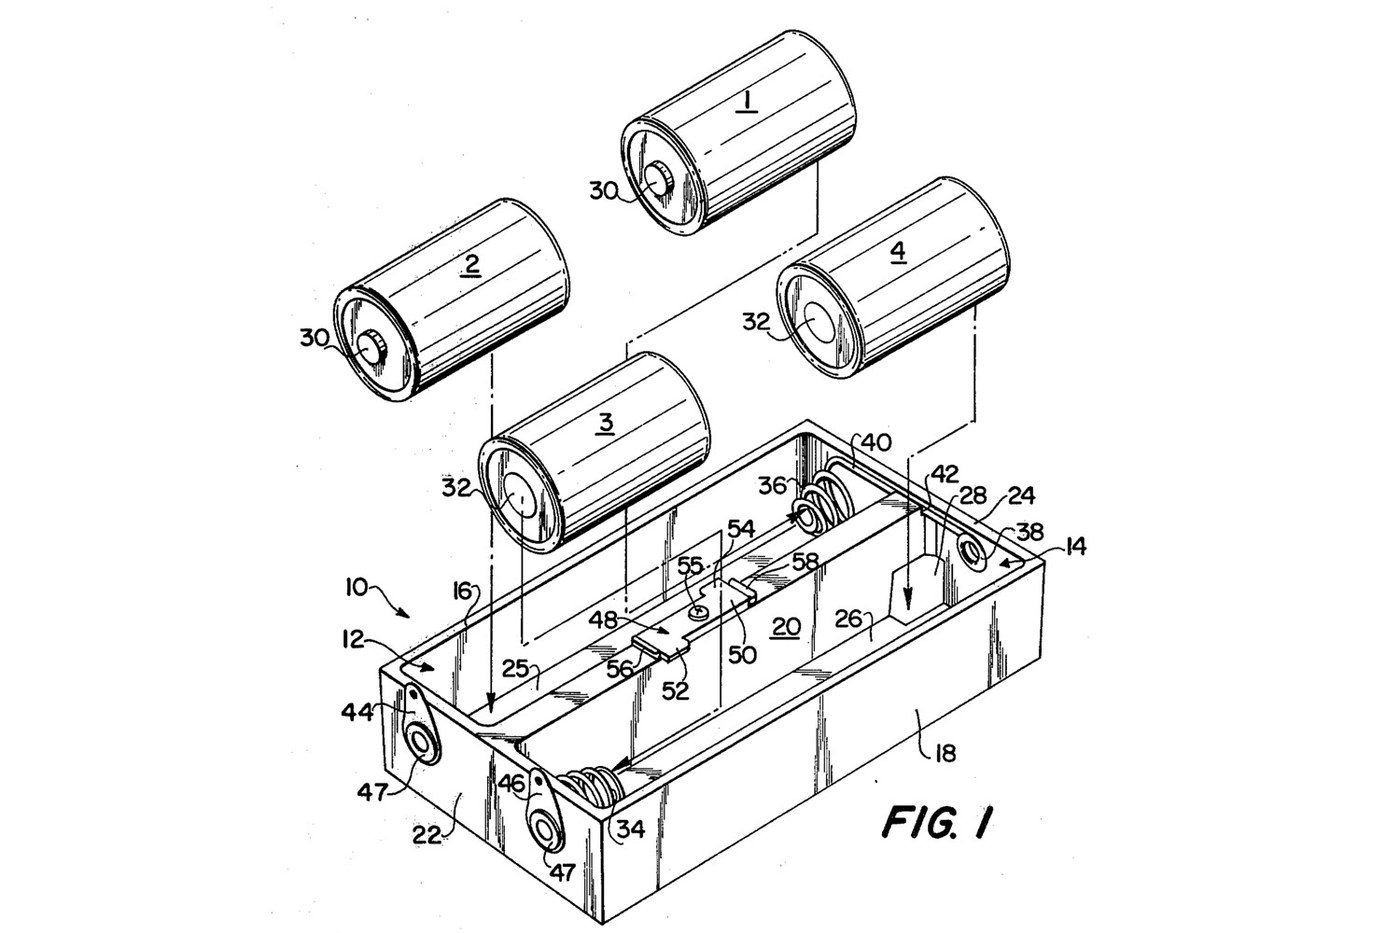


Battery Holder: Four C Cells in Two Sprung Compartments with a Z-Shaped Retainer (Lund 1979)
A tray for four C cells in series, made for an instrument that gets knocked about. Each compartment holds two cells end to end, pressed together by a cone-shaped coil spring. The cells can shift a little under a blow and spring back without losing contact. A small Z-shaped retainer holds down one cell in each row and still lets every cell be taken out.
Source: John Lund, US 4,161,568 (Schonstedt Instrument Co., 1979), with all sizes. Unknown: the plastic, the metals and the spring wire size. Lund names none of them, and nothing makes a self-tapping screw yet, so these are linked to unknown heads. The tools are ours. Picture: the patent's Fig. 1.
Średniozaawansowany
1 day
Instrukcje
1
1
Mould the tray
Mould the tray
Mould a tray 4.325 × 2.500 × 0.875 in (109.9 × 63.5 × 22.2 mm) with two parallel open-top compartments, each 4.125 in long, 1.025 in wide and 0.800 in deep inside (104.8 × 26.0 × 20.3 mm). The middle wall is 0.300 in (7.6 mm) thick, with a notch at one end. Mould two small abutments on the middle wall, 1.000 in (25.4 mm) apart. Unknown: the plastic.
Materiały do tego kroku:
 Nieznany materiał izolacyjny1 as required
Potrzebne narzędzia:
 Forma do prasowania tłocznego
 Suwmiarka
2
2
Wind the two spring contacts
Wind the two spring contacts
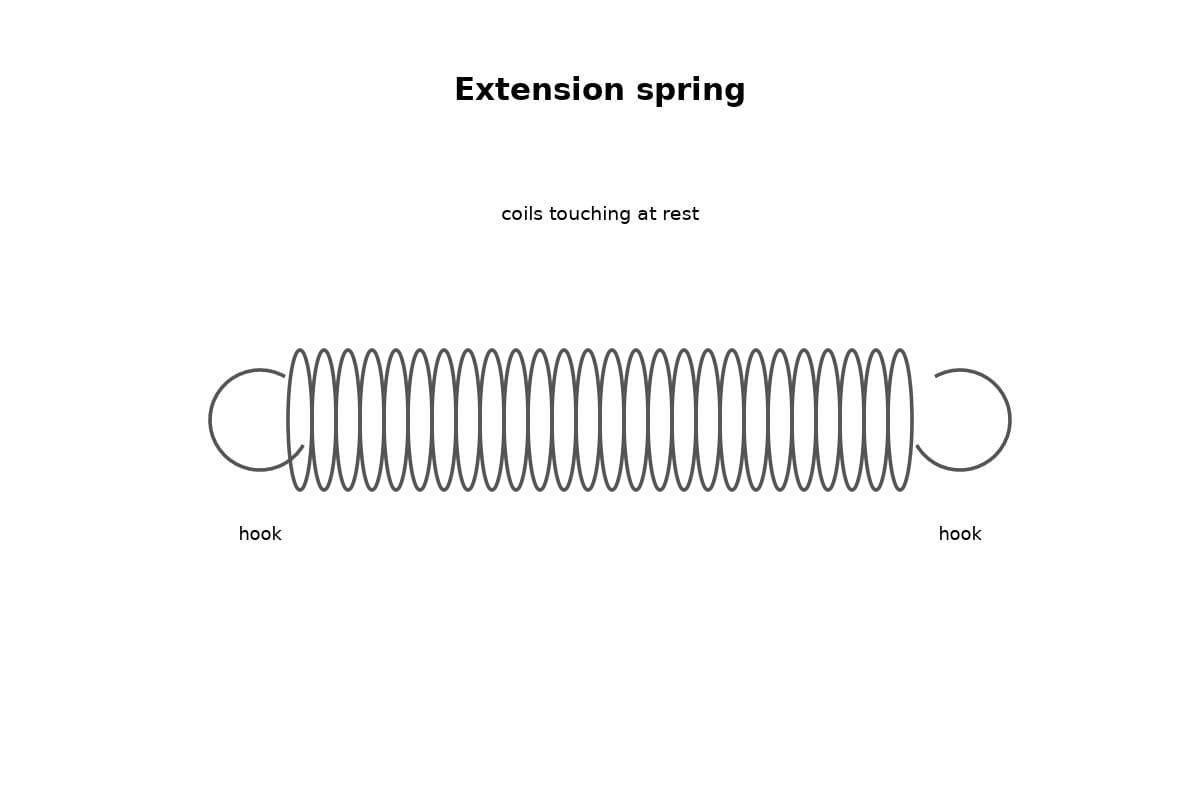
Wind two cone-shaped coil springs: 0.562 in (14.3 mm) outside diameter at the large end, 0.312 in (7.9 mm) inside at the small end, 1/2 in (12.7 mm) long free, closing to 1/8 in (3.2 mm). Each has three active turns, and the end turns are wound flat. Leave one spring with a long straight tail. Unknown: the metal and the wire size.
Materiały do tego kroku:
 Nieznany metal1 as required
Potrzebne narzędzia:
 Szczypce okrągłe
 Szczypce płaskieSuwmiarka
3
3
Fit the contacts and terminals
Fit the contacts and terminals
Put one spring at the far end of the first compartment, with its straight tail, and the other at the near end of the second. Set an eyelet contact in the end wall opposite each spring. Run the tail through the notch in the middle wall to the eyelet contact at the far end of the second compartment. Fix two terminals to the near end wall with eyelets, each holding its contact.
Materiały do tego kroku:
Nieznany metal1 as requiredPotrzebne narzędzia:
 Nożyce do blachySzczypce płaskie
 Pilniki ręczne
4
4
Make and fix the retainer
Make and fix the retainer
Cut a flat Z-shaped retainer of plastic, 0.062 in (1.6 mm) thick and 0.980 in (24.9 mm) long. It is 0.430 in (10.9 mm) wide at each branched end. Each branch sticks out 0.130 in (3.3 mm) from the stem and runs 0.365 in (9.3 mm) along it. Screw it with a single self-tapping screw through the middle of the stem onto the top of the middle wall, between the abutments, so it cannot turn. Each branch reaches over one compartment.
Materiały do tego kroku:
Nieznany materiał izolacyjny1 as required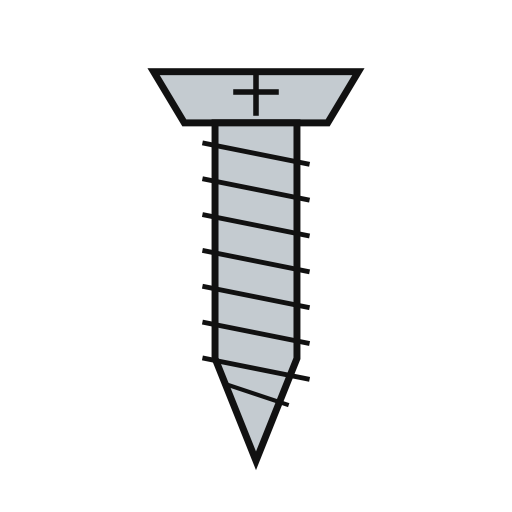 Wkręt samogwintujący1 pc
Potrzebne narzędzia:
Nożyce do blachyPilniki ręczne Zestaw wkrętakówSuwmiarka
5
5
Wire it
Wire it
Solder lead wires to the two terminals. With the cells in, the four make one series supply between these terminals.
Materiały do tego kroku:
 Przewód montażowy1 as required
 Drut lutowniczy1 as required
Potrzebne narzędzia:
 Lutownica
6
6
Load the cells
Load the cells
Put cell 1 into the free end of the first compartment, slide it along under the retainer until it meets the spring, then drop cell 2 in behind it, pressing the spring a little. Load the second compartment from its other end the same way. To unload, lift out the two free cells, then slide the held cells along into their places and lift them out. Ours: check the voltage across the terminals with a meter.
Potrzebne narzędzia:
 Multimetr
Materiały
5- 1 as requiredZastępnik
- 1 as requiredZastępnik
- Zastępnik
- 1 as requiredZastępnik
- 1 as requiredZastępnik
Wymagane narzędzia
9- Zastępnik
- Zastępnik
- Zastępnik
- Zastępnik
- Zastępnik
- Zastępnik
- Zastępnik
- 2 vendors sell this, none ship to you yetZastępnik
- Zastępnik
Według tego planu powstaje

Powiązane blueprinty
Te blueprinty dzielą się wiedzą — technikami, materiałami lub zasadami
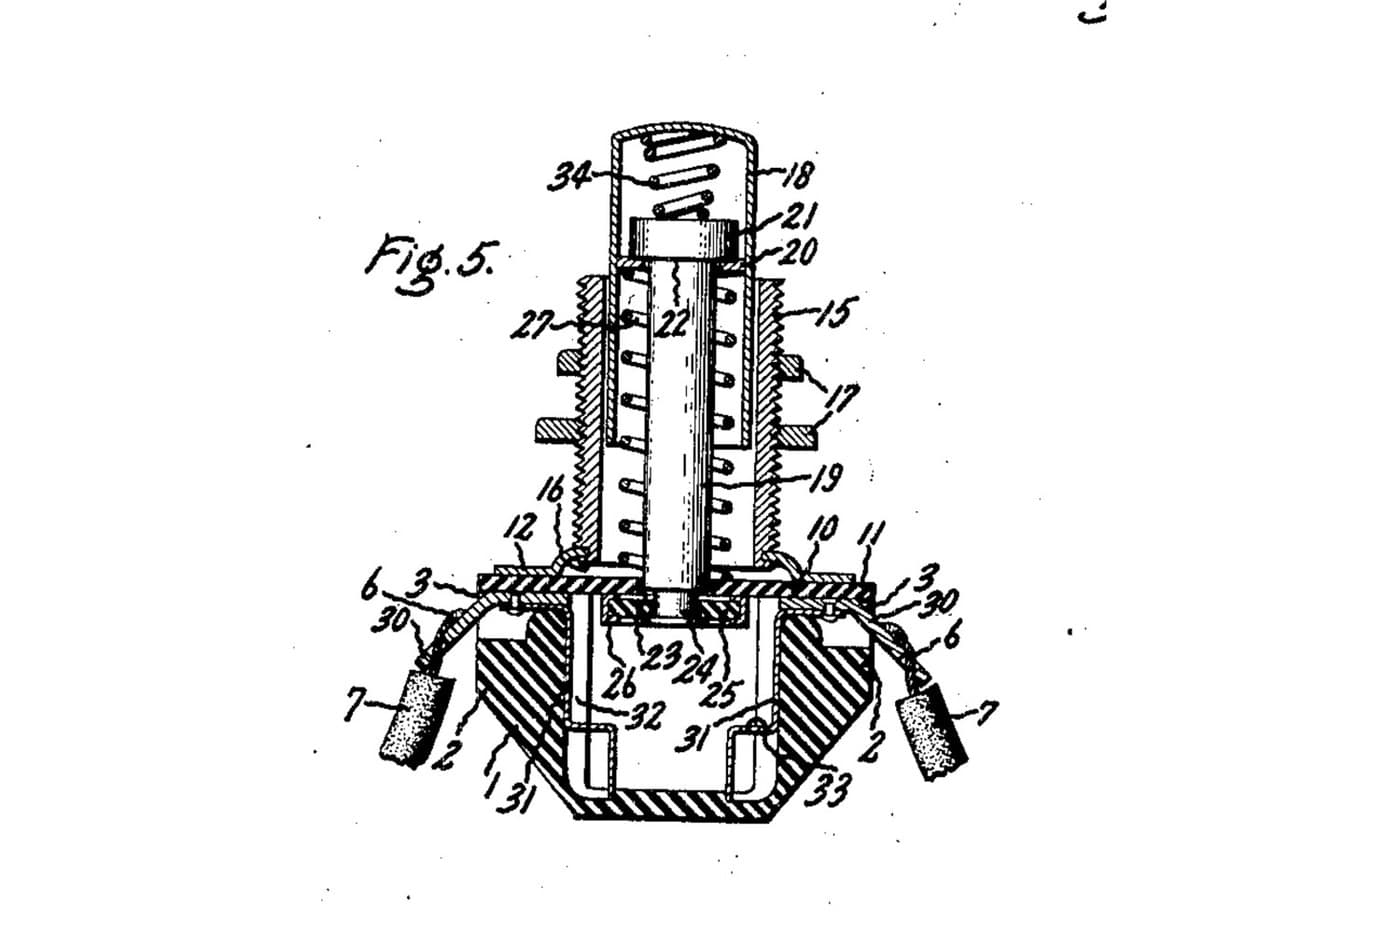

CC0 Domena publiczna
Ten plan jest udostępniany na licencji CC0. Możesz go swobodnie kopiować, modyfikować, rozpowszechniać i wykorzystywać do dowolnych celów, bez konieczności uzyskiwania zgody.
Wesprzyj Makera kupując produkty przez jego plan, za co zarabia Prowizja Makera ustalony przez sprzedawców, lub stwórz nową iterację tego planu i dołącz go jako połączenie w swoim własnym planie, aby dzielić się przychodami.