
SZTUKA
Piękno i dobre samopoczucie
RZEMIOSŁO
KULTURA I HISTORIA
ROZRYWKA
ŚRODOWISKO
JEDZENIE I NAPOJE
INŻYNIERIA ODWROTNA
NAUKI
LEKKOATLETYKA
TECHNOLOGIA
URZĄDZENIA DO NOSZENIA
Push Button: Normally Open Momentary Switch with a Cushioned Contact (De Reamer, GE 1939)
Ed

Autor

Ed

28. październik 2026FI
1
0
0
0
0

Push Button: Normally Open Momentary Switch with a Cushioned Contact (De Reamer, GE 1939)

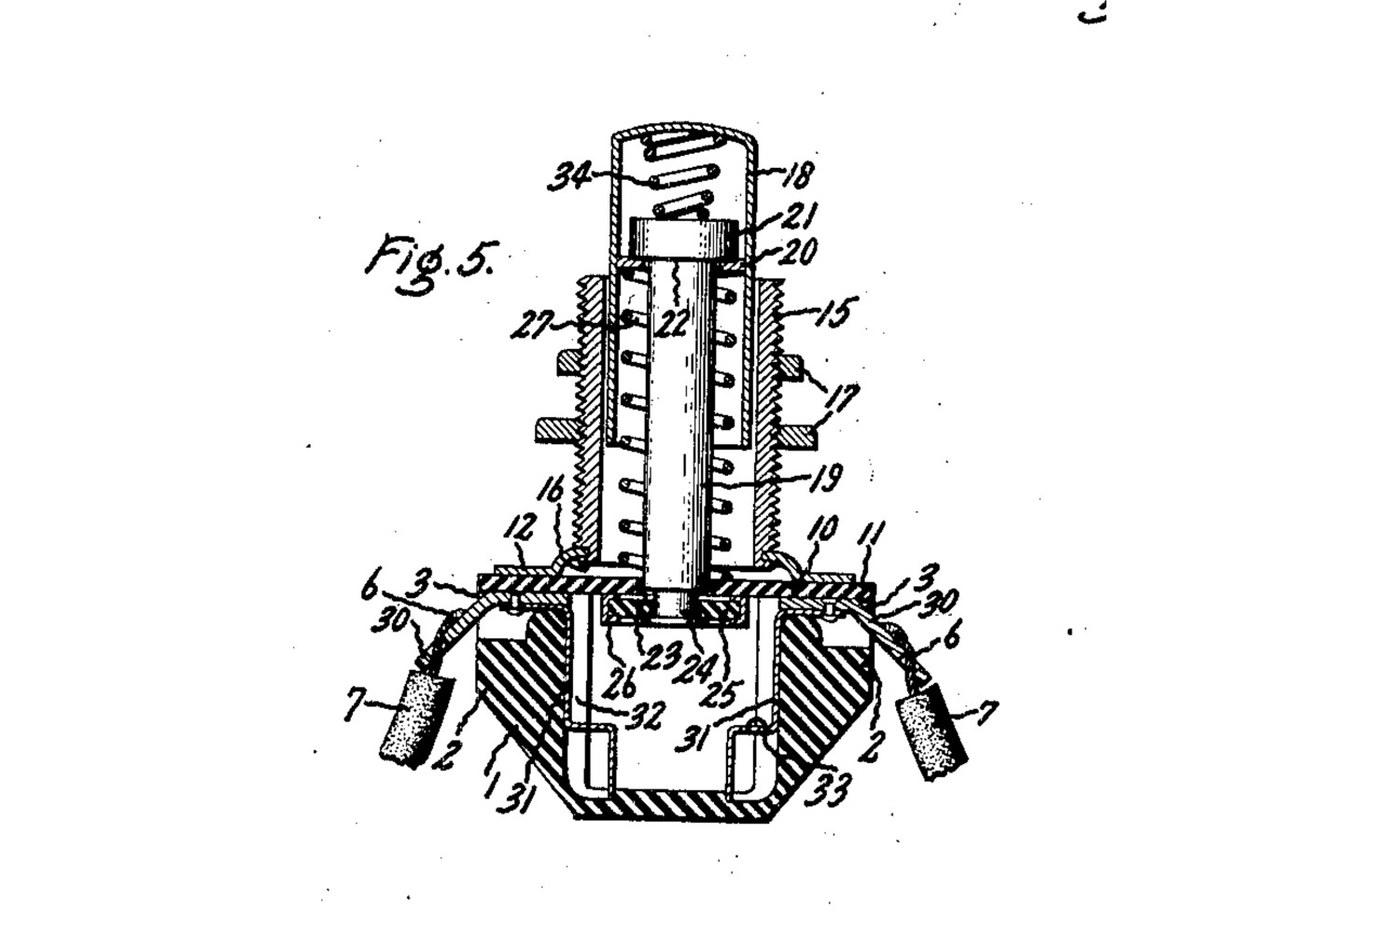
A panel push button that closes a circuit only while you press it. A spring holds the button out, and a metal rim on the end of its rod sits clear of two contacts. Press it and the rim bridges both contacts. A second spring inside the button lets the rod give, so the contacts never take more than that spring's force. Source: Frank C. De Reamer, US 2,166,803 (General Electric, 1939), Fig. 5. Unknown: the insulating material, the metals and every size. De Reamer gives none of them, so they are linked to unknown heads. The tools are ours. Picture: the patent's Fig. 5.
Zaawansowany
2 days

Instrukcje

1

Mould the housing

Mould a cup-shaped housing of insulating material, with a boss on each of two opposite sides, a recess in the top of each boss, a groove inside below each boss, and a bead round the top. Unknown: the material, the sizes and the moulding.

Materiały do tego kroku:

Nieznany materiał izolacyjnyNieznany materiał izolacyjny1 as required

Potrzebne narzędzia:

Forma do prasowania tłocznegoForma do prasowania tłocznego
Nieznane wymiaryNieznane wymiary
2

Make the terminals and contacts

Bend two angled metal strips. The upper end of each sits in a boss recess, and the lower end is a solder lug. Fix each upper end to a contact that fits the groove inside the housing, stepped at its bottom end. Unknown: the metal.

Materiały do tego kroku:

Nieznany metalNieznany metal1 as required

Potrzebne narzędzia:

Nożyce do blachyNożyce do blachy
Szczypce płaskieSzczypce płaskie
Nieznane wymiaryNieznane wymiary
3

Make the sleeve, plate and cover

Turn a threaded sleeve and cut its thread. Spin its lower end over onto a metal plate with tangs. Cut a cover of insulating sheet with ears that reach over the bosses and a hole in the middle to guide the rod.

Materiały do tego kroku:

Nieznany metalNieznany metal1 as required
Nieznany materiał izolacyjnyNieznany materiał izolacyjny1 as required

Potrzebne narzędzia:

Tokarka do metaluTokarka do metalu
Zestaw dłut tokarskich (HSS)Zestaw dłut tokarskich (HSS)
Oprawka do narzynekOprawka do narzynek
Nożyce do blachyNożyce do blachy
SuwmiarkaSuwmiarka
Nieznane wymiaryNieznane wymiary
4

Make the push button

Make a drawn metal tube closed at the top, and a rod with a head. Put a small coil spring in the top of the tube, then the rod's head. Wedge a washer into the tube under the head. Leave clearance so the rod can swivel a little. Turn the rod's lower end down to a smaller diameter. Unknown: the metal.

Materiały do tego kroku:

Nieznany metalNieznany metal1 as required
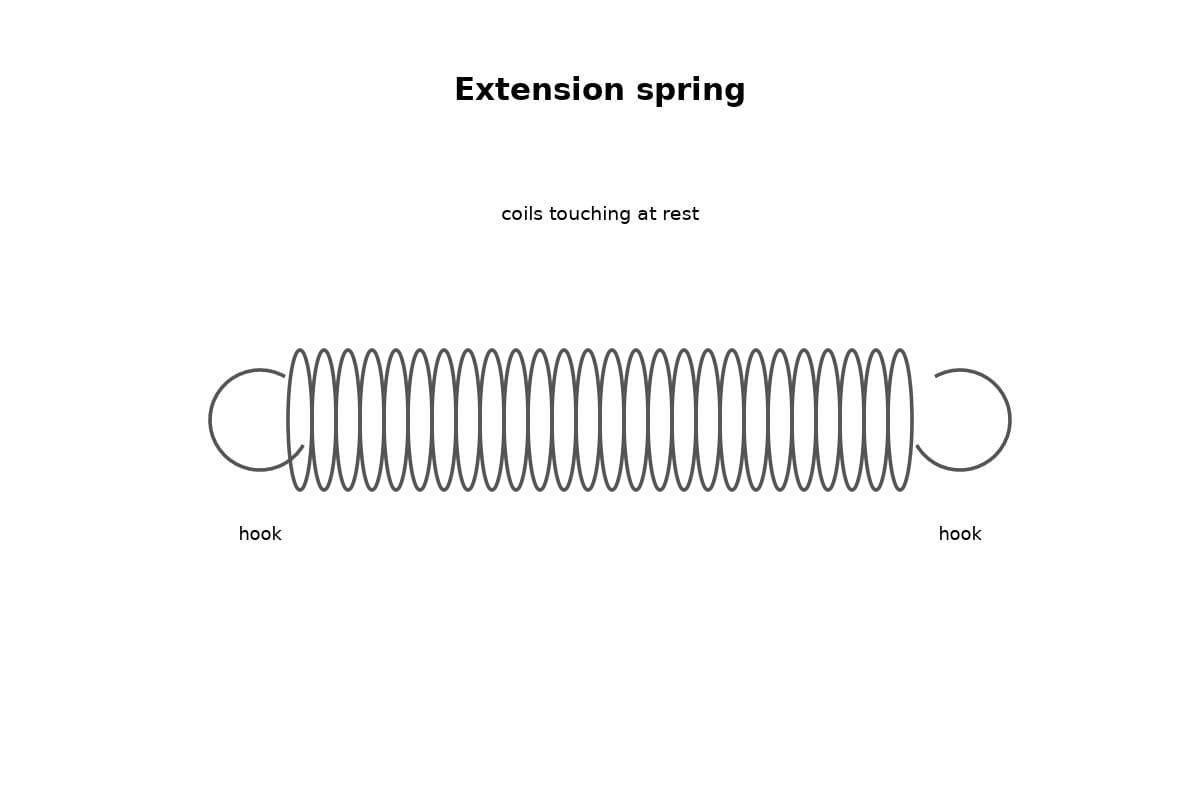
Zestaw sprężyn naciskowychZestaw sprężyn naciskowych1 spring

Potrzebne narzędzia:

Tokarka do metaluTokarka do metalu
Zestaw dłut tokarskich (HSS)Zestaw dłut tokarskich (HSS)
SuwmiarkaSuwmiarka
Nieznane wymiaryNieznane wymiary
5

Assemble

Set the terminals in their recesses and the contacts in their grooves. Slide the button into the sleeve, with a coil spring round the rod between the cover and the wedged washer. Pass the rod's end through the cover's hole. Put on it a loose insulating washer with a metal rim round its edge. Hammer the rod's end over into a flange. Lay the cover on the housing, so its ears clamp the terminals, and bend the plate's tangs over the bead.

Materiały do tego kroku:

Nieznany materiał izolacyjnyNieznany materiał izolacyjny1 as required
Nieznany metalNieznany metal1 as required
Zestaw sprężyn naciskowychZestaw sprężyn naciskowych1 spring

Potrzebne narzędzia:

Imadło warsztatoweImadło warsztatowe
Młotek ślusarski z kulistym rąbemMłotek ślusarski z kulistym rąbem
Szczypce płaskieSzczypce płaskie
Okulary ochronneOkulary ochronne
6

Mount and wire it

Put the sleeve through a hole in the panel and clamp the panel between two nuts on the thread. Solder the bared wire ends to the two lugs.

Materiały do tego kroku:

Nakrętka sześciokątnaNakrętka sześciokątna2 pcs
Drut lutowniczyDrut lutowniczy1 as required

Potrzebne narzędzia:

LutownicaLutownica
Szczypce płaskieSzczypce płaskie
7

Check it

At rest, the rim sits against the underside of the cover and the circuit is open. Pressed, the rim meets the stepped ends of both contacts and closes it. The checking is ours: the meter reads open, then closed while pressed.

Potrzebne narzędzia:

MultimetrMultimetr

Materiały

5

Wymagane narzędzia

13

Według tego planu powstaje

CC0 Domena publiczna

Ten plan jest udostępniany na licencji CC0. Możesz go swobodnie kopiować, modyfikować, rozpowszechniać i wykorzystywać do dowolnych celów, bez konieczności uzyskiwania zgody.

Wesprzyj Makera kupując produkty przez jego plan, za co zarabia Prowizja Makera ustalony przez sprzedawców, lub stwórz nową iterację tego planu i dołącz go jako połączenie w swoim własnym planie, aby dzielić się przychodami.

Dyskusja

(0)

Zaloguj się aby dołączyć do dyskusji

Ładowanie komentarzy...