Współpraca
SZTUKA
Piękno i dobre samopoczucie
RZEMIOSŁO
KULTURA I HISTORIA
ROZRYWKA
ŚRODOWISKO
JEDZENIE I NAPOJE
INŻYNIERIA ODWROTNA
NAUKI
LEKKOATLETYKA
TECHNOLOGIA
URZĄDZENIA DO NOSZENIA
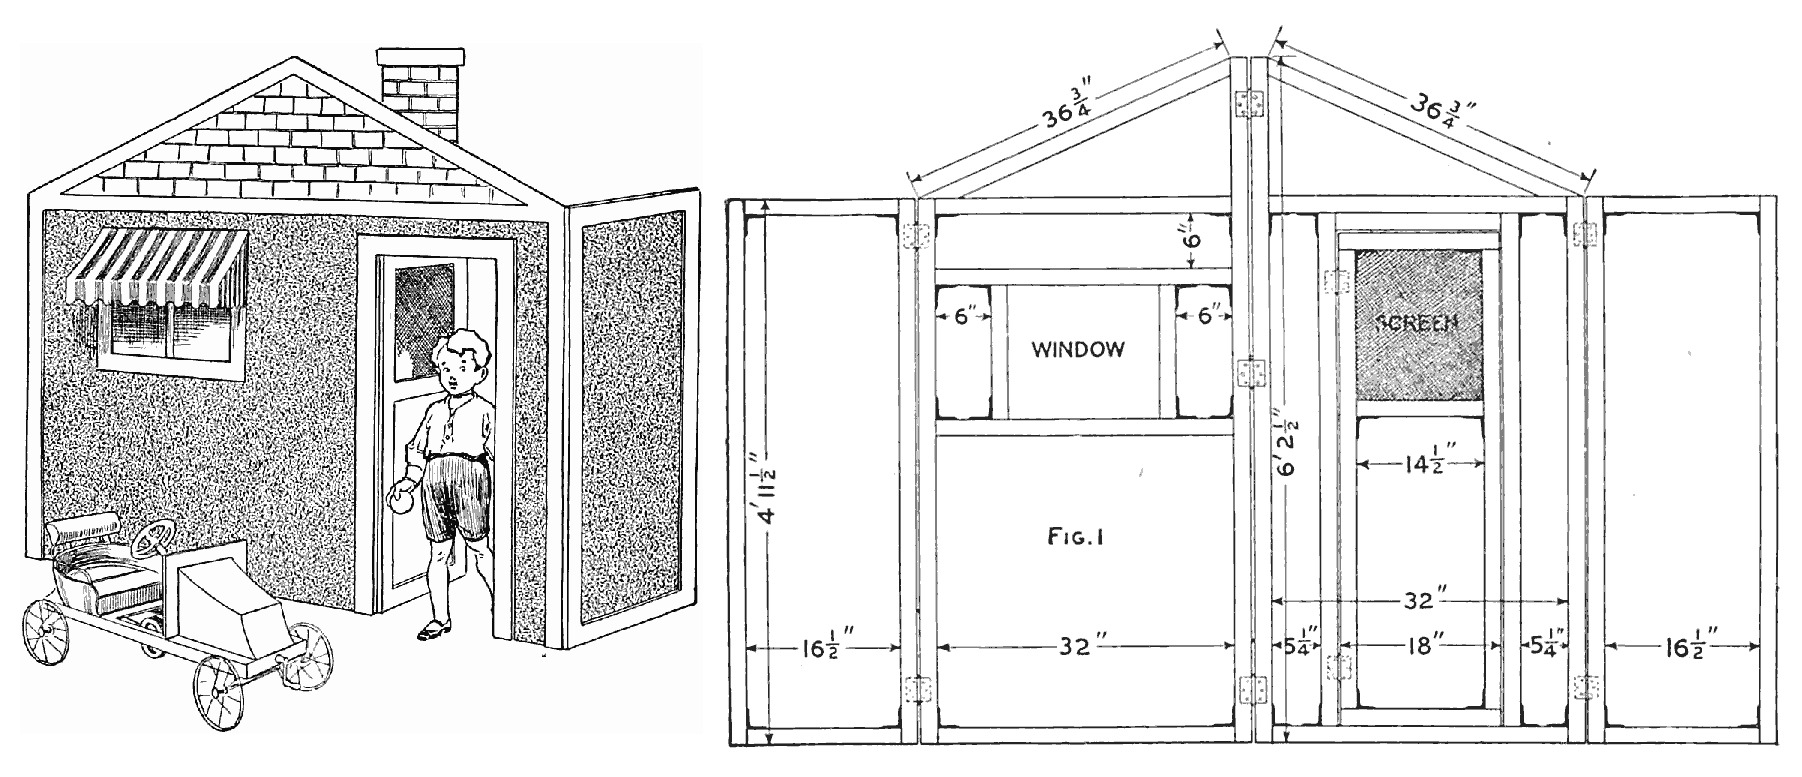


Folding Child's Playhouse: Hinged Frames Covered With Burlap, a Screened Door and a Window (Boy Mechanic, 1915)
A large, inexpensive playhouse for indoors or out, from The Boy Mechanic, Book 2 (1915): four light frames held with iron brackets, covered with coloured burlap and hinged so the house folds flat. One front has a window, the other a door with a wire-screen panel.
Sizes are read from the book's Fig. 1.
Średniozaawansowany
About 2 days
Instrukcje
1
1
Sizes from Fig. 1
Sizes from Fig. 1
Wczytywanie notatnika Jupyter…
2
2
Read The Boy Mechanic
Read The Boy Mechanic
"The child's playhouse is an expensive luxury, if it is purchased ready to set up, but by following the instructions given herewith a large and inexpensive one may be constructed."
3
3
Cut the frames
Cut the frames
Get about 100 ft of 1-3/4 by 1-1/2 in boards and saw out the pieces for four frames as in Fig. 1: two side wings 16-1/2 in wide and 4 ft 11-1/2 in high; a window front and a door front, each 32 in wide, rising with their gable members (36-3/4 in) to 6 ft 2-1/2 in at the ridge.
Materiały do tego kroku:
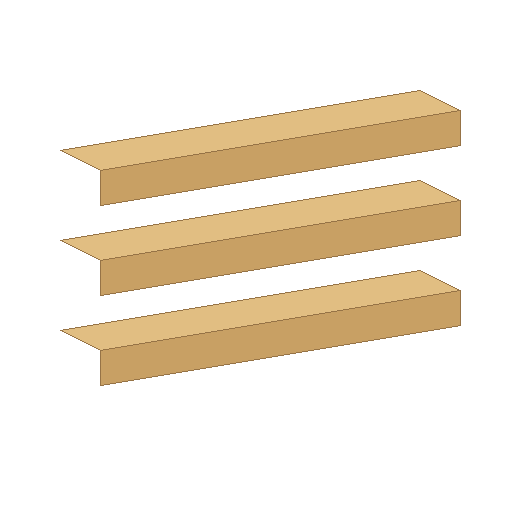 Listwa z drewna iglastego1 sztuka
Potrzebne narzędzia:
 Piła ręczna
 Kątownik stolarski
 Miara zwijana
 Ołówek
4
4
Join them with brackets
Join them with brackets
Join the corners with iron brackets instead of nails: easier than mortising and nailing or gluing, and stronger. In the window front, set rails to leave 6 in panels above and at each side of the window. In the door front, frame an 18 in door between 5-1/4 in stiles, with a 14-1/2 in screen panel in its upper part.
Materiały do tego kroku:
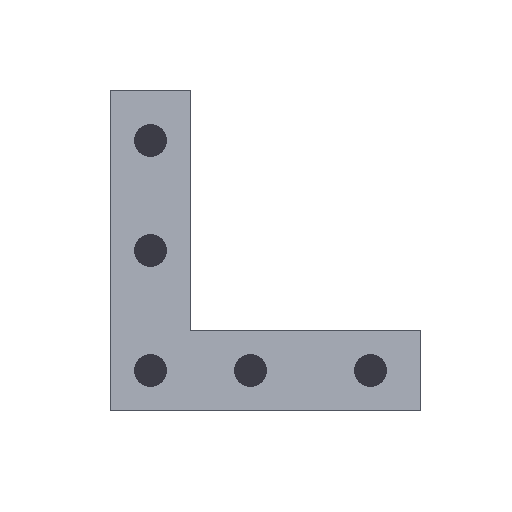 Kątownik montażowy1 sztuka
 Wkręty do drewna1 sztuka
Potrzebne narzędzia:
 Wkrętak płaskiKątownik stolarski
5
5
Cover the sections
Cover the sections
Tack burlap on each section before hinging them together; green, red or brown look best. Turn the edges under before tacking them down, so they do not unravel. Leave the window and the door's screen panel open.
Materiały do tego kroku:
 Juta / tkanina workowa1 sztuka
 Ćwieki montażowe1 sztuka
Potrzebne narzędzia:
 Młotek
 Nożyczki
6
6
Fit the door screen
Fit the door screen
Coat a piece of wire screen (an old piece will do) with black or dark-green paint and tack it on the inside of the door.
Materiały do tego kroku:
 Tkanina sitowa z drutu1 sztuka
 Czarna farba1 sztukaĆwieki montażowe1 sztuka
Potrzebne narzędzia:
 Pędzel szerokiMłotekNożyczki
7
7
Hinge it so it folds
Hinge it so it folds
Fasten the parts together with hinges, nine in his drawing: on the inside of the side wings and on the outside of the two front pieces, so the house folds into a small space. Hang the door on two of them.
Materiały do tego kroku:
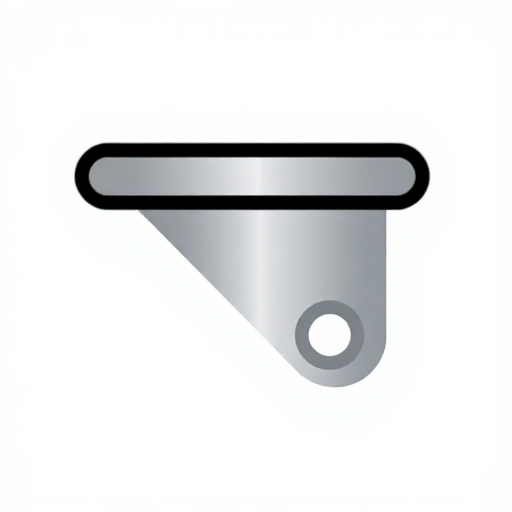 Zawias czopowy9 sztukWkręty do drewna1 sztuka
Potrzebne narzędzia:
Wkrętak płaski8
8
Trim and finish
Trim and finish
Trim the door and window frames with white paint along their edges. He finished his with roller shades on the door and window (and a small awning and an electric door bell, not made here).
Materiały do tego kroku:
 Biała farba elewacyjna1 sztuka
 Roleta2 sztuk
Potrzebne narzędzia:
Pędzel szerokiWkrętak płaski9
9
Troubleshooting
Troubleshooting
Playhouse troubleshooting.
Flow
Loading...
10
10
History and honest limits
History and honest limits
From **The Boy Mechanic, Book 2**, edited by H. H. Windsor, Popular Mechanics, Chicago, 1915 (Project Gutenberg 44585), "A Child's Playhouse"; all sizes are read from his Fig. 1. Not made here: the awning (his Figs. 2-3) and the electric bell. The screws, tacks, tools and metric figures are ours.
Materiały
10- 1 sztukaZastępnik
- 1 sztukaZastępnik
- 2 sztukZastępnik
- 1 sztukaZastępnik
- 1 sztukaZastępnik
- 1 sztukaZastępnik
- 1 sztukaZastępnik
- 9 sztukZastępnik
- 1 sztukaZastępnik
- 2 sztukZastępnik
Według tego planu powstaje
Powiązane blueprinty
Te blueprinty dzielą się wiedzą — technikami, materiałami lub zasadami

CC0 Domena publiczna
Ten plan jest udostępniany na licencji CC0. Możesz go swobodnie kopiować, modyfikować, rozpowszechniać i wykorzystywać do dowolnych celów, bez konieczności uzyskiwania zgody.
Wesprzyj Makera kupując produkty przez jego plan, za co zarabia Prowizja Makera ustalony przez sprzedawców, lub stwórz nową iterację tego planu i dołącz go jako połączenie w swoim własnym planie, aby dzielić się przychodami.