Współpraca
SZTUKA
Piękno i dobre samopoczucie
RZEMIOSŁO
KULTURA I HISTORIA
ROZRYWKA
ŚRODOWISKO
JEDZENIE I NAPOJE
INŻYNIERIA ODWROTNA
NAUKI
LEKKOATLETYKA
TECHNOLOGIA
URZĄDZENIA DO NOSZENIA
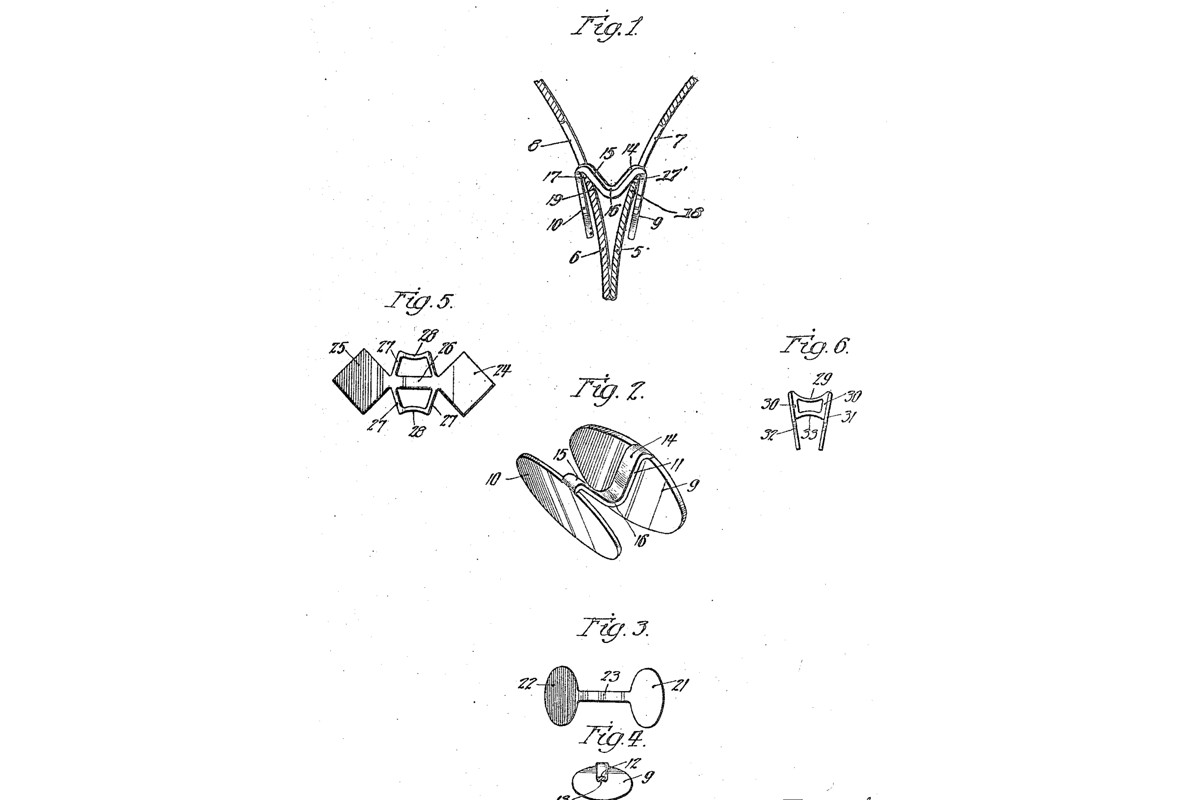


One-Piece Cuff Button: Two Faces and a V Shank Cut From One Brass Blank (Buchsbaum, 1923)
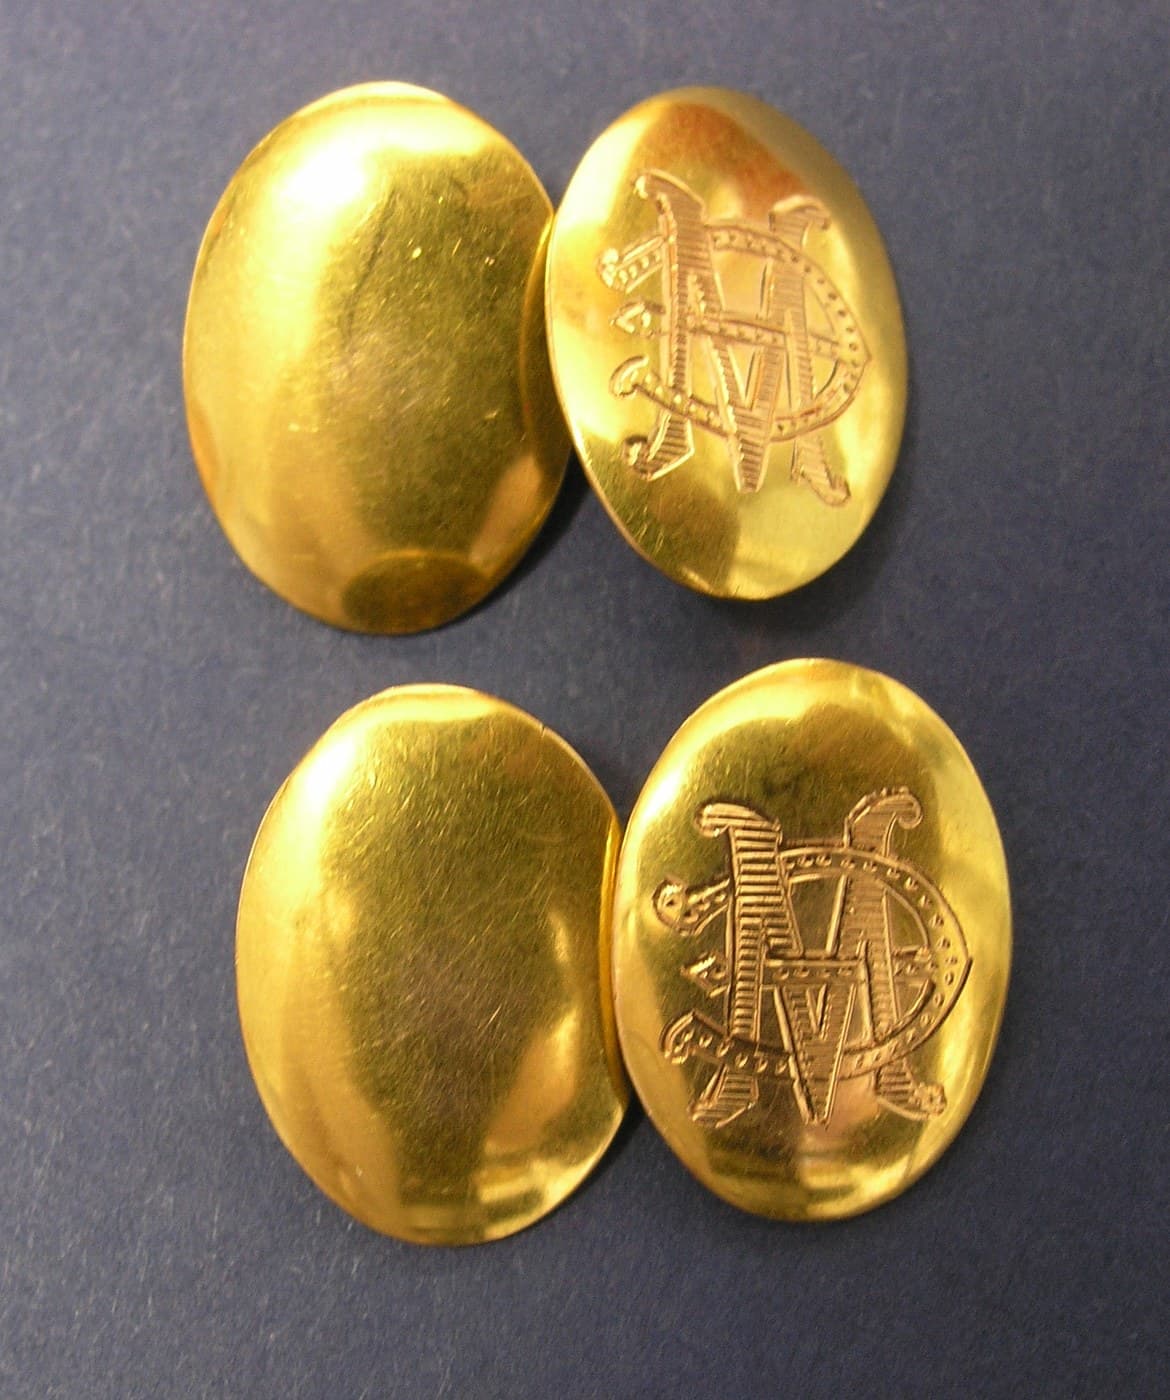
Samuel Buchsbaum of Chicago received US 1,444,023, dated 6 February 1923, for a cuff button made in one piece. A flat blank has two oval faces joined at their edges by a tongue. The tongue is bent into a V-shaped shank with a curved middle, and the faces lean in towards each other. Pockets between the shank and the faces hold the two ends of the cuff together. There is nothing to solder and nothing to come apart.
We cut it from brass sheet with a jeweller's saw, using a 1:1 template. All sizes are ours.
Początkujący
About 2 hours
Instrukcje
1
1
Where the cuff is gripped
Where the cuff is gripped
Wczytywanie notatnika Jupyter…
2
2
Read US 1,444,023
Read US 1,444,023
"It is a purpose of the present invention to form a cuff button wherein the face members and shank portion are integral, said members being all stamped from a single sheet of material."
3
3
Print the template
Print the template
Three blanks at 1:1 with the bend lines, and a side view of the bent button. print at 100 % (check the 50 mm bar).
4
4
Cut the blank
Cut the blank
Cut a blank out of the paper and lay it on 0.8 mm brass sheet. Scribe round it. Saw just outside the line with a jeweller's saw, then file to the line, keeping the tongue an even 4 mm wide where it meets each face.
Materiały do tego kroku:
 Blacha mosiężna1 sztuka
Potrzebne narzędzia:
 Rysik traserski
 Piłka jubilerska
 Zestaw pilników iglaków
 Imadło warsztatowe
5
5
Smooth the edges
Smooth the edges
Round every edge with the needle files and sandpaper so nothing can catch the cuff or the skin. Do the faces' fronts now: they are hard to reach once bent.
Potrzebne narzędzia:
Zestaw pilników iglaków Papier ścierny
6
6
Bend the shank
Bend the shank
Hold the middle of the tongue round a 3 mm rod, or in the round-nose pliers, and bend both halves up into a V about 60 degrees apart (ours). The middle stays curved, as his part 16.
Potrzebne narzędzia:
 Szczypce okrągłe
 Pręt ze stali niskowęglowej
7
7
Bend the faces
Bend the faces
Grip each leg close to its face with the flat-nose pliers and fold the face back down outside the leg, so it hangs beside the leg and leans in a little, as in his Fig. 1. The narrow gap between leg and face is the pocket for the cuff. Check both faces sit level with each other.
Potrzebne narzędzia:
 Szczypce płaskie
8
8
Polish
Polish
Polish the faces with polishing compound on a soft cloth.
Potrzebne narzędzia:
 Pasta polerska
9
9
Fit it to the cuff
Fit it to the cuff
Turn the button edgewise and pass one face through both buttonholes, turning it as it goes, as he describes. Each cuff end should sit in a pocket between a leg and its face, and the ends stay together. If it is too tight, open the faces out a little; if loose, press them in.
Potrzebne narzędzia:
Szczypce płaskie10
10
Troubleshooting
Troubleshooting
One-piece cuff button troubleshooting.
Flow
Loading...
11
11
History and honest limits
History and honest limits
**Samuel Buchsbaum** of Chicago, US 1,444,023, dated 6 February 1923, filed 22 August 1921. He claimed "a blank for cuff buttons comprising a sheet metal member having enlarged end members and a connecting tongue joining the adjacent edge portions of said end members". His were stamped; ours is sawn and filed. He also shows a form with square ends and a reinforced tongue (Figs. 5-6), not built here. He gives no sizes or metal: the brass, the 18 x 12 mm faces, the 4 x 18 mm tongue and the angles are ours.
Materiały
1- 1 sztukaZastępnik
Wymagane narzędzia
9- Zastępnik
- Zastępnik
- Zastępnik
- Zastępnik
- Zastępnik
- Zastępnik
- Zastępnik
- Zastępnik
- Zastępnik
Pliki projektowe
1Według tego planu powstaje
Powiązane blueprinty
Te blueprinty dzielą się wiedzą — technikami, materiałami lub zasadami
CC0 Domena publiczna
Ten plan jest udostępniany na licencji CC0. Możesz go swobodnie kopiować, modyfikować, rozpowszechniać i wykorzystywać do dowolnych celów, bez konieczności uzyskiwania zgody.
Wesprzyj Makera kupując produkty przez jego plan, za co zarabia Prowizja Makera ustalony przez sprzedawców, lub stwórz nową iterację tego planu i dołącz go jako połączenie w swoim własnym planie, aby dzielić się przychodami.