Współpraca
SZTUKA
Piękno i dobre samopoczucie
RZEMIOSŁO
KULTURA I HISTORIA
ROZRYWKA
ŚRODOWISKO
JEDZENIE I NAPOJE
INŻYNIERIA ODWROTNA
NAUKI
LEKKOATLETYKA
TECHNOLOGIA
URZĄDZENIA DO NOSZENIA
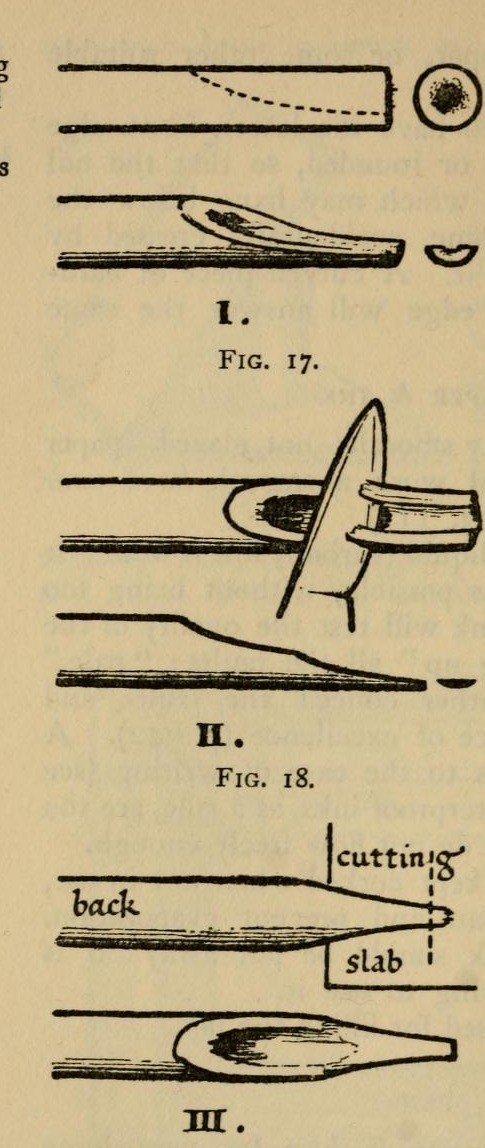


Calligraphy Pen Set: Cut Reed and Quill Pens with Ink Springs (Johnston, 1906)
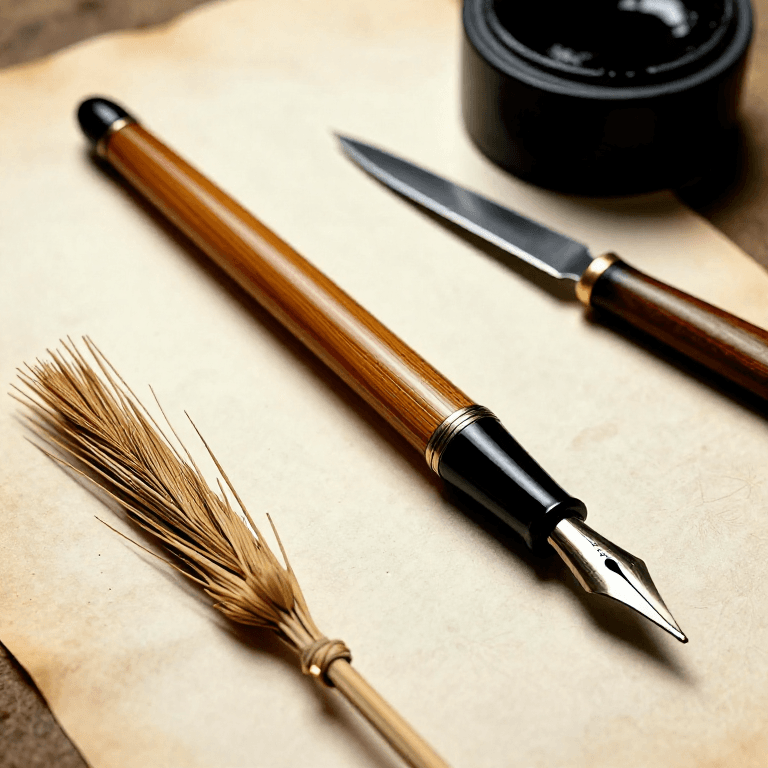
Edward Johnston's broad-edged pens for formal writing: a reed or cane pen for letters over half an inch high, and a turkey quill for smaller work. Each nib is slit, cut square-chisel at about 70°, and given a folded tin spring underneath that holds a reservoir of ink. The width of the cut nib is exactly the width of the thickest stroke it will make.
Result: a set of reed and quill pens, cut to the widths you want.
Source: E. Johnston, Writing & Illuminating, & Lettering (1906), pp. 51-58. Picture: Figs. 17-19 of the book.
Początkujący
Unknown
Instrukcje
1
1
Cut the reed pen
Cut the reed pen
Take a reed or fine hollow cane about 8 inches long. Cut one end off obliquely and shave away the soft inside with the knife laid flat, leaving the hard shell. Lay the nib back up on the slab and, knife vertical, cut the tip off square. Slit the middle of the tip with the knife point, then lengthen the slit to about 3/4 inch by twitching a pencil upward under the nib, pressing the left thumbnail on the back about 1 inch from the tip so it does not split too far. A very stiff pen may get an extra slit each side. Finally cut the tip off at about 70° to the shaft, removing the first rough slit. Ours: reed straws.
Materiały do tego kroku:
 Trzcinowe rurki do picia1 reed pens
Potrzebne narzędzia:
 Nóż introligatorski
 Tafla szklana
2
2
Cut the quill pen
Cut the quill pen
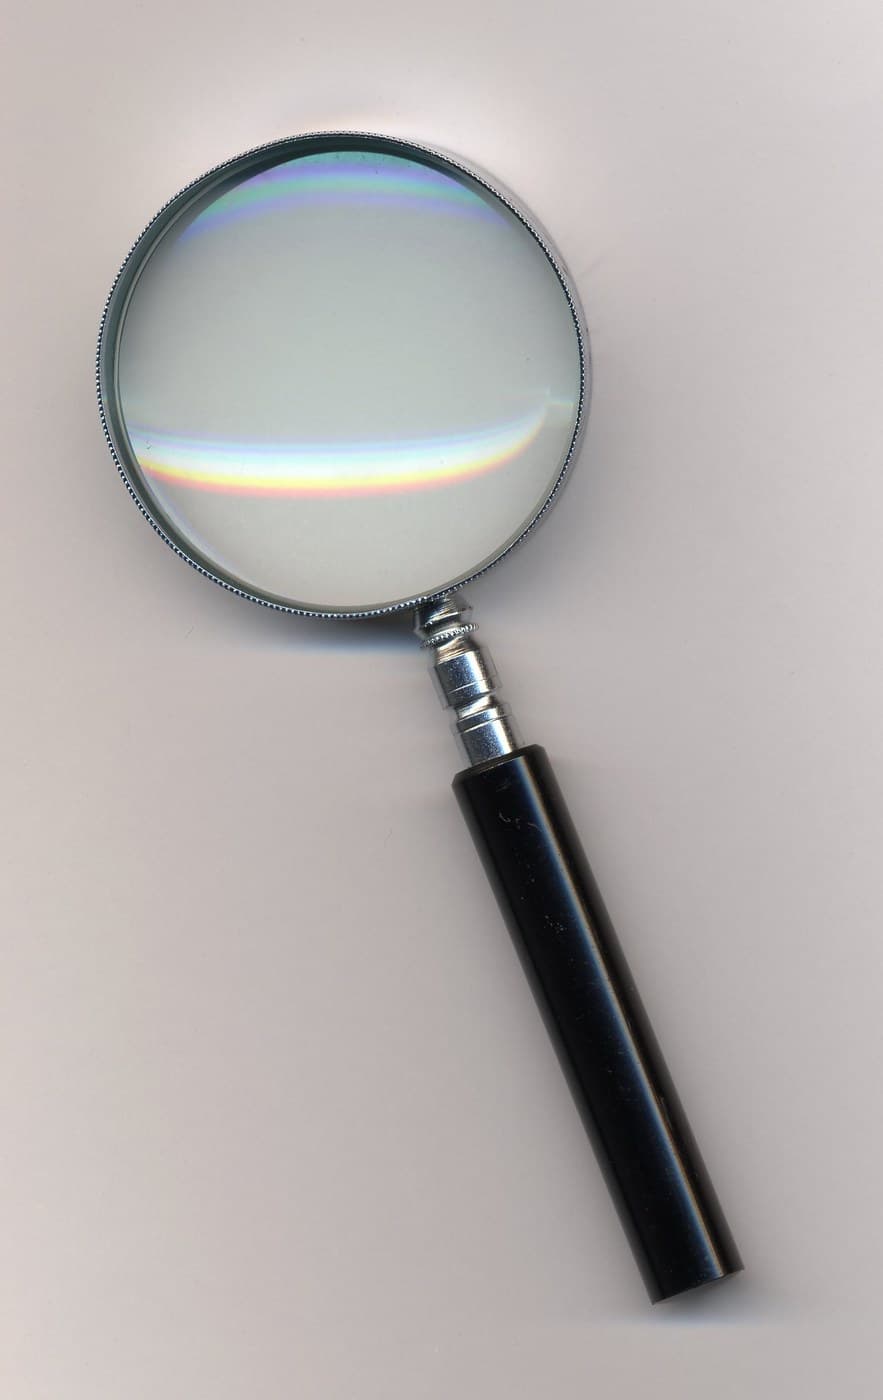
Cut a turkey wing quill down to 7 or 8 inches and strip the barbs off the shaft. The nib usually has a slit about 1/4 inch long; lengthen it to 3/8 inch in a very stiff pen. Pare the sides until the tip is a little narrower than the width wanted. Lay it back up on the glass slab and cut the extreme tip off with the knife slightly sloped, its edge at about 70° to the shaft. Cut very little at a time. Check under a magnifying glass that both half-nibs end on one straight line, with a sharp, oblique chisel edge.
Materiały do tego kroku:
 Pióra1 turkey quills
Potrzebne narzędzia:
Nóż introligatorskiTafla szklana Szkło powiększające
3
3
Fit the ink springs
Fit the ink springs
Cut a strip of very thin tin (or clock spring softened by heating and slow cooling) as wide as the nib and about 2 inches long, and fold it into a spring. Spring its short loop into the pen so it holds itself in place. The long loop, kept rather flat, holds the ink under the nib, with its point about 1/8 inch from the end of the nib. Too curved and it holds only a drop; quite flat and it draws the ink away from the nib.
Materiały do tego kroku:
 Arkusz blachy białej1 ink springs
Potrzebne narzędzia:
 Nożyce do blachy
Materiały
3- 1 reed pensZastępnik
- 1 turkey quillsZastępnik
- 1 ink springsZastępnik
Wymagane narzędzia
4- Zastępnik
- Zastępnik
- Zastępnik
- Zastępnik
Materiały z połączonych planów



Według tego planu powstaje

Powiązane blueprinty
Te blueprinty dzielą się wiedzą — technikami, materiałami lub zasadami
CC0 Domena publiczna
Ten plan jest udostępniany na licencji CC0. Możesz go swobodnie kopiować, modyfikować, rozpowszechniać i wykorzystywać do dowolnych celów, bez konieczności uzyskiwania zgody.
Wesprzyj Makera kupując produkty przez jego plan, za co zarabia Prowizja Makera ustalony przez sprzedawców, lub stwórz nową iterację tego planu i dołącz go jako połączenie w swoim własnym planie, aby dzielić się przychodami.