SZTUKA
Piękno i dobre samopoczucie
RZEMIOSŁO
KULTURA I HISTORIA
ROZRYWKA
ŚRODOWISKO
JEDZENIE I NAPOJE
INŻYNIERIA ODWROTNA
NAUKI
LEKKOATLETYKA
TECHNOLOGIA
URZĄDZENIA DO NOSZENIA
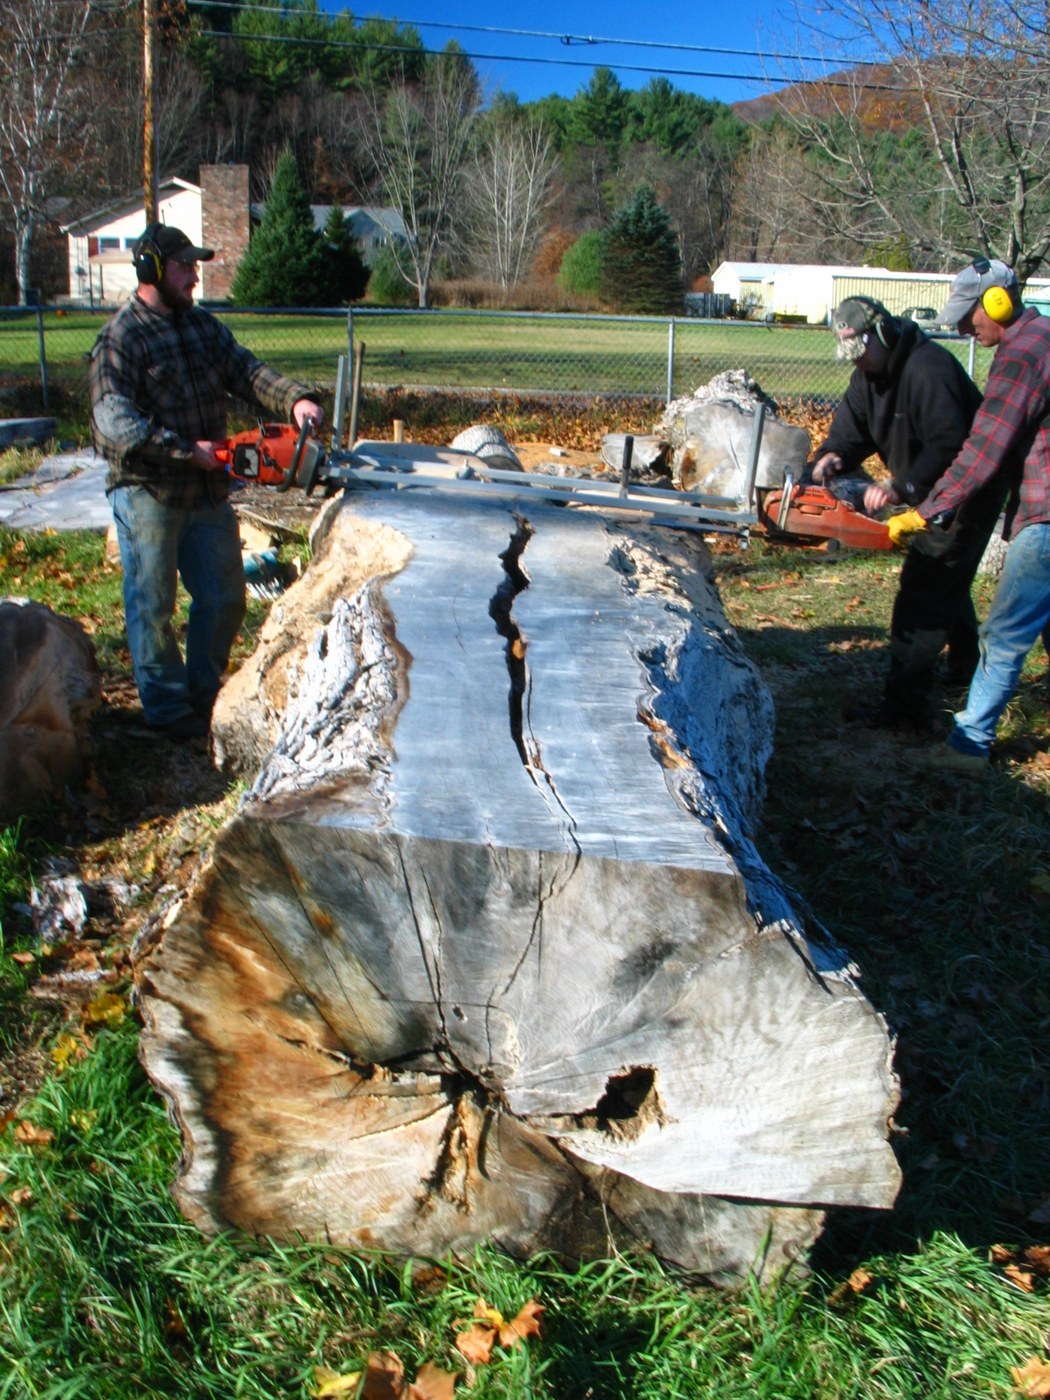


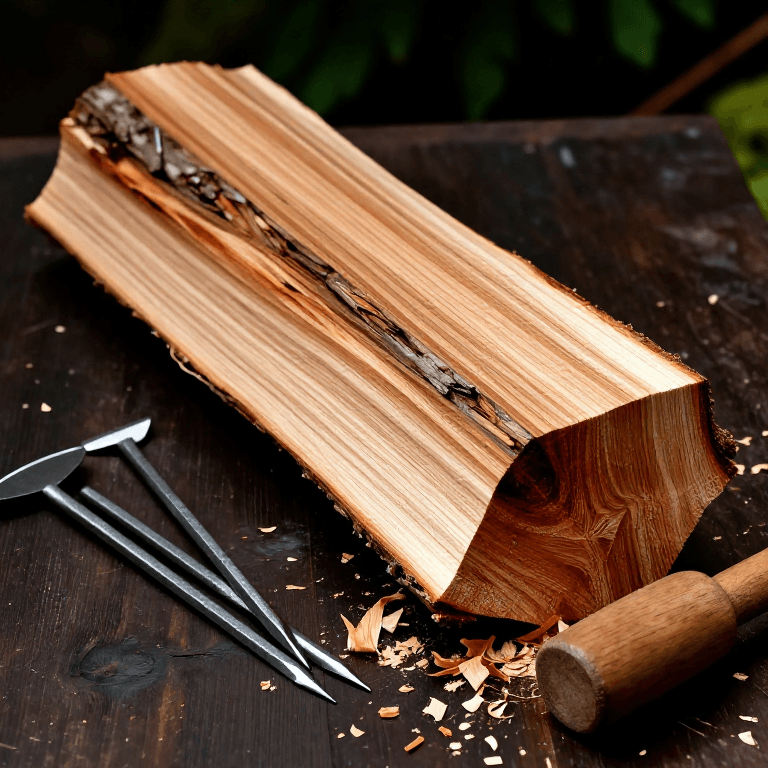
Pine Boards with a Chainsaw Mill
A chainsaw mill is a frame that holds the saw's bar flat at a set height, so the chain rips a log lengthways into boards. The first cut rides on a straight board screwed to the log; every later cut rides on the flat face before it. The green boards are then stacked on stickers to air-dry.
Pine dries fast: a 25 mm board can reach about 14 % moisture in 60 to 90 days in good drying weather. Oak and other slow species take far longer.
Średniozaawansowany
1 day milling, 2–3 months drying
Instrukcje
1
1
Pick and prop the log
Pick and prop the log
Choose a straight pine log, 2.5–3 m long, without large knots. Prop it on two short logs so it cannot roll and the chain will not reach the ground.
Materiały do tego kroku:
 Kłody z drewna iglastego1 sztuka
Potrzebne narzędzia:
 Miara zwijana
2
2
Fit the mill
Fit the mill
Bolt the mill to the chainsaw bar following its maker's instructions. A ripping chain cuts along the grain faster and smoother than a crosscut chain.
Potrzebne narzędzia:
 Pilarka łańcuchowa (klasy profesjonalnej leśnej)
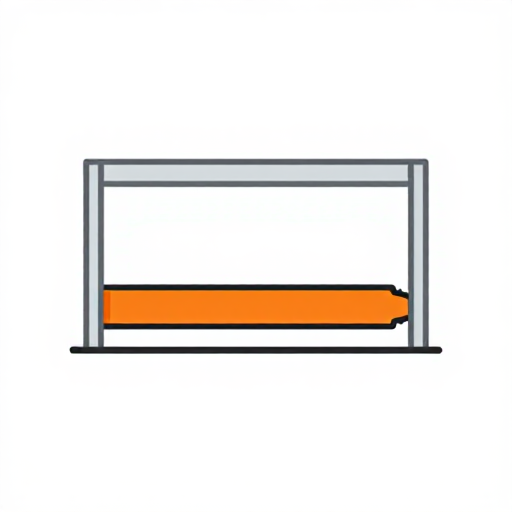 Przystawka tartaczna do pilarki
3
3
Screw on the guide board
Screw on the guide board
Screw a straight board along the top of the log, level from end to end, as the rail for the first cut. Check it with the straightedge and level.
Materiały do tego kroku:
 Wkręty do drewna6 sztuk
Potrzebne narzędzia:
 Deska sosnowa
 Wiertarko-wkrętarka akumulatorowa
 Liniał krawędziowy
 Poziomica
4
4
First cut
First cut
Wearing helmet with visor, ear protection, gloves and boots, run the mill along the guide board and take off the top slab. Remove the guide board.
Potrzebne narzędzia:
Pilarka łańcuchowa (klasy profesjonalnej leśnej)Przystawka tartaczna do pilarki Kask ochronny
 Nauszniki ochronne
 Skórzane rękawice robocze
 Buty ochronne ze stalowymi noskami
5
5
Cut the boards
Cut the boards
Set the mill a few millimetres thicker than the finished board, to allow for shrinking and planing. Run each cut on the flat face left by the one before.
Potrzebne narzędzia:
Pilarka łańcuchowa (klasy profesjonalnej leśnej)Przystawka tartaczna do pilarkiMiara zwijana6
6
Seal the ends
Seal the ends
Paint both ends of every board with end sealer the same day, to stop them splitting as they dry.
Materiały do tego kroku:
 Uszczelniacz czół (wosk parafinowy)0.5 litr
7
7
Sticker the stack
Sticker the stack
On a level base at least 30 cm off the ground, lay the boards in layers with a gap between them, each layer on stickers every 40–60 cm, the stickers one above the other.
Materiały do tego kroku:
 Przekładka drewniana (listwa suszarnicza)30 sztuk
Potrzebne narzędzia:
 Paleta drewnianaPoziomica
8
8
Cover and weight
Cover and weight
Cover the top of the stack against rain and lay weight on it to keep the top boards flat; leave the sides open to the air.
Potrzebne narzędzia:
 Płachta
9
9
Measure the moisture
Measure the moisture
After 2 months, read a board from the middle of the stack. Air-dry outdoors reaches about 12–15 %; bring boards for furniture indoors to settle at 6–8 % before working them.
Potrzebne narzędzia:
 Wilgotnościomierz
10
10
Troubleshooting
Troubleshooting
Chainsaw milling troubleshooting.
Flow
Loading...
Materiały
4- 1 sztukaZastępnik
- 6 sztukZastępnik
- Zastępnik
- Zastępnik
Wymagane narzędzia
14- 1 vendor sell this, none ship to you yetZastępnik
- Zastępnik
- Zastępnik
- 1 vendor sell this, none ship to you yetZastępnik
- Zastępnik
- Zastępnik
- Zastępnik
- Zastępnik
- Zastępnik
- Zastępnik
- Zastępnik
- Zastępnik
- Zastępnik
Według tego planu powstaje


Powiązane blueprinty
Te blueprinty dzielą się wiedzą — technikami, materiałami lub zasadami
CC0 Domena publiczna
Ten plan jest udostępniany na licencji CC0. Możesz go swobodnie kopiować, modyfikować, rozpowszechniać i wykorzystywać do dowolnych celów, bez konieczności uzyskiwania zgody.
Wesprzyj Makera kupując produkty przez jego plan, za co zarabia Prowizja Makera ustalony przez sprzedawców, lub stwórz nową iterację tego planu i dołącz go jako połączenie w swoim własnym planie, aby dzielić się przychodami.