SZTUKA
Piękno i dobre samopoczucie
RZEMIOSŁO
KULTURA I HISTORIA
ROZRYWKA
ŚRODOWISKO
JEDZENIE I NAPOJE
INŻYNIERIA ODWROTNA
NAUKI
LEKKOATLETYKA
TECHNOLOGIA
URZĄDZENIA DO NOSZENIA
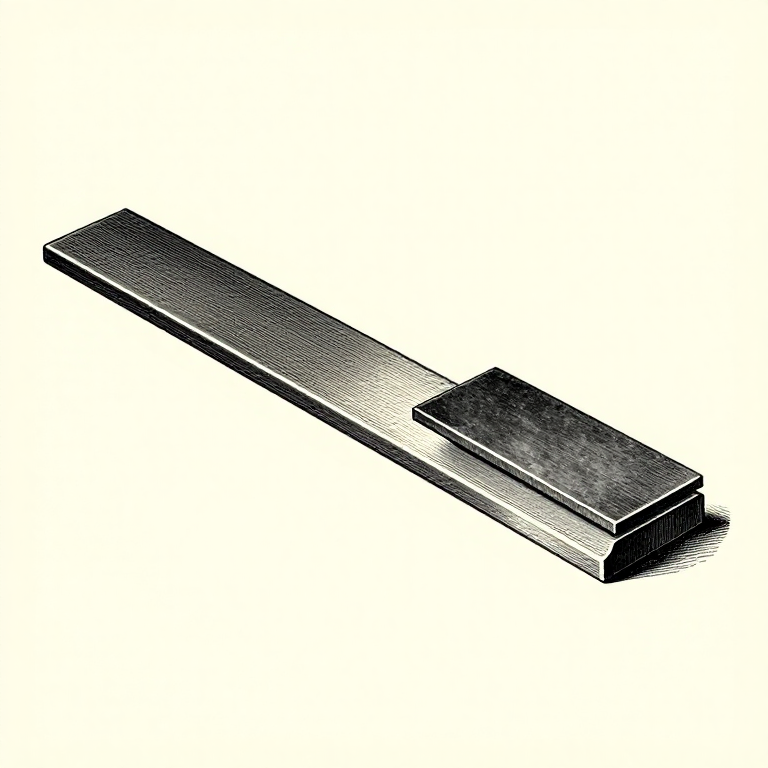


Draw-Filing: The Finish a File Can Leave
Turn the file sideways, hold it in both hands like a spokeshave, and push and pull it along the work rather than across it. That is draw-filing, and it leaves a surface a cross-filed face cannot approach.
The reason is geometry. Held sideways, the teeth meet the work almost square instead of at their cutting angle, so each takes a much finer shaving — and the scratches all run along the length of the part, where the eye reads them as a finish rather than as damage.
It is the bridge between the file and abrasive paper: a draw-filed surface is already fine enough that emery cloth has almost nothing left to do.
Średniozaawansowany
2 hours
Instrukcje
1
1
The grip, and why it is nothing like cross-filing
The grip, and why it is nothing like cross-filing
Hold the file across the work with a hand near each end, thumbs behind it, and move it along the length of the part. Both directions cut a little, though the push still does most of the work.
The pressure is far lighter than cross-filing — enough to keep the file in contact and no more. Leaning on a draw-file makes it chatter and dig, because the teeth are not presented at an angle that lets them clear a chip.
Keep the file flat on the work along its whole width. Tipping it puts all the load on one edge, which cuts a groove instead of a face and is the reason a first attempt often looks worse than what it started from.
Potrzebne narzędzia:
 Pilniki (pilnik ręczny)
 Ciężkie imadło warsztatowe
 Pręt ze stali niskowęglowej
2
2
Use a smooth file, and a wide one
Use a smooth file, and a wide one
Draw-file with a single cut smooth or second cut file, and choose one wider than the face you are finishing if you can.
A wide file bridges the whole surface, so it cannot follow a dip — it cuts the high ground until the face is level. A narrow file sinks into every hollow and faithfully reproduces whatever shape was already there, which is why a small file feels like it is polishing but never gets the part straight.
A double cut file draw-files badly: the crossing rows leave a torn surface rather than a clean one. If a double cut is all you have, follow it with emery cloth wrapped around the same file.
Potrzebne narzędzia:
 Drobny pilnik
 Pilniki ręczne
3
3
Chalk the file and clean it constantly
Chalk the file and clean it constantly
Rub chalk along the file face before starting and again whenever it stops cutting cleanly. Chalk fills the gullets just enough that chips cannot wedge themselves in.
This matters far more in draw-filing than cross-filing, because a single pinned tooth drags a deep scratch down the entire length of the work — the exact surface you are trying to perfect. One trapped chip can undo twenty minutes.
Clear the file with a file card every few passes, brushing along the rows rather than across them. A quick look down the face against the light will show a pinned tooth as a bright point before it does any damage.
Materiały do tego kroku:
 Kreda do znakowania1 sztuka
Potrzebne narzędzia:
 Szczotka do pilnikówDrobny pilnik
 Lupa zegarmistrzowska
4
4
Finish with emery on the file, and break the edges
Finish with emery on the file, and break the edges
Wrap emery cloth around the file and repeat the same draw-filing motion. The file becomes a perfectly flat backing, which is exactly what abrasive paper needs and never has when held in the fingers.
Work up through the grades the same way the sharpening progression does — each one removing the previous scratches, changing direction slightly so you can see when they are gone. The grit rung published on Youblob covers the reasoning in full and applies unchanged here.
Finish by breaking every sharp edge with two or three light strokes of a fine file at 45 degrees. A filed edge is genuinely sharp, it cuts hands, and on a finished part a crisp tiny chamfer looks deliberate where a raw edge looks unfinished.
Materiały do tego kroku:
 Płótno szmerglowe1 sztuka
 Zestaw papierów ściernych1 sztuka
Potrzebne narzędzia:
Drobny pilnik Tkanina bawełniana
Materiały
3- 1 sztukaZastępnik
- 1 sztukaZastępnik
- 1 sztukaZastępnik
Wymagane narzędzia
8- Zastępnik
- Zastępnik
- Zastępnik
- Zastępnik
- Zastępnik
- Zastępnik
- Zastępnik
- Zastępnik
Powiązane blueprinty
Te blueprinty dzielą się wiedzą — technikami, materiałami lub zasadami
CC0 Domena publiczna
Ten plan jest udostępniany na licencji CC0. Możesz go swobodnie kopiować, modyfikować, rozpowszechniać i wykorzystywać do dowolnych celów, bez konieczności uzyskiwania zgody.
Wesprzyj Makera kupując produkty przez jego plan, za co zarabia Prowizja Makera ustalony przez sprzedawców, lub stwórz nową iterację tego planu i dołącz go jako połączenie w swoim własnym planie, aby dzielić się przychodami.