SZTUKA
Piękno i dobre samopoczucie
RZEMIOSŁO
KULTURA I HISTORIA
ROZRYWKA
ŚRODOWISKO
JEDZENIE I NAPOJE
INŻYNIERIA ODWROTNA
NAUKI
LEKKOATLETYKA
TECHNOLOGIA
URZĄDZENIA DO NOSZENIA
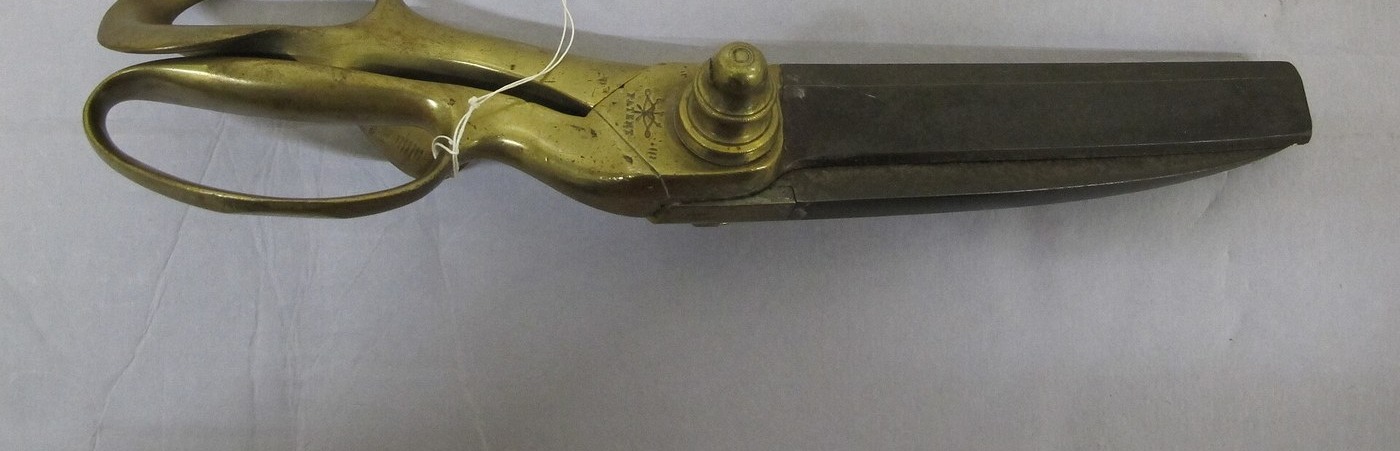


Scissors: Forged, Ground Hollow and Set
As the Sheffield cutlery trade made them, each scissor blade and its bow (finger loop) is forged from steel: a hole is punched through the flattened rod and opened over the point of a small beaked anvil to form the bow. Die-forging under a heavy stamp, with the surplus rim sheared off in a fly-press, was replacing hand forging by 1913. The blades are annealed, filed and drilled for the rivet, then ground: each is hollow on its inner face, concave from rivet to point, and given a slight twist toward the other so the edges meet along their whole length. The pair is fitted, wound with iron wire, hardened, reground and polished, and finally riveted together and set.
Zaawansowany
Works process (early 1900s)
Instrukcje
1
1
Forge the blades
Forge the blades
Forge each blade and shank; punch a hole through the flattened rod and open it over the beaked anvil to form the bow.
Materiały do tego kroku:
 Płaskownik ze stali narzędziowej1 sztuka
Potrzebne narzędzia:
 Kuźnia kowalska
 Kowadło
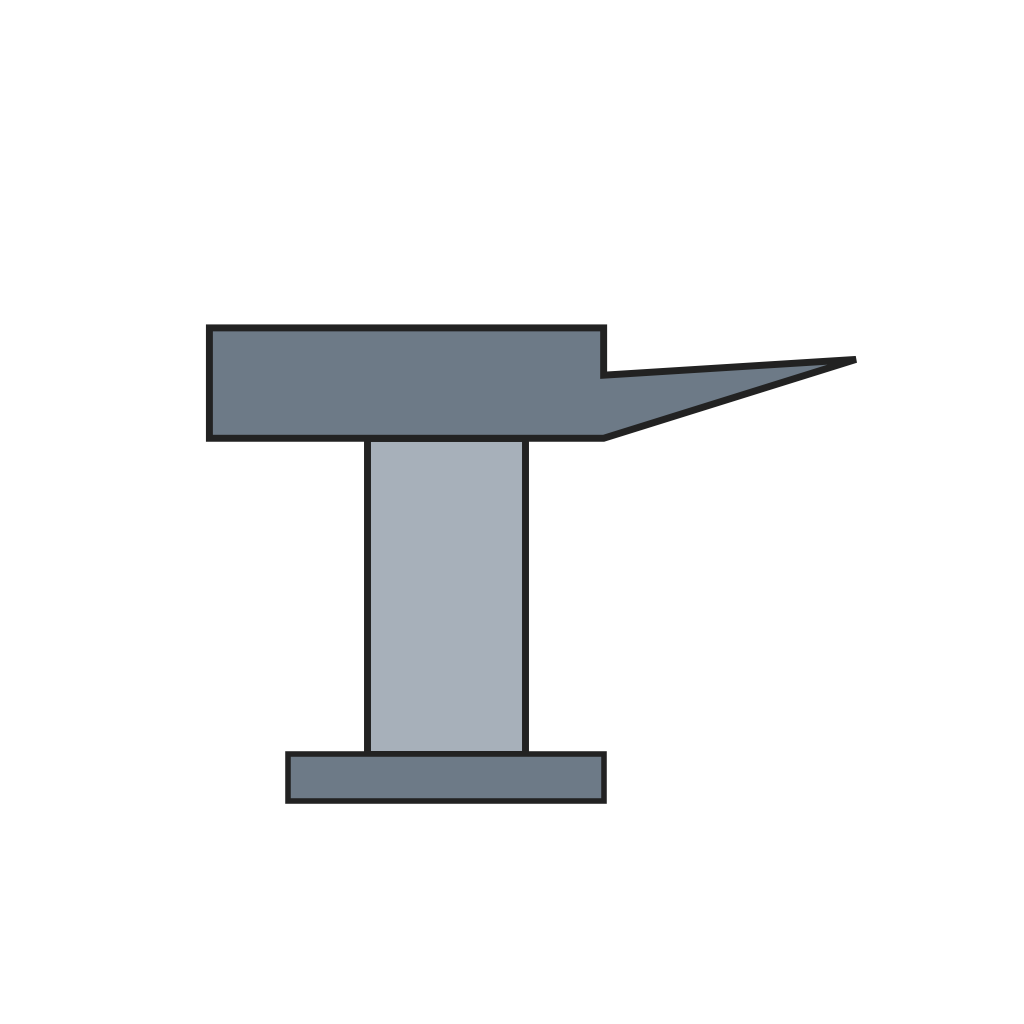 Kowadełko z dziobem
 Młot kowalski
2
2
Anneal, file and drill
Anneal, file and drill
Anneal the blades instead of hardening them; file the shanks and bows to shape, square the joint and bore the rivet hole.
Potrzebne narzędzia:
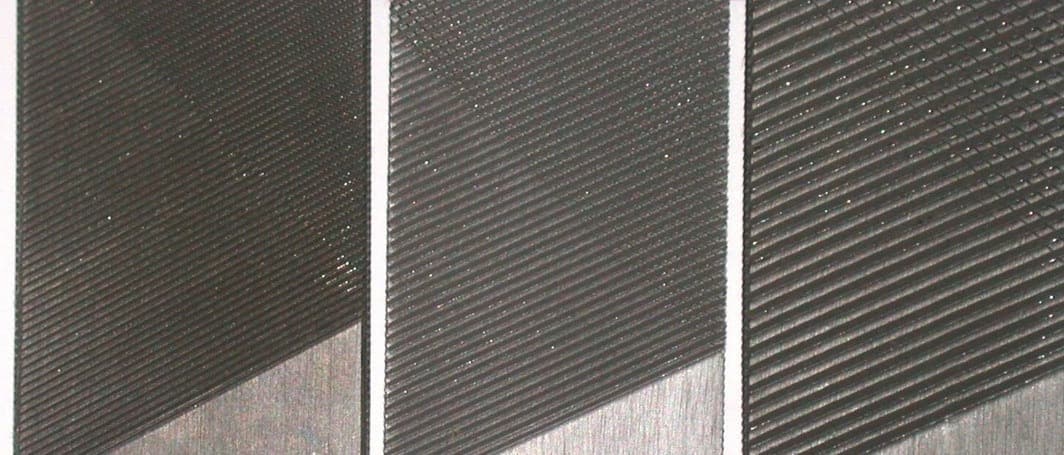
 Pilnik do metalu
 Wiertarka stołowa
3
3
Grind
Grind
Grind each blade hollow from back to edge, concave from rivet to point, with a slight twist toward its partner.
Potrzebne narzędzia:
 Toczydło
4
4
Fit and harden
Fit and harden
Fit the pair, wind them from the points upward with iron wire, take out the rivet and harden the blades.
Materiały do tego kroku:
 Drut stalowy0.5 m
Potrzebne narzędzia:
Kuźnia kowalska Kadź hartownicza
5
5
Finish and set
Finish and set
Grind, glaze and polish the bows and shanks again and burnish them; rivet the blades together and set them so the edges meet along their length.
Materiały do tego kroku:
 Nity stalowe1 sztuka
Potrzebne narzędzia:
Toczydło Tarcza polerska ze szmerglem
Materiały
3- 1 sztukaZastępnik
- 0.5 mZastępnik
- 1 sztukaZastępnik
Wymagane narzędzia
9- Zastępnik
- Zastępnik
- Zastępnik
- Zastępnik
- Zastępnik
- Zastępnik
- Zastępnik
- Zastępnik
- Zastępnik
Według tego planu powstaje


Powiązane blueprinty
Te blueprinty dzielą się wiedzą — technikami, materiałami lub zasadami
CC0 Domena publiczna
Ten plan jest udostępniany na licencji CC0. Możesz go swobodnie kopiować, modyfikować, rozpowszechniać i wykorzystywać do dowolnych celów, bez konieczności uzyskiwania zgody.
Wesprzyj Makera kupując produkty przez jego plan, za co zarabia Prowizja Makera ustalony przez sprzedawców, lub stwórz nową iterację tego planu i dołącz go jako połączenie w swoim własnym planie, aby dzielić się przychodami.