
Współpraca
SZTUKA
Piękno i dobre samopoczucie
RZEMIOSŁO
KULTURA I HISTORIA
ROZRYWKA
ŚRODOWISKO
JEDZENIE I NAPOJE
INŻYNIERIA ODWROTNA
NAUKI
LEKKOATLETYKA
TECHNOLOGIA
URZĄDZENIA DO NOSZENIA
Child's Pilch: Treeless Saddle With Stuffed Roll, Web Girth Straps and Flock Panel (Hasluck, Saddlery, 1904)
Tex

Autor

Tex

13. listopad 2026FO
4
0
0
0
0

Child's Pilch: Treeless Saddle With Stuffed Roll, Web Girth Straps and Flock Panel (Hasluck, Saddlery, 1904)

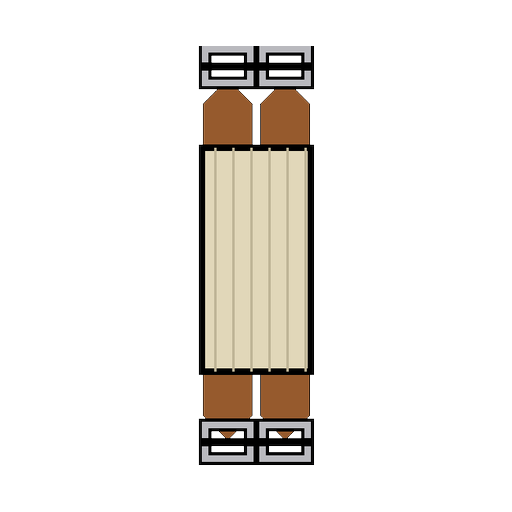
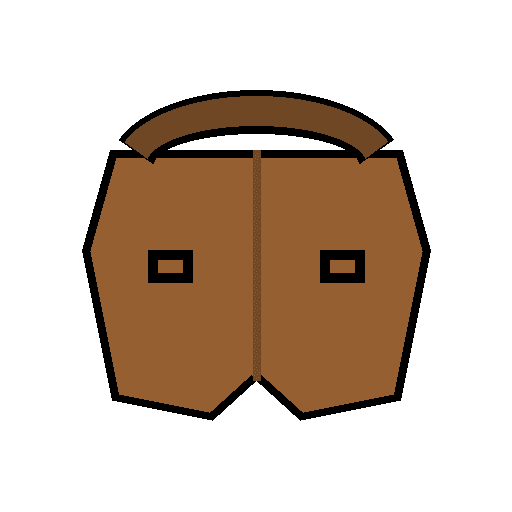
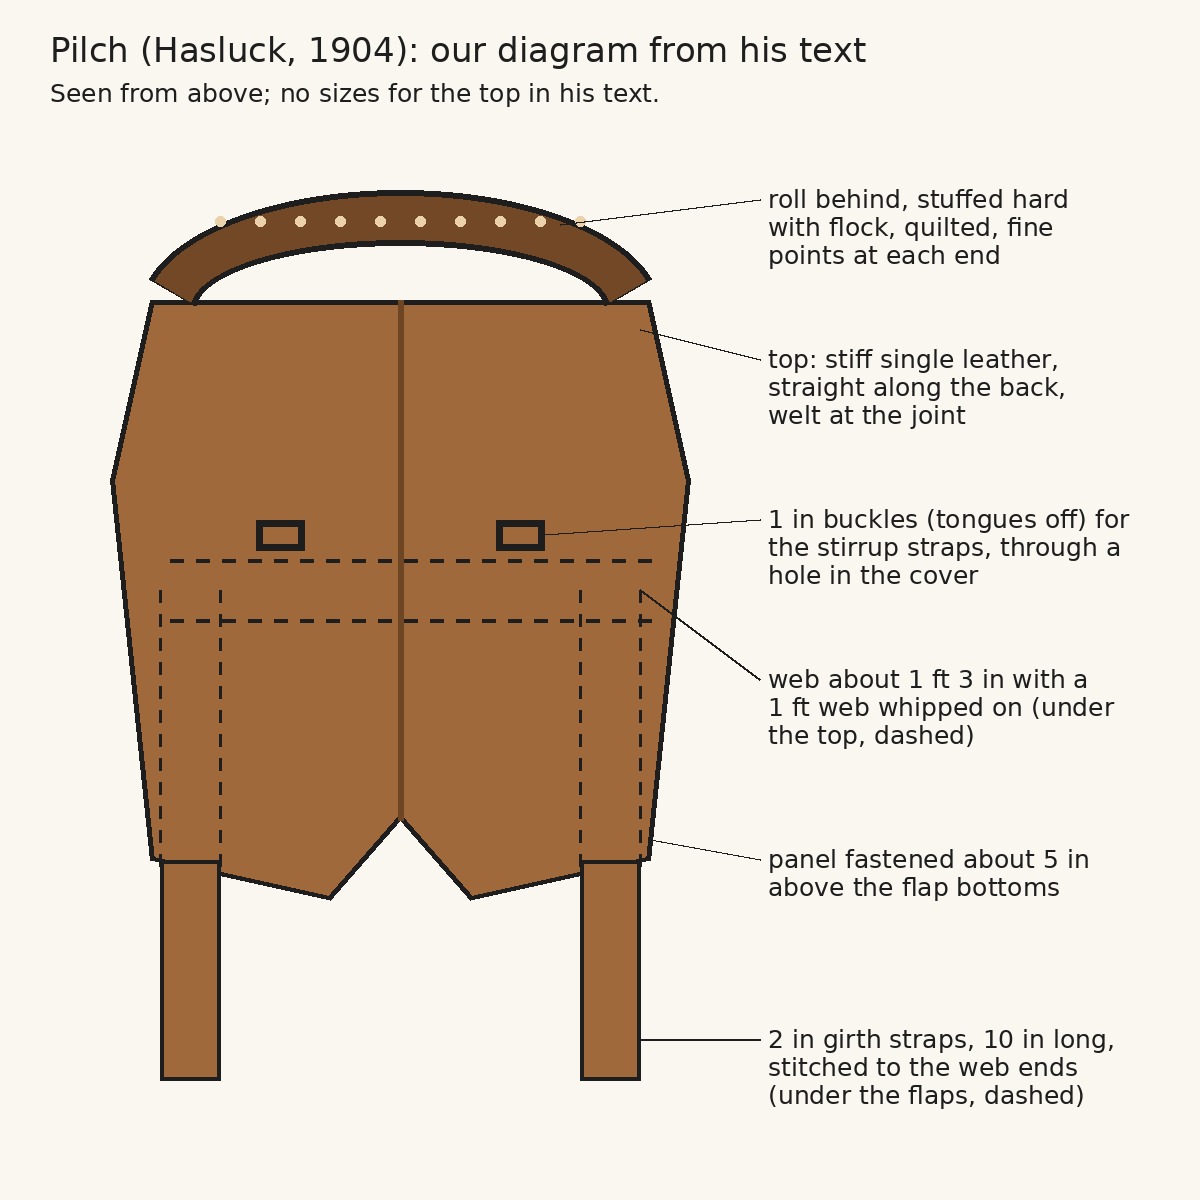
A pilch is a child's saddle made without a tree. This is the plain boy's pilch from Paul N. Hasluck's Saddlery (1904): a stiff leather top with a hard-stuffed roll behind, webs underneath carrying the girth straps and the stirrup buckles, and a flock-stuffed panel. He gives no size for the top; the picture is our diagram from his text.
Zaawansowany
About 2 days

Instrukcje

1

His sizes in centimetres

Wczytywanie notatnika Jupyter…
2

Read Saddlery, ch. IV

"A pilch is the form of saddle used by a boy or girl." He adds that pilches "accommodate themselves to almost any horse, though they lose their shape under a heavy weight".
3

Cut the top

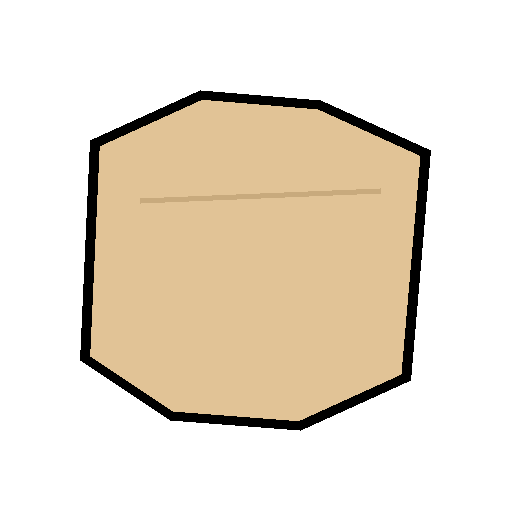
Cut the top somewhat like a saddle panel but smaller, and in a straight line along the back. Put a welt at the joint and stitch it double-handed on the under side. The top can be plain stiff single leather, or covered plain with basil or hogskin (tack a cover coarsely along the edge, then bind it with leather).

Materiały do tego kroku:

Skóra uprzężowaSkóra uprzężowa1 sztuka
Nić lnianaNić lniana1 sztuka
Wosk pszczeliWosk pszczeli1 sztuka

Potrzebne narzędzia:

Nóż do skóryNóż do skóry
SzydłoSzydło
Dwie igły rymarskieDwie igły rymarskie
Kozioł rymarskiKozioł rymarski
Miara zwijanaMiara zwijana
4

Make the web for the girth and stirrup straps

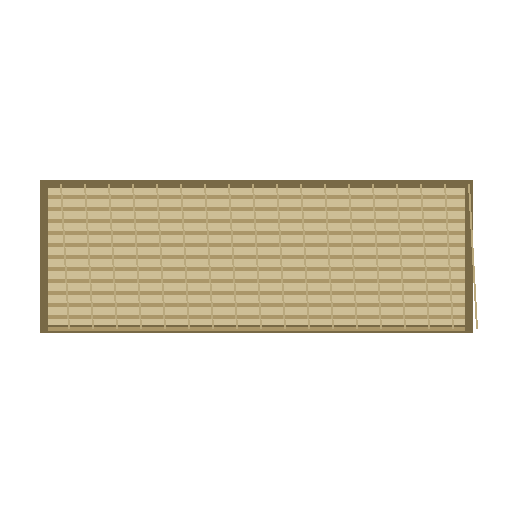
Take a piece of webbing about 1 ft 3 in long and stitch a 2 in strap, 10 in long, to each end, turning the end of the web in under the stitch. Whip a second piece of web about 1 ft long to the edge of the first, at equal distances from both ends, and fit two chapes and 1 in buckles with the tongues taken off, for the stirrup straps. Stitch this to the lower part of the top, right in the centre. Bring the stirrup buckles forward and cut a hole for each to come through on the outside without the web showing; the holes must be the same distance from the centre on each side. Stitch the web firmly through the top from end to end.

Materiały do tego kroku:

Taśma popręgowaTaśma popręgowa1 sztuka
Skóra uprzężowaSkóra uprzężowa1 sztuka
Żelazna klamra z kolcemŻelazna klamra z kolcem2 sztuk
Nić lnianaNić lniana1 sztuka
Wosk pszczeliWosk pszczeli1 sztuka

Potrzebne narzędzia:

Nóż do skóryNóż do skóry
ObcęgiObcęgi
Fazownik krawędziFazownik krawędzi
BigownicaBigownica
Palnik propanowyPalnik propanowy
SzydłoSzydło
Dwie igły rymarskieDwie igły rymarskie
Kozioł rymarskiKozioł rymarski
Miara zwijanaMiara zwijana
5

Make and fix the roll

Cut linen to the shape and size of the roll, double it and stitch the edges together; stuff it hard with flock and quilt it firmly. It should reach round the back and come to a fine point at each end. Draw it tight round the back of the seat, bringing the points down level at each corner of the flap part of the top, and put a stitch here and there along the bottom through the linen and the top.

Materiały do tego kroku:

Tkanina lnianaTkanina lniana1 sztuka
Wypełnienie wełnianeWypełnienie wełniane1 sztuka
Nić lnianaNić lniana1 sztuka
Wosk pszczeliWosk pszczeli1 sztuka

Potrzebne narzędzia:

NożyczkiNożyczki
SzydłoSzydło
Dwie igły rymarskieDwie igły rymarskie
6

Cover and quilt the roll

Cut hogskin or basil large enough to cover the roll. Raise a stitch along the bottom on both sides of the roll in the cover and run the stitches up and down through the top, drawing the cover down tightly over the roll. Quilt the roll with stitches from side to side, a little tuft of flock under each stitch, drawn tight; fasten the thread securely at the end.

Materiały do tego kroku:

Skóra świńskaSkóra świńska1 sztuka
Wypełnienie wełnianeWypełnienie wełniane1 sztuka
Nić lnianaNić lniana1 sztuka
Wosk pszczeliWosk pszczeli1 sztuka

Potrzebne narzędzia:

Nóż do skóryNóż do skóry
SzydłoSzydło
Dwie igły rymarskieDwie igły rymarskie
7

Make and fasten the panel

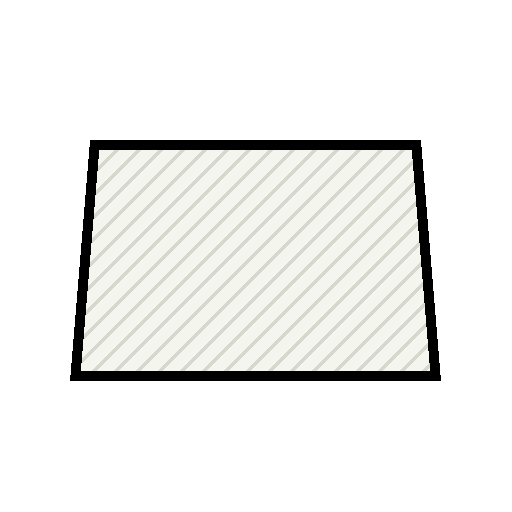
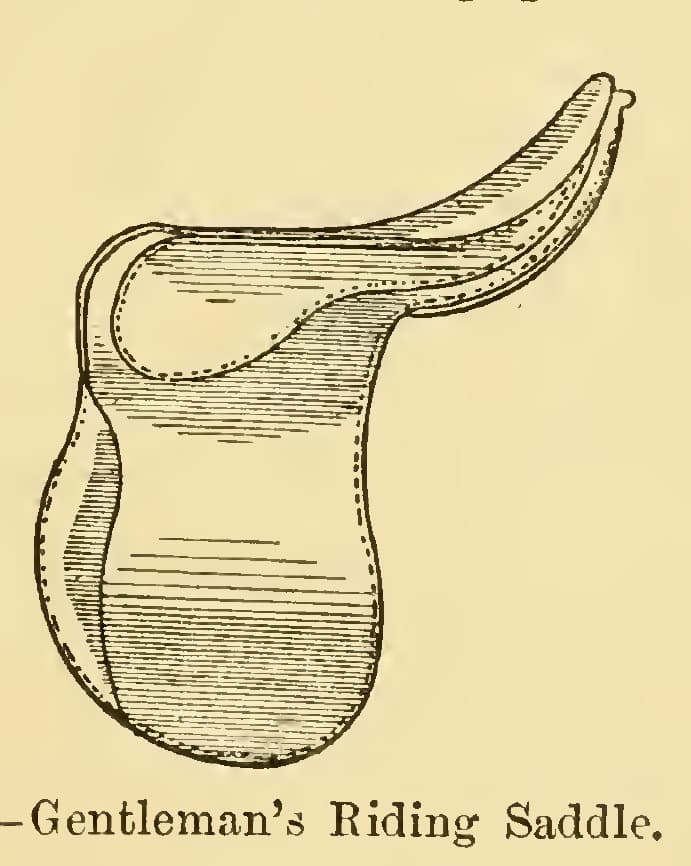
Make the panel exactly like a saddle panel (see the riding saddle blueprint). Fasten it by putting stitches through the top here and there along the front and round the back near the edge, with a small tuft of flock under each stitch on the panel and every stitch knotted over the flock as you go. Do not fasten the panel right at the bottom of the flaps, but about 5 in from it.

Materiały do tego kroku:

Skóra owcza (basil)Skóra owcza (basil)1 sztuka
Serża wełnianaSerża wełniana1 sztuka
Wypełnienie wełnianeWypełnienie wełniane1 sztuka
Nić lnianaNić lniana1 sztuka
Wosk pszczeliWosk pszczeli1 sztuka

Potrzebne narzędzia:

Nóż do skóryNóż do skóry
SzydłoSzydło
Dwie igły rymarskieDwie igły rymarskie
Miara zwijanaMiara zwijana
8

Stirrup straps, irons and girths

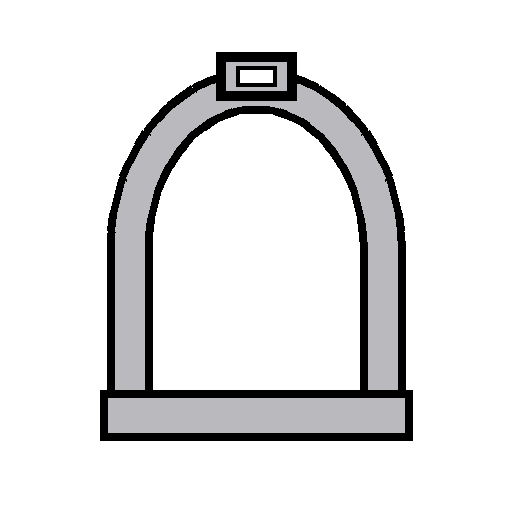
Make a pair of 1 in stirrup straps 1 ft 8 in long, and get a pair of boy's stirrup irons (he says they could be bought tinned for sixpence a pair). A pair of girths 1 ft 6 in and 1 ft 8 in long completes the pilch.

Materiały do tego kroku:

Skóra uprzężowaSkóra uprzężowa1 sztuka
StrzemięStrzemię2 sztuk
PopręgPopręg2 sztuk

Potrzebne narzędzia:

Nóż do skóryNóż do skóry

Dziurkacz do skóryDziurkacz do skóry
Miara zwijanaMiara zwijana
9

Troubleshooting

Pilch troubleshooting.

Flow

Loading...
10

History and honest limits

From **Saddlery**, edited by Paul N. Hasluck, David McKay, 1904 (archive.org saddlery00hasl), chapter IV, "Children's Saddles or Pilches", pp. 36-39, read on the scan; the chapter has no figures, so the picture is our own diagram from his text. He gives no size for the top. The reversible heads and the safe for a girl, the girl's slipper stirrup and the crupper web are not made here. The thread, tools and metric figures are ours.

Materiały

12

Wymagane narzędzia

11

CC0 Domena publiczna

Ten plan jest udostępniany na licencji CC0. Możesz go swobodnie kopiować, modyfikować, rozpowszechniać i wykorzystywać do dowolnych celów, bez konieczności uzyskiwania zgody.

Wesprzyj Makera kupując produkty przez jego plan, za co zarabia Prowizja Makera ustalony przez sprzedawców, lub stwórz nową iterację tego planu i dołącz go jako połączenie w swoim własnym planie, aby dzielić się przychodami.

Dyskusja

(0)

Zaloguj się aby dołączyć do dyskusji

Ładowanie komentarzy...