Współpraca
SZTUKA
Piękno i dobre samopoczucie
RZEMIOSŁO
KULTURA I HISTORIA
ROZRYWKA
ŚRODOWISKO
JEDZENIE I NAPOJE
INŻYNIERIA ODWROTNA
NAUKI
LEKKOATLETYKA
TECHNOLOGIA
URZĄDZENIA DO NOSZENIA
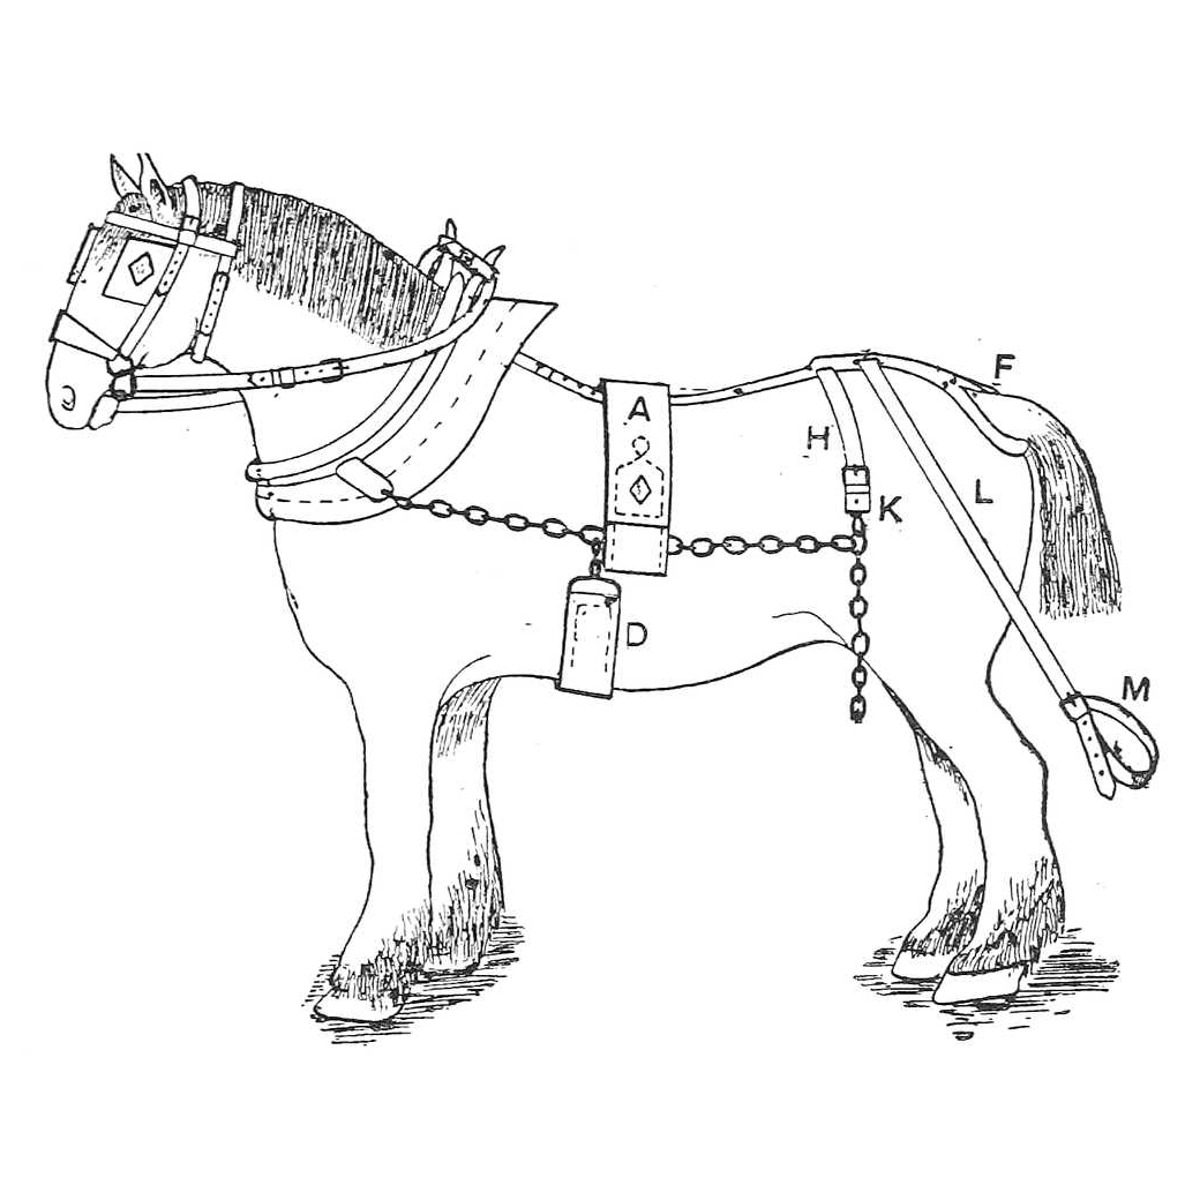


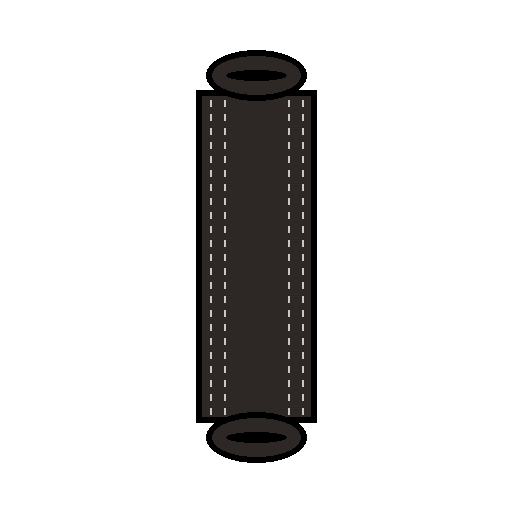
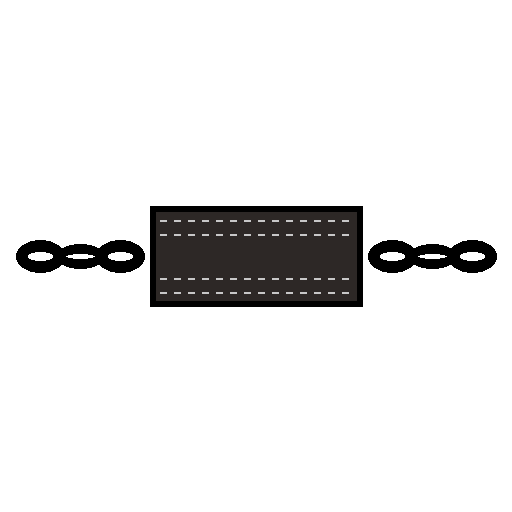
Leader Harness Back-Band and Belly-Band: Eyed Back-Band With Dees, Chain Belly-Band (Hasluck, Harness Making, 1904)
In leader (fore-gear) harness for a horse working in front of the shaft horse, the back-band (A in Fig. 102) carries the chain traces and the belly-band (D) keeps them down. This is the pair from Paul N. Hasluck's Harness Making (1904): a back-band about 4 ft 4 in long with a stitched eye at each end and two dees, and a 3 in belly-band between two chains. Every size is his.
Średniozaawansowany
About 1 day
Instrukcje
1
1
The back-band marks
The back-band marks
Wczytywanie notatnika Jupyter…
2
2
Read Harness Making, ch. VIII
Read Harness Making, ch. VIII
"The back-band A, to carry the traces, is the next part of the harness to be made. It must measure about 4 ft. 4 in. from tip to tip, including the terminal chains or the eye, to which the traces are hooked."
3
3
Cut and mark the back-band
Cut and mark the back-band
If pipe, cut the leather 6 ft 4 in by 5 in. Mark a cross-line 1 ft from each end and another 6 in from each of those, leaving 3 ft 4 in between the two middle marks. Cut a lining piece for each end, as wide as the back-band and 1 ft 3 in long. Shave both tips of the linings and the ends of the turn-in of the back-band thin. Crease, black and rub the back-band, creasing from the extreme lines right along.
Materiały do tego kroku:
 Skóra uprzężowa1 sztuka
 Barwnik do skóry1 sztuka
Potrzebne narzędzia:
 Nóż do skóry
 Ołówek
 Bigownica
 Palnik propanowy
 Gładzik do krawędzi skóry
 Miara zwijana
4
4
Prick, line and stitch the eye parts
Prick, line and stitch the eye parts
Prick from the outer cross-line at each end as far as the double will run, five rows with two on each side. Put the lining under the space between the two lines so that it is 6 in over one and 3 in over the other. Put a narrow piece, shaved at the inner edge and about 6 in long, on both ends at each side of the 6 in space, to strengthen the eye. Stitch the four rows in the 6 in space with three-cord thread, eight stitches per inch; turn the edges of this part and black and rub them.
Materiały do tego kroku:
Skóra uprzężowa1 sztuka Nić skórzana1 sztuka
 Wosk pszczeli1 sztukaBarwnik do skóry1 sztuka
Potrzebne narzędzia:
 Przecinak do szycia skóryNóż do skóry
 Fazownik krawędzi
 Szydło
 Dwie igły rymarskie
 Kozioł rymarski
5
5
Form the eyes and fit the dees
Form the eyes and fit the dees
Turn down the ends, bringing the cross-lines that divide the eye exactly opposite each other; flatten the eye so the lined parts come close together, and tack it. Take two 1 in dees, with a piece of leather inside each on the flat side for about half their width. Put one in each end between the double, close to the eye, one on each side of the back-band, low enough to stitch through the leather inside when stitching the outer row. Tack down the dees and the double, stitch right along both sides, the four rows at both ends and sides running to the top of the double from the cross rows. Stitch across the back-band along the cross-lines near the eye (he says stitch or spot with lace), and open out the eye with a thick piece of wood inside.
Materiały do tego kroku:
 Kółko D uprzężowe2 sztukSkóra uprzężowa1 sztuka
 Ćwieki montażowe1 sztukaNić skórzana1 sztukaWosk pszczeli1 sztuka
Potrzebne narzędzia:
 MłotekSzydłoDwie igły rymarskieKozioł rymarski
 Deska sosnowa
6
6
Make the two trace straps
Make the two trace straps
Cut two straps 10 in by 3/4 in, put a buckle and loop on one end and punch four or five holes in the other. They pass through the dee at the side of the back-band and through a link in the trace, to hold the back-band in place. Some makers line the inner part of the eye with sole leather and put a safe under it, about 1 in wider at the bottom, narrowing to the back-band's width at the top, with the lower corners rounded, stitched in from the eye upwards.
Materiały do tego kroku:
Skóra uprzężowa1 sztuka Żelazna klamra z kolcem2 sztuk
 Skóra podeszwowa1 sztukaNić skórzana1 sztukaWosk pszczeli1 sztuka
Potrzebne narzędzia:
Nóż do skóry Wzornik do szlufek
 Dziurkacz do skórySzydłoDwie igły rymarskie
7
7
Make the belly-band
Make the belly-band
Get a pair of 3 in chains and cut the leather 3 ft 4 in by 3 in. Turn in 4 in at the ends, and shave, edge, black and crease them. Put the leather into the openings in the chains, stitch four rows along the double part, and spot or stitch across near the chain.
Materiały do tego kroku:
 Łańcuch żelazny2 sztukSkóra uprzężowa1 sztukaBarwnik do skóry1 sztukaNić skórzana1 sztukaWosk pszczeli1 sztuka
Potrzebne narzędzia:
Nóż do skóryFazownik krawędziBigownicaPalnik propanowySzydłoDwie igły rymarskieKozioł rymarskiMiara zwijana8
8
Troubleshooting
Troubleshooting
Back-band troubleshooting.
Flow
Loading...
9
9
History and honest limits
History and honest limits
From **Harness Making**, edited by Paul N. Hasluck, Cassell, 1904 (Project Gutenberg 70169), chapter VIII, "Fore Gear or Leader Harness", pp. 104-106, Fig. 102; every figure was checked on the archive.org scan (harnessmaking00hasl). He does not explain "if pipe" further. The long crupper, hip straps and tugs of the same gear are not made here. Stitching rather than lacing across the eye, the tools and metric figures are ours.
Materiały
9- 5 sztukZastępnik
- 3 sztukZastępnik
- 4 sztukZastępnik
- 4 sztukZastępnik
- 2 sztukZastępnik
- 1 sztukaZastępnik
- 2 sztukZastępnik
- 1 sztukaZastępnik
- 2 sztukZastępnik
Wymagane narzędzia
15- Zastępnik
- 1 vendor sell this, none ship to you yetZastępnik
- Zastępnik
- Zastępnik
- Zastępnik
- 1 vendor sell this, none ship to you yetZastępnik
- Zastępnik
- Zastępnik
- Zastępnik
- Zastępnik
- Zastępnik
- Zastępnik
- Zastępnik
- Zastępnik
- Zastępnik
Według tego planu powstaje
Powiązane blueprinty
Te blueprinty dzielą się wiedzą — technikami, materiałami lub zasadami
CC0 Domena publiczna
Ten plan jest udostępniany na licencji CC0. Możesz go swobodnie kopiować, modyfikować, rozpowszechniać i wykorzystywać do dowolnych celów, bez konieczności uzyskiwania zgody.
Wesprzyj Makera kupując produkty przez jego plan, za co zarabia Prowizja Makera ustalony przez sprzedawców, lub stwórz nową iterację tego planu i dołącz go jako połączenie w swoim własnym planie, aby dzielić się przychodami.