Współpraca
SZTUKA
Piękno i dobre samopoczucie
RZEMIOSŁO
KULTURA I HISTORIA
ROZRYWKA
ŚRODOWISKO
JEDZENIE I NAPOJE
INŻYNIERIA ODWROTNA
NAUKI
LEKKOATLETYKA
TECHNOLOGIA
URZĄDZENIA DO NOSZENIA
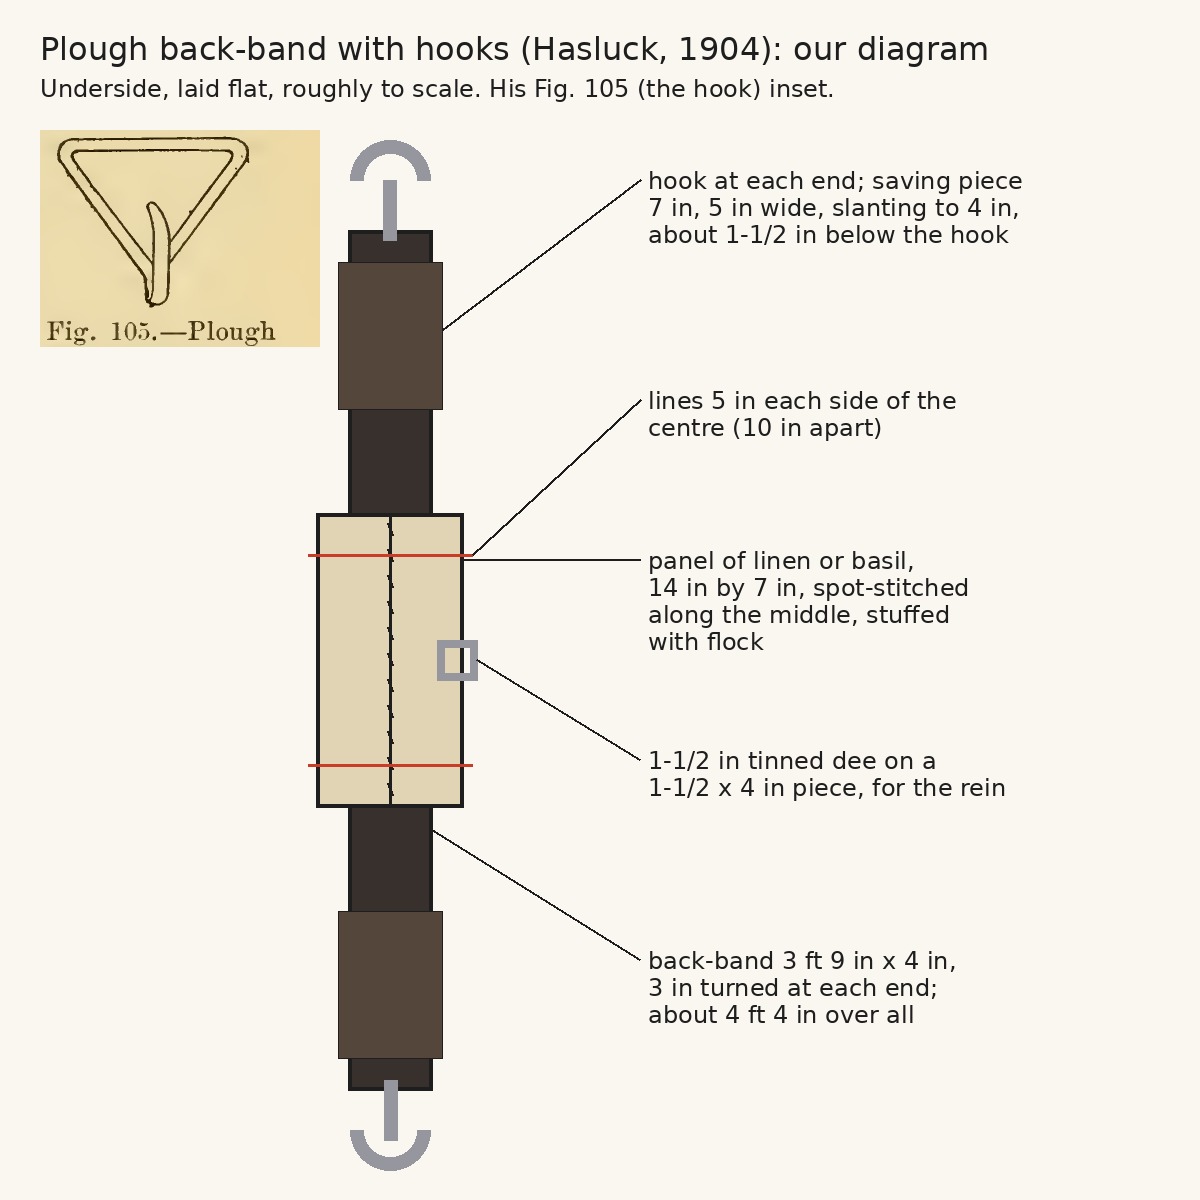


Plough Back-Band With Hooks: Faced, Flock-Padded Back-Band With a Rein Dee (Hasluck, Harness Making, 1904)
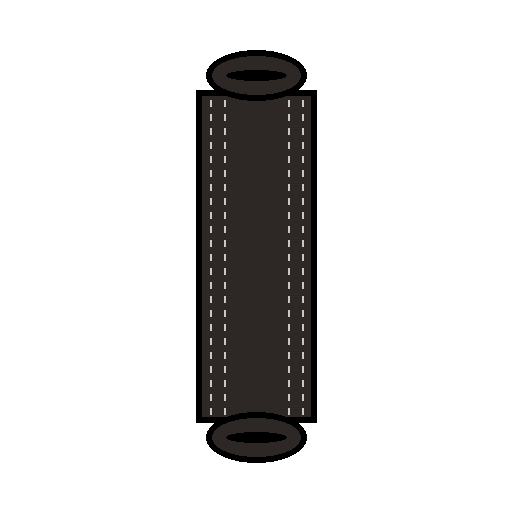
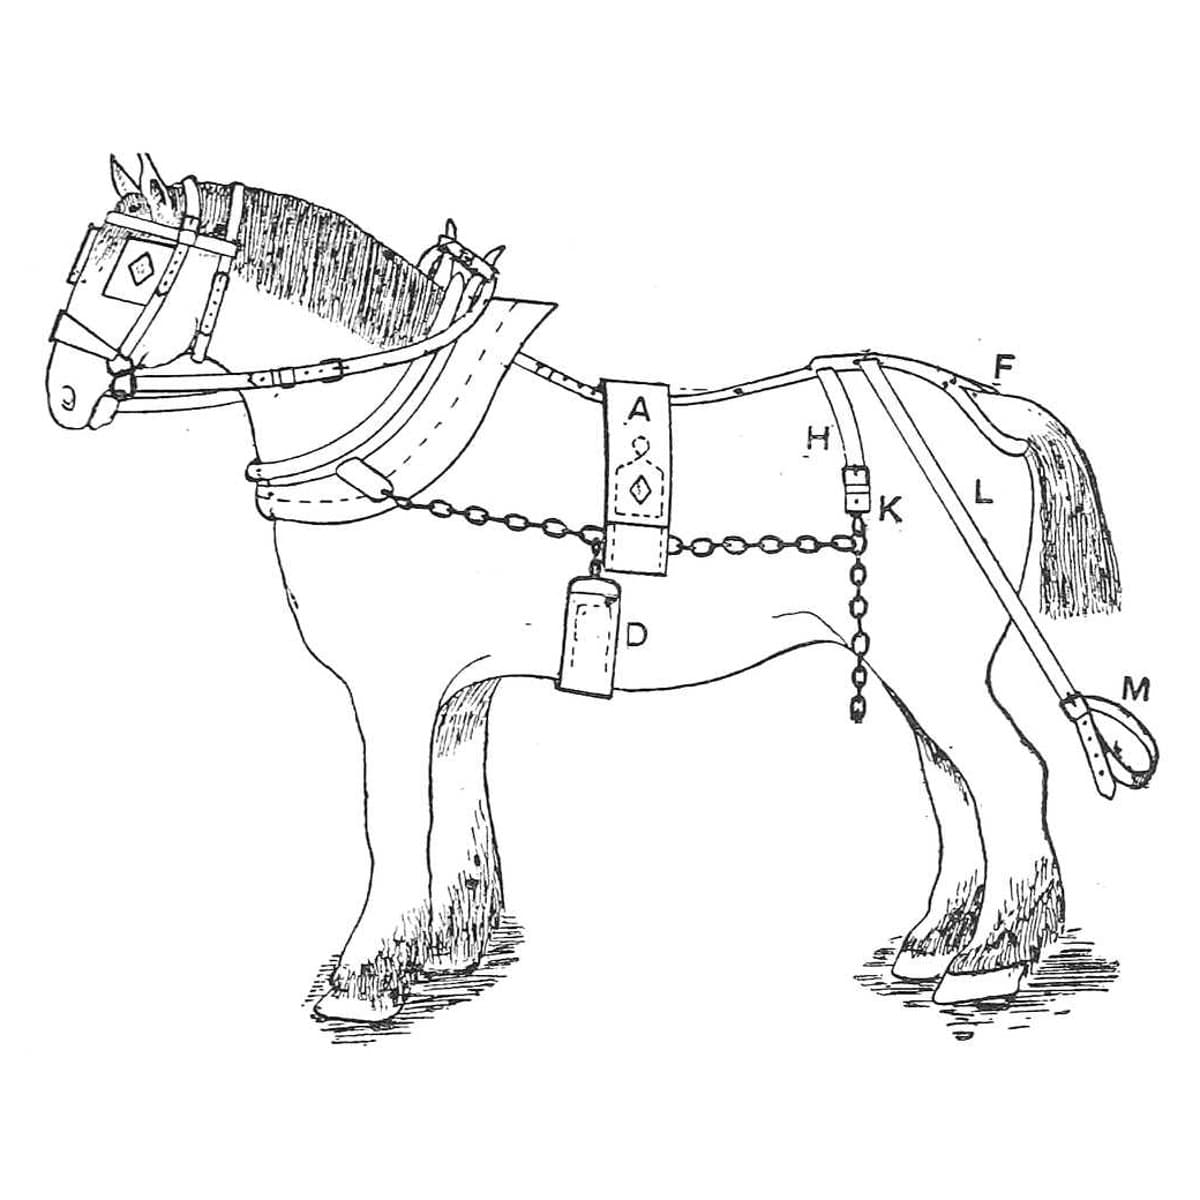
In plough harness the back-band carries the traces over the horse's back. This is the plough back-band with hooks from Paul N. Hasluck's Harness Making (1904): a 4 in band about 4 ft 4 in over all, with leather facings, a flock-stuffed panel to stop the back getting sore, a dee for the plough rein, and a hook sewn into each end. Every size is his; the picture is our diagram with his Fig. 105 inset.
Średniozaawansowany
About 1 day
Instrukcje
1
1
His sizes in centimetres
His sizes in centimetres
Wczytywanie notatnika Jupyter…
2
2
Read Harness Making, ch. IX
Read Harness Making, ch. IX
"In plough gears the ordinary bridle and collar are employed. The back-band is made in various ways. The method with hooks is taken first. The eye of the hook (Fig. 105) is 4 in. wide."
3
3
Cut and mark the back-band
Cut and mark the back-band
Cut the leather 3 ft 9 in long and 4 in wide. Turn down 3 in at each end, beat the bend slightly with the hammer to keep it down, and crease it with the screw race, two rows on each side. Mark the centre from each end and draw a line straight across there, then two lines 5 in each side of the centre, 10 in apart.
Materiały do tego kroku:
 Skóra uprzężowa1 sztuka
Potrzebne narzędzia:
 Nóż do skóry
 Młotek
 Bigownica
 Palnik propanowy
 Ołówek
 Miara zwijana
4
4
Stitch on the facings
Stitch on the facings
Cut two pieces 10-1/2 in long and 3/4 in wide; cut a small piece out of each corner of the working side, then dye and crease that side. Draw a line along the centre of each with the compasses and mark across the centre. Prick out where they go on the back-band, then place one underneath the back-band, centre to centre, as far as the drawn line, and tack it down; place the other the same way on the other side, so the pieces run a little over both lower lines at each end. Stitch, keeping the line close to the edge of the back-band, with thread of three or four cords of coarse hemp.
Materiały do tego kroku:
Skóra uprzężowa1 sztuka Barwnik do skóry1 sztuka
 Ćwieki montażowe1 sztuka
 Sznurek konopny1 sztuka
 Wosk pszczeli1 sztuka
Potrzebne narzędzia:
Nóż do skóryBigownica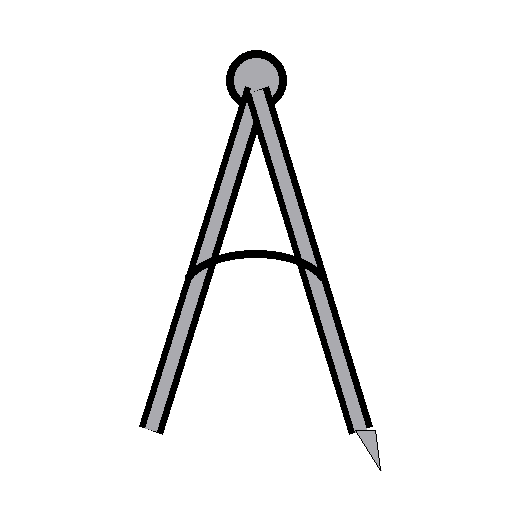 Cyrkiel rymarski do rowkowania
 Przecinak do szycia skóryMłotek
 Szydło
 Dwie igły rymarskie
 Kozioł rymarski
5
5
Fit the rein dee
Fit the rein dee
Cut a piece of leather 1-1/2 in by 4 in, shave and point both ends, and crease, black and prick it like the side, eight or ten marks per inch. Put a 1-1/2 in tinned dee in the centre of it, lay it flat on the back-band in the centre (measured from both sides, or from the top line to either line below), tack it and stitch. The plough rein runs through this dee; for a pair of horses put the dee on the opposite side of each back-band, for a single horse one on each side of the same back-band.
Materiały do tego kroku:
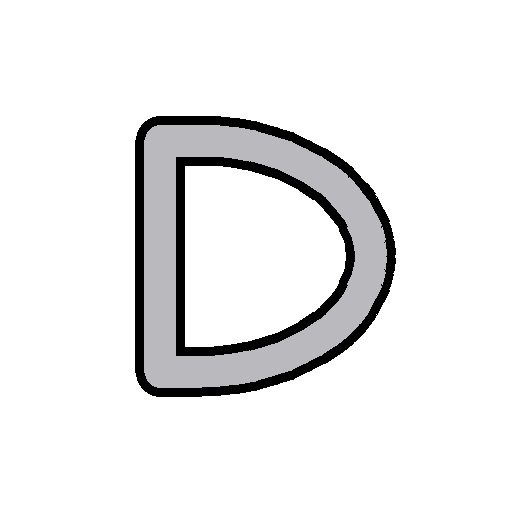 Kółko D uprzężowe1 sztukaSkóra uprzężowa1 sztukaBarwnik do skóry1 sztukaSznurek konopny1 sztukaWosk pszczeli1 sztuka
Potrzebne narzędzia:
Nóż do skóryPrzecinak do szycia skórySzydłoDwie igły rymarskieKozioł rymarski6
6
Make the panel
Make the panel
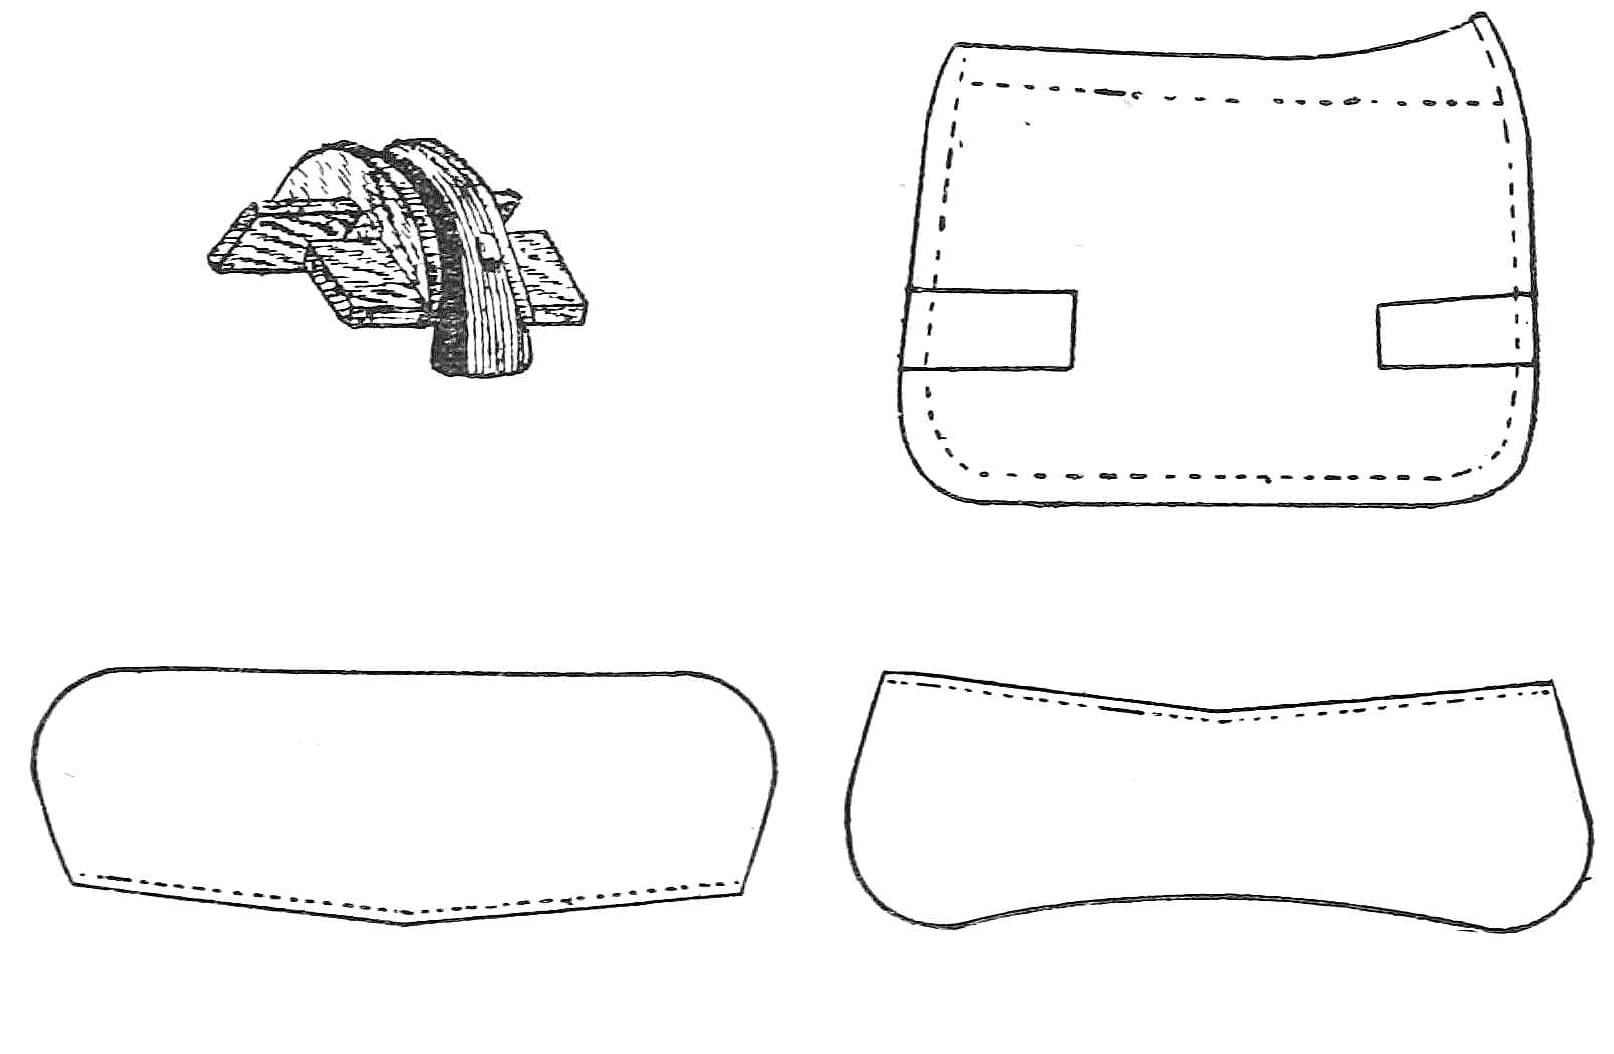
Take linen (or basil) 14 in by 7 in and lay the back-band on it centre to centre, even on both sides. Spot-stitch across the back-band and through the linen along the middle line, like this: // // //. Turn in the linen all round about 1/2 in (basil needs no turning). Make a pleat at each corner at the end of the facing, both exactly the same length, and another opposite each, so the width equals the back-band and facing together (for basil, cut the corner off and stitch the cut instead). Stitch all round, starting about 1-1/2 in from the centre on one side to leave an opening for stuffing, along the cross lines at the bottom, to within 1-1/2 in of the centre on the other side.
Materiały do tego kroku:
 Tkanina lniana1 sztukaSznurek konopny1 sztukaWosk pszczeli1 sztuka
Potrzebne narzędzia:
 NożyczkiSzydłoDwie igły rymarskie
7
7
Stuff the panel
Stuff the panel
Lay the back-band flat on the bench, leather side underneath, openings near the bench edge. Stuff each side rather tightly with flock through the openings, using the stuffing stick; smooth it well towards the sides, flatten with a mallet, and stitch along the openings to the starting point.
Materiały do tego kroku:
 Wypełnienie wełniane1 sztukaSznurek konopny1 sztukaWosk pszczeli1 sztuka
Potrzebne narzędzia:
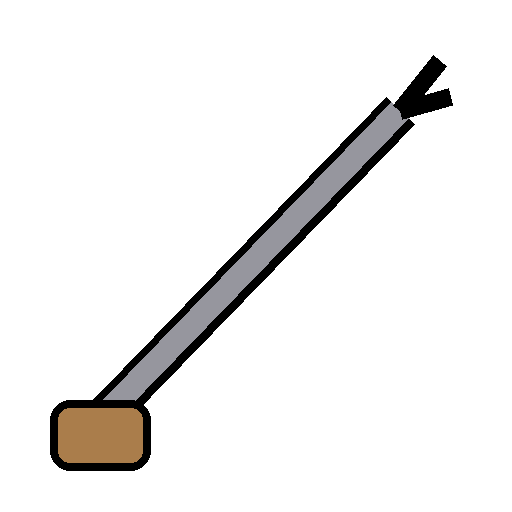 Pręt do wypychania
 Pobijak drewnianySzydłoDwie igły rymarskie
8
8
Sew in the hooks
Sew in the hooks
Cut two saving pieces from a thick, firm face of hide (the face of a gear hide is best), 7 in long and, for a 4 in back-band, 5 in wide. Cut one end slanting to 4 in, the back-band's width, and shave it; round the corners of the other end, leaving it full width; black and crease the edges. Put the hooks in place with the saving pieces under them about 1-1/2 in lower than the end of the hook, and tack them down exactly in the centre. Mark and prick four rows from the hook up to the end of the saving pieces, stitch with four-cord thread, nine or ten stitches per inch, and stitch a line across close to the hook to bind it all together.
Materiały do tego kroku:
 Hak grzbietnika2 sztukSkóra uprzężowa1 sztukaBarwnik do skóry1 sztukaĆwieki montażowe1 sztukaSznurek konopny1 sztukaWosk pszczeli1 sztuka
Potrzebne narzędzia:
Nóż do skóryBigownicaPalnik propanowyPrzecinak do szycia skóryMłotekSzydłoDwie igły rymarskieKozioł rymarski9
9
Troubleshooting
Troubleshooting
Plough back-band troubleshooting.
Flow
Loading...
10
10
History and honest limits
History and honest limits
From **Harness Making**, edited by Paul N. Hasluck, Cassell, 1904 (Project Gutenberg 70169), chapter IX, "Plough Harness", pp. 107-110, Fig. 105; every fraction was checked on the archive.org scan (harnessmaking00hasl). The back-band with chains instead of hooks and the coupling straps are not made here. Linen for the panel (he allows basil), the tools and metric figures are ours; the picture is our diagram with his Fig. 105 inset.
Materiały
9- 4 sztukZastępnik
- 3 sztukZastępnik
- 1 sztukaZastępnik
- 5 sztukZastępnik
- 5 sztukZastępnik
- 1 sztukaZastępnik
- 1 sztukaZastępnik
- 1 sztukaZastępnik
- 2 sztukZastępnik
Wymagane narzędzia
14- Zastępnik
- Zastępnik
- Zastępnik
- Zastępnik
- 1 vendor sell this, none ship to you yetZastępnik
- 1 vendor sell this, none ship to you yetZastępnik
- Zastępnik
- Zastępnik
- Zastępnik
- Zastępnik
- Zastępnik
- Zastępnik
- Zastępnik
- Zastępnik
Według tego planu powstaje
Powiązane blueprinty
Te blueprinty dzielą się wiedzą — technikami, materiałami lub zasadami
CC0 Domena publiczna
Ten plan jest udostępniany na licencji CC0. Możesz go swobodnie kopiować, modyfikować, rozpowszechniać i wykorzystywać do dowolnych celów, bez konieczności uzyskiwania zgody.
Wesprzyj Makera kupując produkty przez jego plan, za co zarabia Prowizja Makera ustalony przez sprzedawców, lub stwórz nową iterację tego planu i dołącz go jako połączenie w swoim własnym planie, aby dzielić się przychodami.