Współpraca
SZTUKA
Piękno i dobre samopoczucie
RZEMIOSŁO
KULTURA I HISTORIA
ROZRYWKA
ŚRODOWISKO
JEDZENIE I NAPOJE
INŻYNIERIA ODWROTNA
NAUKI
LEKKOATLETYKA
TECHNOLOGIA
URZĄDZENIA DO NOSZENIA
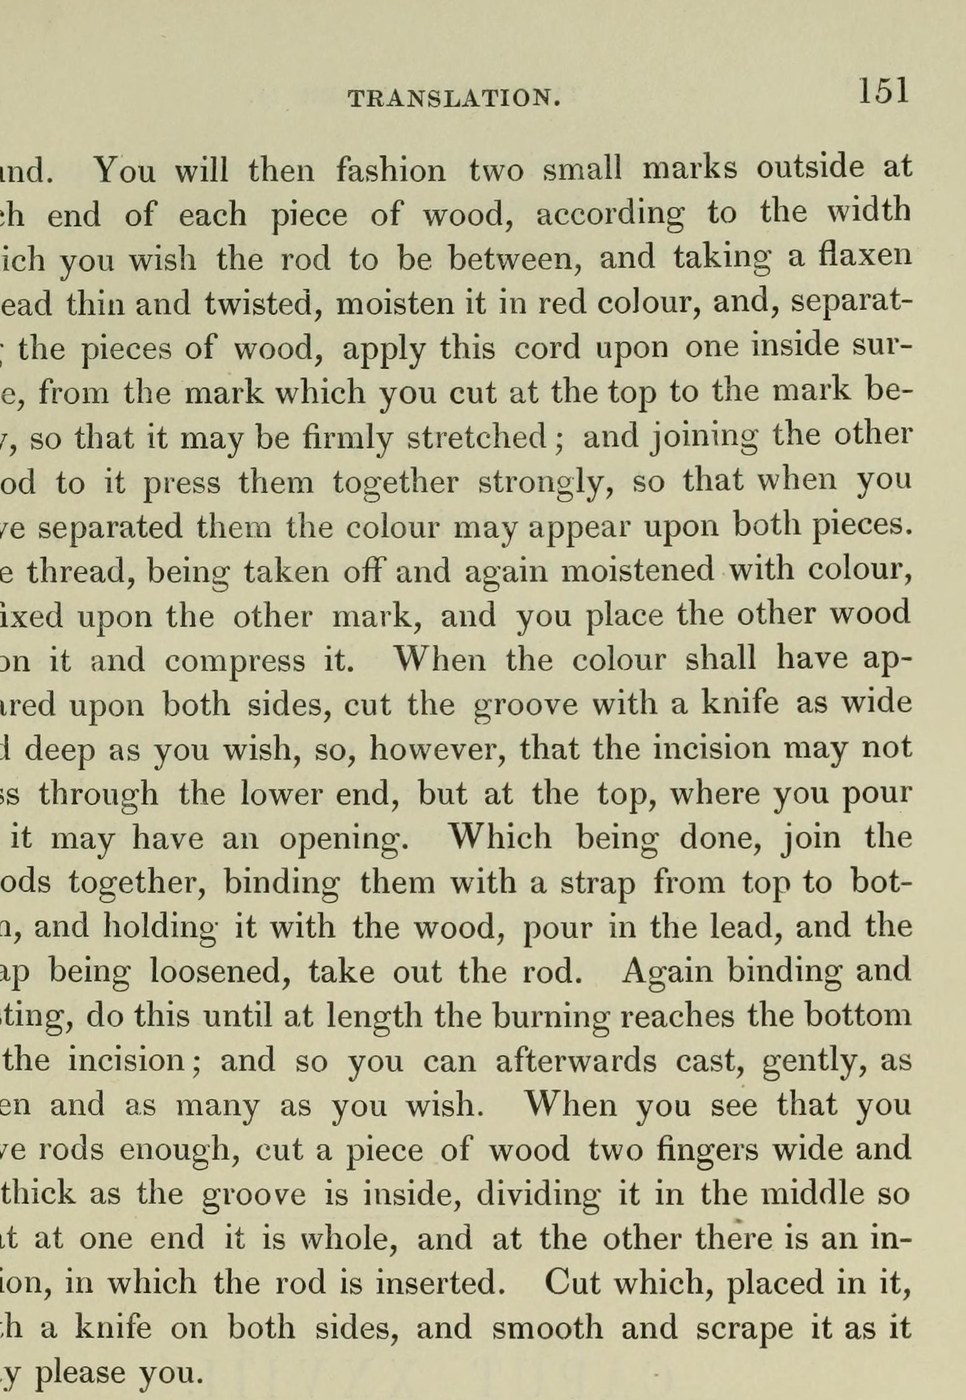


Lead Came: Window Rods Cast in a Split Wooden Mould (Theophilus, tr. Hendrie 1847)
Theophilus' way to cast window leads without an iron mould: a stick of fir is split, a groove marked with a red-dyed flax thread and cut along both halves, the halves bound with a strap and the lead poured in again and again until the hot lead has burnt the groove to the bottom.
Each rod is then trimmed in a slotted wooden gauge, cut with a knife on both sides and scraped smooth.
Source: Theophilus, De Diversis Artibus, Book II, ch. XXVI, tr. R. Hendrie (1847), pp. 149-151. Picture: p. 151.
Średniozaawansowany
Unknown
Instrukcje
1
1
Split and mark the wood
Split and mark the wood
Take fir or another wood that splits smoothly, the size of the iron mould (a yard long, two fingers broad, a finger thick). Split it and round the outside. Mark each end of both pieces for the width of the rod. Stretch a thin twisted flax thread wet with red colour from mark to mark on one inner face and press the other piece against it, so the line shows on both; do the same for the second line.
Potrzebne narzędzia:
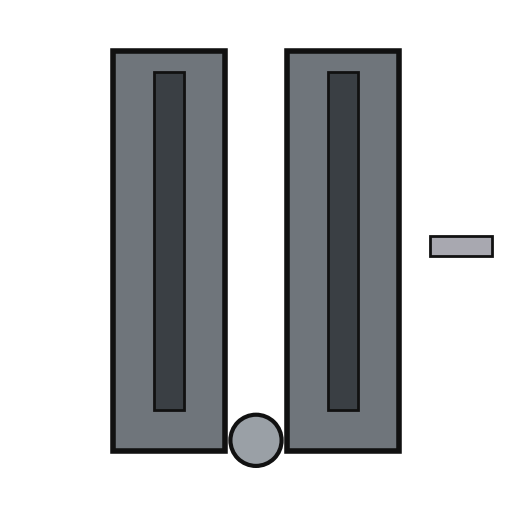 Forma do ołowianych prętów witrażowych
 Nić lniana
 Nóż introligatorski
2
2
Cut the groove
Cut the groove
Cut the groove between the lines with a knife, as wide and deep as you wish, but not through the lower end; leave an opening at the top for pouring.
Potrzebne narzędzia:
Nóż introligatorskiForma do ołowianych prętów witrażowych3
3
Cast the rods
Cast the rods
Melt the lead as for the iron mould. Bind the two halves together with a strap from top to bottom, hold the mould with a wooden holder and pour in the lead; loosen the strap and take out the rod. Bind and cast again until the burning reaches the bottom of the groove; after that you can cast gently as many as you wish.
Materiały do tego kroku:
 Wlewek ołowiu1 pure lead
Potrzebne narzędzia:
Forma do ołowianych prętów witrażowych Rzemień skórzany
 Garnek gliniany
 Węgiel drzewny
 Chochla
4
4
Trim the rods
Trim the rods
Cut a piece of wood two fingers wide and as thick as the inside of the groove, split in the middle at one end so the rod fits into the slit. With the rod in it, cut it with a knife on both sides, then smooth and scrape it as you like.
Potrzebne narzędzia:
Nóż introligatorskiMateriały
1- 1 pure leadZastępnik
Wymagane narzędzia
7- Zastępnik
- Zastępnik
- Zastępnik
- Zastępnik
- Zastępnik
- Zastępnik
Materiały z połączonych planów

Według tego planu powstaje

CC0 Domena publiczna
Ten plan jest udostępniany na licencji CC0. Możesz go swobodnie kopiować, modyfikować, rozpowszechniać i wykorzystywać do dowolnych celów, bez konieczności uzyskiwania zgody.
Wesprzyj Makera kupując produkty przez jego plan, za co zarabia Prowizja Makera ustalony przez sprzedawców, lub stwórz nową iterację tego planu i dołącz go jako połączenie w swoim własnym planie, aby dzielić się przychodami.