
Współpraca
SZTUKA
Piękno i dobre samopoczucie
RZEMIOSŁO
KULTURA I HISTORIA
ROZRYWKA
ŚRODOWISKO
JEDZENIE I NAPOJE
INŻYNIERIA ODWROTNA
NAUKI
LEKKOATLETYKA
TECHNOLOGIA
URZĄDZENIA DO NOSZENIA
Wellington Boot Leg: Drafted, Lined and Closed With a Welt in the Side Seams (Leno, 1885)
Tex

Autor

Tex

13. listopad 2026FO
9
0
0
0
0

Wellington Boot Leg: Drafted, Lined and Closed With a Welt in the Side Seams (Leno, 1885)

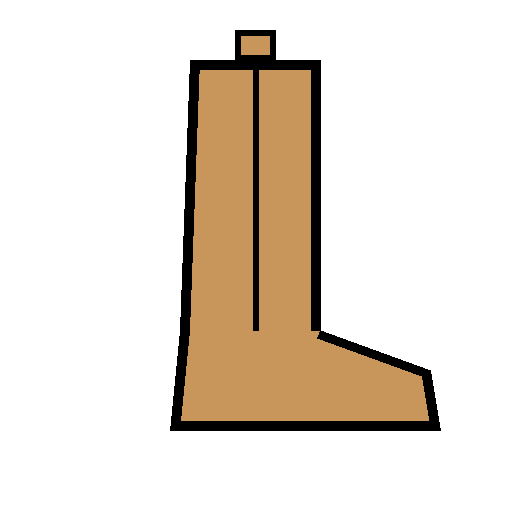
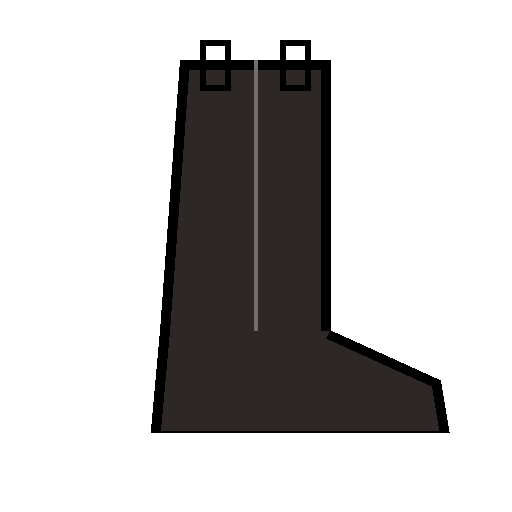
The Wellington, a tall pull-on boot with a seam down each side, is the ancestor of the cowboy boot. From John Bedford Leno's The Art of Boot and Shoemaking (1885): how to draft the front and back from the customer's measures, line them, put on the counter, close the side seams with a leather welt in the clams, and finish the leg with its pull-on straps. "As it was cut at the time of its introduction, so it is cut now." This makes the upper; lasting and soling it into a boot are the next blueprints.
Zaawansowany
About 2 days

Instrukcje

1

The draft marks

Wczytywanie notatnika Jupyter…
2

Read The Art of Boot and Shoemaking, ch. IX

"As a rule the form and cut of the majority of boots and shoes undergo considerable variations. No such change has characterized the history of the Wellington."
3

Draft the front and back

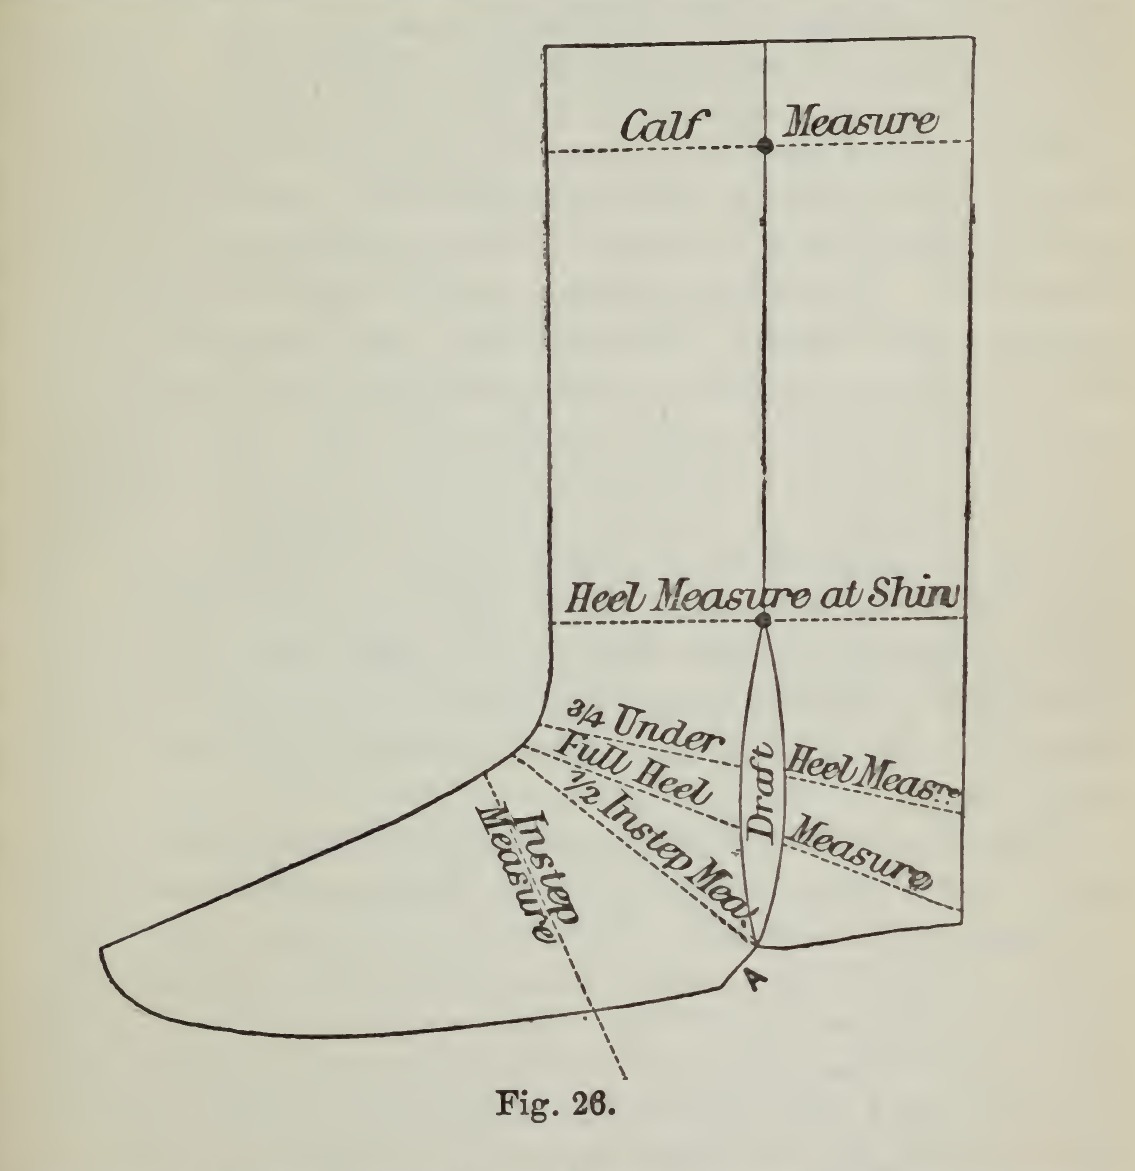
Cut the back at the bottom of the counter so the cut slopes up a quarter of an inch from the bottom of the draft, as his Fig. 26. Put front and back together as they will be when closed, front over back. Measure the calf and pierce through both with the awl at the centre of the measure; measure the shin, which should equal the heel measure, and pierce at its centre. Cut the front of the leg along a straight-edge through the awl marks, then the back the same way. Cut the corner off the front at A, at the bottom of the side seam, half the measure of instep.

Materiały do tego kroku:

Skóra cielęcaSkóra cielęca1 sztuka

Potrzebne narzędzia:

Miara zwijanaMiara zwijana
SzydłoSzydło
Liniał krawędziowyLiniał krawędziowy
Nóż do skóryNóż do skóry
4

Cut the draft

Mark the side half the depth of instep for the top of the draft. Overlap and measure at the top of the counter, three quarters of an inch less than the heel measure, and pierce at the centre. Measure from the throat to a quarter of an inch from the bottom of the counter for the full heel measure and pierce at half that distance. Cut the back from the top-draft mark in a semi-oval to the bottom of the counter, and the front the same, using the back as a guide. With the last laid on them, cut away the surplus round the bottom of the front, leaving half an inch to be sewn away. Cut the top lining and side linings and shape the counter to the back.

Materiały do tego kroku:

Skóra cielęcaSkóra cielęca1 sztuka

Potrzebne narzędzia:

Miara zwijanaMiara zwijana
SzydłoSzydło
Nóż do skóryNóż do skóry
5

Fit and paste the linings

Fit the side linings on the board held on your knees, then cut and skive them thin at the edges. If the front is brittle or harsh in the grain, rub it soft. Scrape the dirt off the grain on the vamp side with a blunt knife and paste the linings on. If front or back are light, paste strips of roan from the joint of the linings along their inside edges, the back's running from just below the counter up to the top lining.

Materiały do tego kroku:

Skóra cielęcaSkóra cielęca1 sztuka
Skóra owcza barwiona (roan)Skóra owcza barwiona (roan)1 sztuka
Klej pszennyKlej pszenny1 sztuka

Potrzebne narzędzia:

Deska sosnowaDeska sosnowa
Nóż do skóryNóż do skóry
Nóż do ścieniania skóryNóż do ścieniania skóry
6

Fit the counter

Choose a counter that needs no stiffener; if it is light, put a stiffener between counter and back. Skive the counter thin and let it run over to the front, where it is held by a row or rows of stabbing, "commended for the support it gives to the boot". Fit the legs and, when the paste is dry, line the front.

Materiały do tego kroku:

Skóra cielęcaSkóra cielęca1 sztuka
Klej pszennyKlej pszenny1 sztuka

Potrzebne narzędzia:

Nóż do ścieniania skóryNóż do ścieniania skóry
Nóż do skóryNóż do skóry
7

Whip the side linings and stitch the counter

Whip or hem the side linings on with awl or needle, leaving no thread marks outside, and not below the joints of the foot. The awl should have no thickness behind its point, no keenness at the side, and be slightly hooked. Stitch the counter on, with the two back counter rows holding counter and stiffener. Mark the holes with the pricker, teeth smooth, struck evenly.

Materiały do tego kroku:

Nić lnianaNić lniana1 sztuka

Potrzebne narzędzia:

SzydłoSzydło

Dwie igły rymarskieDwie igły rymarskie
Przecinak do szycia skóryPrzecinak do szycia skóry
8

Close the side seams

With flax thread suited to the leather, put the back in the clams grain side out, top toward you, the front held the same on the left side, and the small strip of leather that forms the welt between them; close up the sides. Keep the stitches regular and an equal distance from the edges; too many stitches weaken the upper. Insert the closer's block, wet the seam slightly and rub it smooth with the long stick.

Materiały do tego kroku:

Nić lnianaNić lniana1 sztuka
Skóra cielęcaSkóra cielęca1 sztuka
WodaWoda1 sztuka

Potrzebne narzędzia:

Kleszcze kaletnicze drewnianeKleszcze kaletnicze drewniane
SzydłoSzydło
Dwie igły rymarskieDwie igły rymarskie
Klocek cholewkarskiKlocek cholewkarski
Gładzik do szwówGładzik do szwów
9

Line the top and turn the leg

Cut the top lining to the size of the leg and whip it on front and back. Turn the boot, put the block in again and make the seam flat. Take the surplus of the welt away with the welt-cutter, carefully, "or the upper may suffer considerable damage", and set the welt up with the welt-setter.

Materiały do tego kroku:

Skóra cielęcaSkóra cielęca1 sztuka
Nić lnianaNić lniana1 sztuka

Potrzebne narzędzia:

Dwie igły rymarskieDwie igły rymarskie
Klocek cholewkarskiKlocek cholewkarski
Nóż do wypustkiNóż do wypustki
Ustawiacz wypustkiUstawiacz wypustki
10

Put in the straps and finish

Cut a slit in the top lining and insert the straps. Put the boot on the tree and leave it until dry; then stab the top and straps. Set up the welt with a solution of gum arabic and ink or water.

Materiały do tego kroku:

Skóra cielęcaSkóra cielęca1 sztuka
Nić lnianaNić lniana1 sztuka
Guma arabskaGuma arabska1 sztuka
Tusz kreślarskiTusz kreślarski1 sztuka

Potrzebne narzędzia:

NożyczkiNożyczki
Prawidło do butów z cholewąPrawidło do butów z cholewą
SzydłoSzydło
Dwie igły rymarskieDwie igły rymarskie
Ustawiacz wypustkiUstawiacz wypustki
11

Troubleshooting

Wellington leg troubleshooting.

Flow

Loading...
12

History and honest limits

From **The Art of Boot and Shoemaking** by John Bedford Leno, Crosby Lockwood, London, 1885 (archive.org artofbootshoemak00leno, an 1889 printing), chapter IX, "Fitting and Closing", pp. 66-69: "The Light Wellington" and "How to Cut and Draft a Wellington". For a stout Wellington he grooves the edges with the closer's plough; that tool is not used here. He names no leather for side linings or counter; calf is ours. The metric figures are ours. This blueprint makes the leg (the upper); lasting, welting, soling and heeling it are the next blueprints.

Materiały

7

Wymagane narzędzia

15

Według tego planu powstaje

Powiązane blueprinty

Te blueprinty dzielą się wiedzą — technikami, materiałami lub zasadami
CC0 Domena publiczna

Ten plan jest udostępniany na licencji CC0. Możesz go swobodnie kopiować, modyfikować, rozpowszechniać i wykorzystywać do dowolnych celów, bez konieczności uzyskiwania zgody.

Wesprzyj Makera kupując produkty przez jego plan, za co zarabia Prowizja Makera ustalony przez sprzedawców, lub stwórz nową iterację tego planu i dołącz go jako połączenie w swoim własnym planie, aby dzielić się przychodami.

Dyskusja

(0)

Zaloguj się aby dołączyć do dyskusji

Ładowanie komentarzy...