Współpraca
SZTUKA
Piękno i dobre samopoczucie
RZEMIOSŁO
KULTURA I HISTORIA
ROZRYWKA
ŚRODOWISKO
JEDZENIE I NAPOJE
INŻYNIERIA ODWROTNA
NAUKI
LEKKOATLETYKA
TECHNOLOGIA
URZĄDZENIA DO NOSZENIA
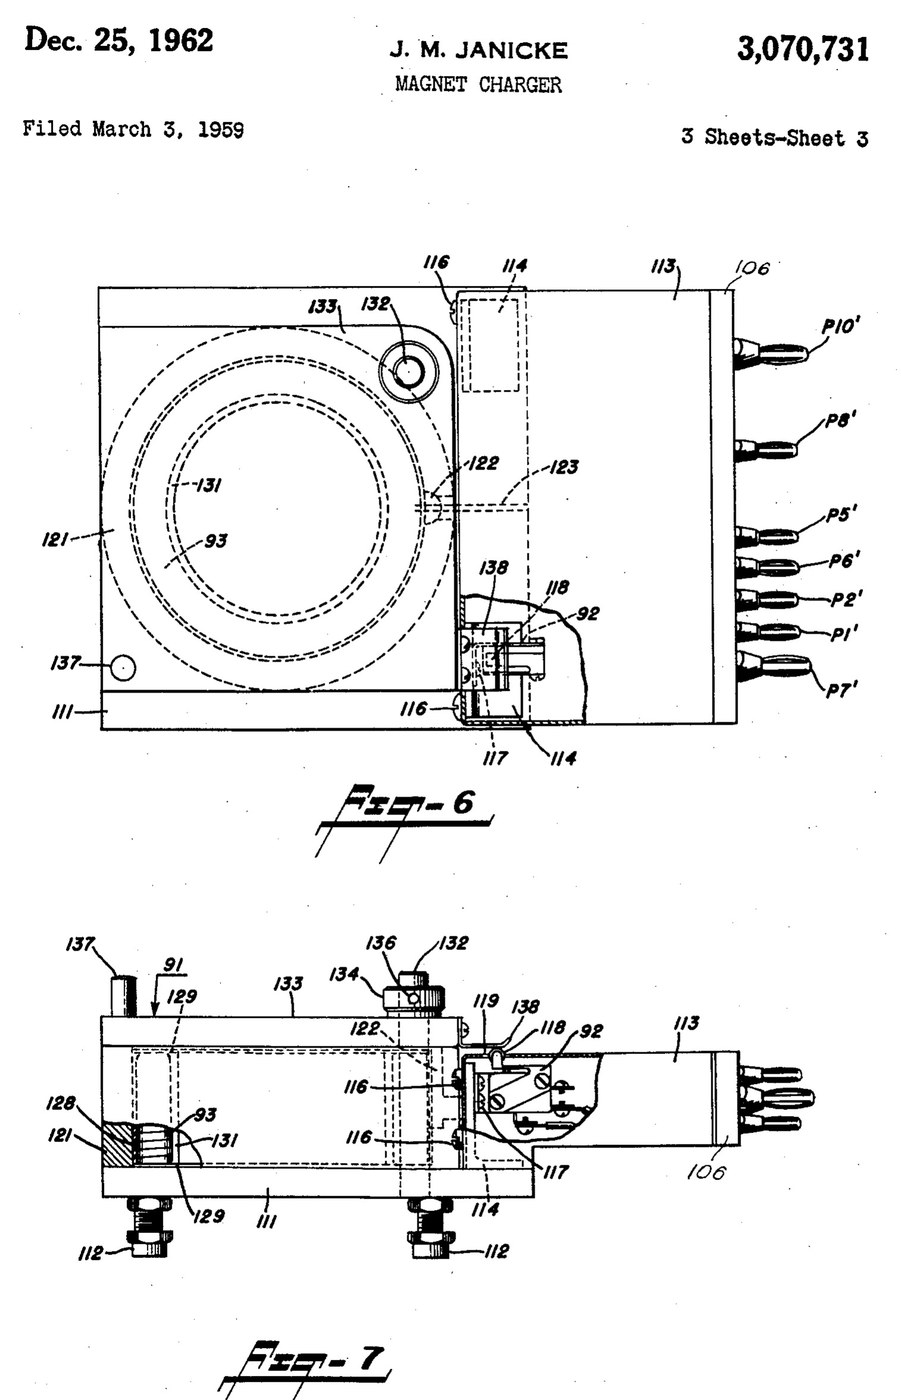


Magnetiser: Capacitor-Discharge Magnet Charger with a Wire-Wound Fixture (Janicke, US 3,070,731, 1962)
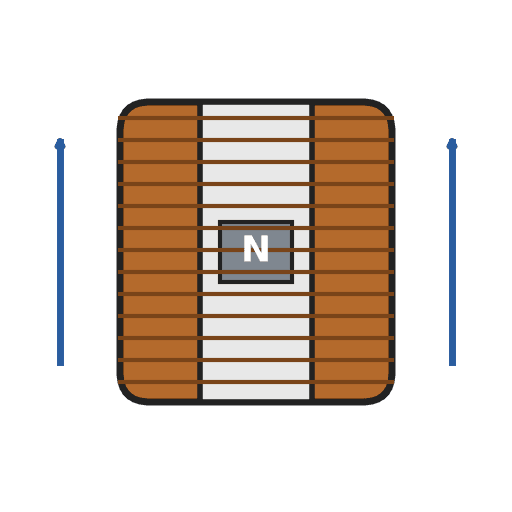
An impulse magnetiser. A capacitor is charged to a high voltage, then an ignitron dumps it all at once through a coil. The magnet sits inside the coil in a closed steel pot, so almost all of the flux goes through it.
Result: a magnet charger that magnetises rods, bars and blocks in one pulse, with an interlocked lid.
Source: J. M. Janicke, US 3,070,731 (1962). Unknown: voltages, capacitance, coil windings, field strength and sizes. Picture: the patent drawing.
Ekspert
Unknown
Instrukcje
1
1
Build the charging supply
Build the charging supply
Feed a line switch from the mains through two fuses, with a pilot lamp. Wire a high-voltage transformer with two primaries, which a high-low switch puts in series or in parallel. Run its centre-tapped secondary to two mercury-vapour rectifier tubes, "or the like", with their own filament transformer, so they charge the energy-storage capacitor. A charging on-off switch with a red lamp switches the high-voltage side. A meter with multiplier resistors across the capacitor shows its voltage. Ours: toggle switches, neon lamps, a moving-coil meter. Not given: any voltage or value.
Materiały do tego kroku:
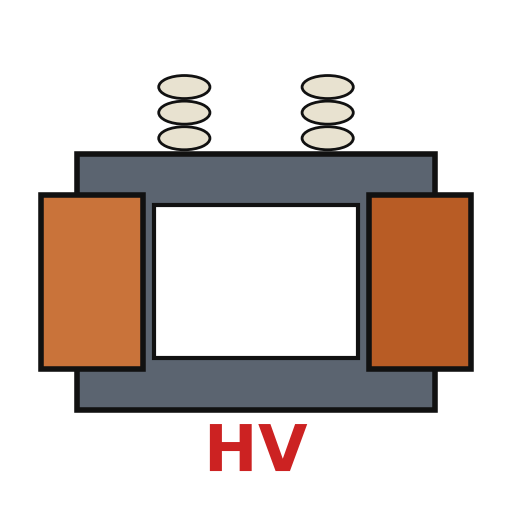 Transformator wysokiego napięcia1 high-voltage transformer
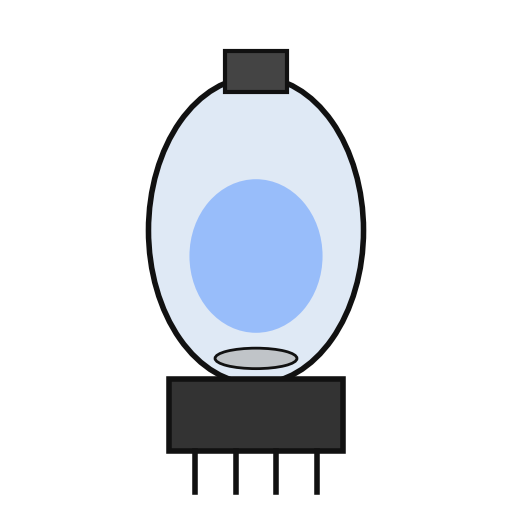 Prostownik rtęciowy2 rectifier tubes
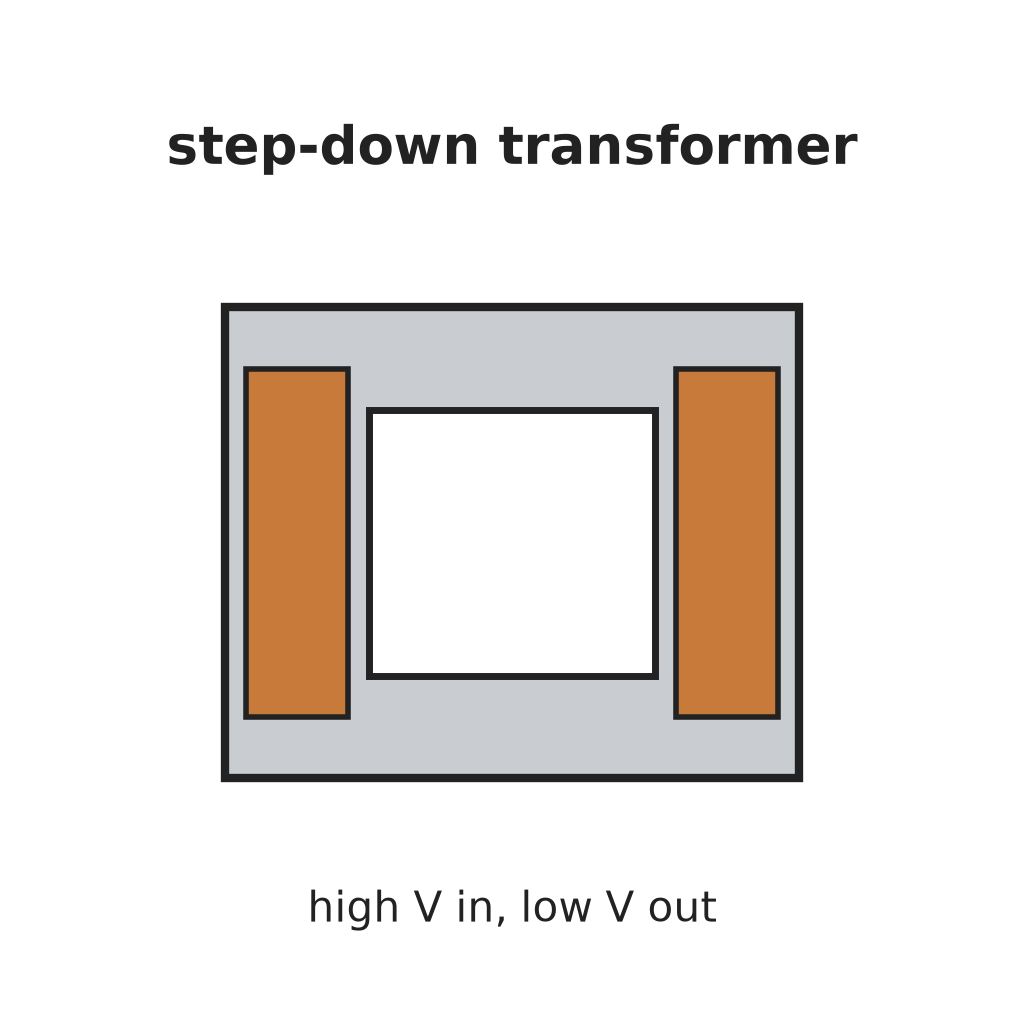 Transformator obniżający napięcie1 filament transformer
 Kondensator magazynujący energię1 storage capacitor
 Miernik tablicowy magnetoelektryczny1 voltage meter
 Nieznany rezystor2 meter multipliers
 Przełącznik dźwigniowy3 line, charging and high-low switches
 Bezpiecznik topikowy2 fuses
 Lampka neonowa sygnalizacyjna2 pilot and red lamps
Potrzebne narzędzia:
 Lutownica
 Ściągacz izolacji
2
2
Add the delay and the bleeder
Add the delay and the bleeder
Put a thermal time-delay relay before the charging switch: about thirty seconds after switch-on it energises a control relay, which feeds the charging switch and holds itself on. A third contact of the control relay lifts a bleeder resistor off the capacitor while the charger runs. When the charger is shut down the relay drops out and the bleeder drains the dangerous high-voltage charge from the capacitor.
Materiały do tego kroku:
 Przekaźnik czasowy1 thermal delay relay
 Przekaźnik1 control relay, three contact setsNieznany rezystor1 bleeder resistor
Potrzebne narzędzia:
LutownicaŚciągacz izolacji3
3
Fit the ignitron firing circuit
Fit the ignitron firing circuit
Put an ignitron in the discharge path of the storage capacitor, as its switch. The meter's multiplier resistors also form a divider that charges a small firing capacitor. Pressing the push button discharges the firing capacitor through a small limiting resistor into the ignitron's igniter, and the ignitron conducts. Not given: the firing capacitor's type and value.
Materiały do tego kroku:
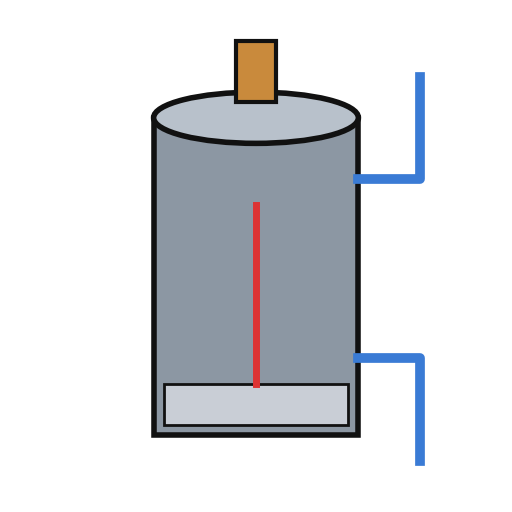 Ignitron1 discharge switch
 Nieznany materiał1 firing capacitorNieznany rezystor1 limiting resistor
 Przycisk1 charge button
Potrzebne narzędzia:
LutownicaŚciągacz izolacji4
4
Build the wire-wound fixture
Build the wire-wound fixture
Weld a hollow cylindrical shell onto a base plate on levelling legs, both of magnetic material, to make a pot. Cut slots through the shell and the base plate so they cannot act as a shorted single-turn winding. Set the coil inside the shell in potting compound, with ring-shaped end pieces and a hollow cylindrical core in it. Hinge a square magnetic cover on a post beside the shell, held by a collar and set screw, with a handle. An L-shaped plate on the cover closes a switch in the igniter circuit only when the cover is shut. Wire the coil between the storage capacitor and the ignitron anode. Ours: mild steel, enamelled copper wire, casting epoxy. Not given: sizes, turns.
Materiały do tego kroku:
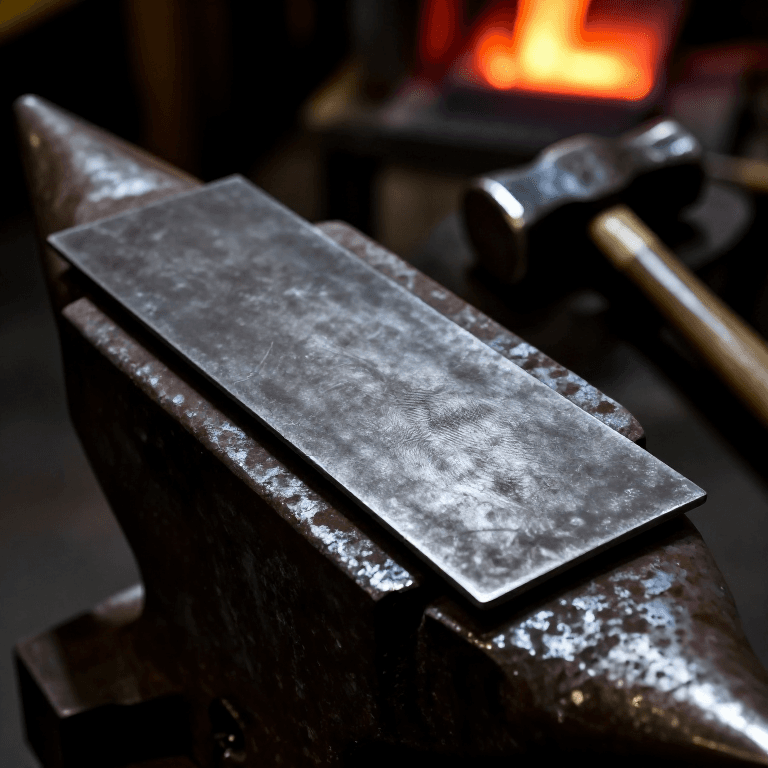
 Blacha gruba ze stali niskowęglowej1 base plate and cover
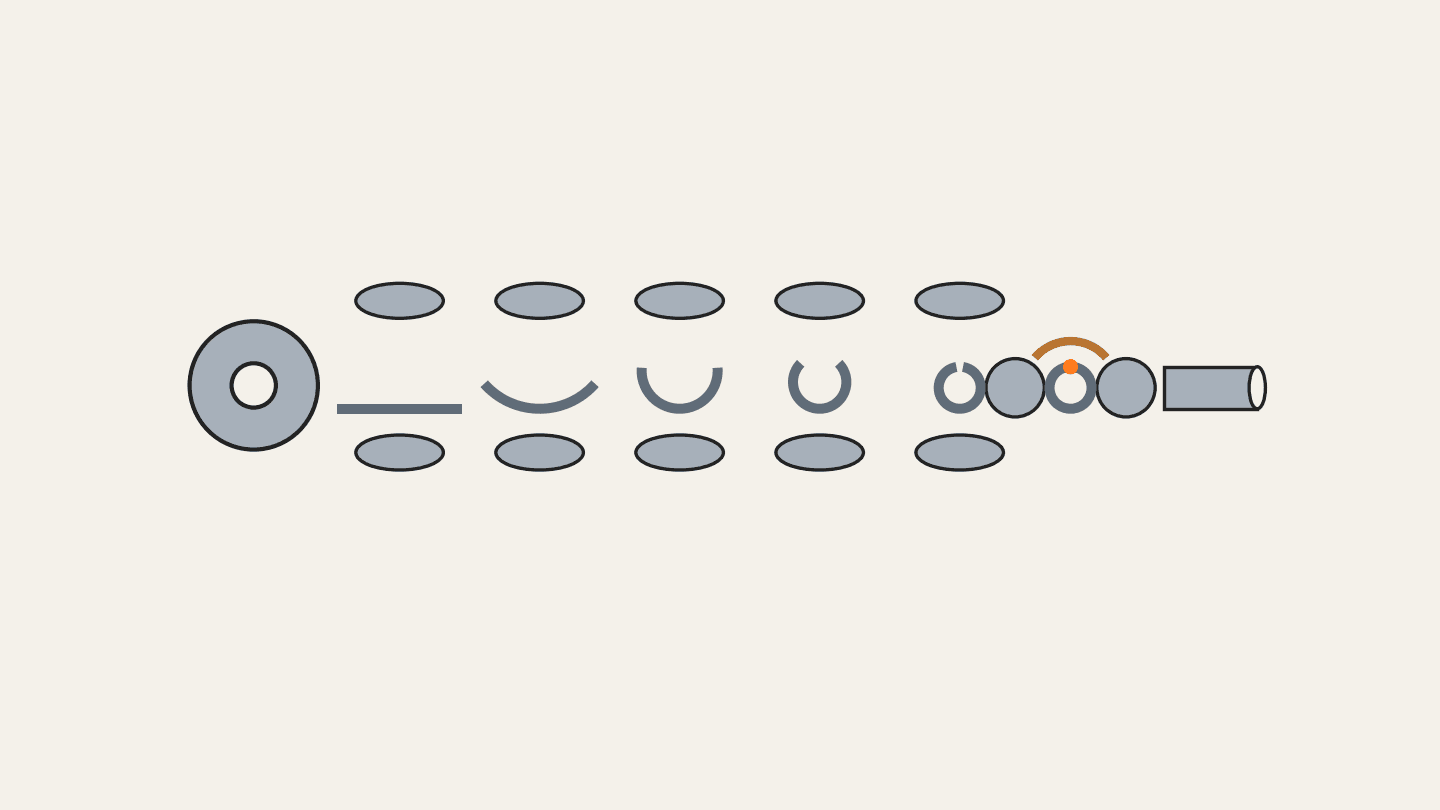
 Rura okrągła ze stali miękkiej1 shell
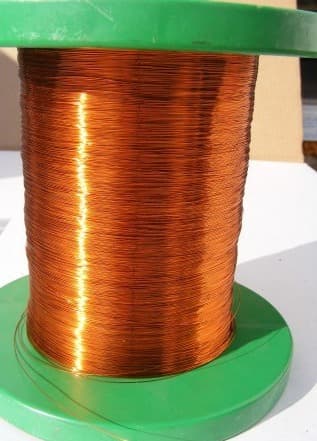
 Drut miedziany emaliowany1 coil
 Czarna żywica epoksydowa do odlewów1 potting compound
 Nieznany metal1 end pieces, core, post, legs
 Mikrowyłącznik (dźwigniowy)1 lid interlock switch
Potrzebne narzędzia:
 Spawarka łukowa
 Wiertarka stołowa
 Zestaw wkrętaków
 Nieznane wymiary
5
5
Charge a magnet
Charge a magnet
Put the magnet inside the core. Fill most of the air gap between it and the base plate and cover with soft iron, but leave a small gap near the cover, or the cover will be hard to swing open afterwards. Lay insulating material about 1/16 inch thick on top of the magnet. Close the cover, which arms the igniter switch, charge the capacitor, and press the button: one pulse magnetises it. Ours: wrought iron for the soft iron.
Potrzebne narzędzia:
 Pręt z kutego żelaza
 Nieznany materiał izolacyjny
Materiały
20- 1 high-voltage transformerZastępnik
- 2 rectifier tubesZastępnik
- 1 filament transformerZastępnik
- 1 storage capacitorZastępnik
- 1 voltage meterZastępnik
- 1 limiting resistorZastępnik
- 3 line, charging and high-low switches1 vendor sell this, none ship to you yetZastępnik
- 2 fusesZastępnik
- 2 pilot and red lampsZastępnik
- 1 thermal delay relayZastępnik
- 1 control relay, three contact setsZastępnik
- 1 discharge switchZastępnik
- 1 firing capacitorZastępnik
- Zastępnik
- 1 base plate and coverZastępnik
- Zastępnik
- Zastępnik
- 1 potting compoundZastępnik
- 1 end pieces, core, post, legsZastępnik
- 1 lid interlock switchZastępnik
Wymagane narzędzia
8- 2 vendors sell this, none ship to you yetZastępnik
- Zastępnik
- Zastępnik
- Zastępnik
- Zastępnik
- Zastępnik
- Zastępnik
- Zastępnik
Materiały z połączonych planów


Według tego planu powstaje
CC0 Domena publiczna
Ten plan jest udostępniany na licencji CC0. Możesz go swobodnie kopiować, modyfikować, rozpowszechniać i wykorzystywać do dowolnych celów, bez konieczności uzyskiwania zgody.
Wesprzyj Makera kupując produkty przez jego plan, za co zarabia Prowizja Makera ustalony przez sprzedawców, lub stwórz nową iterację tego planu i dołącz go jako połączenie w swoim własnym planie, aby dzielić się przychodami.