Współpraca
SZTUKA
Piękno i dobre samopoczucie
RZEMIOSŁO
KULTURA I HISTORIA
ROZRYWKA
ŚRODOWISKO
JEDZENIE I NAPOJE
INŻYNIERIA ODWROTNA
NAUKI
LEKKOATLETYKA
TECHNOLOGIA
URZĄDZENIA DO NOSZENIA
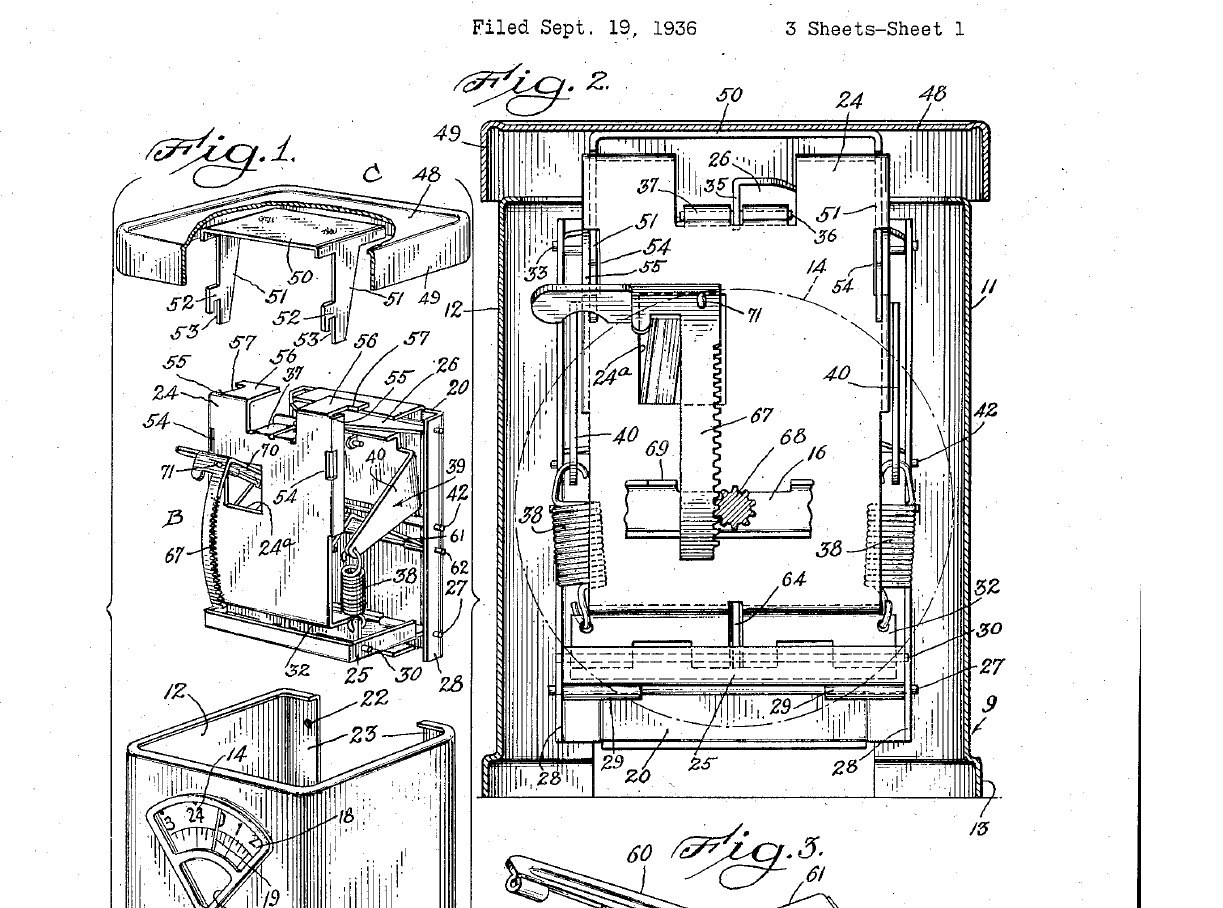


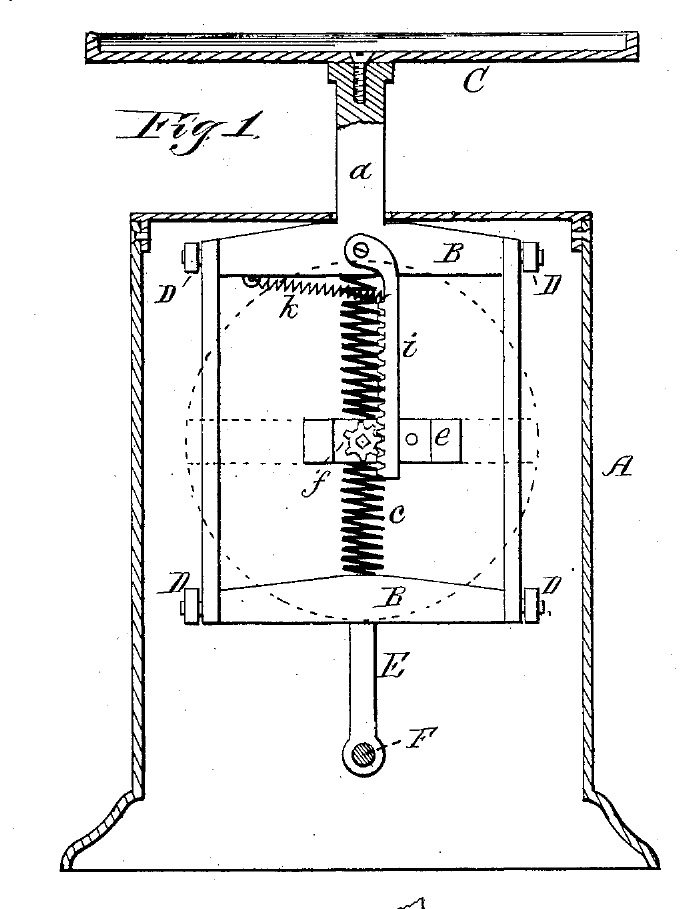
Mechanical Kitchen Scale: Sheet-Metal Case, Guided Plate and Two Springs to a Dial (Hansen, 1939)
The everyday kitchen spring scale, built almost entirely from sheet metal. The platform hangs from a plate that two pivoted links keep moving straight up and down, the way Roberval's frame keeps a pan level. Two springs carry the load, and a rack turns the numbered dial behind a small window.
Result: a household scale that reads the true weight even when the food is put on one edge of the platform, because the dial is driven from the point midway between the two springs. It goes together from three units: case, weighing works and platform.
Source: M. H. Hansen (Hanson Scale Co.), US Patent 2,145,480 (1939). Unknown: the sheet metal and its sizes, the springs, the capacity and how the dial is marked. Picture: patent drawing.
Zaawansowany
3 days
Instrukcje
1
1
Make the case and fit the dial
Make the case and fit the dial
Bend sheet metal into a U: a front wall and two side walls, the lower edges flared outward to stand steady, open at the top and back, with inturned flanges on the back edges. Cut a sector-shaped window in the front and glaze it. Fix a bracket across the side walls, and run the dial shaft from the front wall to the bracket. On the shaft goes the round dial, numbered on its face, and a pinion behind it. Fit a fixed pointer at the window. Not given: the metal, gauge and sizes, and how the dial is numbered.
Materiały do tego kroku:
 Nieznany metal1 arkusz
 Szyba1 window
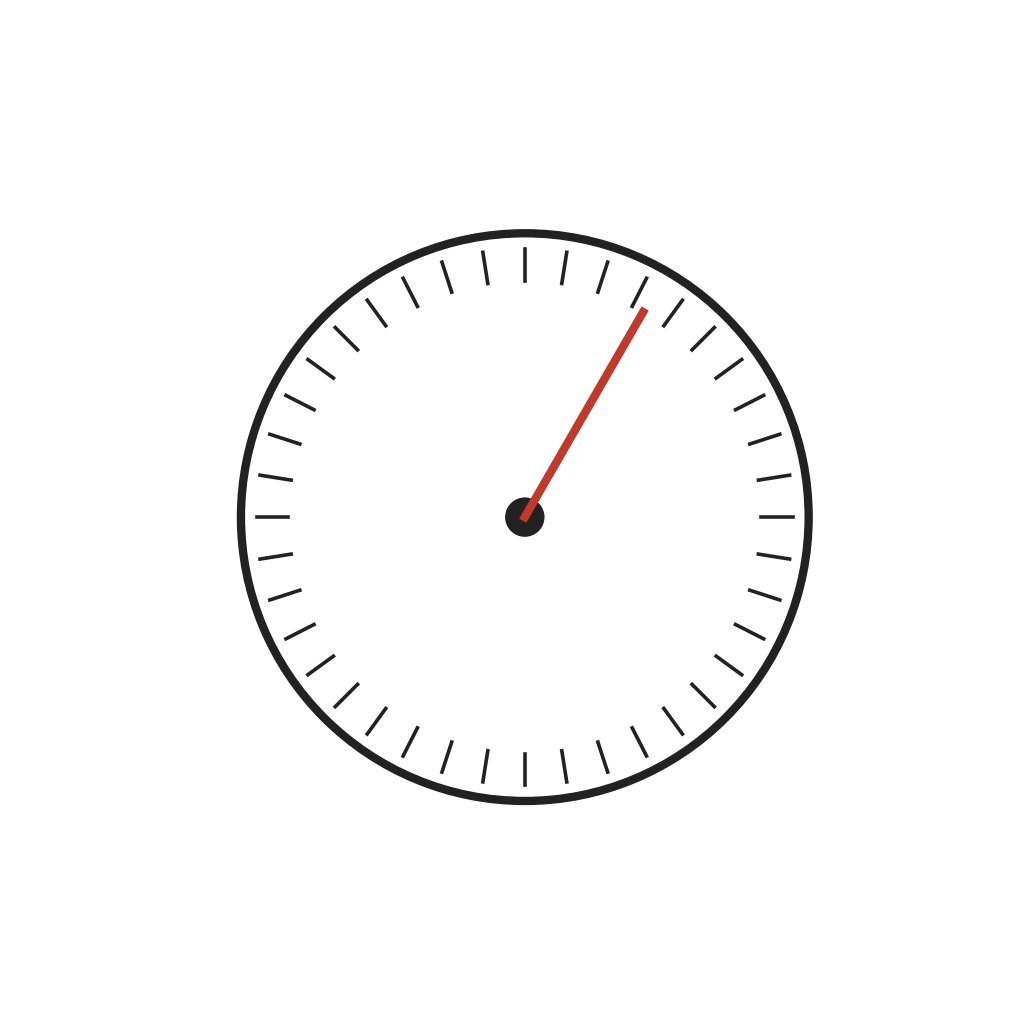 Tarcza i wskazówka wagi1 sztuka
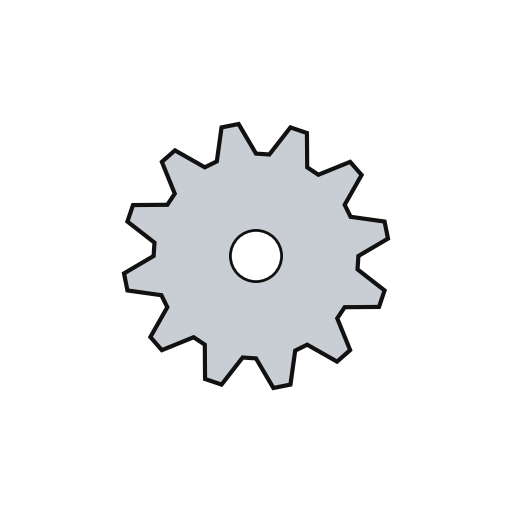 Zębnik1 sztuka
Potrzebne narzędzia:
 Nożyce do blachy
 Zestaw szczypiec
 Nieznane wymiary
2
2
Build the guided plate on two springs
Build the guided plate on two springs
On a flat rear plate, pin two horizontal links: a lower rectangular one and an upper triangular one. Pin their front ends to an upright plate, which can now only move straight up and down. Hang the upright plate from two tension springs at its lower corners. Hook their tops to the arms of a U-shaped bracket pivoted on the rear plate. A bolt through the rear plate, with a compression spring and a nut, swings the bracket to set the zero.
Materiały do tego kroku:
Nieznany metal1 arkusz Szpilki1 zestaw
 Sprężyna naciągowa2 sztuk
 Zestaw sprężyn naciskowych1 one spring
 Śruby maszynowe1 zero bolt
 Nakrętka sześciokątna1 sztuka
Potrzebne narzędzia:
Nożyce do blachyZestaw szczypiecNieznane wymiary3
3
Drive the dial from the middle
Drive the dial from the middle
Pivot an arm on the rear plate and join it by a short link to the upright plate at the pin midway between the two springs. If food sits off-centre, the platform tips and one spring stretches more, but the middle point moves by the average, so the arm gives the true weight. Pass the arm through a hole in the upright plate. Pin it to a curved rack cut in one piece with its extension, so a loose arm cannot skew the rack. The rack will mesh with the dial pinion.
Materiały do tego kroku:
Nieznany metal1 arkuszSzpilki1 zestawPotrzebne narzędzia:
Nożyce do blachyZestaw szczypiec4
4
Make the platform
Make the platform
Cut a rectangular sheet-metal platform with a flange turned down all round. Make the flange clear the case walls, so a tipped platform cannot rub and dirt stays out. Rivet a U-shaped bracket under it. Its two arms end in slotted hooks that drop into openings in the upright plate, held by its flanges so the platform cannot tilt on it.
Materiały do tego kroku:
Nieznany metal1 arkusz Nity stalowe1 a few
Potrzebne narzędzia:
Nożyce do blachyZestaw szczypiec5
5
Assemble and set the zero
Assemble and set the zero
Lower the weighing works into the case through the open top: the rack drops into mesh with the dial pinion. Screw the rear plate to the case flanges. Hook the platform on. With the platform empty, turn the zero nut until the zero on the dial stands at the pointer. Turn it again later if the springs stretch. Ours: check the reading with a known weight.
Materiały do tego kroku:
Śruby maszynowe1 rear plate screwsPotrzebne narzędzia:
 Zestaw wkrętaków
 Ciężarek
Materiały
10- 1 arkuszZastępnik
- 1 windowZastępnik
- 1 sztukaZastępnik
- 1 sztukaZastępnik
- 2 zestawówZastępnik
- 2 sztukZastępnik
- 1 one springZastępnik
- 1 rear plate screwsZastępnik
- 1 sztukaZastępnik
- 1 a fewZastępnik
Materiały z połączonych planów
Według tego planu powstaje
Powiązane blueprinty
Te blueprinty dzielą się wiedzą — technikami, materiałami lub zasadami
CC0 Domena publiczna
Ten plan jest udostępniany na licencji CC0. Możesz go swobodnie kopiować, modyfikować, rozpowszechniać i wykorzystywać do dowolnych celów, bez konieczności uzyskiwania zgody.
Wesprzyj Makera kupując produkty przez jego plan, za co zarabia Prowizja Makera ustalony przez sprzedawców, lub stwórz nową iterację tego planu i dołącz go jako połączenie w swoim własnym planie, aby dzielić się przychodami.