SZTUKA
Piękno i dobre samopoczucie
RZEMIOSŁO
KULTURA I HISTORIA
ROZRYWKA
ŚRODOWISKO
JEDZENIE I NAPOJE
INŻYNIERIA ODWROTNA
NAUKI
LEKKOATLETYKA
TECHNOLOGIA
URZĄDZENIA DO NOSZENIA
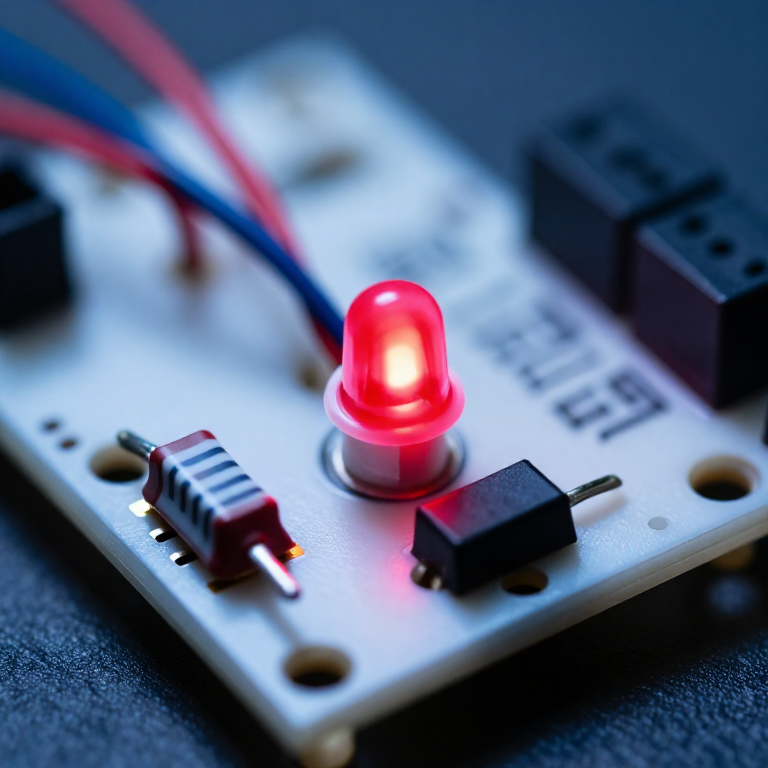


Ohm's Law at the Bench: Picking the Resistor That Saves the LED
One equation does most of the arithmetic a maker ever needs from electronics, and it is three letters long. What makes it worth a rung of its own is that the three commonest beginner disasters — the LED that dies instantly, the resistor that cooks, the divider that sags under load — are all the same equation applied carelessly.
An LED is the sharpest example. It is not a resistor: past its forward voltage the current rises almost without limit, so connecting one directly across a supply destroys it in a fraction of a second. The resistor beside it is not a formality, it is the only thing deciding the current.
Every SIK circuit published here that lights an LED has one, and this is why.
Początkujący
3 hours
Instrukcje
1
1
Size the resistor for an LED, and see why it is not optional
Size the resistor for an LED, and see why it is not optional
Wczytywanie notatnika Jupyter…
Materiały do tego kroku:
 Zestaw diod LED1 sztuka
 Zestaw rezystorów1 sztuka
Potrzebne narzędzia:
 Płytka stykowa
 Kalkulator
 Multimetr
2
2
Check the resistor will survive the heat
Check the resistor will survive the heat
Wczytywanie notatnika Jupyter…
Materiały do tego kroku:
Zestaw rezystorów1 sztukaPotrzebne narzędzia:
KalkulatorMultimetr3
3
The divider that works until you connect something
The divider that works until you connect something
Wczytywanie notatnika Jupyter…
Materiały do tego kroku:
Zestaw rezystorów1 sztukaPotrzebne narzędzia:
Płytka stykowaMultimetrKalkulator4
4
Measure it, and find out what your parts really are
Measure it, and find out what your parts really are
Build the LED and its resistor on a breadboard, then measure: the supply, the voltage across the LED, and the voltage across the resistor. They should add up to the supply.
Then work out the current from the resistor's voltage and its measured resistance, and compare it with what you calculated. The LED's real forward voltage will not be exactly the table value — it varies by part, by colour bin, and with current — which is why the calculation is a starting point and the measurement is the answer.
This also demonstrates Kirchhoff's voltage law without naming it: around any loop, the voltages sum to zero. Once you have seen it on a meter it stops being an abstraction and becomes a tool for finding where a missing volt went.
Materiały do tego kroku:
Zestaw diod LED1 sztukaZestaw rezystorów1 sztukaPotrzebne narzędzia:
Płytka stykowaMultimetr Zasilacz laboratoryjny
Materiały
2- 2 sztukZastępnik
- od$5.64
Powiązane blueprinty
Te blueprinty dzielą się wiedzą — technikami, materiałami lub zasadami

CC0 Domena publiczna
Ten plan jest udostępniany na licencji CC0. Możesz go swobodnie kopiować, modyfikować, rozpowszechniać i wykorzystywać do dowolnych celów, bez konieczności uzyskiwania zgody.
Wesprzyj Makera kupując produkty przez jego plan, za co zarabia Prowizja Makera ustalony przez sprzedawców, lub stwórz nową iterację tego planu i dołącz go jako połączenie w swoim własnym planie, aby dzielić się przychodami.