Współpraca
SZTUKA
Piękno i dobre samopoczucie
RZEMIOSŁO
KULTURA I HISTORIA
ROZRYWKA
ŚRODOWISKO
JEDZENIE I NAPOJE
INŻYNIERIA ODWROTNA
NAUKI
LEKKOATLETYKA
TECHNOLOGIA
URZĄDZENIA DO NOSZENIA
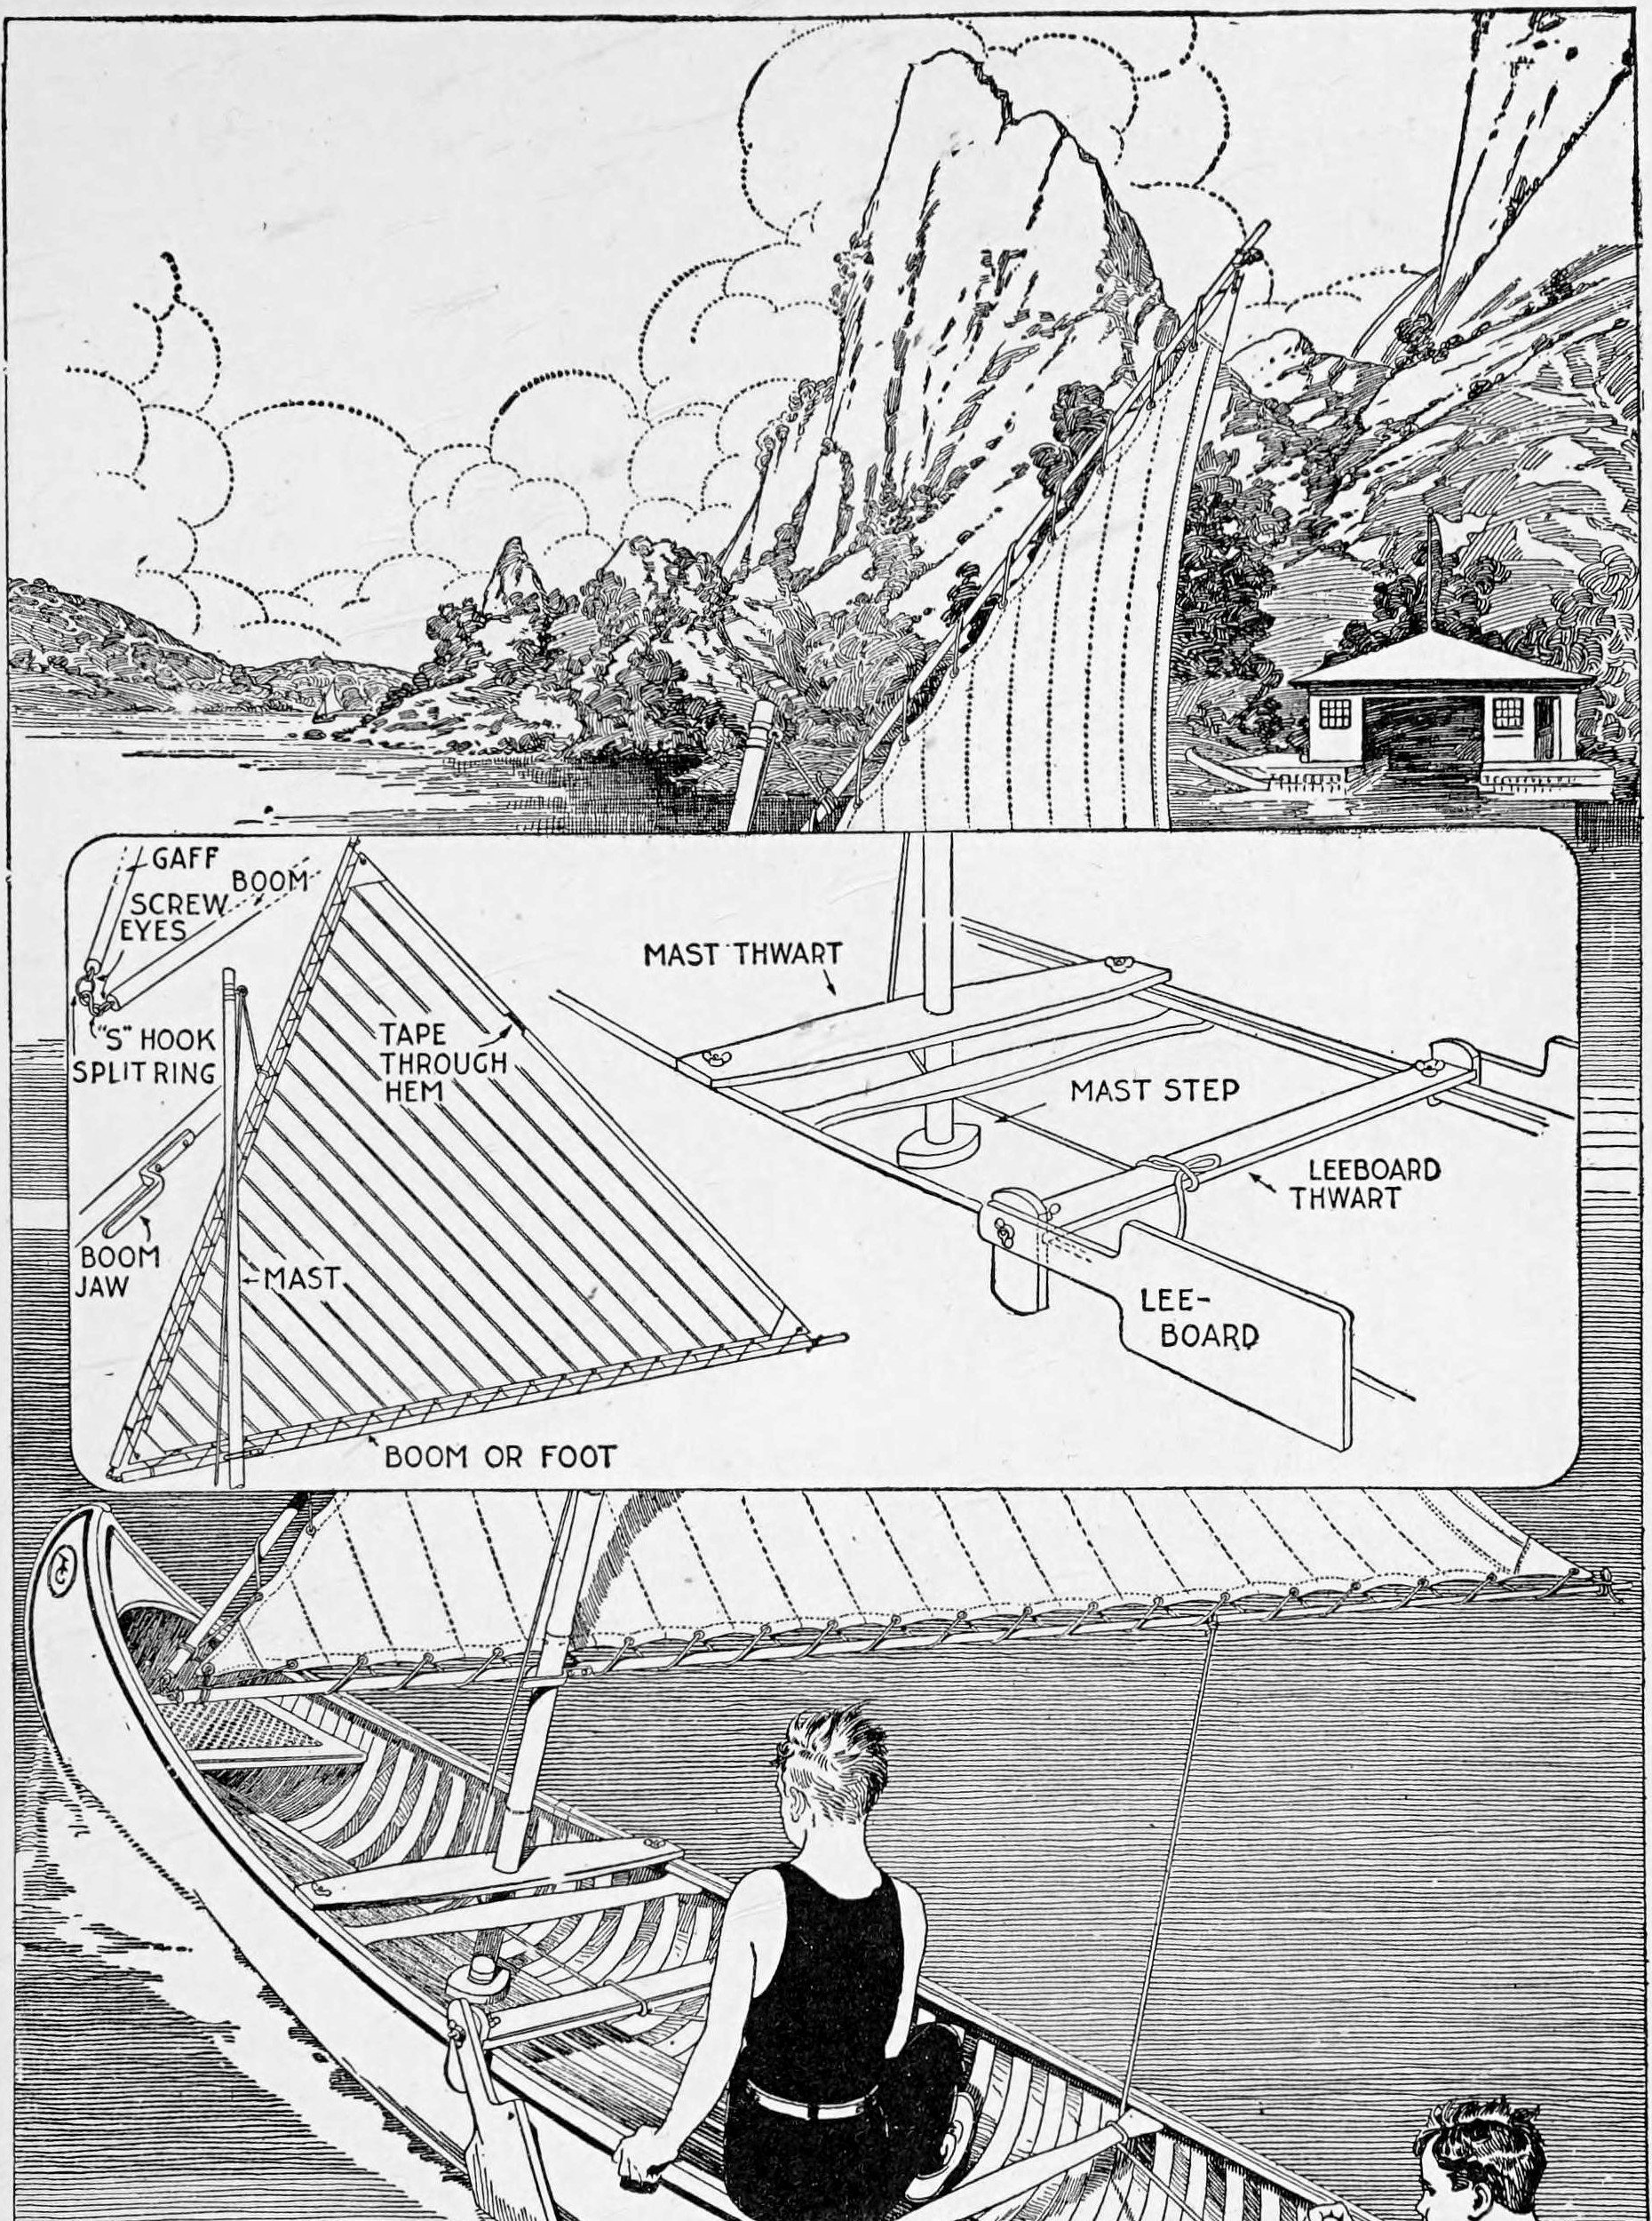


Canoe Sailing Rig: Bamboo Mast, 9 ft Lateen Sail, Clamp-In Mast Thwart and Leeboards (Boy Mechanic, 1919)
Stillman Taylor's sailing outfit for a 16 ft open canoe from The Boy Mechanic, Book 3 (1919): a 6 ft 10 in bamboo mast, a 9 ft lateen sail of cotton sheeting on two bamboo spars, a mast thwart and leeboard thwart that clamp to the gunwales with brass lantern-board hooks, and leeboards set by thumb nuts. Steer with the paddle.
Średniozaawansowany
A few days
Instrukcje
1
1
Rig sizes and sail area
Rig sizes and sail area
Wczytywanie notatnika Jupyter…
2
2
Read The Boy Mechanic, Book 3
Read The Boy Mechanic, Book 3
"The lateen rig is best for an open canoe, because a shorter mast is required for the same sail area ... It is not safe to rig a canoe too heavily, and the rig described has been found to be well proportioned."
3
3
Make the mast
Make the mast
Cut bamboo 1-1/2 in across to 6 ft 10 in (carpet dealers' rolling bamboo of 1-1/2 to 2 in serves). Whittle a tapered wooden plug about 3 in long to wedge firmly in the top without splitting the cane, bore a small hole through the cane 2 in from the top, and fix a screw eye into the plug for the halyard. Drive small brads through the cane into the plug, and fit a brass ferrule over the end.
Materiały do tego kroku:
 Tyczki bambusowe1 sztuka
 Deska z drewna liściastego1 sztuka
 Hak oczkowy wkręcany1 sztuka
 Gwoździe1 sztuka
 Pierścień metalowy1 sztuka
Potrzebne narzędzia:
 Piła ręczna
 Nóż do skóry
 Wiertarka ręczna
 Młotek
4
4
Make the spars
Make the spars
Use two bamboo fishing rods, 1 in at the butt and 10 ft long, as gaff and boom. Fix a 1-1/2 in screw eye with a 1/2 in eye at the end of each and join the spar ends with a 1-1/2 in brass split ring and a 1-3/4 in brass S hook. Fasten the 2 in brass boom jaw on the boom with its open end 18 in from the boom's forward end.
Materiały do tego kroku:
 Tyczka bambusowa2 sztukHak oczkowy wkręcany2 sztuk
 Kółko łącznikowe (kółko do kluczy)1 sztuka
 Hak S1 sztuka
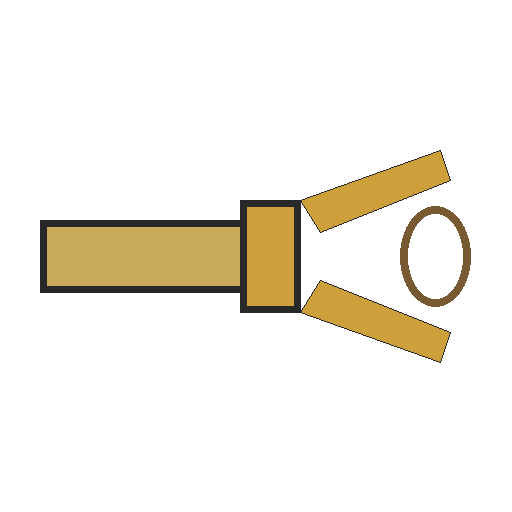 Szczęki bomu1 sztuka
 Wkręty do drewna1 sztuka
Potrzebne narzędzia:
Wiertarka ręczna Wkrętak płaski
 Miara zwijana
5
5
Sew the sail
Sew the sail
Lay the spars on the cloth and pencil a triangle 9 ft on each side. Sew the widths of 1 yd unbleached cotton sheeting together, lapped about 1/2 in and stitched close to both edges, preferably on a machine. Sew bights (folds) 1/2 in wide, 6 in apart, parallel with the leech. Reinforce the corners with segments of cloth. Along the edges lashed to the spars fold and sew 1 in hems, running a 1/2 in tape into the leech hem; fasten the tape to the spar at each end to take up stretch and stop a flapping leech.
Materiały do tego kroku:
 Tkanina bawełniana8 yard
 Nici do szycia1 sztuka
 Taśma bawełniana skośna1 sztuka
Potrzebne narzędzia:
 Maszyna do szycia
 Nożyczki
 OłówekMiara zwijana
6
6
Make the thwarts and mast step
Make the thwarts and mast step
Mast thwart: two cedar or pine boards 28 by 10 by 3/8 in and a piece 27-1/2 by 3-1/2 by 3/4 in, made as in the plate with a hole in the centre for the mast and a brass lantern-board hook at each end to clamp it to the gunwales. Mast step: a block 5 by 2-1/2 by 1 in, shaped neatly, fixed to the grating (or the ribs). Leeboard thwart: cedar or white pine 5 ft by 4 by 7/8 in, with short upright ends set at an angle to the canoe's curve so it wedges in just aft of the mast; groove the ends to the thwart and screw them on. He gives no leeboard sizes; bolt a leeboard to each end with a 3 in by 5/16 in brass bolt, washer and thumb nut so its angle can be set.
Materiały do tego kroku:
 Deska cedrowa4 sztuk
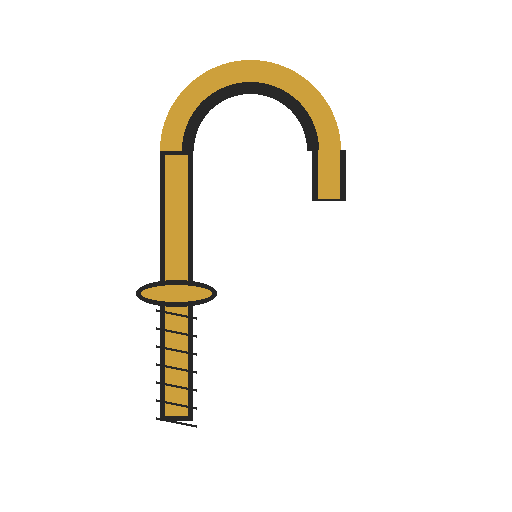 Hak do deski latarni4 sztuk
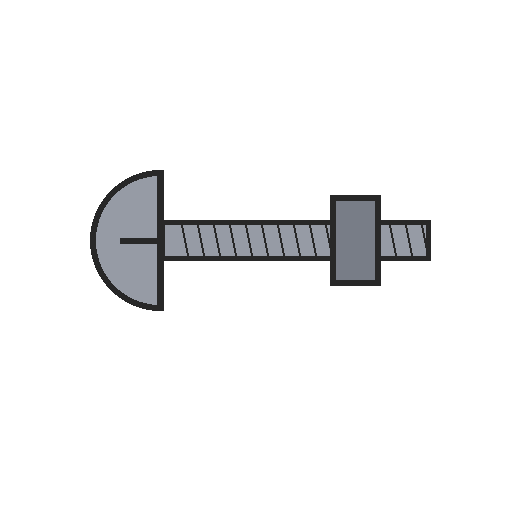 Śruba piecowa2 sztuk
 Podkładka płaska2 sztuk
 Nakrętka skrzydełkowa2 sztukWkręty do drewna1 sztuka
Potrzebne narzędzia:
Piła ręczna Piłka włosowa
 Strug ręczny
 Dłuta
 Świder korbowy z wiertłemWkrętak płaski
7
7
Finish and rig
Finish and rig
Smooth all woodwork with sharp tools, sandpaper lightly, and give three coats of spar varnish. Lash the sail to the spars, run the 1/4 in cotton-rope halyard through the screw eye at the masthead until the gaff is close to the top, and find the balance by tying the halyard at different points along the gaff. Run the halyard under the forward thwart to the stern, never tied to it, and loop the main sheet round a thwart and hold it, never made fast.
Materiały do tego kroku:
 Papier ścierny1 sztuka
 Lakier jachtowy1 sztuka
 Lina bawełniana1 sztuka
Potrzebne narzędzia:
 Pędzel szerokiNożyczki
8
8
Sailing safely
Sailing safely
Canoe sailing.
Flow
Loading...
9
9
History and honest limits
History and honest limits
From "How to Build a Canoe, Part II" by Stillman Taylor, in **The Boy Mechanic, Book 3**, Popular Mechanics, 1919 (Project Gutenberg 71856; checked on the archive.org scan boymechanic0003unse, pp. 86-88). He gives no leeboard sizes (they vary with the canoe); the list calls the leeboard bolts brass stove bolts with thumb nuts and the text carriage bolts with wing nuts. Cedar for the leeboards, the sail area and the metric figures are ours.
Materiały
21- 1 sztukaZastępnik
- 1 sztukaZastępnik
- 2 sztukZastępnik
- 1 sztukaZastępnik
- 1 sztukaZastępnik
- 2 sztukZastępnik
- Zastępnik
- 1 sztukaZastępnik
- 1 sztukaZastępnik
- 2 sztukZastępnik
- 8 yardZastępnik
- 1 sztukaZastępnik
- 1 sztukaZastępnik
- 4 sztukZastępnik
- 4 sztukZastępnik
- 2 sztukZastępnik
- 2 sztukZastępnik
- 2 sztukZastępnik
- 1 sztukaZastępnik
- 1 sztukaZastępnik
- 1 sztukaZastępnik
Wymagane narzędzia
14- Zastępnik
- Zastępnik
- Zastępnik
- Zastępnik
- Zastępnik
- 1 vendor sell this, none ship to you yetZastępnik
- Zastępnik
- Zastępnik
- 1 vendor sell this, none ship to you yetZastępnik
- Zastępnik
- Zastępnik
- Zastępnik
- Zastępnik
- Zastępnik
Według tego planu powstaje
Powiązane blueprinty
Te blueprinty dzielą się wiedzą — technikami, materiałami lub zasadami
CC0 Domena publiczna
Ten plan jest udostępniany na licencji CC0. Możesz go swobodnie kopiować, modyfikować, rozpowszechniać i wykorzystywać do dowolnych celów, bez konieczności uzyskiwania zgody.
Wesprzyj Makera kupując produkty przez jego plan, za co zarabia Prowizja Makera ustalony przez sprzedawców, lub stwórz nową iterację tego planu i dołącz go jako połączenie w swoim własnym planie, aby dzielić się przychodami.