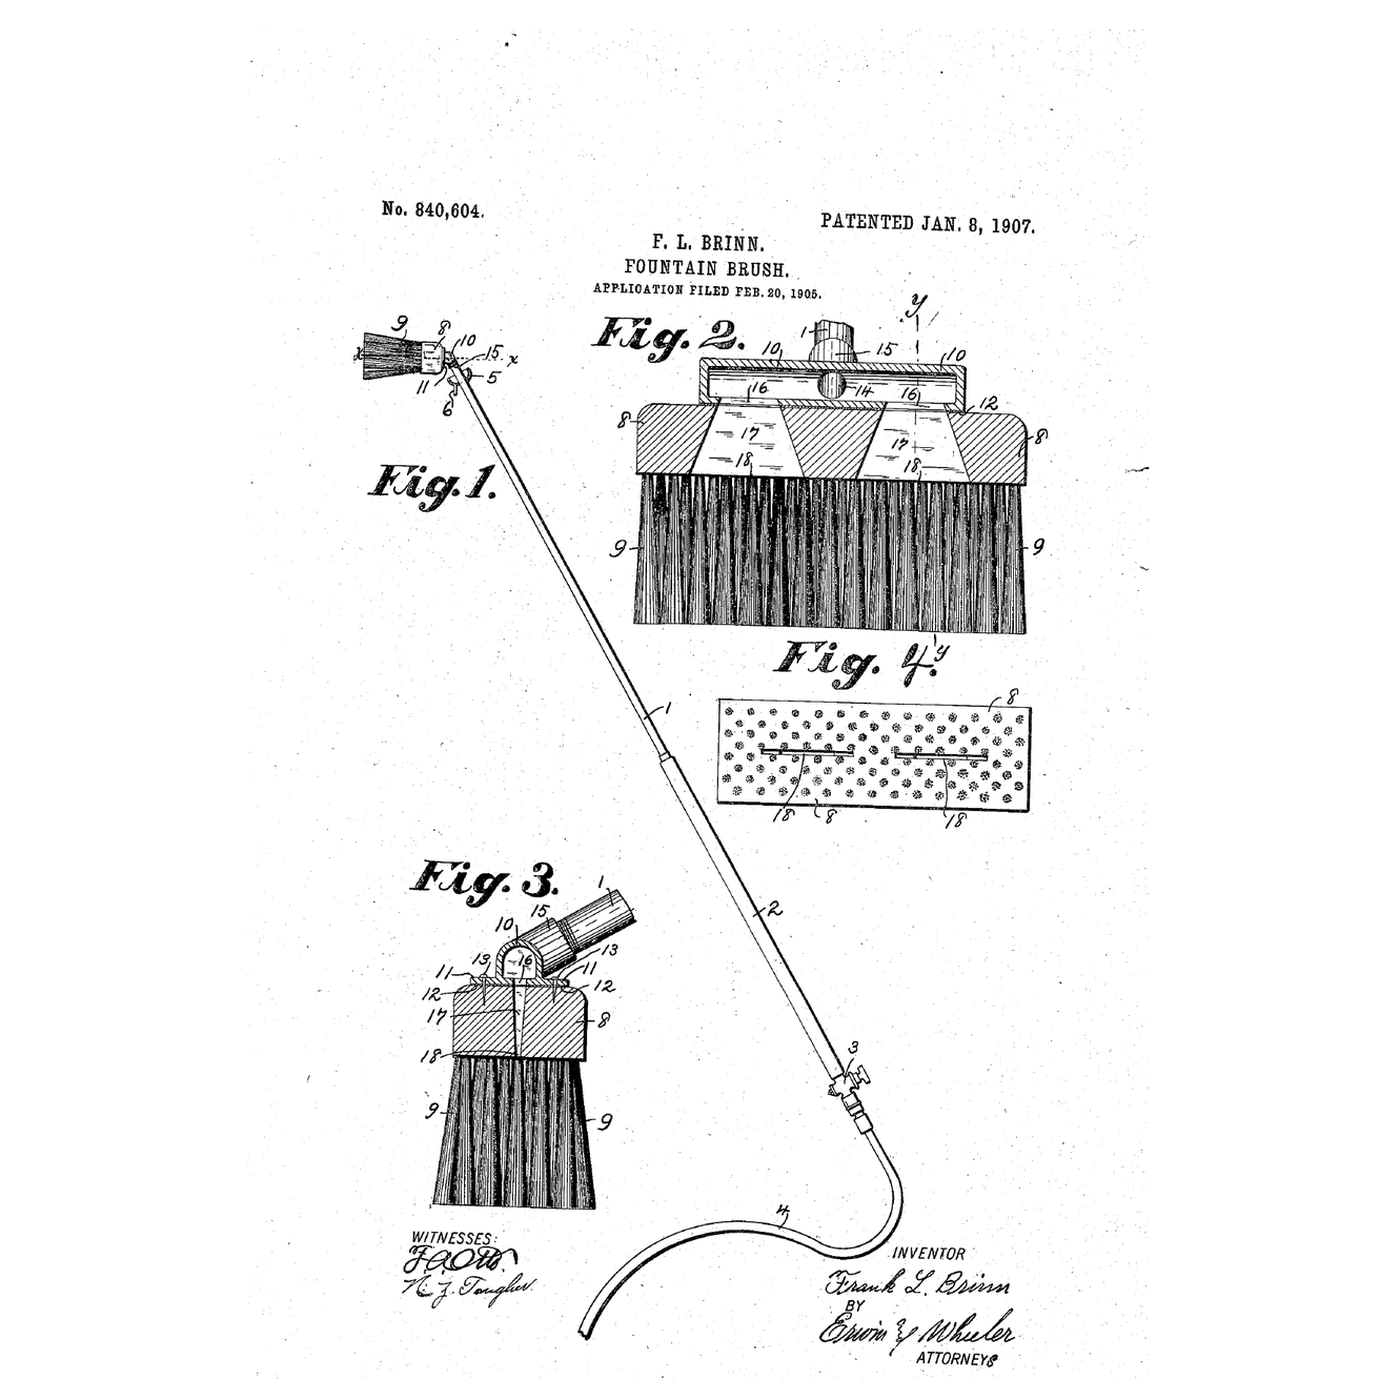

The Sheet-of-Water Fountain Brush: Tapered Slots Part the Bristles
Instrukcje
Sheet speed from the slot
Sheet speed from the slot
Water through a brush's back before it
Water through a brush's back before it
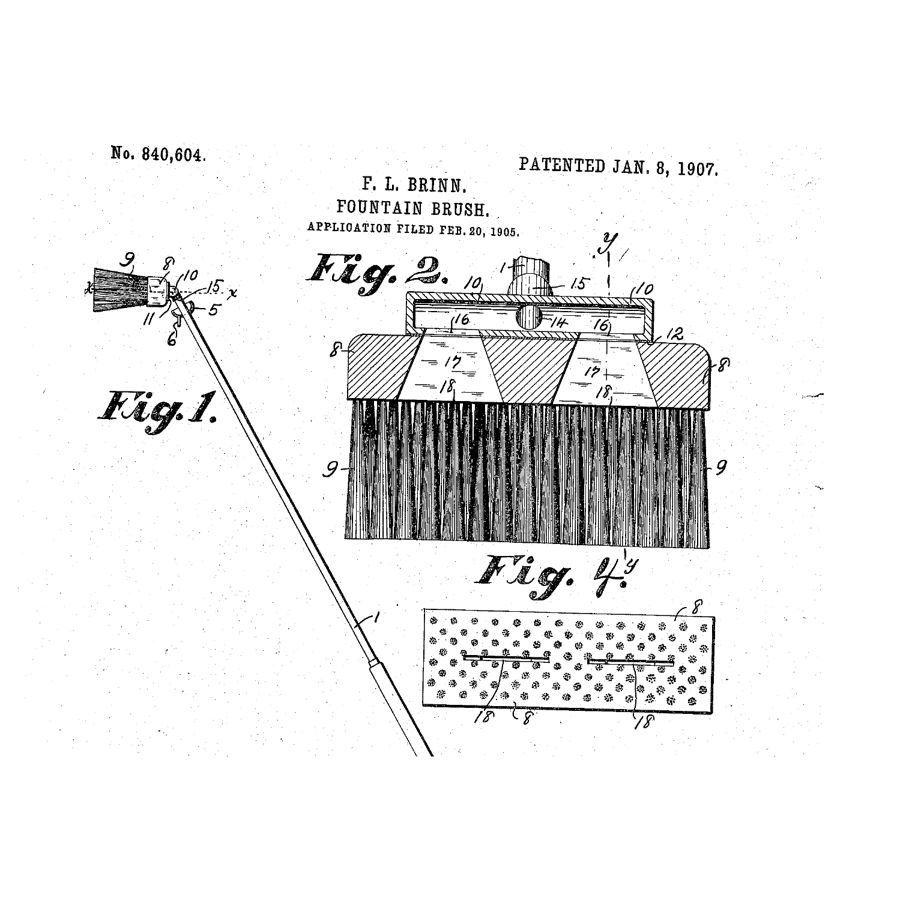
Read US 840,604
Read US 840,604
Cut the slots
Cut the slots
Materiały do tego kroku:
 Szczotka ryżowa1 sztuka
Potrzebne narzędzia:
 Imadło warsztatowe
 Wiertarko-wkrętarka akumulatorowa
 Zestaw wierteł
 Piłka włosowa
 Marker permanentny
 Linijka
Taper the slots
Taper the slots
Potrzebne narzędzia:
 Komplet dłut do drewna
 Młotek
 Suwmiarka cyfrowa 6 cali
 Nóż introligatorski
Make the manifold
Make the manifold
Materiały do tego kroku:
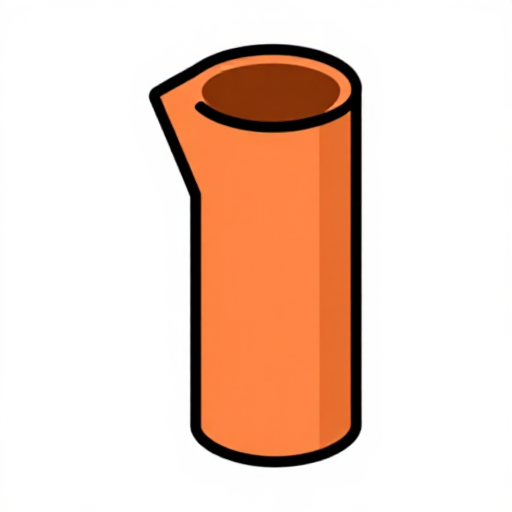 Rura miedziana1 sztuka
 Złączki mosiężne1 sztuka
Potrzebne narzędzia:
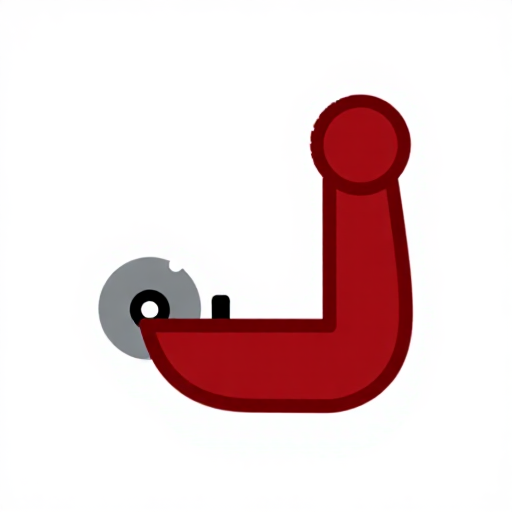 Obcinak do rur
 Pilniki (pilnik ręczny)
 Klucz nastawny
Seat the manifold
Seat the manifold
Materiały do tego kroku:
 Uszczelniacz silikonowy1 sztuka
 Płyta gumowa1 sztuka
 Blacha aluminiowa1 sztuka
 Wkręt do drewna #8 x 1"1 sztuka
Potrzebne narzędzia:
 Nożyce do blachy
 Zestaw wkrętakówNóż introligatorski
Handle, valve and drip cup
Handle, valve and drip cup
Materiały do tego kroku:
Rura miedziana1 sztuka Zawór kulowy1 sztukaZłączki mosiężne1 sztuka
 Taśma uszczelniająca PTFE do gwintów1 sztuka
 Puszka blaszana1 sztukaUszczelniacz silikonowy1 sztuka
Potrzebne narzędzia:
Obcinak do rurKlucz nastawnyWiertarko-wkrętarka akumulatorowaZestaw wiertełThe patent drawing
The patent drawing
Full flow against throttled
Full flow against throttled
Materiały do tego kroku:
 Wąż ogrodowy1 sztuka
 Woda1 sztuka
Potrzebne narzędzia:
 Dzbanek miarowy
 StoperLinijka
A sheet that sprays, sputters or leaks
A sheet that sprays, sputters or leaks
Flow
History and honest limits
History and honest limits
Materiały
12- 1 sztukaZastępnik
- 1 sztukaZastępnik
- 1 sztukaZastępnik
- 2 sztukZastępnik
- 1 sztukaZastępnik
- 1 sztukaZastępnik
- 1 sztukaZastępnik
- 1 sztukaZastępnik
- Zastępnik
- 1 sztukaZastępnik
- Wąż ogrodowy10% prowizji1 sztukaZastępnik
- 1 sztukaZastępnik
Wymagane narzędzia
17- Zastępnik
- 1 vendor sell this, none ship to you yetZastępnik
- Zastępnik
- Zastępnik
- Zastępnik
- Zastępnik
- Zastępnik
- Zastępnik
- Zastępnik
- Zastępnik
- Zastępnik
- Zastępnik
- Zastępnik
- Zastępnik
- Zastępnik
- Zastępnik
- Zastępnik
Powiązane blueprinty
Te blueprinty dzielą się wiedzą — technikami, materiałami lub zasadami
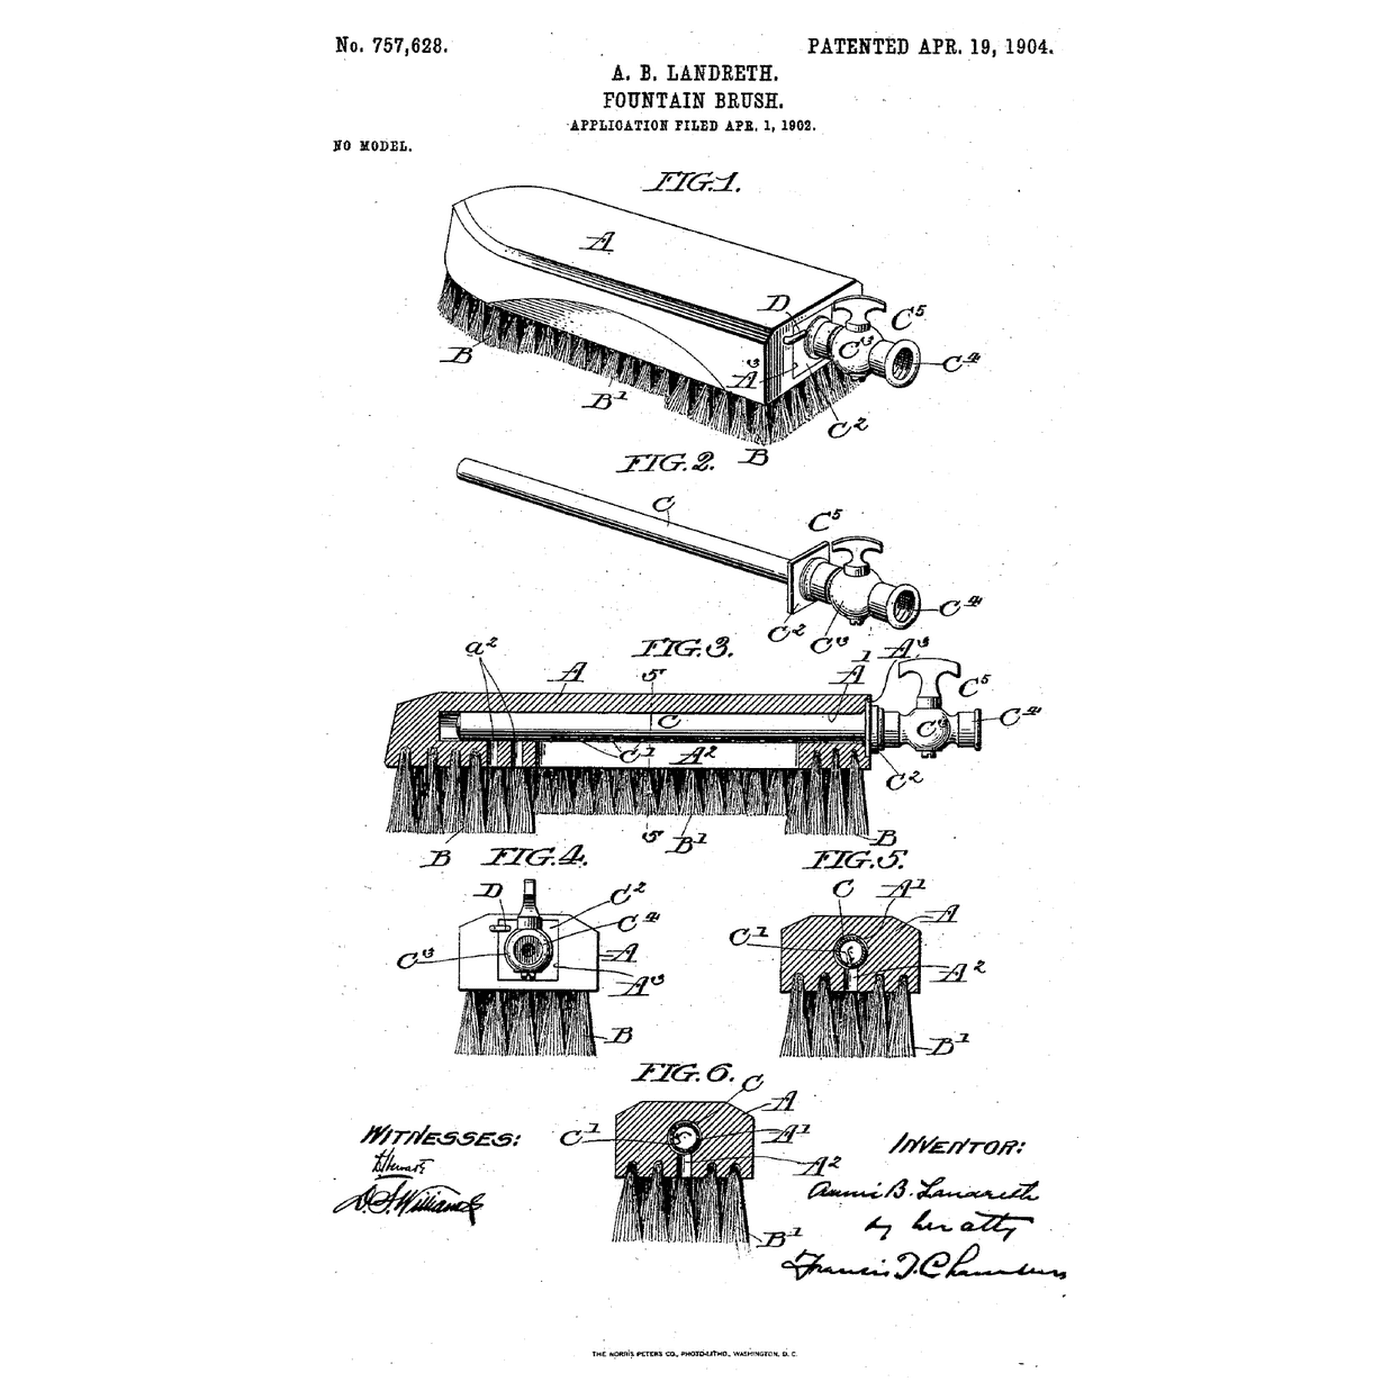
The Tube-in-the-Back Fountain Brush: Turn the Tube and the Jets Become a Soak
autor: YourGrandma
Mechanika
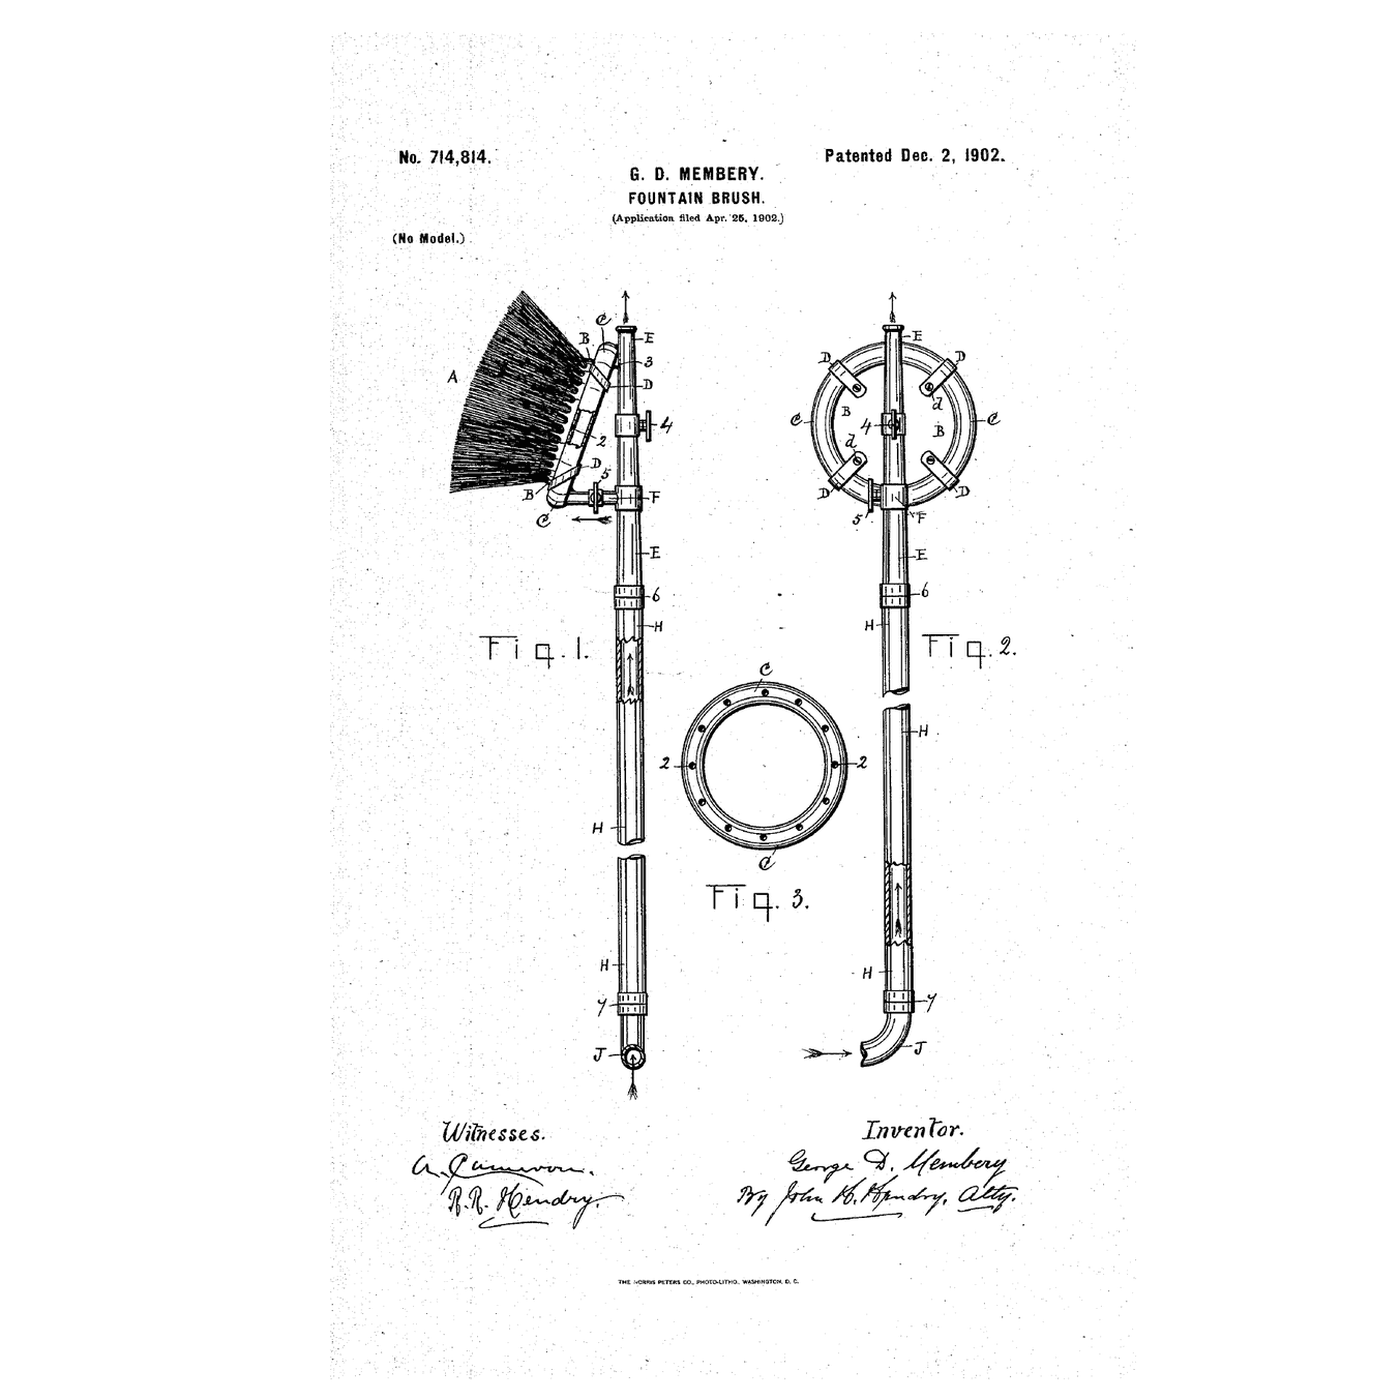
The Long-Handled Fountain Brush: A Ring of Holes Wets the Bristles From the Ground
autor: Martin
Mechanika
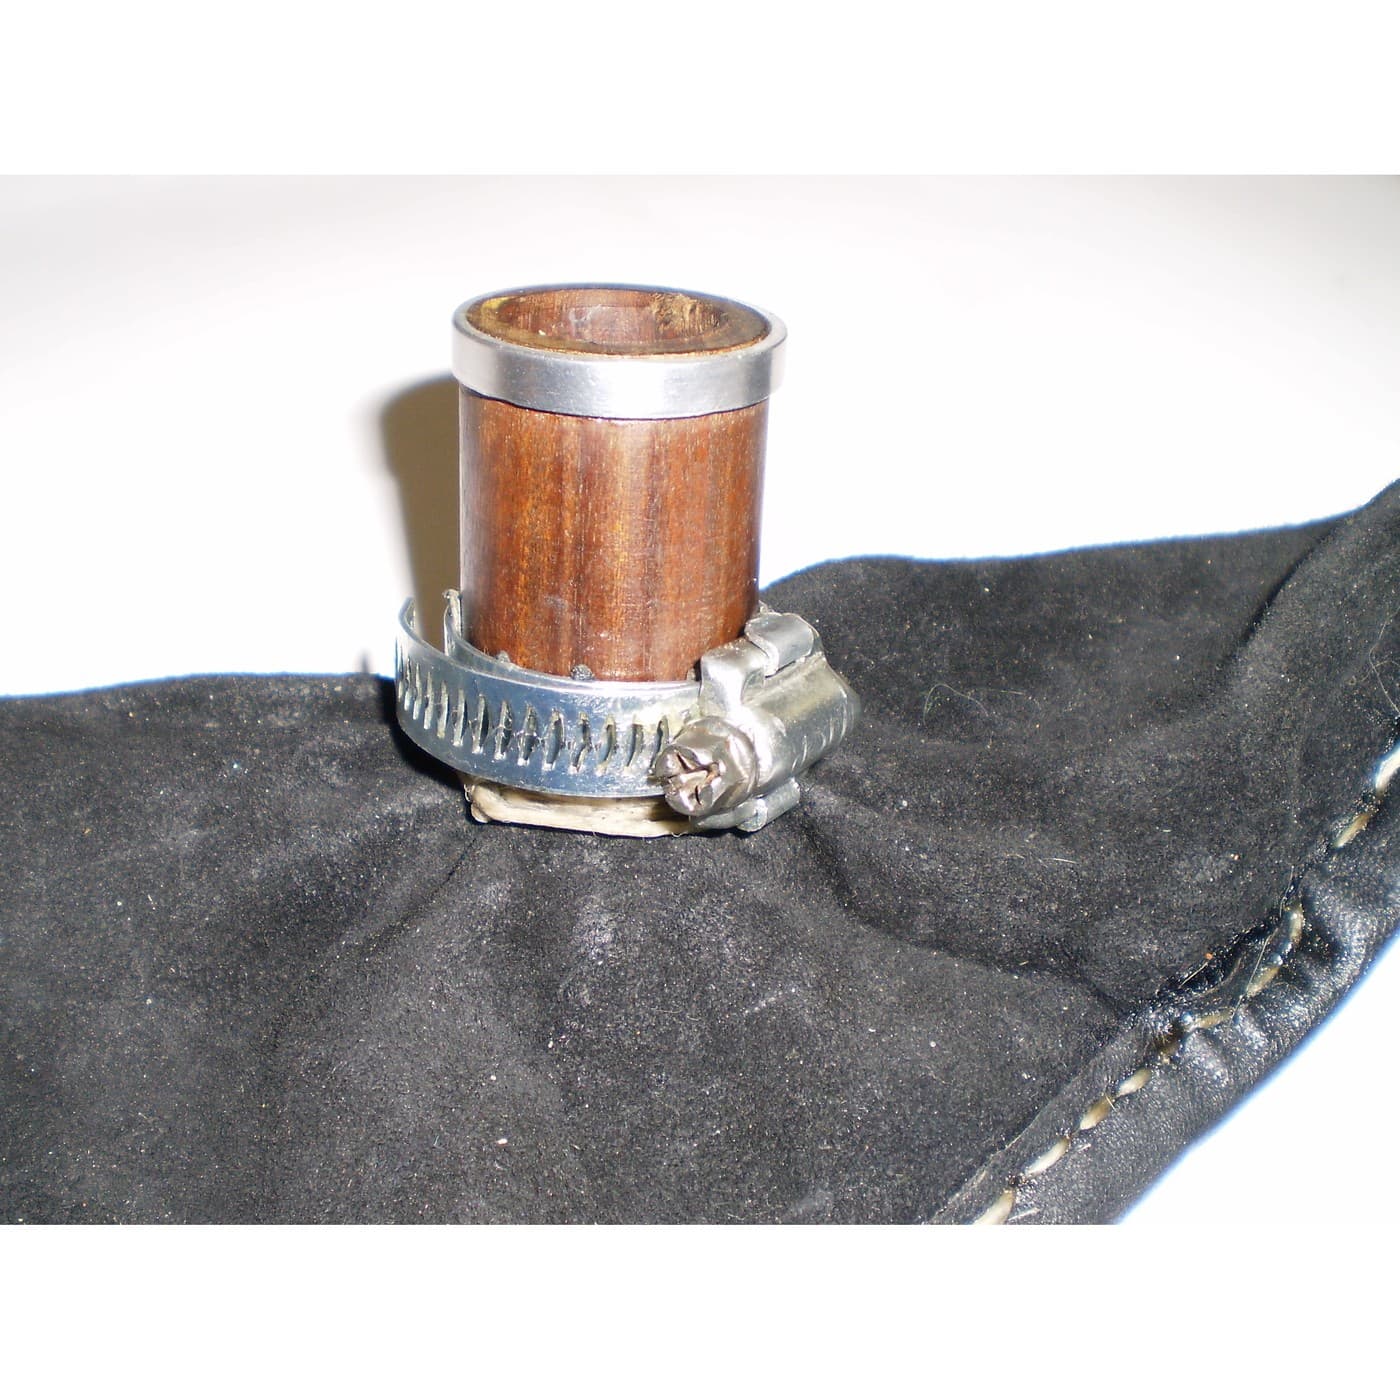
The Hose and Its Clip: Why It Was Tight When You Fitted It
autor: Martin
Narzędzia
CC0 Domena publiczna
Ten plan jest udostępniany na licencji CC0. Możesz go swobodnie kopiować, modyfikować, rozpowszechniać i wykorzystywać do dowolnych celów, bez konieczności uzyskiwania zgody.
Wesprzyj Makera kupując produkty przez jego plan, za co zarabia Prowizja Makera ustalony przez sprzedawców, lub stwórz nową iterację tego planu i dołącz go jako połączenie w swoim własnym planie, aby dzielić się przychodami.