SZTUKA
Piękno i dobre samopoczucie
RZEMIOSŁO
KULTURA I HISTORIA
ROZRYWKA
ŚRODOWISKO
JEDZENIE I NAPOJE
INŻYNIERIA ODWROTNA
NAUKI
LEKKOATLETYKA
TECHNOLOGIA
URZĄDZENIA DO NOSZENIA
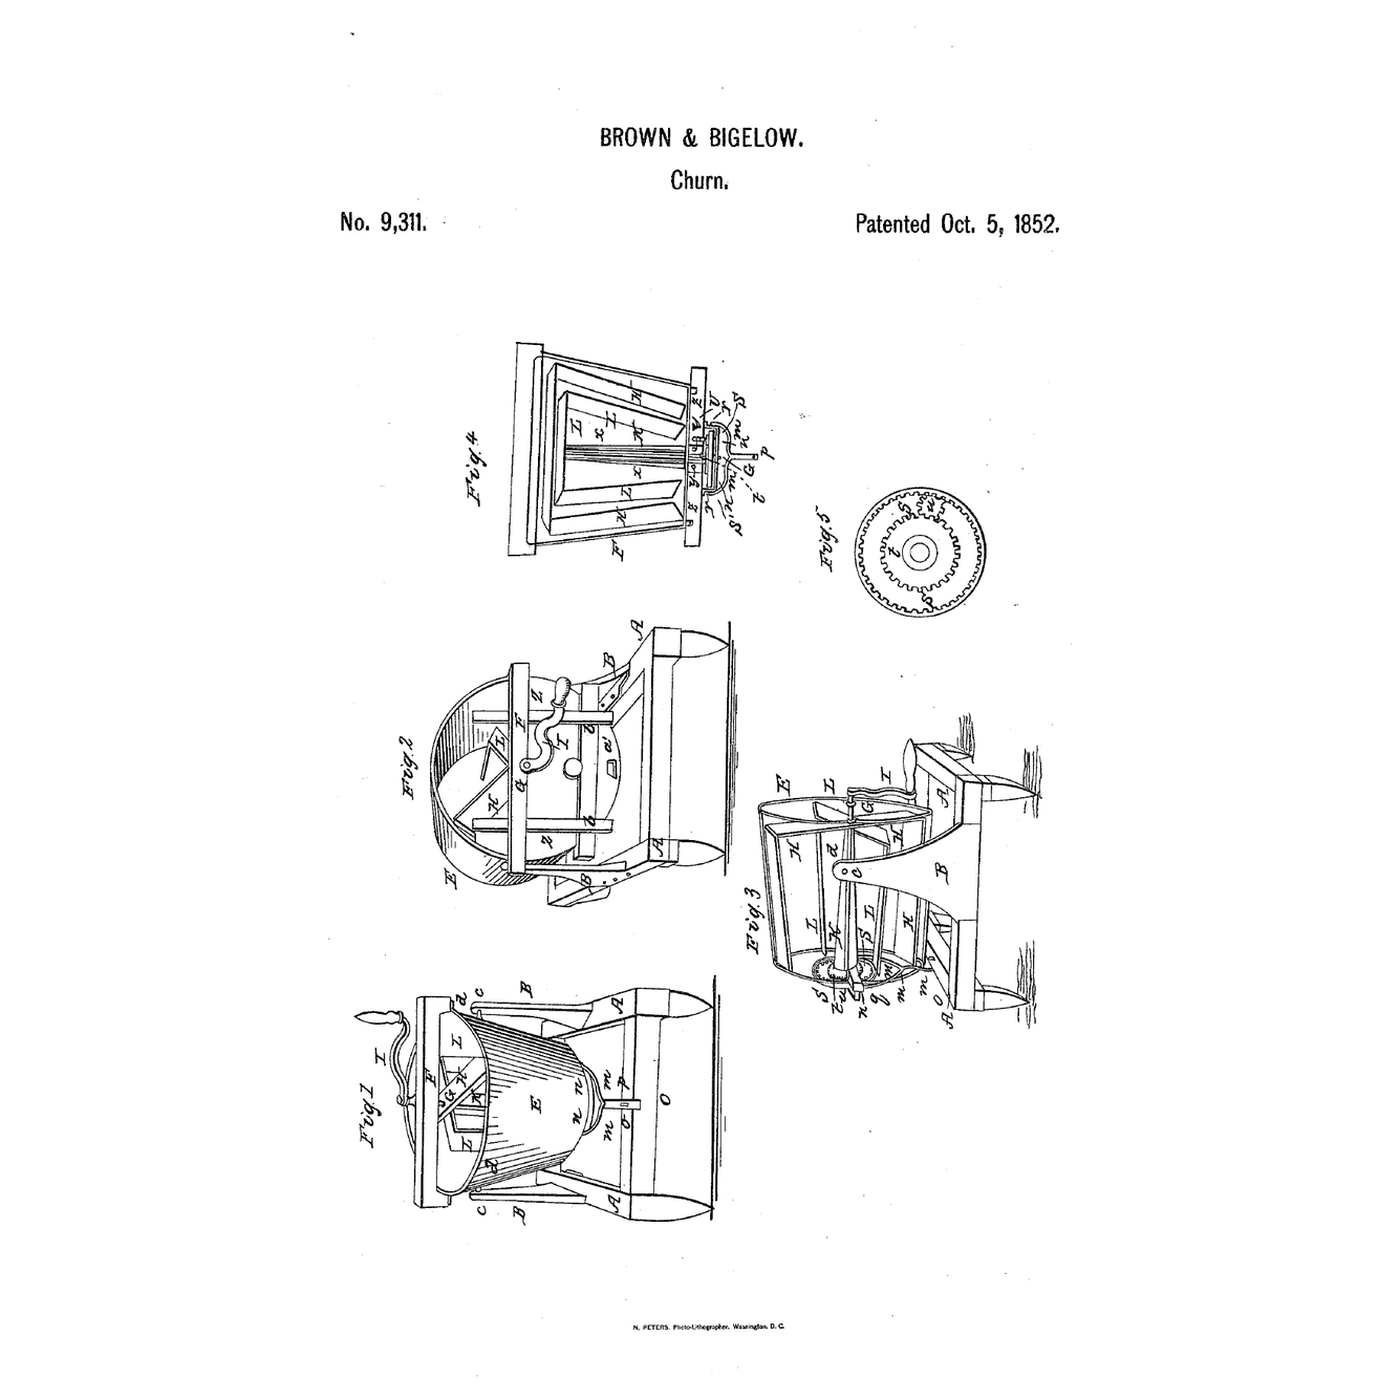

Tilting-Tub Counter-Fan Churn: Two Fans Turn Opposite Ways, the Tub Tips to Drain and Work
Brown and Bigelow wanted one churn to make the butter and then work it, by tipping the tub on its side.
Lucian A. Brown and Hubbard Bigelow of Hartford, Connecticut, received US 9,311, dated 5 October 1852, assigned to Henry K. W. Welch. Their conical tub E swings on journals between two standards. The crank turns a fan H on the shaft G; a shell with inside gear on G's lower end turns, through a small pinion u, a spur gear t on a hollow shaft round G, which carries a second fan L the opposite way. A conical tube K, of tin or any other suitable material and watertight to the tub's bottom, keeps the cream from the hollow shaft. When the butter has come, the tub is tipped about 90 degrees: the buttermilk runs out at an aperture in the cover and the turning fans knead, work and roll the butter.
This rung works out the gear train, then prints the gears, inner fan and conical tube, builds the tub and frame, and makes and works butter.
Zaawansowany
About 6 hours, plus printing
Instrukcje
1
1
The gear train
The gear train
Wczytywanie notatnika Jupyter…
2
2
Gears driving more than one beater before it
Gears driving more than one beater before it
The embedded blueprint drives several beaters from one crank through gears. Brown and Bigelow use an inside gear and a pinion to turn two fans opposite ways on one axis.
3
3
Read US 9,311
Read US 9,311
"In this horizontal position of the tub E we continue the rotation of the crank I, as in the operation of churning, and the butter thus becomes kneaded, worked and rolled, as the beater H in its revolutions scrapes the butter from the inside of the tub, while the beater L, revolving in the opposite direction, in close proximity to and inside of the other, will strike the butter forced over the beater H by the accumulation by scraping off the butter on the side of the tub, while the buttermilk and water, extracted from the butter by this process, runs down over the now inclined bottom of the tub E, and escapes by the aperture a' of the cover Z, Z, Z, into any receptacle placed under the aperture to receive it."
4
4
Print the parts
Print the parts
Print the shell gear S with 72 inside teeth (/uploads/blueprints/tilting-tub-counter-fan-churn-shell-gear.stl), the 12-tooth stud pinion u (/uploads/blueprints/tilting-tub-counter-fan-churn-stud-pinion.stl), the 48-tooth spur gear t printed in one with the hollow shaft x (/uploads/blueprints/tilting-tub-counter-fan-churn-spur-gear-and-hollow-shaft.stl), the inner fan L (/uploads/blueprints/tilting-tub-counter-fan-churn-inner-fan.stl) and the conical tube K (/uploads/blueprints/tilting-tub-counter-fan-churn-conical-tube.stl). Print in PETG at 0.2 mm layers, 30 % infill, 4 walls; wash before first use.
Materiały do tego kroku:
 Filament PETG1 sztuka
Potrzebne narzędzia:
 Drukarka 3D z filamentem (FDM)
5
5
Tub, tube and frame
Tub, tube and frame
Use a tapered food-grade container about 250 mm across the top. Drill a 20 mm hole in the centre of its bottom and seal the conical tube's flange round it inside with food-safe silicone. Bolt a short carriage bolt through each side at mid-height as the journals d, with washers and silicone, and hang the tub by them in holes near the tops of two pine standards on a pine base. Screw a pine cross bar under the bottom (his q q) with a 4 mm screw standing down from it 37.5 mm off centre as the stud V, and a pine bridge below it (his n n) with a step hole for the shaft.
Materiały do tego kroku:
 Pojemnik do przechowywania klasy spożywczej1 sztuka
 Uszczelniacz silikonowy1 sztuka
 Śruba zamkowa1 sztuka
 Podkładka płaska1 sztuka
 Deska sosnowa1 sztuka
 Śruby maszynowe1 sztuka
 Nakrętka sześciokątna1 sztuka
 Wkręt do drewna #8 x 1"1 sztuka
Potrzebne narzędzia:
 Zestaw otwornic
 Wiertarko-wkrętarka akumulatorowa
 Zestaw wierteł
 Piła ręczna
 Zestaw wkrętaków
 Klucz nastawny
6
6
Shafts, fans and crank
Shafts, fans and crank
Pass the hollow shaft up through the conical tube from below so the spur gear sits under the bottom, and glue the inner fan on its top just above the tube. Run a 10 mm stainless rod as the shaft G down through it, fix the shell gear on its foot with a set screw so the pinion on the stud meshes with both gears, and rest its end in the bridge's step. Bolt a pine bar F across the mouth as G's upper bearing; under it fix two hardwood blades reaching close to the tub's side as fan H, and above it a crank. A pine fork pivoted on the bridge, its handle pinned to the frame, holds the tub upright. Cut the container's lid in two, with a hole near the rim of one half as the aperture a'.
Materiały do tego kroku:
 Pręt ze stali niskowęglowej1 sztuka
 Kołki z twardego drewna1 sztukaDeska sosnowa1 sztuka
 Epoksyd dwuskładnikowy1 sztukaŚruby maszynowe1 sztukaWkręt do drewna #8 x 1"1 sztuka
Potrzebne narzędzia:
 Piła do metaluWiertarko-wkrętarka akumulatorowaZestaw wiertełZestaw wkrętaków
 Piłka włosowa
7
7
The build in 3D
The build in 3D
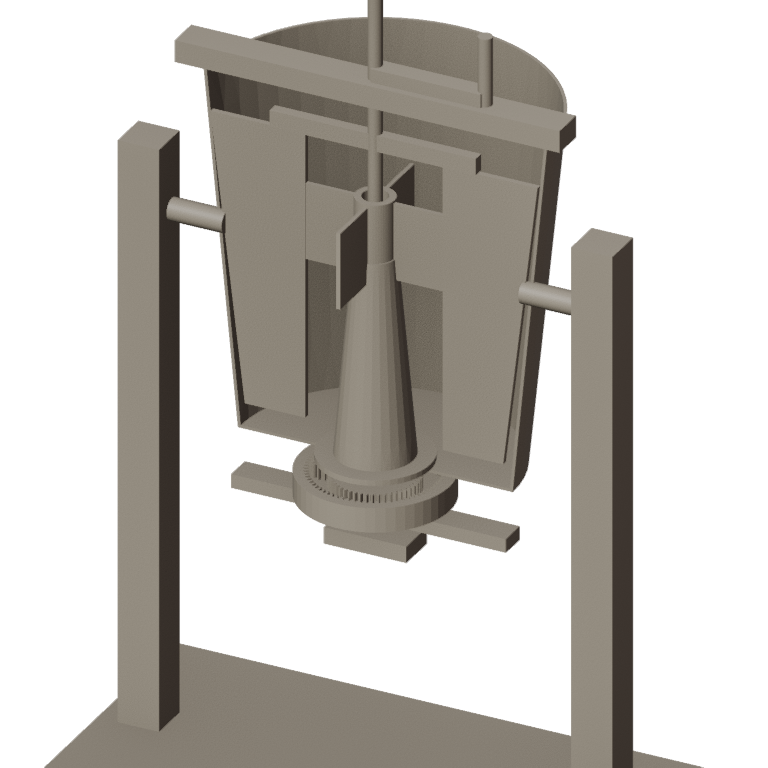
FreeCAD model of this build, not of the patent: the conical tub cut away on its journals between the standards, the outer fan H, the conical tube K with the inner fan L on the hollow shaft above it, and under the bottom the shell gear, stud pinion and spur gear between the cross bar and bridge.
8
8
Churn, tip and work
Churn, tip and work
Let the heavy cream stand until it reaches about 15 °C, checked with the thermometer. Pour in 2 litres, fit both cover halves and crank steadily; time until the butter comes. Set a jug under the aperture, free the fork and tip the tub about 90 degrees onto its side, aperture down; crank on so the fans knead the butter while the buttermilk runs out. Stand it up, add cold water, churn a little, tip and drain again until the water runs clear; work in a pinch of salt the same way and weigh the butter.
Materiały do tego kroku:
 Śmietanka kremówka2000 ml
 Sól morska gruboziarnista1 sztuka
 Woda1 sztuka
Potrzebne narzędzia:
 Termometr z sondą pozostawianą w potrawie
 Stoper
 Cyfrowa waga kuchenna
 Duża misa ze stali nierdzewnej
9
9
Gears that jam, a tub that leaks
Gears that jam, a tub that leaks
Tilting-tub counter-fan churn troubleshooting.
Flow
Loading...
10
10
History and honest limits
History and honest limits
**Lucian A. Brown and Hubbard Bigelow** of Hartford, Connecticut, assignors to Henry K. W. Welch, received US 9,311, dated 5 October 1852; they signed the specification on 12 April 1852. They wrote that a cover is needed to stop the cream spattering, though the figure does not show it, and that working the butter in the tub saves lifting and the buttermilk. The ratio of 2 to 3, they wrote, was "a fact only learned by experiments, and corroborated by their repetition." They claimed the combination of the tub E and its appendages with the frame and standards, or any other frame adapted to use the tub in a vertical and a horizontal position.
**Honest limits.** A container, pine and printed parts stand in for theirs; the gear sizes are ours. FDM prints hold food in their layer lines, so wash well and replace when worn. Your times and weights are the result.
Materiały
15- 1 sztukaZastępnik
- Zastępnik
- 1 sztukaZastępnik
- 1 sztukaZastępnik
- 1 sztukaZastępnik
- 1 sztukaZastępnik
- 2 sztukZastępnik
- 1 sztukaZastępnik
- 2 sztukZastępnik
- 1 sztukaZastępnik
- 1 sztukaZastępnik
- 1 sztukaZastępnik
- 2000 mlZastępnik
- 1 sztukaZastępnik
- 1 sztukaZastępnik
Wymagane narzędzia
13- Zastępnik
- Zastępnik
- 1 vendor sell this, none ship to you yetZastępnik
- Zastępnik
- Zastępnik
- Zastępnik
- Zastępnik
- Zastępnik
- Zastępnik
- Zastępnik
- Zastępnik
- Zastępnik
Pliki projektowe
1Powiązane blueprinty
Te blueprinty dzielą się wiedzą — technikami, materiałami lub zasadami
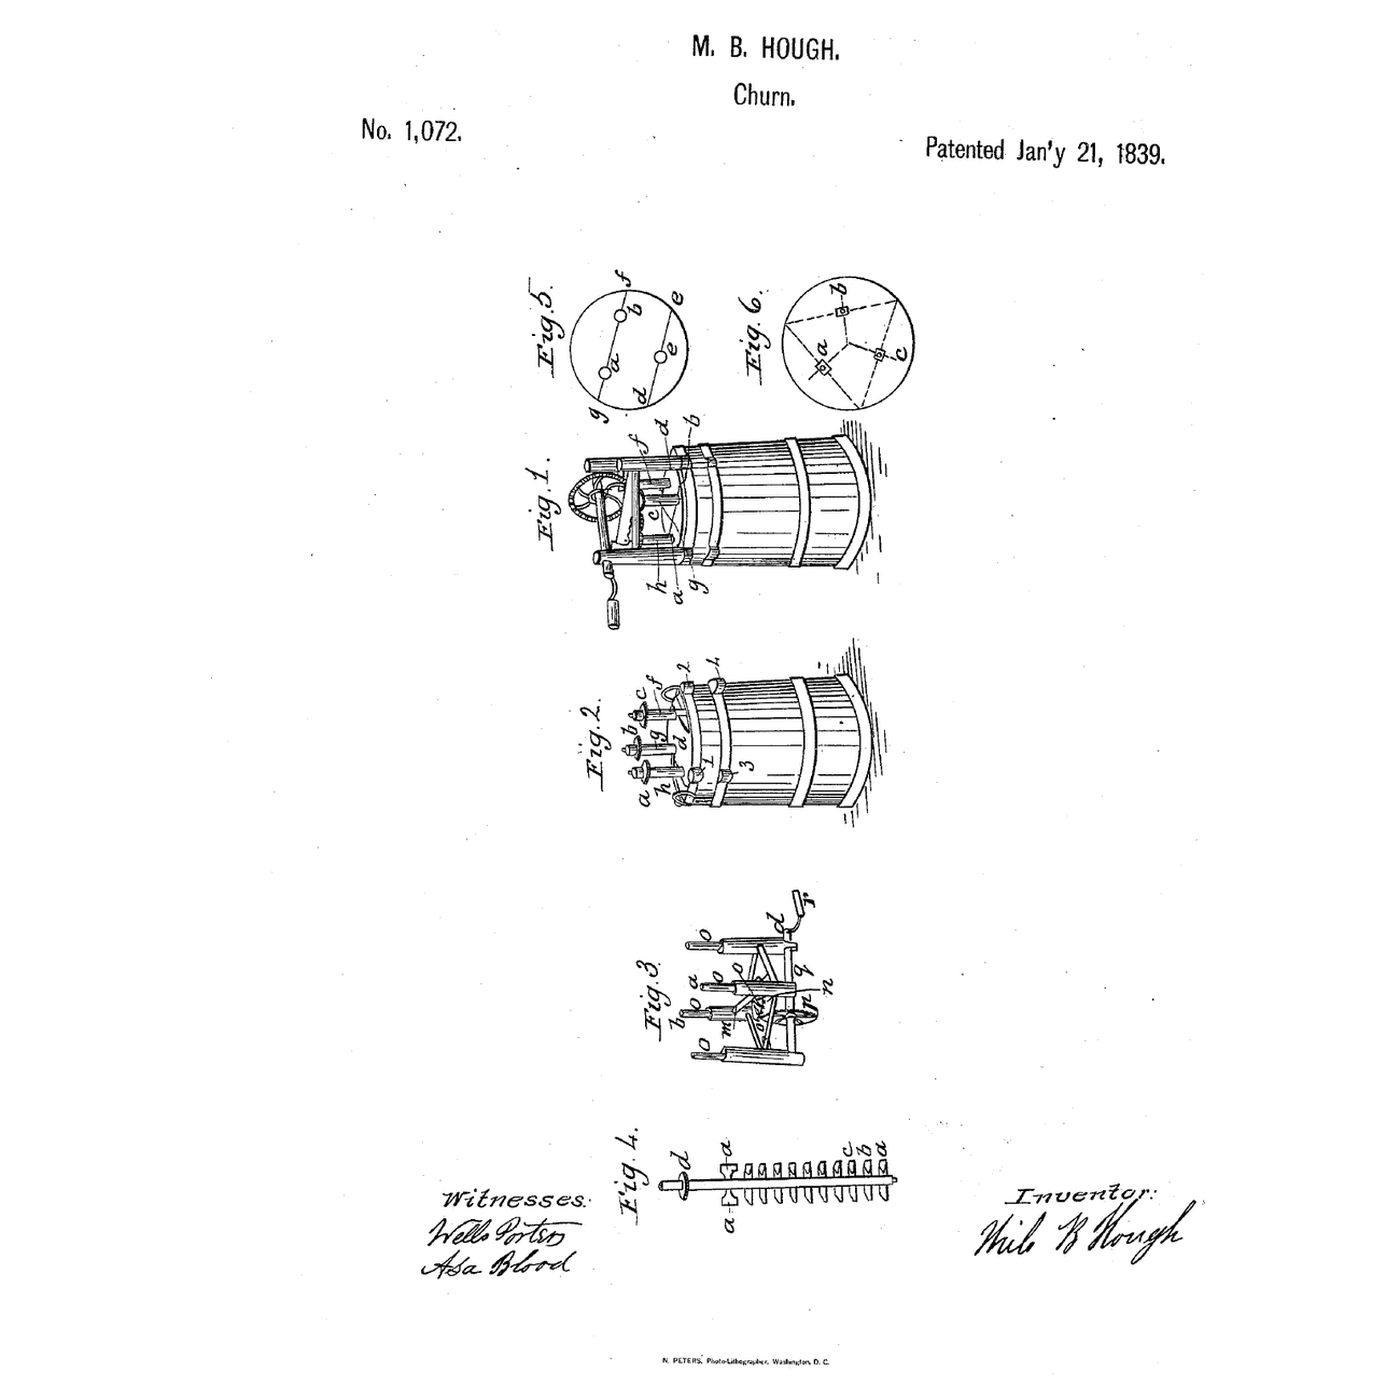
Three-Shaft Geared Churn: Fans Above, Screw-Form Beaters Below, One Crank
autor: TheChef
JEDZENIE I NAPOJE
3
0
0
0
0
0
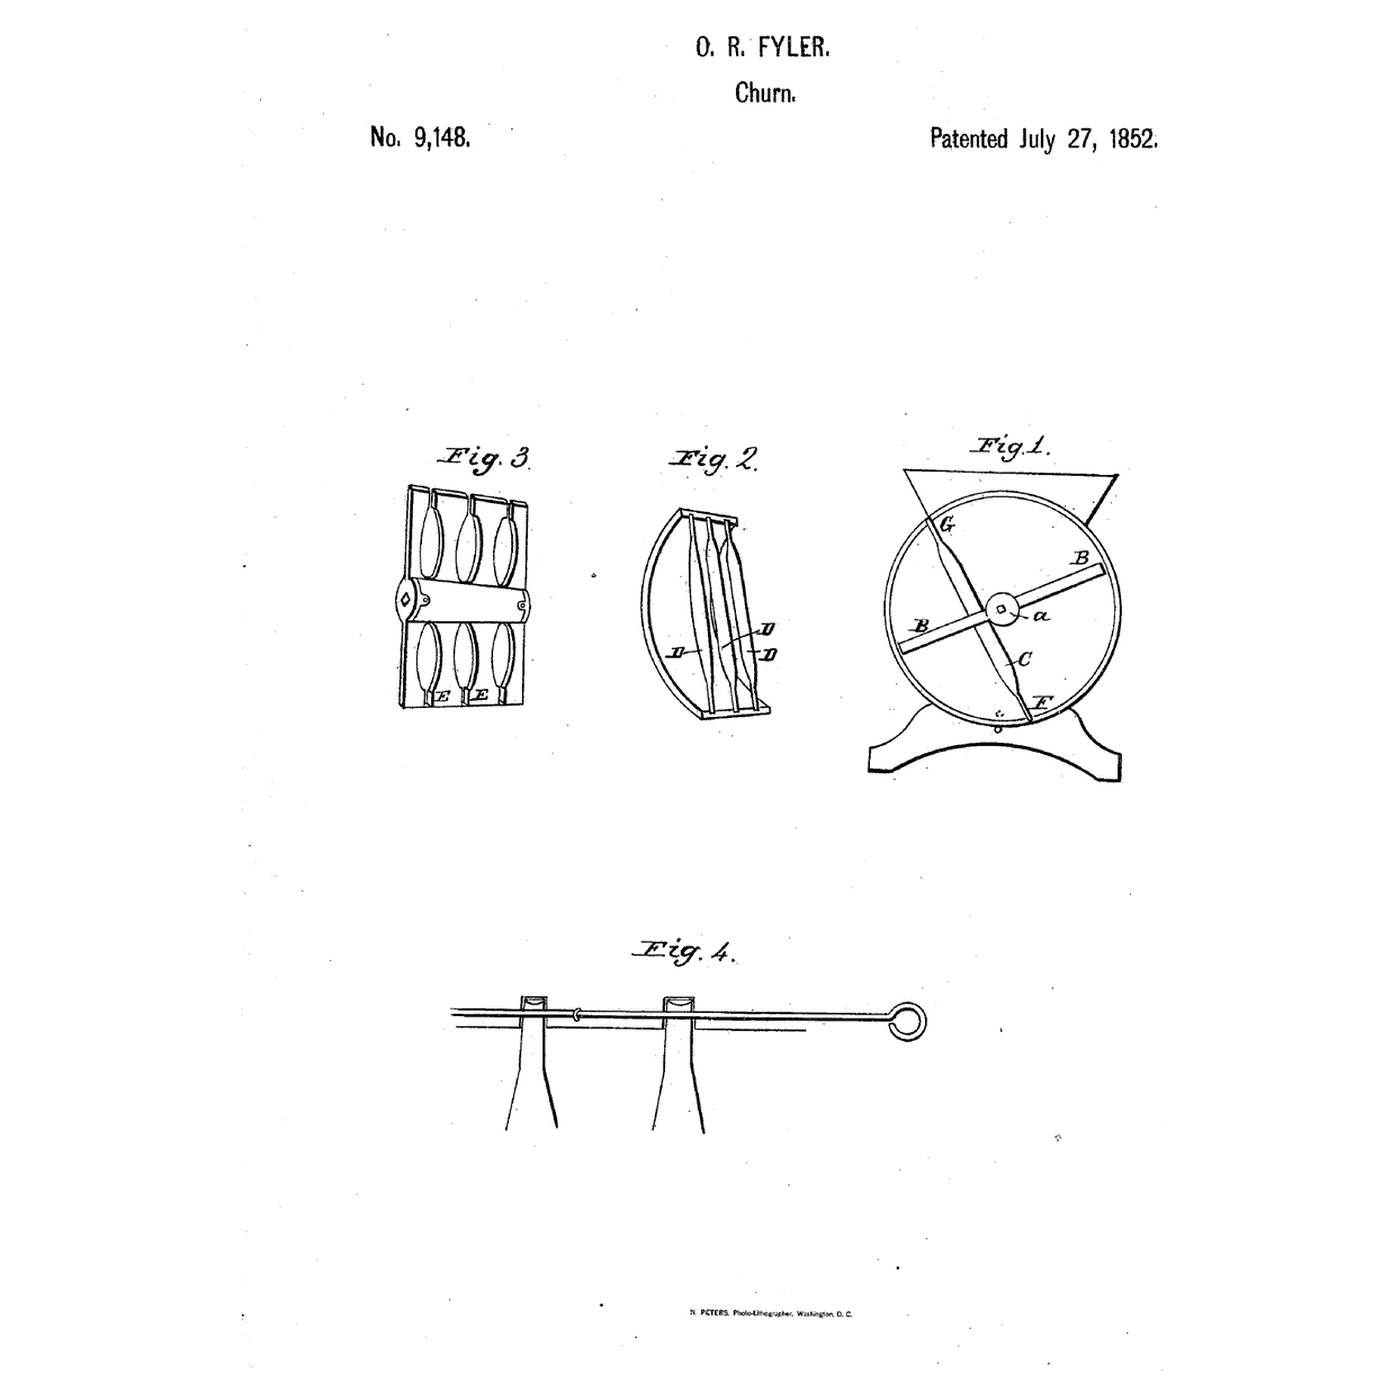
Post-and-Float Butter-Working Churn: Floats Revolving Astride Fixed Posts
autor: Woody
Obróbka drewna
4
0
0
0
0
0

Churning Butter from Cream — The 5,000-Year-Old Fat Separation
autor: TheChef
RZEMIOSŁO
47
0
0
0
0
0
CC0 Domena publiczna
Ten plan jest udostępniany na licencji CC0. Możesz go swobodnie kopiować, modyfikować, rozpowszechniać i wykorzystywać do dowolnych celów, bez konieczności uzyskiwania zgody.
Wesprzyj Makera kupując produkty przez jego plan, za co zarabia Prowizja Makera ustalony przez sprzedawców, lub stwórz nową iterację tego planu i dołącz go jako połączenie w swoim własnym planie, aby dzielić się przychodami.