ИСКУССТВО
КРАСОТА И ЗДОРОВЬЕ
РЕМЕСЛО
КУЛЬТУРА И ИСТОРИЯ
РАЗВЛЕЧЕНИЯ
ЭКОЛОГИЯ
ЕДА И НАПИТКИ
ОБРАТНАЯ ИНЖЕНЕРИЯ
НАУКИ
СПОРТ
ТЕХНОЛОГИИ
НОСИМЫЕ УСТРОЙСТВА
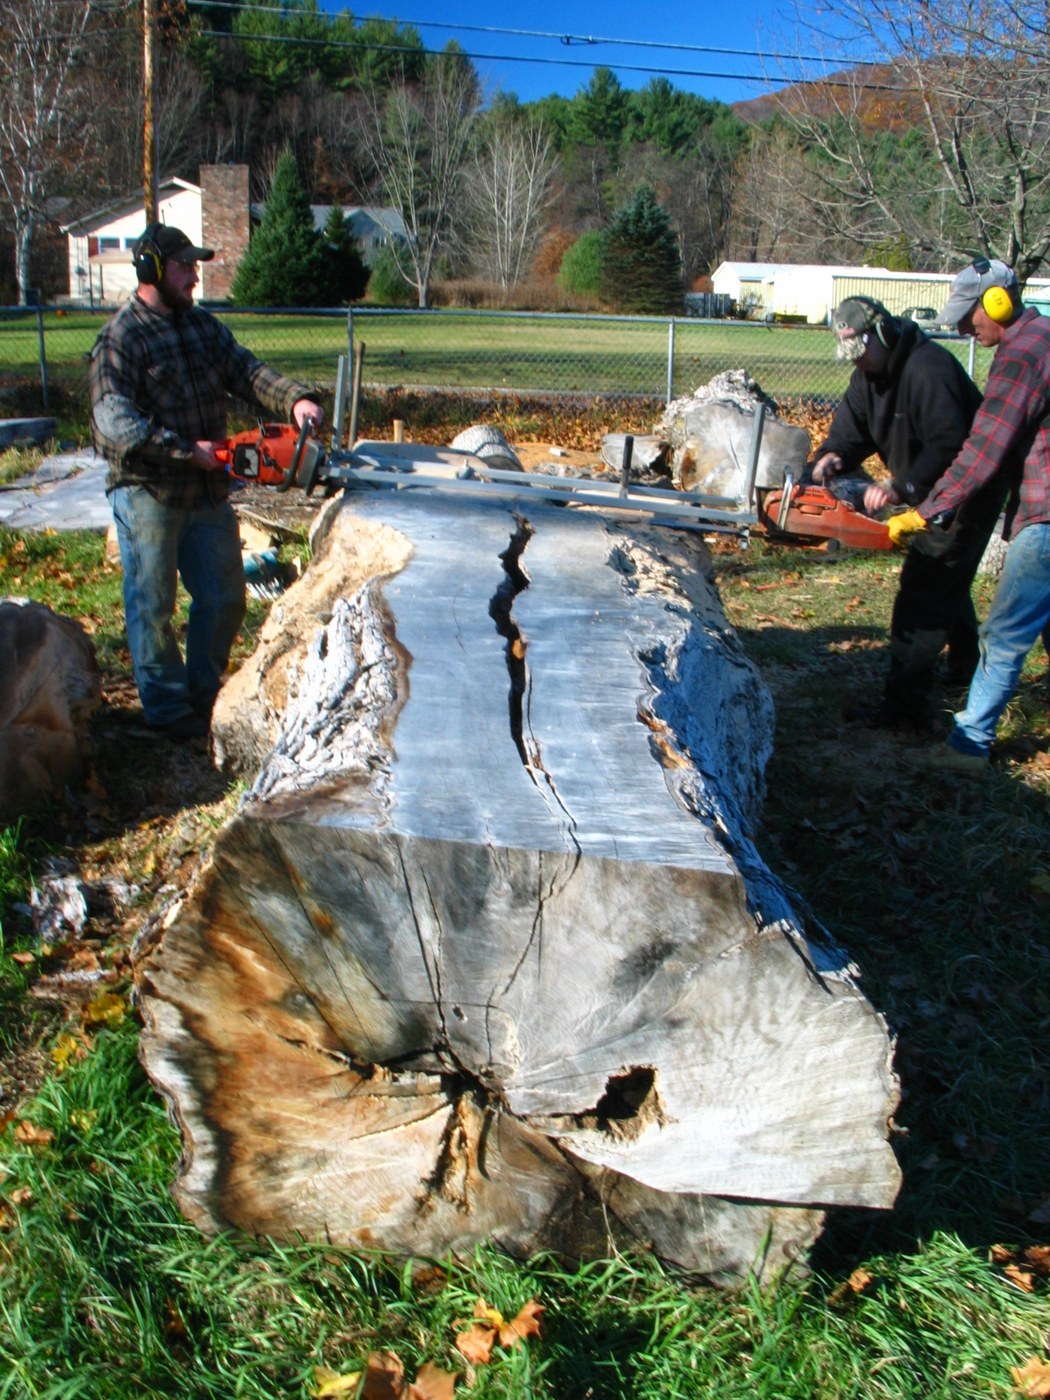


Pine Boards with a Chainsaw Mill
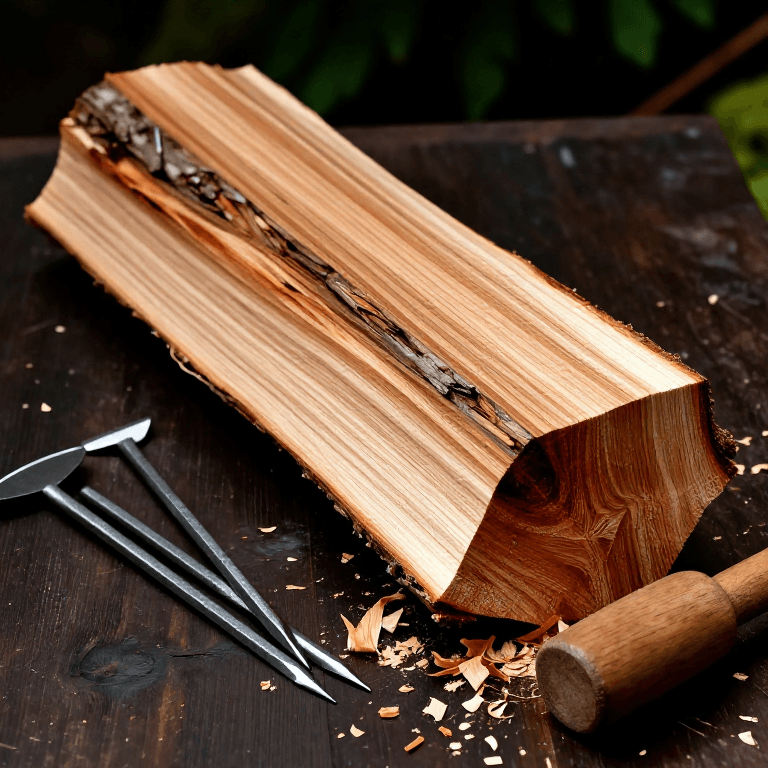
A chainsaw mill is a frame that holds the saw's bar flat at a set height, so the chain rips a log lengthways into boards. The first cut rides on a straight board screwed to the log; every later cut rides on the flat face before it. The green boards are then stacked on stickers to air-dry.
Pine dries fast: a 25 mm board can reach about 14 % moisture in 60 to 90 days in good drying weather. Oak and other slow species take far longer.
Средний
1 day milling, 2–3 months drying
Инструкции
1
1
Pick and prop the log
Pick and prop the log
Choose a straight pine log, 2.5–3 m long, without large knots. Prop it on two short logs so it cannot roll and the chain will not reach the ground.
Материалы для этого шага:
 Брёвна хвойных пород1 штука
Необходимые инструменты:
 Рулетка
2
2
Fit the mill
Fit the mill
Bolt the mill to the chainsaw bar following its maker's instructions. A ripping chain cuts along the grain faster and smoother than a crosscut chain.
Необходимые инструменты:
 Бензопила (профессионального лесного класса)
 Пилорама для бензопилы
3
3
Screw on the guide board
Screw on the guide board
Screw a straight board along the top of the log, level from end to end, as the rail for the first cut. Check it with the straightedge and level.
Материалы для этого шага:
 Шурупы по дереву6 штук
Необходимые инструменты:
 Сосновая доска
 Аккумуляторная дрель
 Поверочная линейка
 Строительный уровень
4
4
First cut
First cut
Wearing helmet with visor, ear protection, gloves and boots, run the mill along the guide board and take off the top slab. Remove the guide board.
Необходимые инструменты:
Бензопила (профессионального лесного класса)Пилорама для бензопилы Защитная каска
 Защитные наушники
 Кожаные рабочие перчатки
 Защитные ботинки со стальным подноском
5
5
Cut the boards
Cut the boards
Set the mill a few millimetres thicker than the finished board, to allow for shrinking and planing. Run each cut on the flat face left by the one before.
Необходимые инструменты:
Бензопила (профессионального лесного класса)Пилорама для бензопилыРулетка6
6
Seal the ends
Seal the ends
Paint both ends of every board with end sealer the same day, to stop them splitting as they dry.
Материалы для этого шага:
 Торцевой герметик (парафин)0.5 литр
7
7
Sticker the stack
Sticker the stack
On a level base at least 30 cm off the ground, lay the boards in layers with a gap between them, each layer on stickers every 40–60 cm, the stickers one above the other.
Материалы для этого шага:
 Деревянная прокладка (сушильная рейка)30 штук
Необходимые инструменты:
 Деревянный поддонСтроительный уровень
8
8
Cover and weight
Cover and weight
Cover the top of the stack against rain and lay weight on it to keep the top boards flat; leave the sides open to the air.
Необходимые инструменты:
 Брезент
9
9
Measure the moisture
Measure the moisture
After 2 months, read a board from the middle of the stack. Air-dry outdoors reaches about 12–15 %; bring boards for furniture indoors to settle at 6–8 % before working them.
Необходимые инструменты:
 Влагомер
10
10
Troubleshooting
Troubleshooting
Chainsaw milling troubleshooting.
Flow
Loading...
Материалы
4- 1 штукаЗаполнитель
- 6 штукЗаполнитель
- 0.5 литрЗаполнитель
- Заполнитель
Требуемые инструменты
14- 1 vendor sell this, none ship to you yetЗаполнитель
- Заполнитель
- Заполнитель
- Заполнитель
- 1 vendor sell this, none ship to you yetЗаполнитель
- Заполнитель
- Заполнитель
- Заполнитель
- Заполнитель
- Заполнитель
- Заполнитель
- Заполнитель
- Заполнитель
- Заполнитель
По этому чертежу делают



Связанные чертежи
Эти чертежи делятся знаниями — техники, материалы или принципы
CC0 Общественное достояние
Этот чертёж выпущен под лицензией CC0. Вы можете свободно копировать, изменять, распространять и использовать эту работу в любых целях без запроса разрешения.
Поддержите мейкера, покупая товары через его чертёж, где он получает Комиссию мейкера установленную продавцами, или создайте новую итерацию этого чертежа и включите его как связь в свой чертёж для распределения дохода.