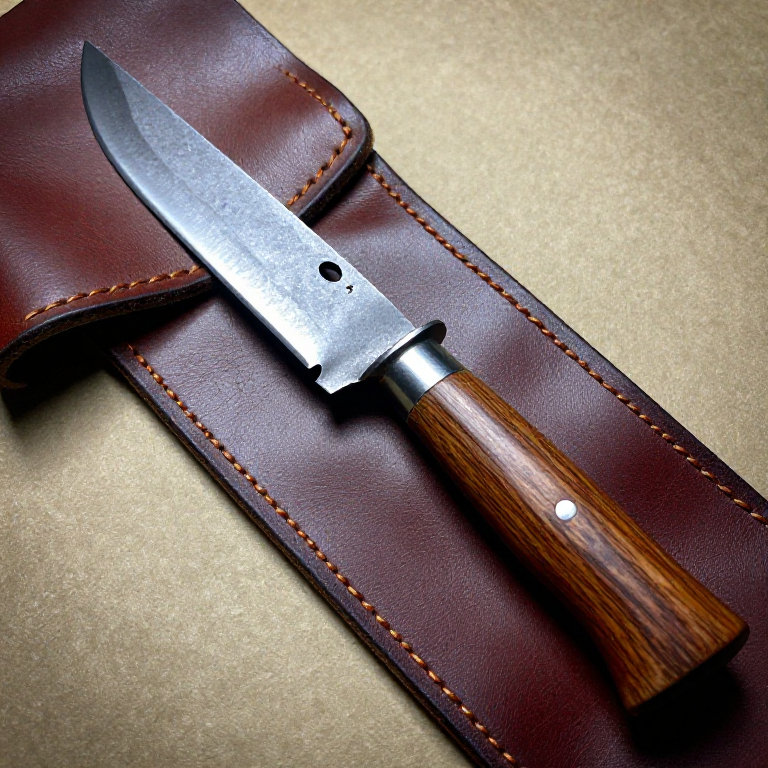
Forging an Iron Chisel — The Cutting Tool That Shapes Stone, Wood, and Metal
The chisel is perhaps the most versatile tool ever forged. A blacksmith's cold chisel cuts iron on the anvil. A mason's point chisel dresses stone blocks. A carpenter's firmer chisel shapes timber joints. In every case, the principle is the same: a hardened steel or iron edge driven by a hammer blow concentrates force onto a line, splitting the material along that line.
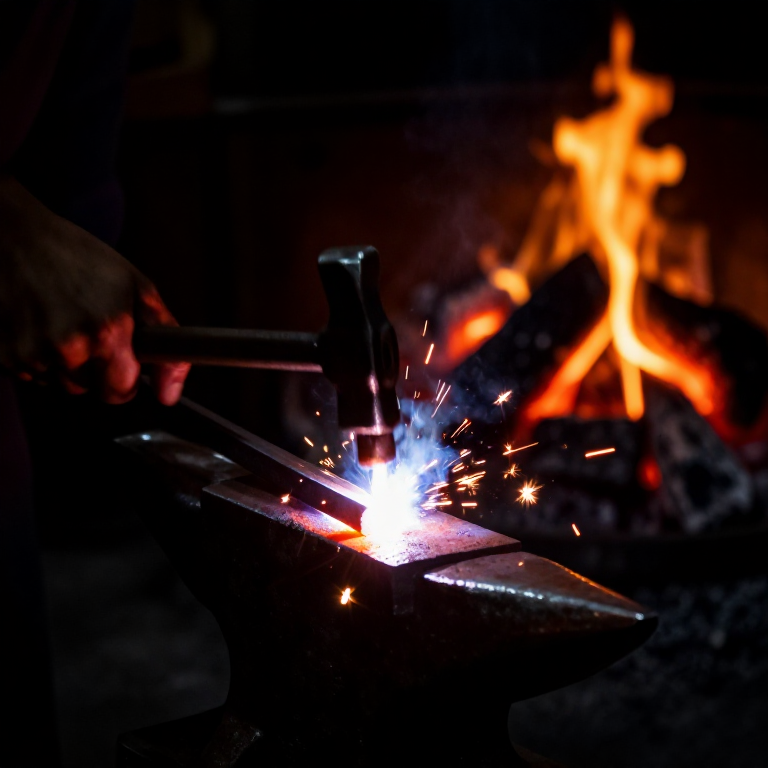
An iron chisel is forged from a single bar of wrought iron: one end is drawn to a flat wedge for the cutting edge, the other end is left square as the striking head. The critical technique is case-carburising the cutting end — packing it in charcoal and heating it to absorb carbon, converting the surface layer from soft wrought iron into hardenable steel. This steel edge is then quench-hardened and tempered, giving the chisel a hard cutting face backed by a tough, shock-absorbing body.
Инструкции
Select and cut the bar stock
Select and cut the bar stock
Forge the cutting end to a wedge
Forge the cutting end to a wedge
Материалы для этого шага:
 Charcoal3 кг
Необходимые инструменты:
 Forge Hammer (Cross-Peen)
 Forge Tongs
 Hearth (Forge Fire)
Form the striking head
Form the striking head
Straighten and true
Straighten and true
Case-carburise the cutting end
Case-carburise the cutting end
Quench-harden the edge
Quench-harden the edge
Материалы для этого шага:
 Water5 l
Temper the hardened edge
Temper the hardened edge
Материалы для этого шага:
 Sandstone (Abrasive)1 штука
Grind the final edge
Grind the final edge
Материалы для этого шага:
 Whetstone1 штука
Материалы
4- 1 штукаЗаполнитель
Требуемые инструменты
3- Заполнитель
- Заполнитель
- Заполнитель
Материалы из связанных чертежей
Связанные чертежи
Эти чертежи делятся знаниями — техники, материалы или принципы
Related blueprints
Other builds that share materials, tools, or techniques with this one.


CC0 Общественное достояние
Этот чертёж выпущен под лицензией CC0. Вы можете свободно копировать, изменять, распространять и использовать эту работу в любых целях без запроса разрешения.
Поддержите мейкера, покупая товары через его чертёж, где он получает Комиссию мейкера установленную продавцами, или создайте новую итерацию этого чертежа и включите его как связь в свой чертёж для распределения дохода.