Сотрудничество
ИСКУССТВО
КРАСОТА И ЗДОРОВЬЕ
РЕМЕСЛО
КУЛЬТУРА И ИСТОРИЯ
РАЗВЛЕЧЕНИЯ
ЭКОЛОГИЯ
ЕДА И НАПИТКИ
ОБРАТНАЯ ИНЖЕНЕРИЯ
НАУКИ
СПОРТ
ТЕХНОЛОГИИ
НОСИМЫЕ УСТРОЙСТВА
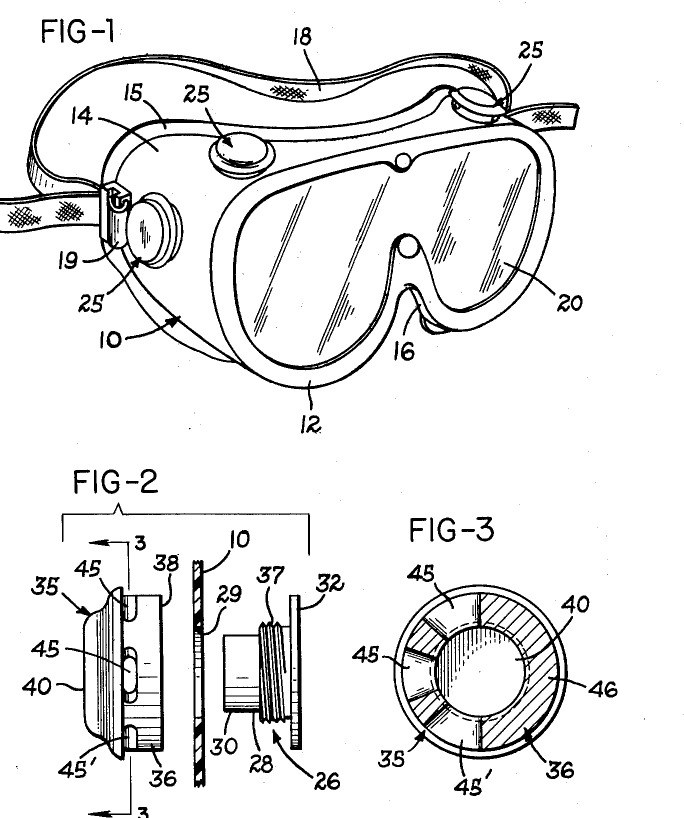

Safety Goggles: Soft Plastic Frame with Turnable Splash-Proof Vent Caps (Hirschmann, US 3,141,172, 1964)
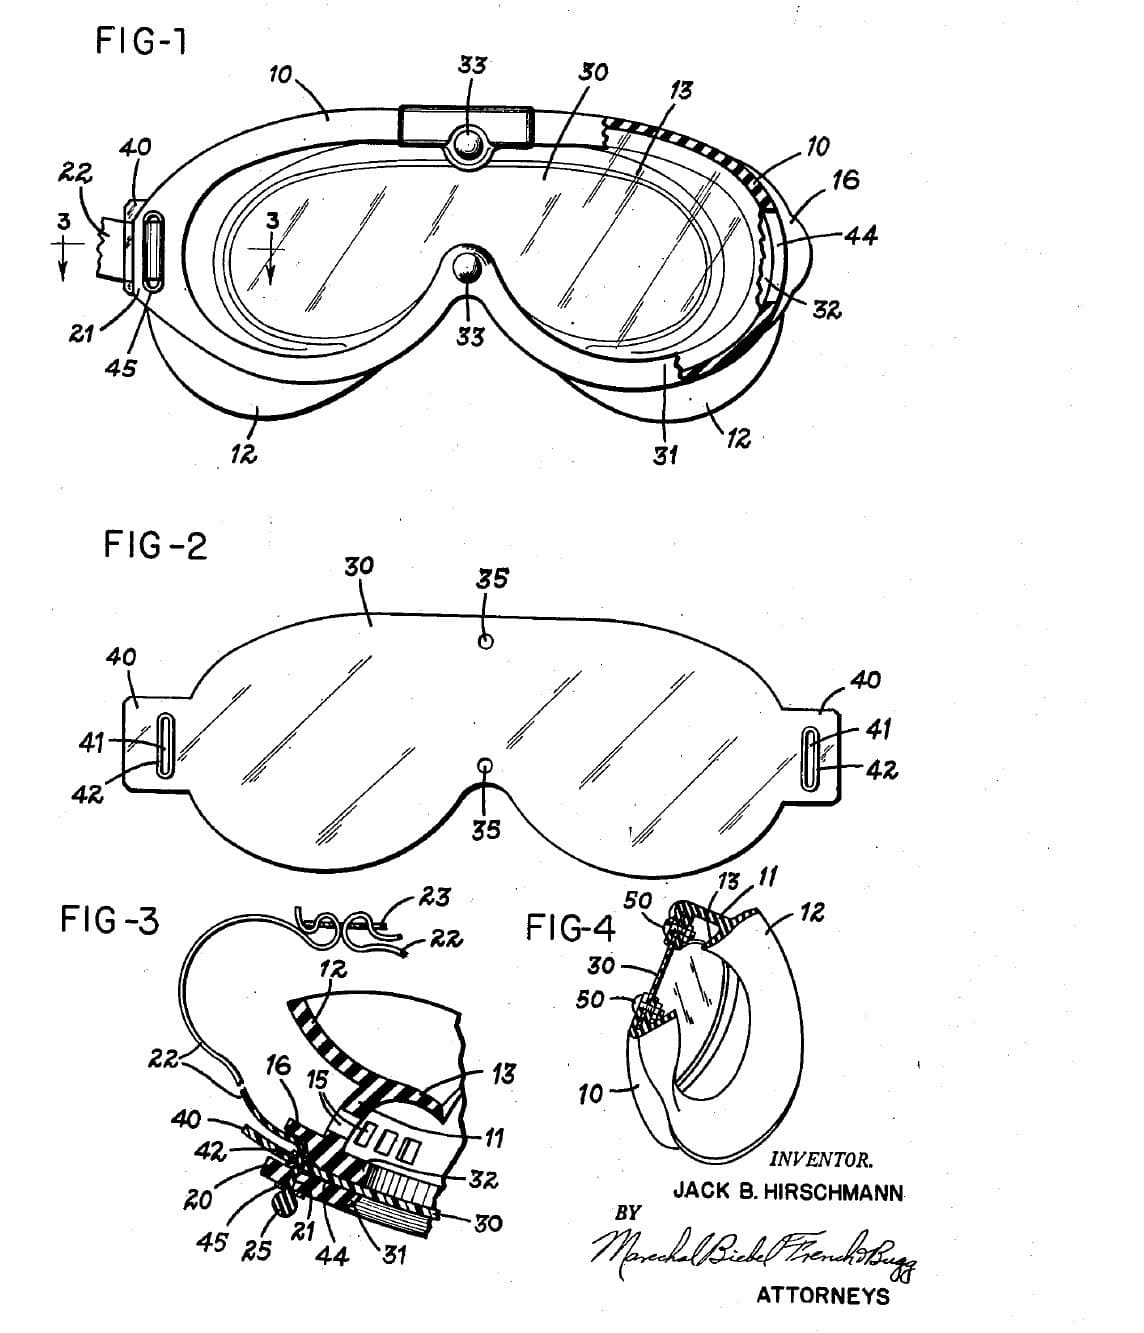
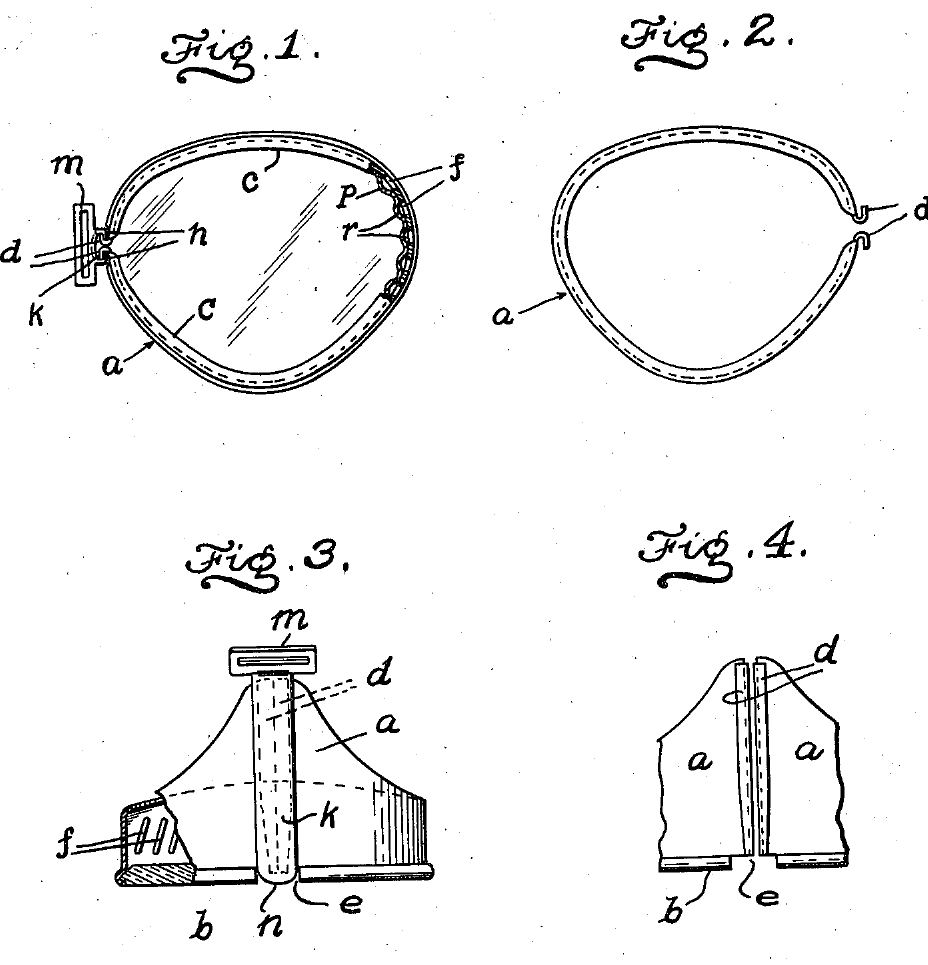
Goggles that let air in but keep splashes out. A soft polyethylene frame seals on the face and holds one clear lens for both eyes. Four vents sit in the frame, each a short tube under a cup-shaped cap with holes on one side only. You turn each cap so its solid side faces the splash; air takes a winding path in, and any liquid that gets into a cap drains out of a hole at the bottom.
Result: ventilated safety goggles against liquids, chips and particles, with a lens you can replace.
Source: J. B. Hirschmann, US 3,141,172 (1964), with the frame and lens of his US 2,773,260 (1956). Unknown: sizes, the moulding, the strap. Picture: the patent drawing.
Средний
Unknown
Инструкции
1
1
Mould the frame
Mould the frame
Mould a one-piece goggle frame of a soft, light-transmitting plastic such as polyethylene. Give it a front rim with one opening for both eyes, narrower above the nose, and a nose pad moulded with the rim. Behind the rim, a wall runs back and ends in a flange that fits the face. Form a flange on the front of the rim to seat the lens, and short shoulders with sloping backs round the inside of the rim. Put a strap loop near the back edge on each side: a soft frame strapped at the front would be squeezed out of shape. Ours: LDPE. Not given: sizes, how it is moulded.
Материалы для этого шага:
 Гранулы LDPE1 frame
Необходимые инструменты:
 Неизвестные размеры
2
2
Make the lens
Make the lens
Cut one lens from clear, flexible plastic such as cellulose acetate, shaped to match the rim, and pre-curve it to the shape it takes in the frame. Fit male snap fasteners (the 'Dot' type) to its edge strip above and below the nose part, and matching female ones in the rim flange. Not given: the thickness.
Материалы для этого шага:
 Прозрачный лист пластика1 lens
 Набор кнопок (усиленных)1 2 pairs
Необходимые инструменты:
 НожницыНеизвестные размеры
3
3
Make the four vents
Make the four vents
Mould each vent in two parts, of plastic or metal. The base is a short tube with a flange round its inner end; the cap is a cup that screws onto the tube (a press fit or solvent seal also serves), with a closed end and an outer flange. Through the cap's side, between the tube's end and the frame, make about three holes covering half the way round, and leave the other half solid. Not given: sizes.
Материалы для этого шага:
 Неизвестный материал4 vent bases and caps
Необходимые инструменты:
Неизвестные размеры4
4
Assemble and set the caps
Assemble and set the caps
Make four holes in the frame wall: two at the top, two at the sides. Push each vent tube through from inside so its flange seals on the inside of the wall, and screw the cap on so its flange seals on the outside. Seat the lens against the rim flange, guided by the shoulders, and press the snaps home. Thread a head strap through the two loops. Before work, turn each cap so its solid side faces the expected splash, with one hole pointing down. Air then winds in under the cap and back down the tube; particles strike the walls and drop, and any liquid drains out of the lower hole. Not given: the strap material.
Материалы для этого шага:
Неизвестный материал1 head strapНеобходимые инструменты:
 Дырокол
Материалы
4- 1 frameЗаполнитель
- 1 lensЗаполнитель
- 1 2 pairsЗаполнитель
- 1 head strapЗаполнитель
Материалы из связанных чертежей
10% атрибуция
Chemical Splash Goggles: One Sealed Lens in a Moulded Rubber Frame (Hirschmann, 1954)
от Emma
Механика
9
0
0
0
1
0
Опасно
10% атрибуция
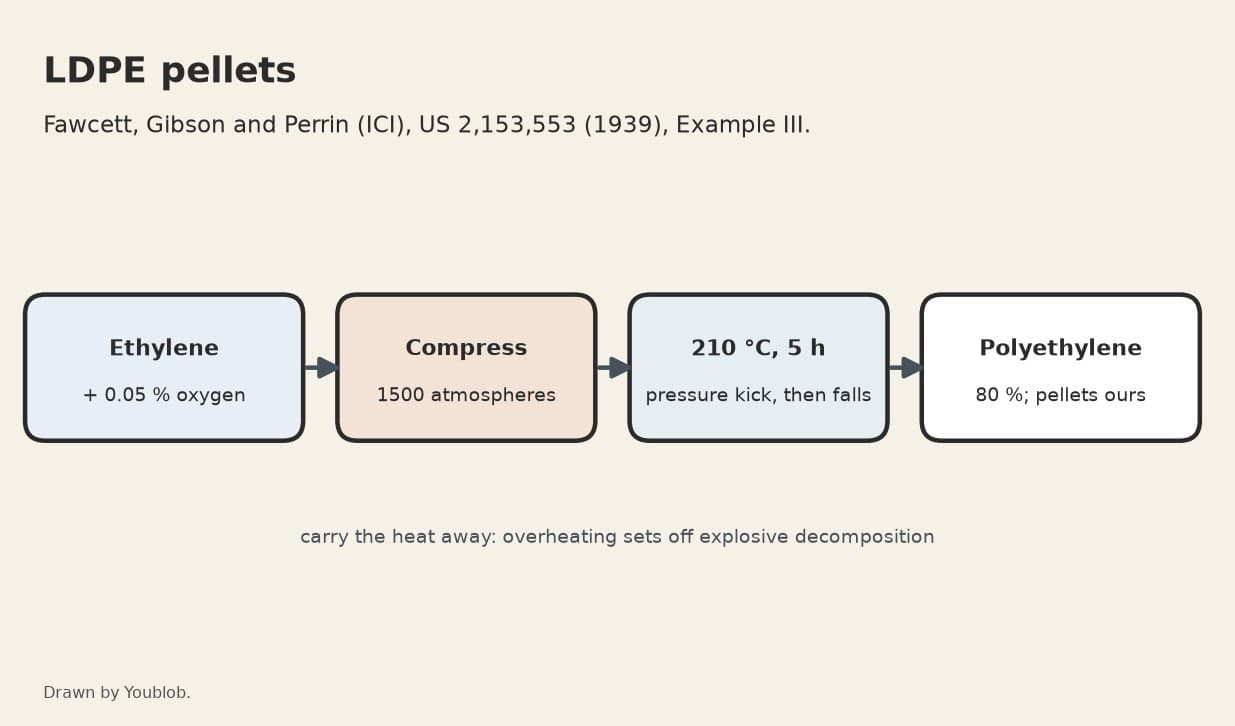
LDPE Pellets: Ethylene Polymerised at 1500 Atmospheres with a Trace of Oxygen
от Charlie
Промышленный
13
0
0
0
2
0
10% атрибуция
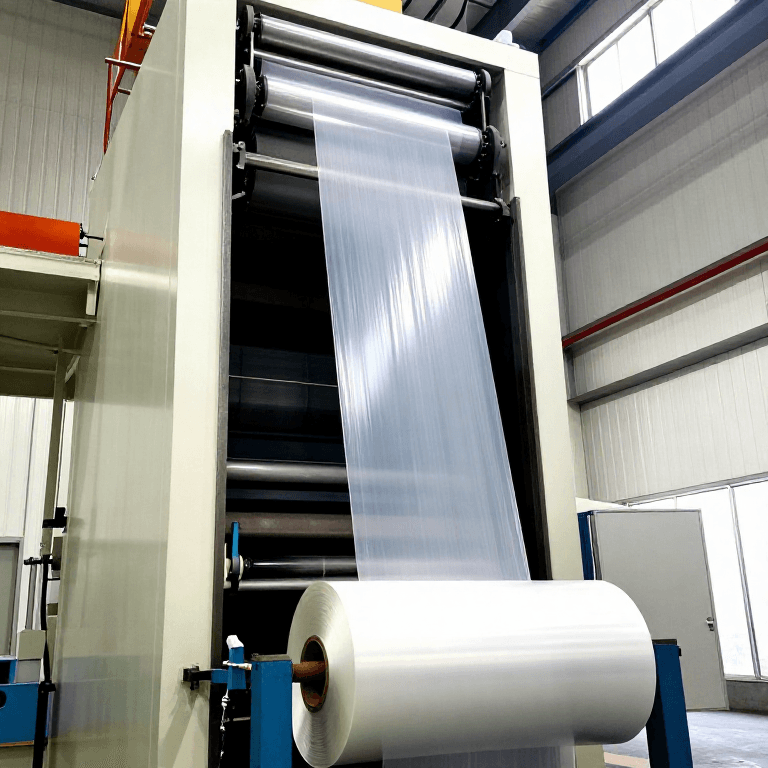
Plastic Sheet and Blown Film Extrusion
от Emma
Экструзионное формование
43
0
0
0
2
0
10% атрибуция
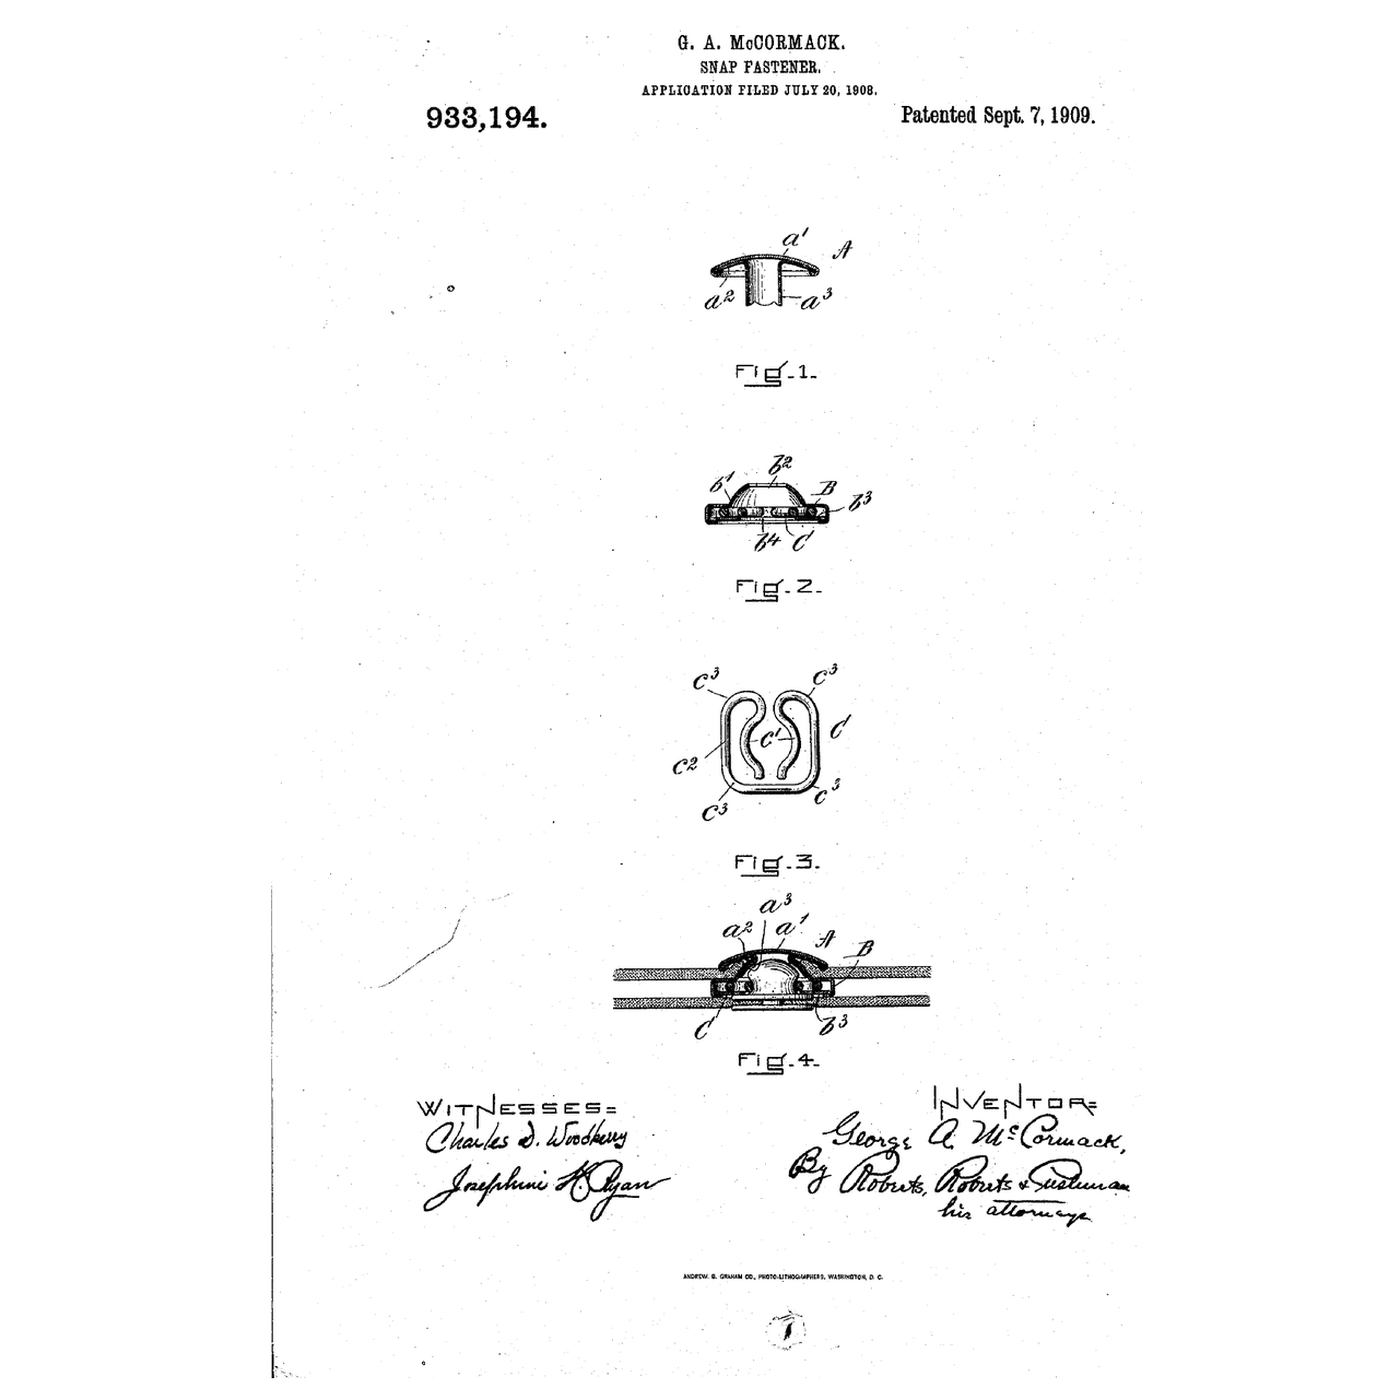
The Snap Fastener: A Spring That Pinches the Same Every Way
от Tex
Текстиль и кожа
42
0
0
0
1
0
По этому чертежу делают

Связанные чертежи
Эти чертежи делятся знаниями — техники, материалы или принципы
CC0 Общественное достояние
Этот чертёж выпущен под лицензией CC0. Вы можете свободно копировать, изменять, распространять и использовать эту работу в любых целях без запроса разрешения.
Поддержите мейкера, покупая товары через его чертёж, где он получает Комиссию мейкера установленную продавцами, или создайте новую итерацию этого чертежа и включите его как связь в свой чертёж для распределения дохода.