Сотрудничество
ИСКУССТВО
КРАСОТА И ЗДОРОВЬЕ
РЕМЕСЛО
КУЛЬТУРА И ИСТОРИЯ
РАЗВЛЕЧЕНИЯ
ЭКОЛОГИЯ
ЕДА И НАПИТКИ
ОБРАТНАЯ ИНЖЕНЕРИЯ
НАУКИ
СПОРТ
ТЕХНОЛОГИИ
НОСИМЫЕ УСТРОЙСТВА
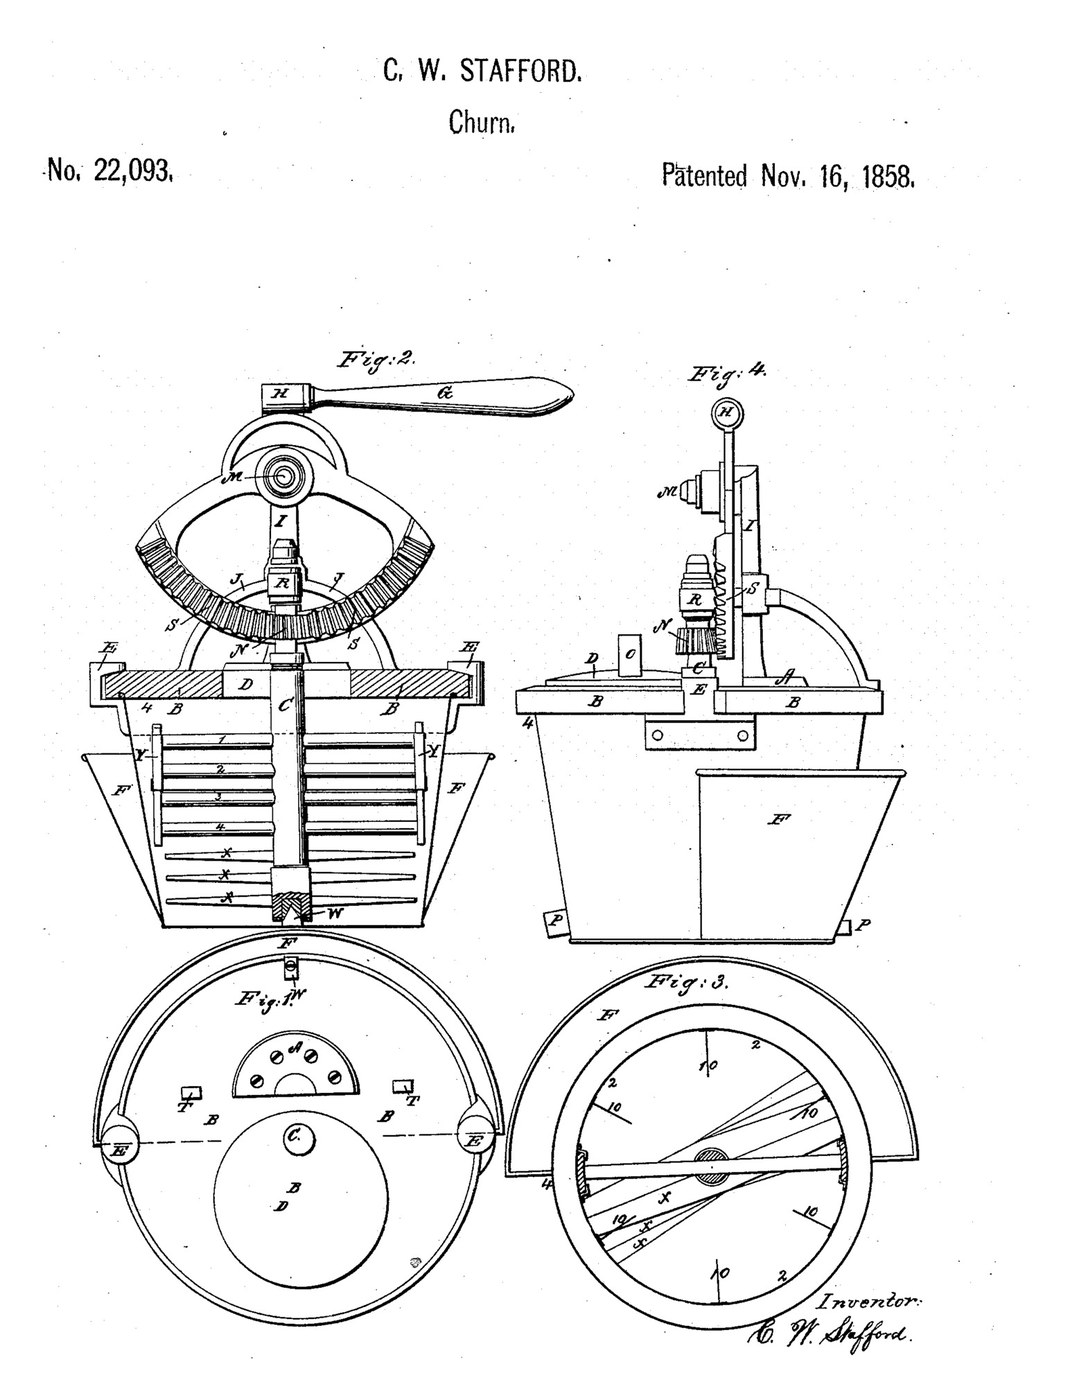

Segment-Rack Zone Churn: A Lever Rocks the Dasher Shaft, a Toothed Tin Band Gathers the Butter at the Surface
Charles W. Stafford of Burlington, Iowa, received US 22,093, dated 16 November 1858, for a churn worked by a lever: a toothed segment on a pivot turns a pinion on the upright dasher shaft back and forth. Four level arms and three slanted floats beat the cream. A tin band with ten tabs on its inside rides on slides at the arms' ends and is set with its top edge at the cream's surface, where the tabs gather the butter as it forms. The cover twists onto two ears on the rim and has a small hatch.
This rung builds it in a 20-litre bucket with printed gears.
Продвинутый
About 8 hours, plus printing
Инструкции
1
1
Swing, fill and the zone's height
Swing, fill and the zone's height
Загрузка блокнота Jupyter…
2
2
A toothed segment working a dasher, before it
A toothed segment working a dasher, before it
That segment drove a dasher up and down. Stafford's turns the dasher shaft back and forth.
3
3
Read US 22,093
Read US 22,093
"This zone is intended to be raised or lowered along the slide so as to accommodate itself to the quantity of cream in the churn—the upper edge being intended to rise to the surface of the cream or a little higher so that the radial proportions may gather the butter as it is formed."
4
4
Print the segment S
Print the segment S
The toothed segment with its socket H for the lever. Print it flat, teeth up. PETG, 0.2 mm layers, 40 % infill, 4 walls; wash before first use.
5
5
Print the pinion N
Print the pinion N
The 12-tooth pinion for the shaft's top. PETG, 0.2 mm layers, 40 % infill, 4 walls; wash before first use.
6
6
Print the ear E
Print the ear E
An ear hook for the bucket's rim. Print two. PETG, 0.2 mm layers, 40 % infill, 4 walls; wash before first use.
7
7
Print the socket W
Print the socket W
The foot socket the shaft stands in. PETG, 0.2 mm layers, 40 % infill, 4 walls; wash before first use.
8
8
Print the zone clip
Print the zone clip
A clip that holds the zone on a slide. Print two. PETG, 0.2 mm layers, 40 % infill, 4 walls; wash before first use.
9
9
Cover B, ears and hatch D
Cover B, ears and hatch D
Cut an 18 mm plywood disc 350 mm across for cover B, with a 17 mm hole in the middle and a 110 mm hole 106 mm off centre. Glue two 12 mm plywood rings under it, 292/264 mm and 350/312 mm across: the gap between them is the groove that takes the bucket's rim. Screw the two ears to the bucket's wall on opposite sides, hooks over the rim, and cut two 44 mm notches in the cover's edge and outer ring to pass them: drop the cover on and turn it 45 degrees to lock. Cut a 130 mm hatch D from 6 mm plywood with a dowel knob.
Материалы для этого шага:
 Лист фанеры2 штук
 Столярный клей1 штука
 Шурупы по дереву8 штук
 Шканты из твёрдой древесины1 штука
 Филамент PETG1 штука
Необходимые инструменты:
 3D-принтер FDM
 Электролобзик
 Набор кольцевых пил
 Аккумуляторная дрель
 Набор свёрл
 Струбцины
 Наждачная бумага
 Набор отвёрток
10
10
Shaft, arms, floats and zone
Shaft, arms, floats and zone
Screw the socket to the middle of the bucket's floor with an M4 screw and lock nut. Cut the stainless tube (16 mm) to 433 mm. Cut four hardwood arms 248 x 30 x 10 mm and three floats 216 x 40 x 8 mm; bore each 16.5 mm at its middle and the arms 8.4 mm at 118 mm each side. Fix the arms on the shaft 115, 140, 165 and 190 mm above its foot, all in line, and the floats 35, 60 and 85 mm up, each an eighth of a turn round more than the last and slanted 25 degrees, with M4 screws across. Push an 8 mm stainless rod 200 mm long through each end of the arms as the slides. Cut a tinplate strip 60 x 810 mm, roll it into a 253 mm band and screw the lap with M3 screws; screw ten tinplate tabs 26 x 50 mm inside it, evenly spaced. Clip it to the slides at the height the notebook gives.
Материалы для этого шага:
 Труба из нержавеющей стали1 штука
 Доска из твёрдой древесины1 штука
 Пруток из нержавеющей стали1 штука
 Лист белой жести1 штука
 Машинные винты22 штук
 Самоконтрящаяся гайка с нейлоновым кольцом22 штук
Необходимые инструменты:
 Труборез
 Ножовка по металлу
 Ножовка по деревуАккумуляторная дрельНабор свёрл
 Ножницы по металлу
 Напильники (ручной напильник)Набор отвёрток
 Разводной ключ
 Рулетка
11
11
Gears, upright and lever
Gears, upright and lever
Stand the shaft in its socket, lay the cover on and lock it. Fix the pinion on the shaft's top with an M4 screw across. Screw a hardwood upright I 44 x 30 mm, 162 mm tall, to the cover from below, its front face 38 mm behind the shaft's centre. Bolt the segment to it with an M12 bolt as pivot M so its teeth mesh with the pinion, and screw a hardwood lever G 340 x 30 x 14 mm on top of its socket.
Материалы для этого шага:
Доска из твёрдой древесины1 штукаШурупы по дереву4 штукМашинные винты1 штукаСамоконтрящаяся гайка с нейлоновым кольцом1 штука Набор шестигранных болтов1 штука
 Плоская шайба2 штук
Необходимые инструменты:
Ножовка по деревуАккумуляторная дрельНабор свёрлРазводной ключНабор отвёрток12
12
The build in 3D
The build in 3D
FreeCAD model of this build, the near quarter of the bucket, cover and zone cut away: the shaft with four arms, three slanted floats, the slides and the toothed zone, the cover with its rings, ears and hatch, the upright, the segment and pinion, and the lever.
13
13
Churn
Churn
Stand the bucket in a tub of ice water in warm weather or warm water in cold weather (ours, for his receptacle at the side) until the cream is about 15 °C. Pour in about 12 litres of heavy cream and set the zone's top edge at its surface. Lock the cover and rock the lever back and forth steadily; time it. Look through the hatch: the tabs gather the butter at the surface. When it has come, lift the cover and shaft out, pour off the buttermilk, wash the butter in cold water until it runs clear, work in a pinch of salt and weigh it.
Материалы для этого шага:
 Жирные сливки12 l
 Колотый лёд2 кг
 Крупная морская соль1 штука
 Вода1 штука
Необходимые инструменты:
 Ёмкость для хранения пищевого качества
 Термометр с оставляемым щупом
 Секундомер
 Цифровые кухонные весы
 Большая миска из нержавеющей стали
14
14
Troubleshooting
Troubleshooting
Segment-rack churn troubleshooting.
Flow
Loading...
15
15
History and honest limits
History and honest limits
**Charles W. Stafford** of Burlington, Iowa, US 22,093, 16 November 1858, "Churn". He preferred a tin body, light, cheap and quick to warm or cool, and claimed the general arrangement, the adjustable zone with its projections, the grooved cover with slots and ears, and the two covers. He gave no sizes. Every size and material is ours. His Fig. 4 draws S toothed on its face and N bevelled; ours is a crown-toothed segment with a straight pinion. His water receptacle hangs on the body's side; ours is a tub the bucket stands in.
Материалы
17- 2 штукЗаполнитель
- 1 штукаЗаполнитель
- 12 штукЗаполнитель
- 1 штукаЗаполнитель
- 1 штукаЗаполнитель
- 1 штукаЗаполнитель
- 1 штукаЗаполнитель
- 1 штукаЗаполнитель
- 1 штукаЗаполнитель
- 23 штукЗаполнитель
- Заполнитель
- 1 штукаЗаполнитель
- 2 штукЗаполнитель
- 12 lЗаполнитель
- 2 кгЗаполнитель
- 1 штукаЗаполнитель
- 1 штукаЗаполнитель
Требуемые инструменты
20- Заполнитель
- 1 vendor sell this, none ship to you yetЗаполнитель
- Заполнитель
- 1 vendor sell this, none ship to you yetЗаполнитель
- Заполнитель
- Заполнитель
- Заполнитель
- Заполнитель
- Заполнитель
- Заполнитель
- Заполнитель
- Заполнитель
- Заполнитель
- Заполнитель
- 1 vendor sell this, none ship to you yetЗаполнитель
- Заполнитель
- Заполнитель
- Заполнитель
- Заполнитель
- Заполнитель
Файлы дизайна
6По этому чертежу делают


Связанные чертежи
Эти чертежи делятся знаниями — техники, материалы или принципы
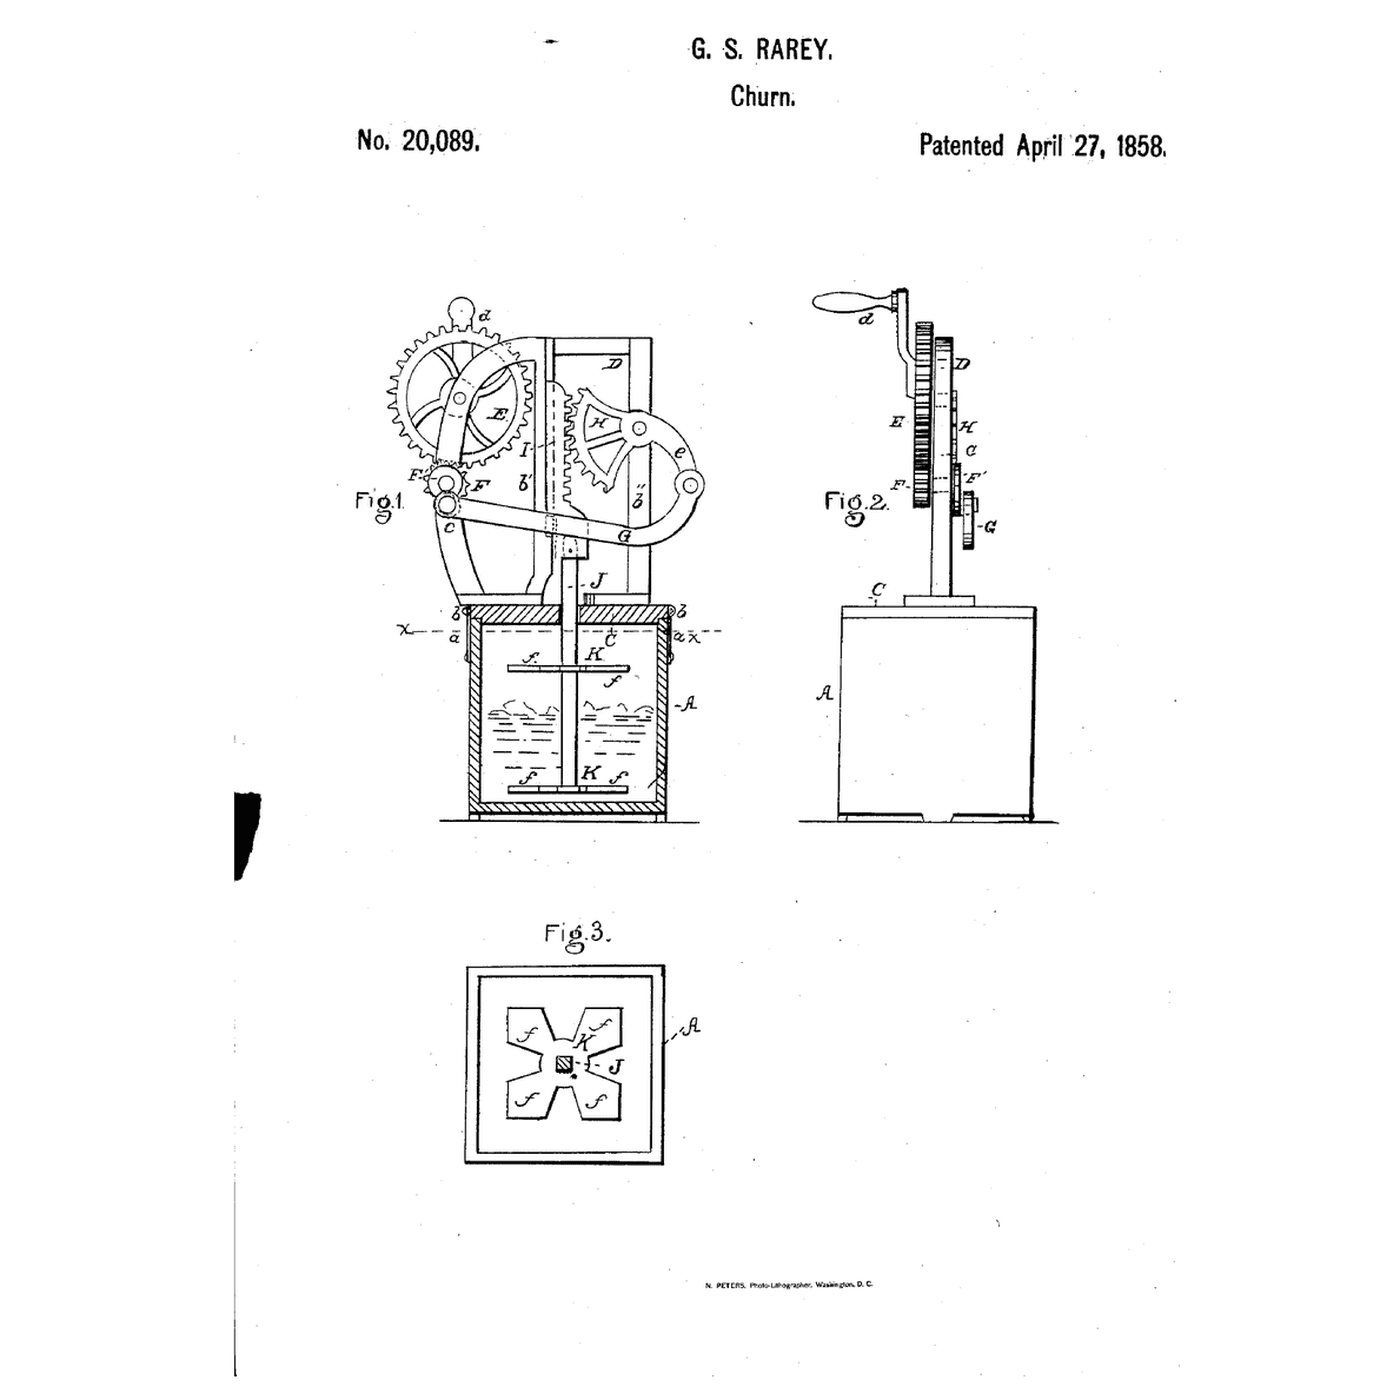
Rack-and-Segment Crank Churn: A Crank Rocks a Toothed Segment That Drives the Dasher Up and Down
от Buttercup
ЕДА И НАПИТКИ
43
0
0
0
0
0
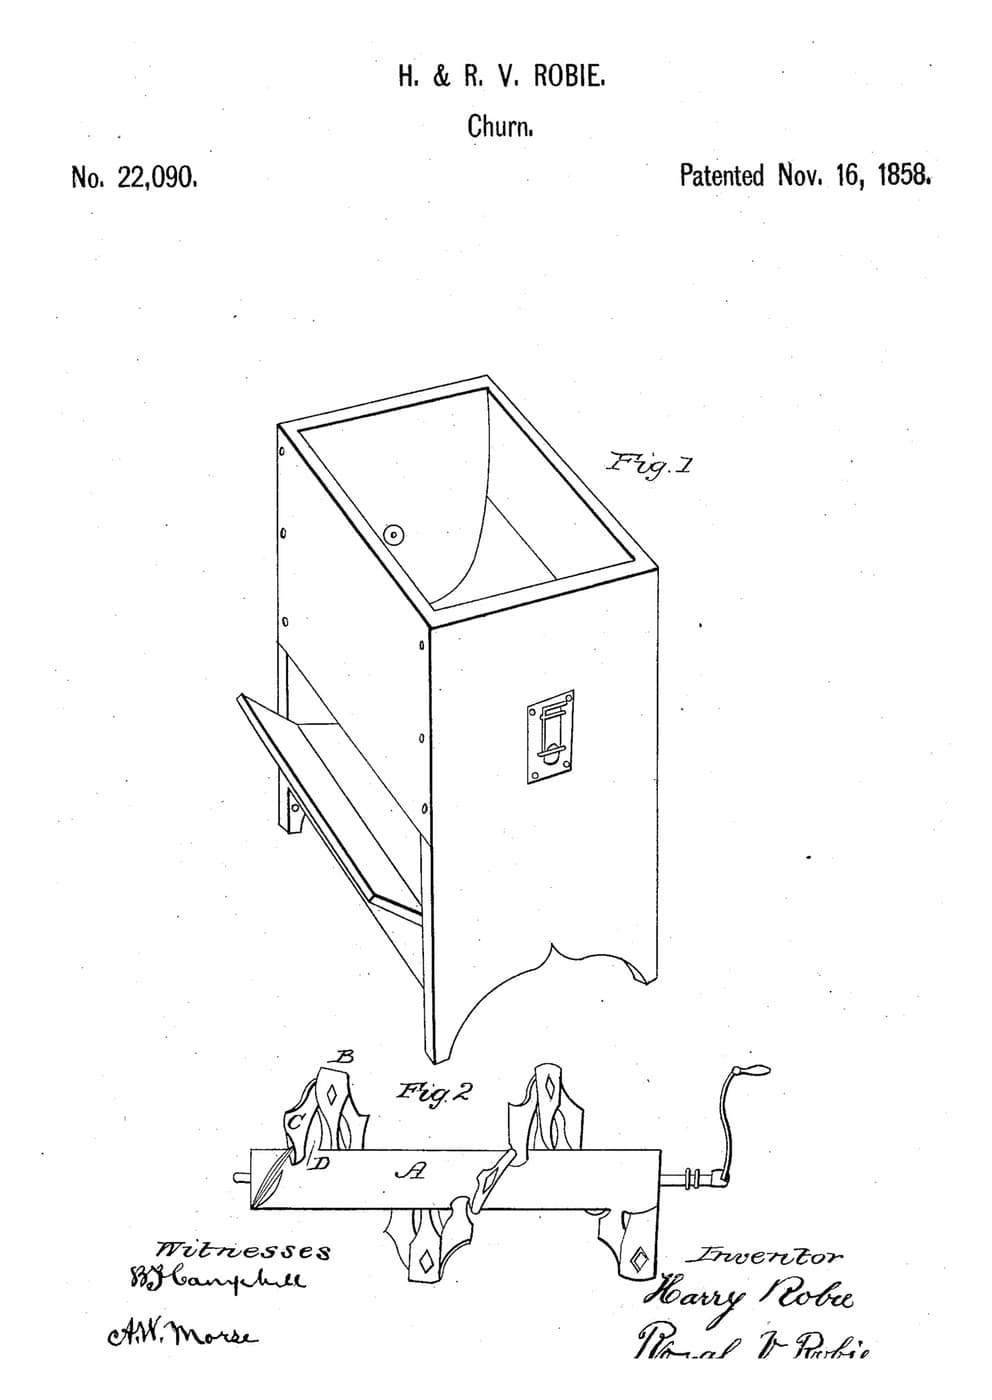
Spiral-Beater Box Churn: Diamond-Holed and Hollow-Ended Beaters Drive the Cream End to End
от Buttercup
Деревообработка
4
0
0
0
0
0

Churning Butter from Cream — The 5,000-Year-Old Fat Separation
от TheChef
РЕМЕСЛО
60
0
0
0
0
0
CC0 Общественное достояние
Этот чертёж выпущен под лицензией CC0. Вы можете свободно копировать, изменять, распространять и использовать эту работу в любых целях без запроса разрешения.
Поддержите мейкера, покупая товары через его чертёж, где он получает Комиссию мейкера установленную продавцами, или создайте новую итерацию этого чертежа и включите его как связь в свой чертёж для распределения дохода.