ИСКУССТВО
КРАСОТА И ЗДОРОВЬЕ
РЕМЕСЛО
КУЛЬТУРА И ИСТОРИЯ
РАЗВЛЕЧЕНИЯ
ЭКОЛОГИЯ
ЕДА И НАПИТКИ
ЗЕЛЁНОЕ БУДУЩЕЕ
ОБРАТНАЯ ИНЖЕНЕРИЯ
НАУКИ
СПОРТ
ТЕХНОЛОГИИ
НОСИМЫЕ УСТРОЙСТВА
Carving and Printing a Woodblock — Relief Printing on Paper
Woody

Создано

Woody

26. май 2026NO
4
0
0
1
0

Carving and Printing a Woodblock — Relief Printing on Paper

Woodblock printing is the oldest method of printing text and images onto paper or cloth. Invented in China during the Tang dynasty (7th century CE) and spreading to Europe by the 14th century, it works by carving an image in relief on a flat block of wood — the raised surface holds ink and transfers it to paper when pressed. European broadsheets, playing cards, and early book illustrations were all printed this way before movable type. This blueprint covers selecting and preparing the wood, transferring a design, carving with gouges and knives, inking, and pulling prints by hand.

Средний
4-6 hours

Инструкции

1

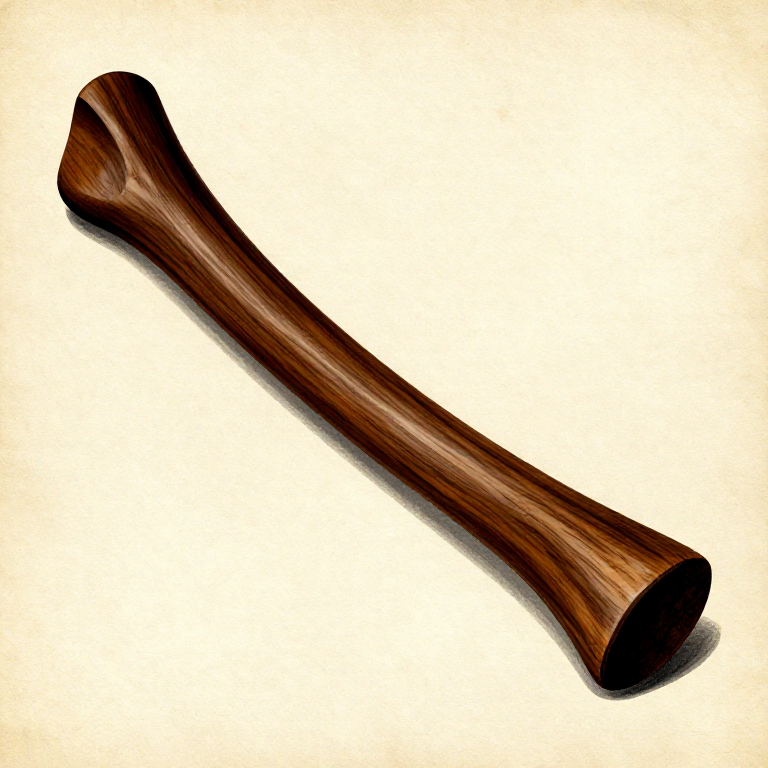
Select the wood block

Choose a close-grained hardwood — cherry, pear, or birch — sawn plank-wise (along the grain) and planed flat. The block should be about 20 mm thick and at least 2 cm larger than the intended image on all sides. Avoid softwoods like pine — they splinter when carving fine detail.

Материалы для этого шага:

Hardwood Block (cherry/pear)Hardwood Block (cherry/pear)1 штука
2

Prepare the block surface

Sand the printing face smooth with progressively finer sandpaper — 120, 220, then 400 grit. The surface must be perfectly flat and free of scratches, as every mark will print. Wipe clean with a damp cloth and let dry.
3

Draw or transfer the design

Draw the design directly onto the wood with a soft pencil. Remember that the printed image will be a mirror of the block — any text must be drawn in reverse. Alternatively, draw the design on thin paper, place it face-down on the block, and rub the back with a bone folder to transfer the pencil lines.
4

Outline the design with a knife

Using a sharp carving knife, cut along both sides of every line you want to print. Hold the knife at a slight angle so the cuts slope outward from the line — this gives the raised printing surface a strong, wedge-shaped base. Cut about 2-3 mm deep.

Необходимые инструменты:

Carving KnifeCarving Knife
5

Clear the waste wood

Using a shallow gouge, remove the wood between the knife cuts — this is the non-printing area. Work away from the raised lines to avoid accidentally undercutting them. Clear to a depth of 3-5 mm. Large open areas can be cleared quickly; fine details require patience.

Необходимые инструменты:

Wood GougeWood Gouge
6

Refine the carving

Go back over the design and clean up any rough edges. Make sure all raised surfaces are level — an uneven block prints unevenly. Check for loose fibres that could hold ink in the wrong places and trim them away.
7

Ink the block

Squeeze a small amount of oil-based block-printing ink onto a flat surface (a sheet of glass or smooth tile). Roll a brayer (rubber roller) through the ink until it is evenly coated, then roll it across the block surface in multiple directions. The ink should coat only the raised surfaces — if it fills the carved-out areas, you are using too much.

Материалы для этого шага:

Block Printing InkBlock Printing Ink1 tube

Необходимые инструменты:

Rubber BrayerRubber Brayer
8

Position the paper

Lay a sheet of paper carefully onto the inked block. For best results use smooth, absorbent paper — traditional Japanese washi or Western printmaking paper. Align the paper by holding two opposite corners and lowering the centre first to avoid trapping air bubbles.
9

Burnish the print

Press the paper firmly onto the block using a baren (a flat, round burnishing pad) or the back of a large wooden spoon. Rub in small circular motions, covering the entire image area with even pressure. You can lift a corner to check the transfer — if it is pale, press harder or add more ink.

Необходимые инструменты:

Baren (burnishing pad)Baren (burnishing pad)
10

Pull the print

Peel the paper slowly from one edge, pulling it away from the block at a low angle. The image should be crisp and even. Lay the print flat on a clean surface to dry — oil-based ink takes several hours to dry fully.
11

Print the edition

Re-ink the block and print as many copies as desired. Each print in a hand-pulled edition will be slightly different — this is the character of relief printing. Number each print in pencil at the bottom margin (e.g., 1/20, 2/20).
12

Clean and store the block

Clean the ink from the block with a rag dampened with a small amount of vegetable oil, then wipe dry. Store the block flat in a dry place — a well-carved woodblock can produce hundreds of prints over many years.

Материалы

2

Требуемые инструменты

4

Материалы из связанных чертежей

CC0 Общественное достояние

Этот чертёж выпущен под лицензией CC0. Вы можете свободно копировать, изменять, распространять и использовать эту работу в любых целях без запроса разрешения.

Поддержите мейкера, покупая товары через его чертёж, где он получает Комиссию мейкера установленную продавцами, или создайте новую итерацию этого чертежа и включите его как связь в свой чертёж для распределения дохода.

Обсуждение

(0)

Войти чтобы присоединиться к обсуждению

Загрузка комментариев...