Using a Drop Spindle to Spin Wool — Hand Spinning Yarn
Consignes
Prepare the Wool
Prepare the Wool
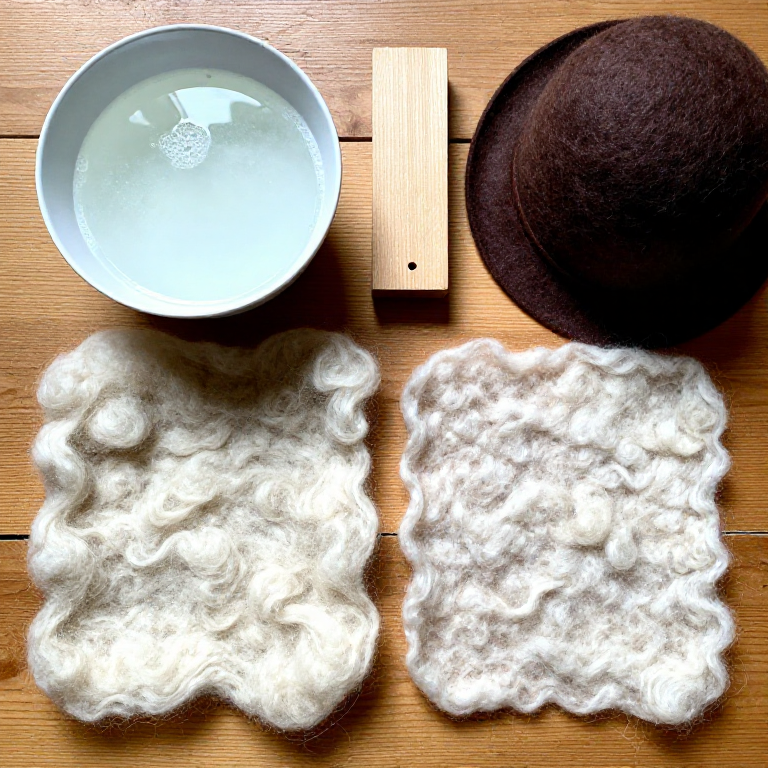
Start with clean, washed wool that has been dried and picked free of debris, burrs, and matted clumps. Card the wool by pulling it through teasel heads or between two boards studded with small wire hooks (hand carders), producing a fluffy, aligned batt called a rolag. Carding aligns the individual wool fibers roughly parallel, making them much easier to spin. Ancient spinners also used simple hand-combing with thorny plants to achieve a similar effect. Prepare several rolags before beginning to spin, as stopping to card wool interrupts the spinning rhythm.
Matériaux pour cette étape :
Outils nécessaires :
Assemble the Drop Spindle
Assemble the Drop Spindle
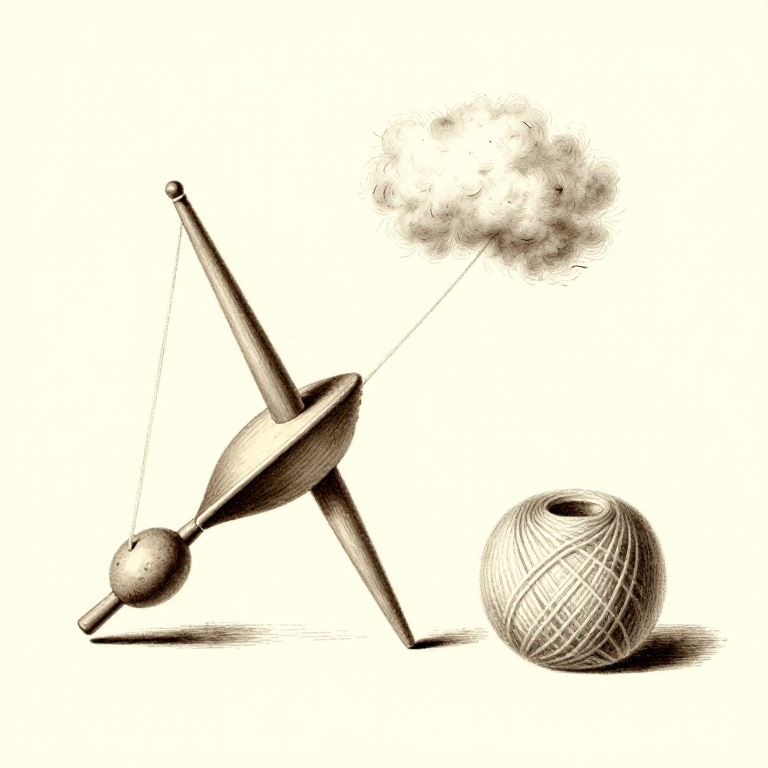
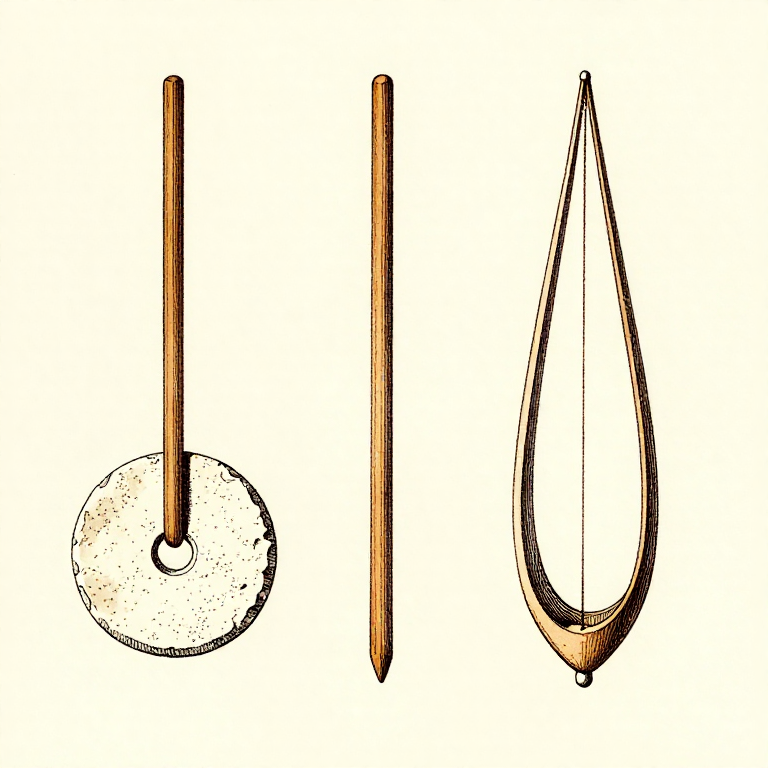
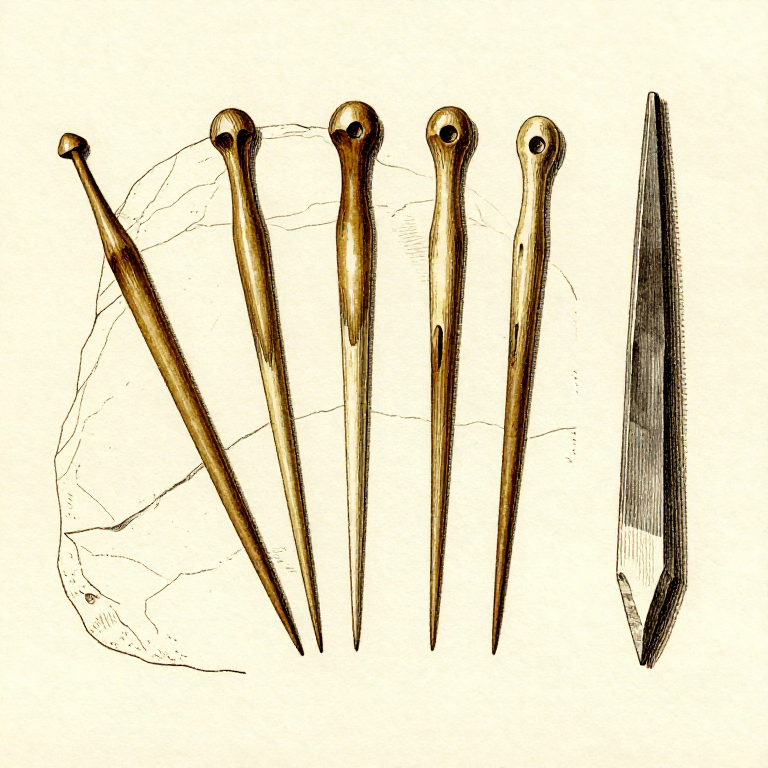
The drop spindle consists of a shaft (a straight wooden stick) and a whorl (a weighted disc). The whorl provides rotational inertia — its mass keeps the spindle spinning, which continuously twists the fibers into yarn. Push the shaft through the centre hole of the whorl. The whorl can be positioned near the bottom (low whorl, more common in the ancient Near East) or near the top (high whorl, common in medieval Europe). Low-whorl spindles are more stable for beginners. Carve a small notch or hook at the top of the shaft to hold the forming yarn in place. The total spindle weight should be 30-60 g — heavier spindles produce thicker yarn, lighter ones produce finer yarn.
Attach a Leader and Begin Spinning
Attach a Leader and Begin Spinning
Tie a 30-cm length of existing yarn (the leader) to the spindle shaft near the whorl. Wind it up the shaft and secure it in the top notch. Pull a thin wisp of fiber from the rolag and overlap it with the end of the leader, pinching the junction between thumb and forefinger. Give the spindle a firm clockwise twist to set it spinning, then release it to hang freely. The spinning motion twists the overlapping fibers together with the leader, creating a continuous yarn. As the twist travels up the fiber draft, pinch above the twist zone and gently pull (draft) more fiber from the rolag to thin and extend the forming yarn.
Draft, Twist, and Wind On
Draft, Twist, and Wind On
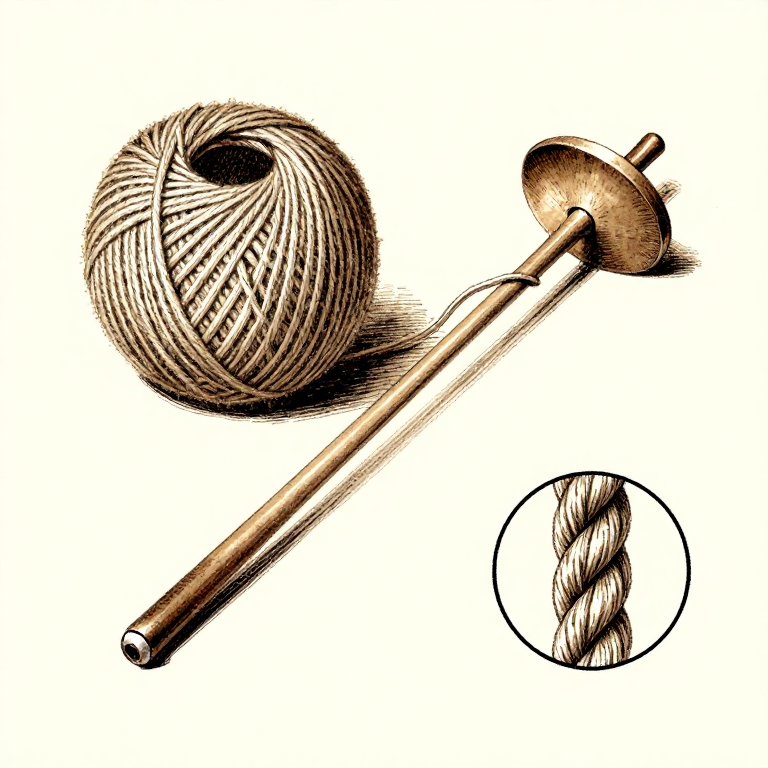
The spinning cycle is: draft fibers out to the desired thickness, allow twist to run up into the drafted section, then wind the finished yarn onto the spindle shaft below the whorl. When the spindle reaches the ground (or your twist stalls), unhook the yarn from the notch, wind it onto the shaft, re-hook it, give the spindle another twist, and continue. The key to even yarn is consistent drafting — pull the same amount of fiber each time. Thick spots have too much fiber; thin spots have too little. If the yarn breaks, overlap the broken end with new fiber, add twist, and continue. Thicker yarn is easier for beginners; fine yarn requires more practice.
Finish and Ply the Yarn
Finish and Ply the Yarn
When the spindle is full, wind the yarn off into a ball or skein. Single-ply yarn (one strand) is useful but tends to twist back on itself. For stronger, more balanced yarn, ply two singles together by spinning two strands in the opposite direction (counterclockwise if the singles were spun clockwise). Thread two full spindles of singles through the same top notch of an empty spindle and spin them together. The opposing twist directions cancel out, producing a stable, round, two-ply yarn suitable for weaving or knitting. Ancient textiles from Mesopotamian and Egyptian sites show both single-ply and two-ply construction, with the finest linen yarns achieving thread counts comparable to modern fabrics.
Matériaux
3- 100 g pièceEspace réservé
- 1 pièceEspace réservé
- 1 pièceEspace réservé
Outils requis
2- Espace réservé
- Espace réservé
Related blueprints
Other builds that share materials, tools, or techniques with this one.
CC0 Domaine public
Ce blueprint est publié sous CC0. Vous êtes libre de copier, modifier, distribuer et utiliser ce travail pour tout usage, sans demander la permission.
Soutenez le Maker en achetant des produits via son Blueprint où il perçoit une Commission Maker définie par les Vendeurs, ou créez une nouvelle itération de ce Blueprint et incluez-le comme connexion dans votre propre Blueprint pour partager les revenus.