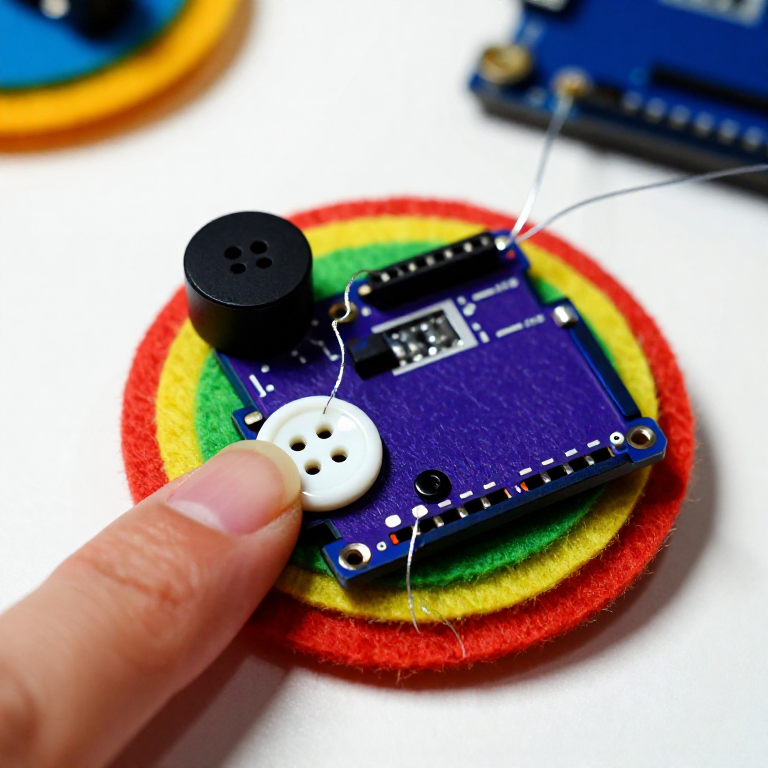


Making a LilyPad Musical Patch
Sew a patch that plays a tune. A LilyPad buzzer and a button let the microcontroller sing a short melody whenever you press it — a musical badge, a fabric greeting card, or a costume piece. This project introduces the buzzer and the Arduino tone() function that turns pin signals into notes.
Amabwiriza
Sew the board, buzzer and button
Sew the board, buzzer and button
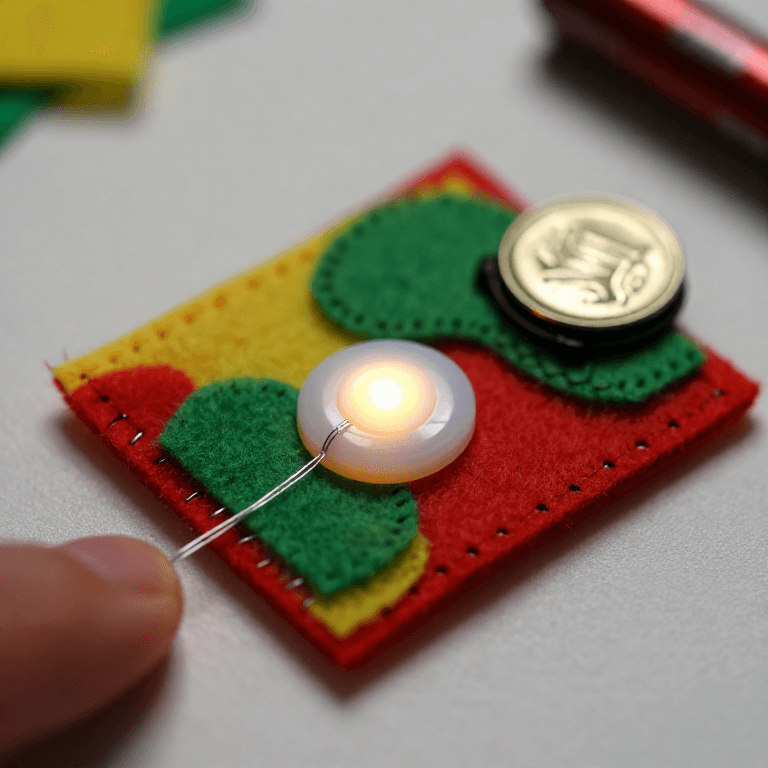
Sew a LilyPad Arduino, a LilyPad buzzer and a LilyPad button onto felt. Wire it: the buzzer's + tab to pin 9 and its - tab to -; the button's tabs to analog pin A2 and to -. Keep the lines from crossing.
Ibikoresho by'iyi ntambwe:
 LilyPad Arduino Simple Board1 igice
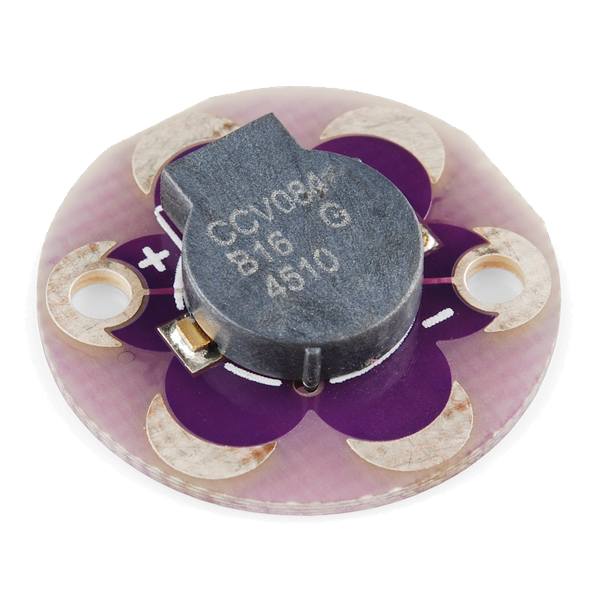 LilyPad Buzzer1 igice
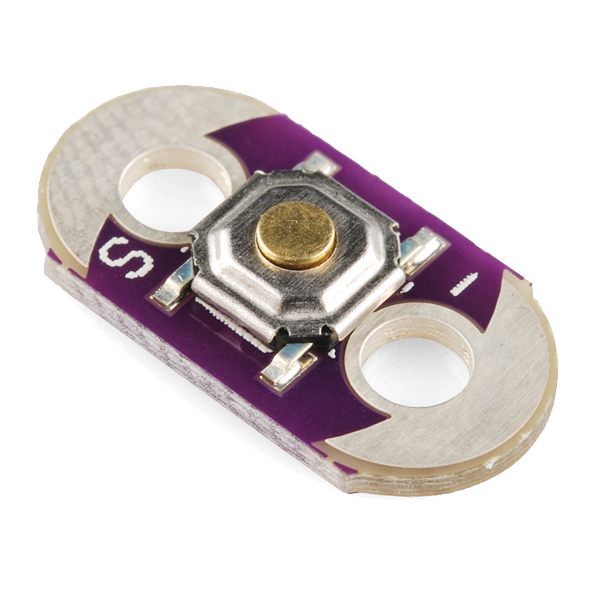 LilyPad Button Board1 igice
 Conductive Thread - 60g (Stainless Steel)1 agakoni
 Urupapuro rw'ubwoya bwashongeshejwe1 urupapuro
Ibikoresho bikenewe:
 Inshinge zo kudoda n'intoki
Connect the programmer
Connect the programmer
Plug the LilyPad FTDI onto the programming header and connect the USB cable. Open the Arduino IDE and select the LilyPad Arduino board and its serial port.
Ibikoresho bikenewe:
 Mudasobwa Ifite Arduino IDE
 LilyPad FTDI Basic Breakout - 5V
 Umugozi wa USB-B
Upload the melody sketch
Upload the melody sketch
Paste this sketch and upload. Pressing the button plays a short rising scale on the buzzer.
Press to play, then compose
Press to play, then compose
Press the button — you should hear the five notes. Change the tune by editing the melody[] frequencies (higher number = higher note) and the durations[] in milliseconds, then re-upload. Add more notes to both arrays to make a longer song.
Go wireless and wear it
Go wireless and wear it
Unplug the FTDI, sew a LilyPad coin-cell holder to the board (+ to +, - to -), drop in a CR2032 and switch on. Sew the felt onto a badge or card — press it to play your tune anywhere.
Ibikoresho by'iyi ntambwe:
 LilyPad Coin Cell Battery Holder - w/Switch - 20mm1 igice
 Bateri y'igiceri CR20321 igice
Ibikoresho
7- LilyPad Arduino Simple Board10% komisiyo1 igice$19.60
- LilyPad Buzzer10% komisiyo1 igice$7.62
- LilyPad Button Board10% komisiyo1 igice$2.23
- Conductive Thread - 60g (Stainless Steel)10% komisiyo1 agakoni$40.13
- 1 urupapuroUmwanya
- 1 igice$5.05
- 1 igiceUmwanya
Ibikoresho bikenewe
4- Umwanya
- Umwanya
- LilyPad FTDI Basic Breakout - 5V10% komisiyo$14.38
- 1 vendor sell this, none ship to you yetUmwanya
Blueprint zijyanye
Izi blueprint zisangira ubumenyi — uburyo, ibikoresho cyangwa amahame
CC0 Umurenge rusange
Iyi blueprint yasohowe munsi ya CC0. Ushobora gukoporora, guhindura, gukwirakwiza no gukoresha nta kwemererwa.
Shyigikira Umuremyi ugura ibicuruzwa binyuze muri Blueprint ye Komisiyo y'Umuremyi byashyizweho n'Abacuruzi, cyangwa kora verisiyo nshya y'iyi Blueprint ukayinjiza nk'isano muri Blueprint yawe kugira ngo musangire inyungu.