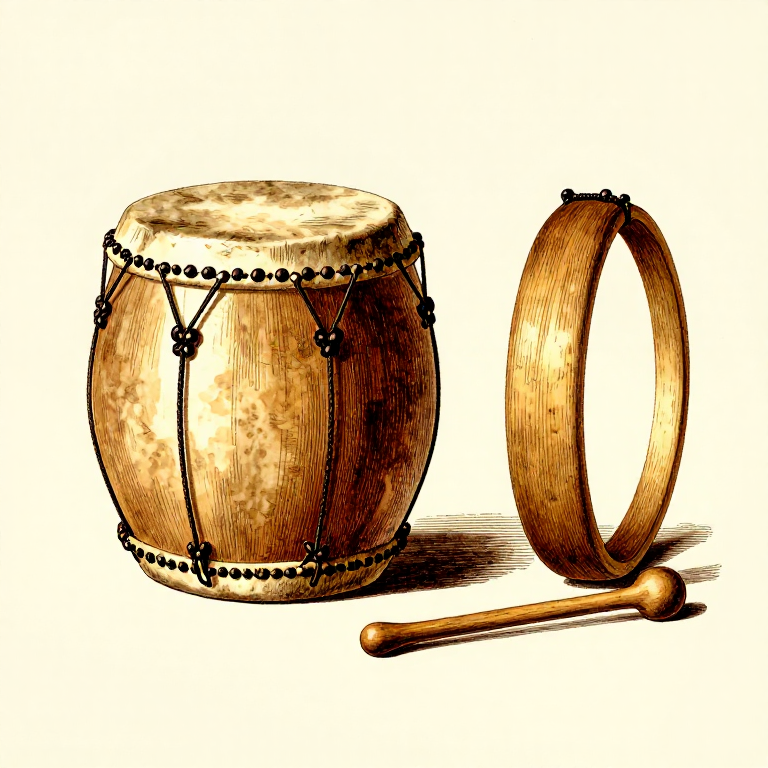
Making a Rawhide Frame Drum — Stretched Hide on a Wood Ring
Consignes
Bend the Wooden Frame
Bend the Wooden Frame
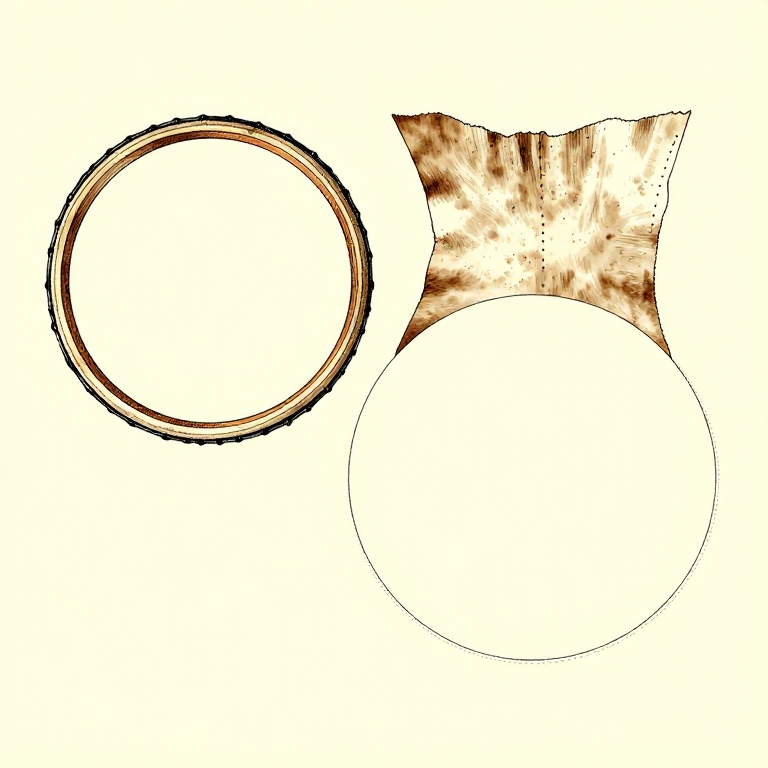
Select a straight-grained strip of flexible wood — ash, oak, and birch all work. The strip should be about 5-8 cm wide, 5 mm thick, and long enough to form a circle 30-40 cm in diameter (approximately 95-125 cm long). Soak the strip in water for several hours or steam it over a fire to make it pliable. Slowly bend the strip into a circle, overlapping the ends by 10-15 cm. Lash the overlap securely with wet rawhide or sinew — as the binding dries, it shrinks and tightens the joint. Allow the frame to dry completely in its circular shape before attaching the drumhead.
Matériaux pour cette étape :
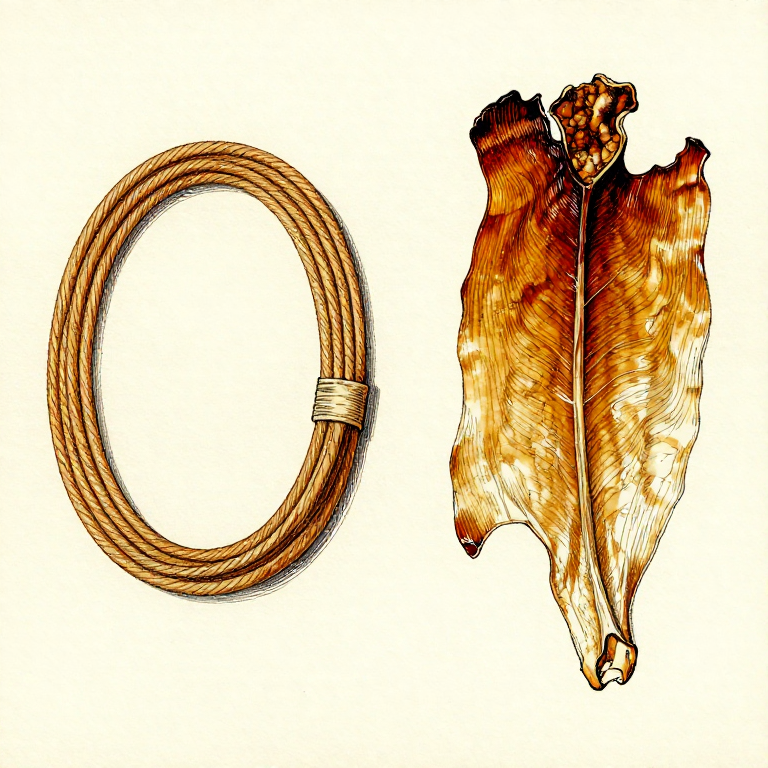
 Rawhide1 piece, large enough to cover the frame with overlap pièce
 Waterenough to submerge the hide pièce
Outils nécessaires :
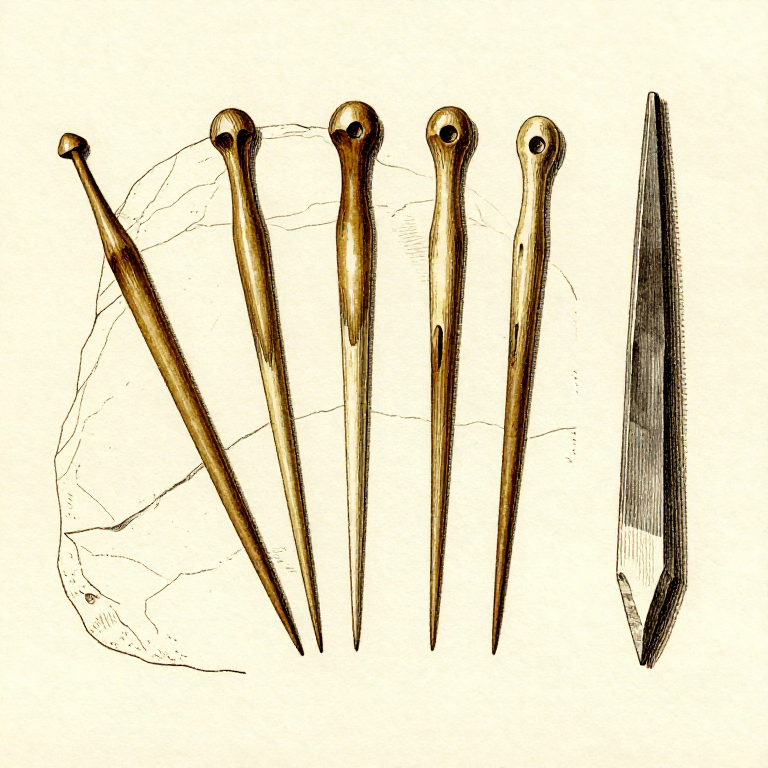
 Awl
AwlPrepare the Rawhide
Prepare the Rawhide
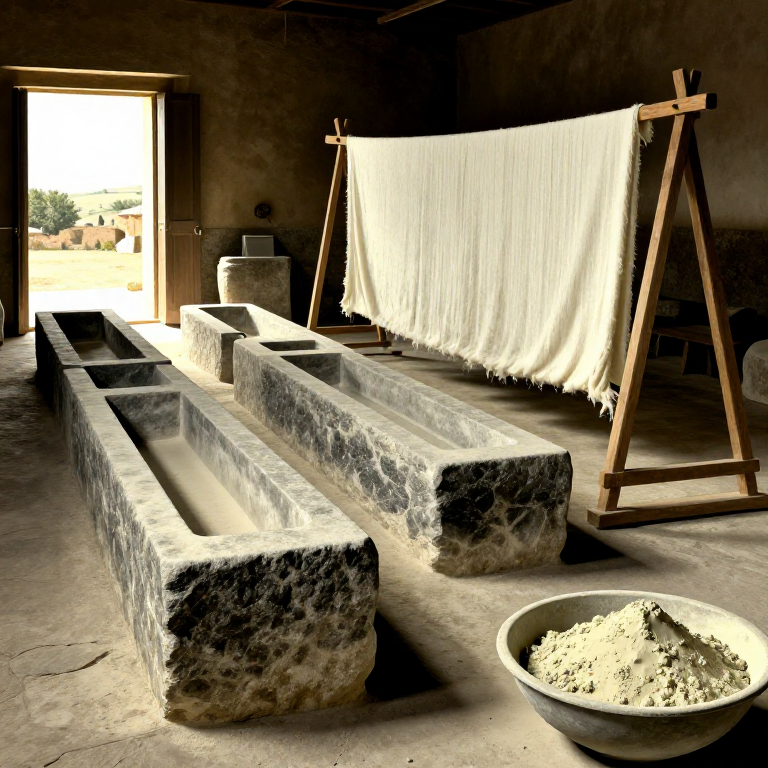
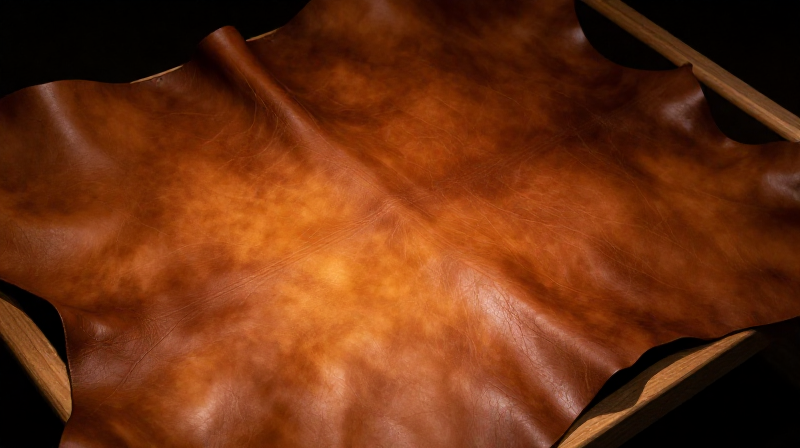
Soak a piece of rawhide (untanned, de-haired animal skin) in water for 12-24 hours until it is soft, pliable, and stretchy. Rawhide from deer, goat, or cattle all produce good drum tones — thinner hides produce higher-pitched sounds, thicker hides produce deeper tones. Cut the soaked rawhide into a circle approximately 10-15 cm larger in diameter than the wooden frame, providing enough overlap to fold over the frame edge and be laced on the back. While wet, rawhide is easy to cut and manipulate; once dry, it becomes extremely stiff and hard.
Stretch the Hide Over the Frame
Stretch the Hide Over the Frame
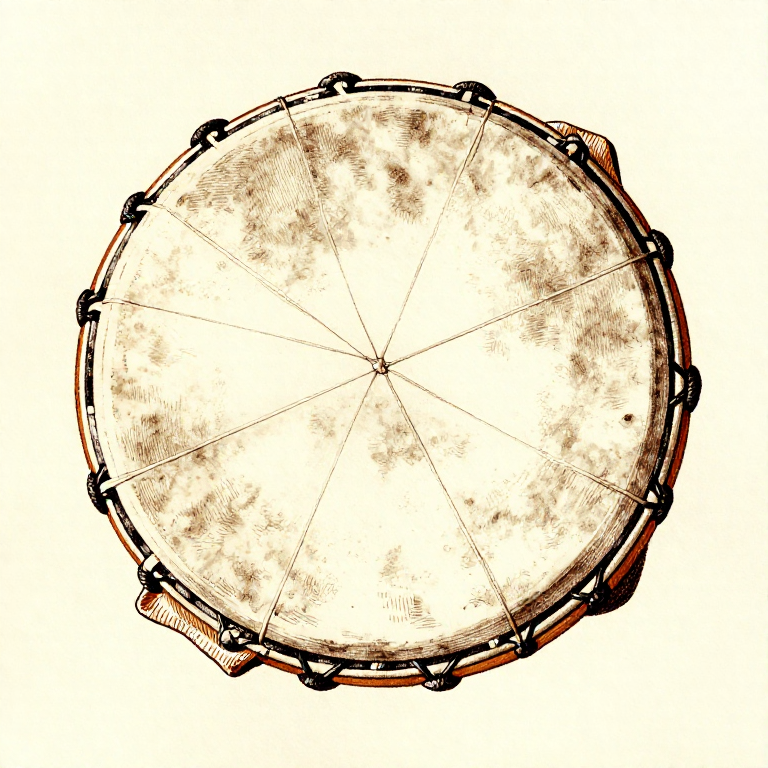
Centre the wet rawhide over the wooden frame with the smoother (flesh) side facing up as the drumhead surface. Pull the edges of the hide down and over the frame, stretching it evenly from opposite sides to maintain uniform tension. Using a bone awl, punch holes around the perimeter of the overlapping rawhide, about 3-4 cm from the frame edge and spaced 5-8 cm apart. The hide should be taut but not drum-tight at this stage — it will contract significantly as it dries, so over-stretching wet hide can warp or crack the frame.
Lace the Back
Lace the Back
Thread sinew or thin rawhide lacing through the punched holes, creating a crisscross or star pattern across the back of the drum. Pull the lacing moderately tight — firm enough to hold the hide in position, but loose enough to allow for the shrinkage that will occur during drying. The lacing pattern can form a simple cross (connecting opposite edges), a web pattern, or a series of parallel lines. Many frame drums have a central lacing point or handle on the back where the lacing converges, providing a grip for holding the drum during play.
Dry and Play
Dry and Play
Allow the drum to dry slowly at room temperature for 24-48 hours. Do not dry near a fire or in direct sunlight — rapid drying causes the rawhide to crack. As the rawhide dries, it contracts and becomes translucent, pulling the drumhead taut and producing a clear, resonant tone when struck. The finished drum can be played with a padded beater (a stick with a wrapped leather or fur tip) or with the bare hand. Rawhide drums are sensitive to humidity — the tone deepens and dulls in damp conditions as the hide absorbs moisture, and brightens in dry conditions. Briefly warming the drumhead near a fire restores tension and tone in humid weather.
Matériaux
4- 3 m pièceEspace réservé
Related blueprints
Other builds that share materials, tools, or techniques with this one.

CC0 Domaine public
Ce blueprint est publié sous CC0. Vous êtes libre de copier, modifier, distribuer et utiliser ce travail pour tout usage, sans demander la permission.
Soutenez le Maker en achetant des produits via son Blueprint où il perçoit une Commission Maker définie par les Vendeurs, ou créez une nouvelle itération de ce Blueprint et incluez-le comme connexion dans votre propre Blueprint pour partager les revenus.