ART
BEAUTÉ ET BIEN-ÊTRE
ARTISANAT
CULTURE ET HISTOIRE
DIVERTISSEMENT
ENVIRONNEMENT
NOURRITURE ET BOISSONS
AVENIR VERT
INGÉNIERIE INVERSE
SCIENCES
SPORTS
TECHNOLOGIE
TECHNOLOGIE PORTABLE
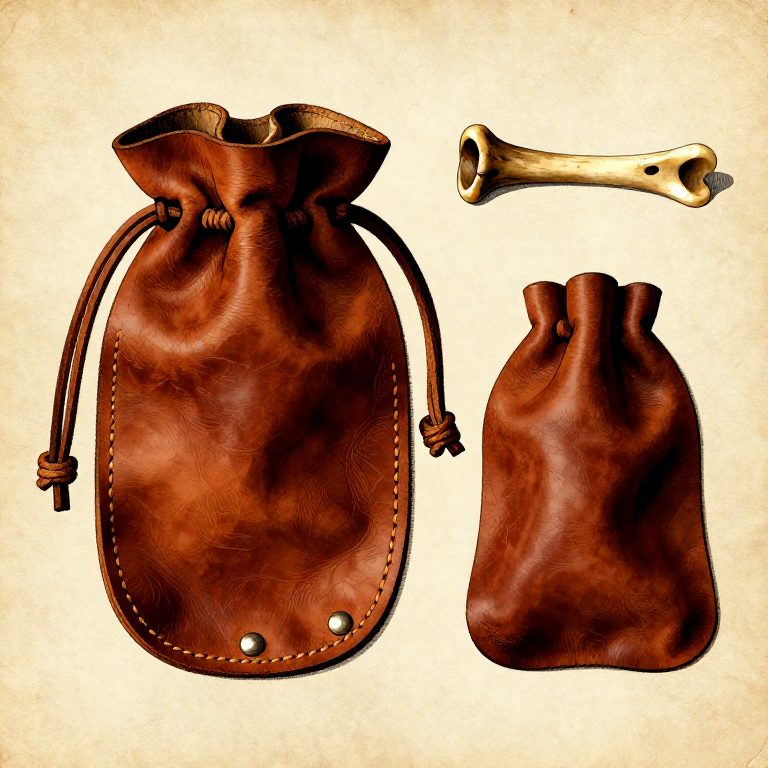
Making a Leather Drawstring Pouch — Simple Gathered-Edge Container
The drawstring pouch is one of the simplest and most useful leather items — a circular piece of hide with holes around the edge through which a cord is threaded, gathering the edges into a bag when pulled tight. This design requires no sewing, no pattern-making, and no complex cutting — just a circle, a series of holes, and a drawstring. Archaeological examples date to at least the Mesolithic period, and similar pouches were found with Otzi the Iceman (3300 BCE). The gathered-edge design creates a surprisingly roomy pouch that opens wide for easy access and cinches closed securely. These pouches served as personal carry-alls for fire-making materials, food, tools, medicine, and trade goods.
Débutant
1-2 hours
Consignes
1
1
Cut a Circular Piece of Hide
Cut a Circular Piece of Hide
Cut a circular piece of brain-tanned or smoked hide 25 to 35 cm in diameter. Use a sharp flint blade and cut on a flat surface. The circle does not need to be geometrically perfect — slight irregularity is fine as the gathered edge hides imperfections. Thinner, well-softened hide works best as it gathers more easily without bulking.
Matériaux pour cette étape :
 Brain-Tanned Hide1 pièce
2
2
Mark Hole Positions Around the Edge
Mark Hole Positions Around the Edge
Mark evenly spaced holes around the circumference, 1.5 to 2 cm from the edge and 2 to 3 cm apart. Consistency matters more than precision — uneven spacing causes the pouch to gather lopsidedly. Use a piece of charcoal or a flint scratch to mark each position before punching.
3
3
Punch Holes with a Bone Awl
Punch Holes with a Bone Awl
Punch holes at each marked position using a bone awl. Push through from the smooth grain side of the hide to the rough flesh side — this creates a cleaner hole on the visible exterior. Twist the awl slightly as you push to part the leather fibres rather than cutting them, which makes a stronger hole that resists tearing.
Outils nécessaires :
 Bone Awl
4
4
Cut a Length of Drawstring Cord
Cut a Length of Drawstring Cord
Cut a length of thin rawhide cord or sinew 2 to 3 times the circumference of the hide circle. The cord must be long enough to thread through all the holes and leave sufficient tail on both ends for pulling and tying. Thin cord (3 to 4 mm) works better than thick — it passes through holes easily and gathers the leather tightly.
Matériaux pour cette étape :
 Cordage1 pièce
5
5
Thread the Cord Through All Holes
Thread the Cord Through All Holes
Thread the cord through all holes from the outside (grain side), working in one direction around the circumference. Enter each hole from the outside and exit on the flesh side, then cross to the next hole and enter from the outside again. This creates a running stitch pattern that draws the edges evenly inward when pulled.
6
6
Test the Gathering Action
Test the Gathering Action
When the cord returns to the starting hole, pull both ends to gather the hide edges upward into a pouch shape. The leather should gather evenly around the circumference, forming a roughly cylindrical bag with the grain side facing outward. If one section bunches more than others, the holes in that section may be too close together or too far from the edge.
7
7
Verify Opening and Closing
Verify Opening and Closing
Test the pouch by opening and closing it several times. It should open wide when the cord is slack, allowing easy access to the interior, and cinch tightly closed when both cord ends are pulled. The gathered neck should close completely with no gaps large enough for small items to fall through.
8
8
Tie the Cord Ends
Tie the Cord Ends
Tie the cord ends together, leaving enough length to wrap around the gathered neck for a secure closure. A simple overhand knot works for a permanent closure loop. Leave at least 15 cm of free cord beyond the knot so you can wrap it around the pouch neck and tuck it to keep the pouch closed during travel.
9
9
Add an Optional Second Drawstring
Add an Optional Second Drawstring
For a more secure closure, thread a second cord through the same holes but in the opposite direction. When both cords are pulled simultaneously, the pouch cinches from two sides and closes more evenly and tightly. This double-drawstring design is especially useful for carrying fine materials like ground pigments or seeds that could sift through a single-cord closure.
10
10
Test the Carry Capacity and Closure
Test the Carry Capacity and Closure
Fill the pouch with small items — fire-making materials, stone flakes, dried food, or trade goods — to test its carry capacity and closure security. Cinch the drawstring and shake the pouch firmly. Nothing should fall out. Hang it from your belt or around your neck to check that the cord and holes bear the weight without tearing.
Matériaux des Blueprints connectés
Blueprints liés
Ces blueprints partagent des connaissances — techniques, matériaux ou principes
Related blueprints
Other builds that share materials, tools, or techniques with this one.
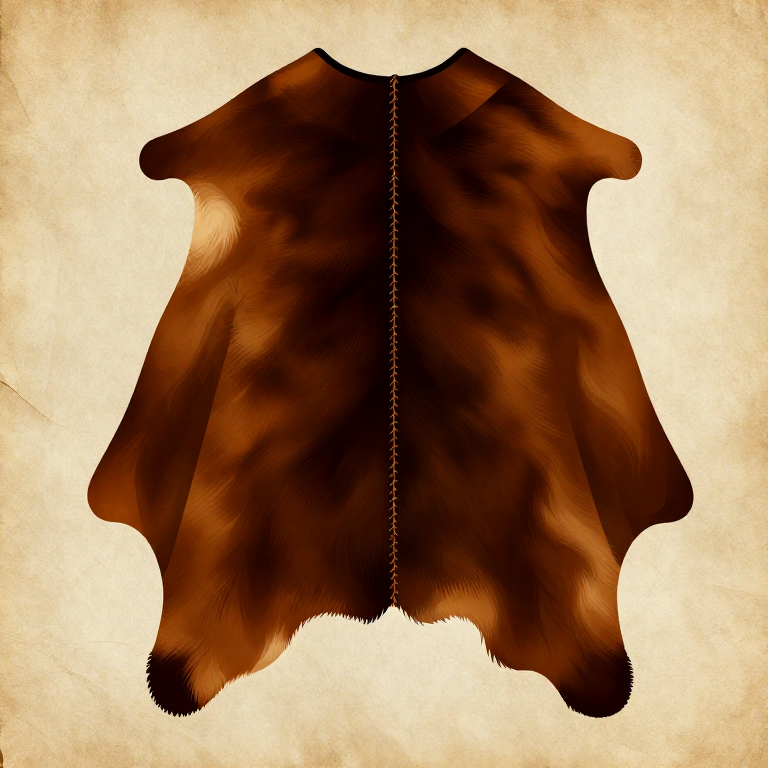
Making a Simple Skin Cloak — Fur and Hide Body Coveringtextiles
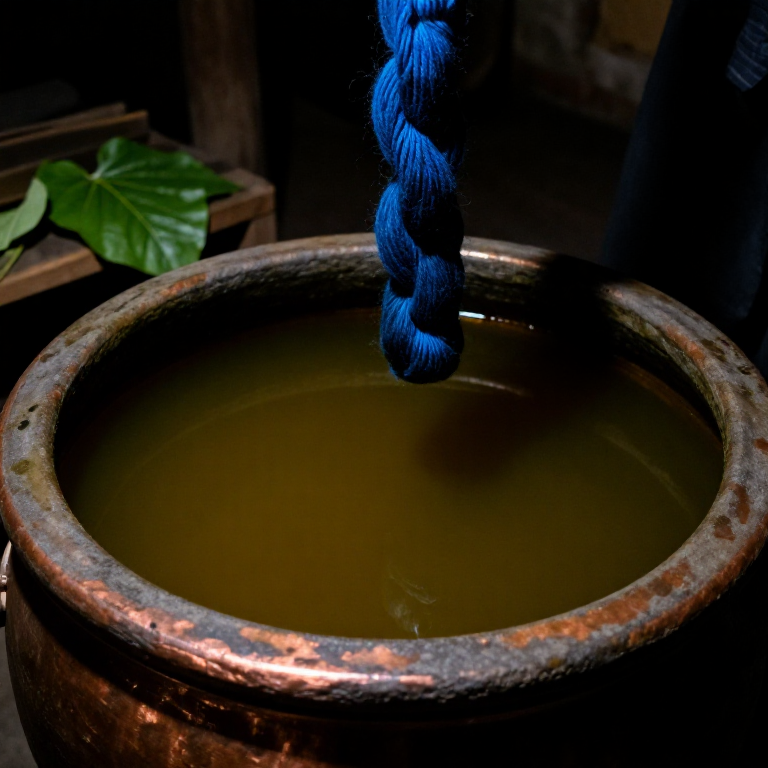
Dyeing Blue with a Woad Urine Vat — The Fermentation Method That Coloured Europetextiles

Dyeing Yellow-Green with St. John's Wort — The Midsummer Herb of European Dyerstextiles
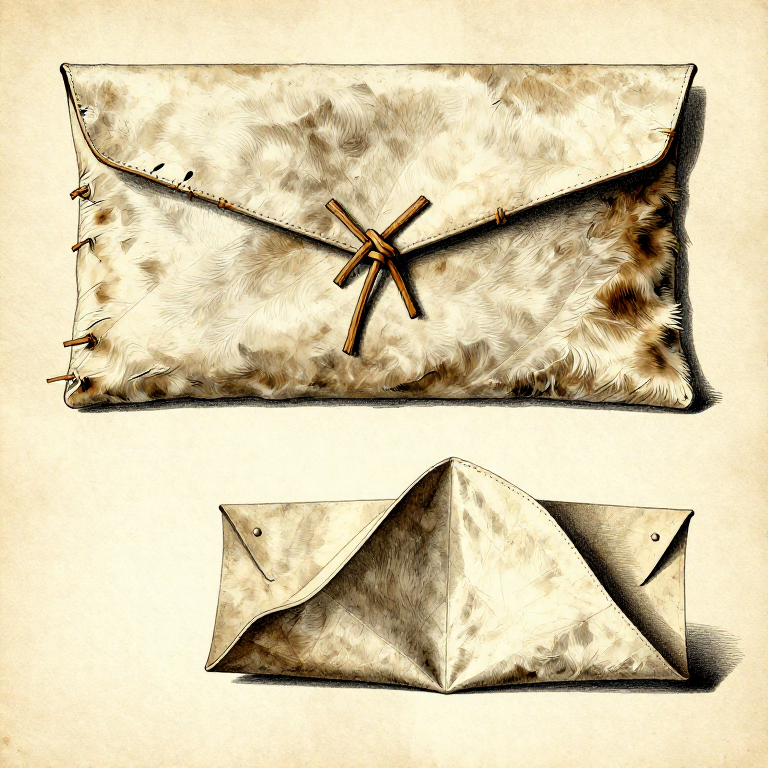
Making a Rawhide Parfleche — Folded Envelope Container from Untanned Hidetextiles
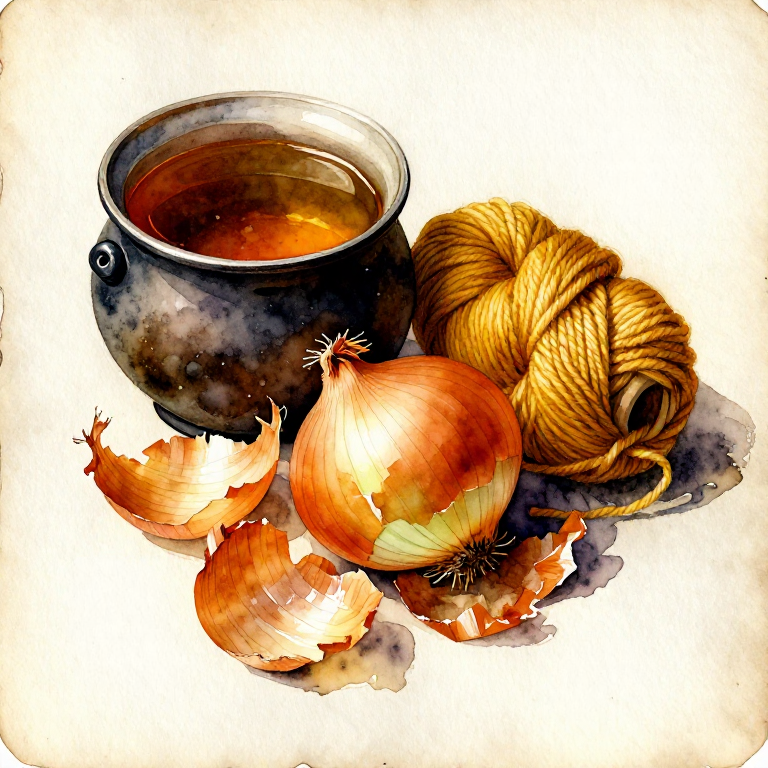
Dyeing Gold with Onion Skins — The Most Accessible Natural Dye in Any Kitchentextiles
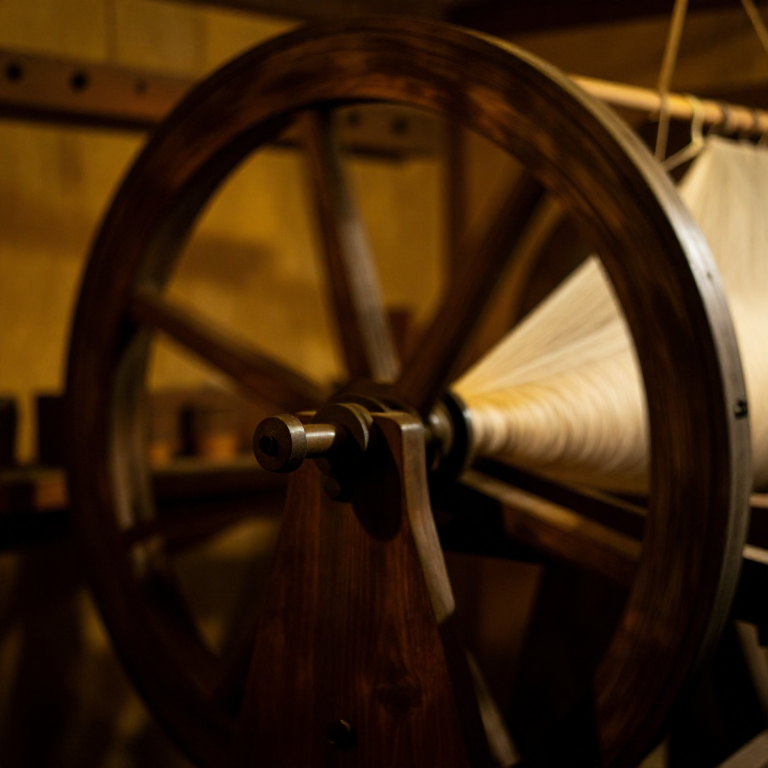
Building a Great Wheel for Spinning — The Machine That Clothed the Medieval Worldtextiles
CC0 Domaine public
Ce blueprint est publié sous CC0. Vous êtes libre de copier, modifier, distribuer et utiliser ce travail pour tout usage, sans demander la permission.
Soutenez le Maker en achetant des produits via son Blueprint où il perçoit une Commission Maker définie par les Vendeurs, ou créez une nouvelle itération de ce Blueprint et incluez-le comme connexion dans votre propre Blueprint pour partager les revenus.