
بناء منضدة عمود لتحويل الخشب الأخضر — منضدة عمود مرن متبادلة
التعليمات
اختر عمود زنبركي
اختر عمود زنبركي
المواد لهذه الخطوة:
 Ash Wood Log Section1 قطعة
قطع وقص الشتلة
قطع وقص الشتلة
الأدوات المطلوبة:
 Axe
Axe Hatchet
اختبر مرونة العمود
اختبر مرونة العمود
شق عارضتي سرير من خشب البلوط
شق عارضتي سرير من خشب البلوط
المواد لهذه الخطوة:
 Hardwood Logs (Oak, Maple, Beech)1 قطعة
الأدوات المطلوبة:
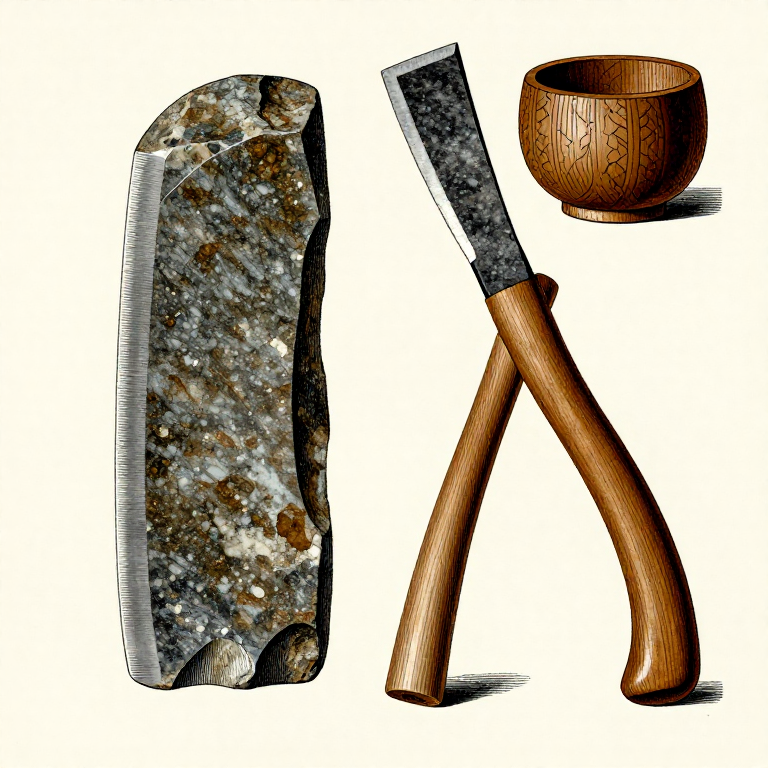
 Splitting Axe
 Wooden Mallet
تسطيح أسطح عارضات السرير
تسطيح أسطح عارضات السرير
الأدوات المطلوبة:
 Drawknife
ثقب فتحات دبوس بوبت
ثقب فتحات دبوس بوبت
الأدوات المطلوبة:
 Earth Auger
شكل اثنين بوبتس من خشب البلوط
شكل اثنين بوبتس من خشب البلوط
المواد لهذه الخطوة:
Hardwood Logs (Oak, Maple, Beech)2 قطعالأدوات المطلوبة:
AxeDrawknife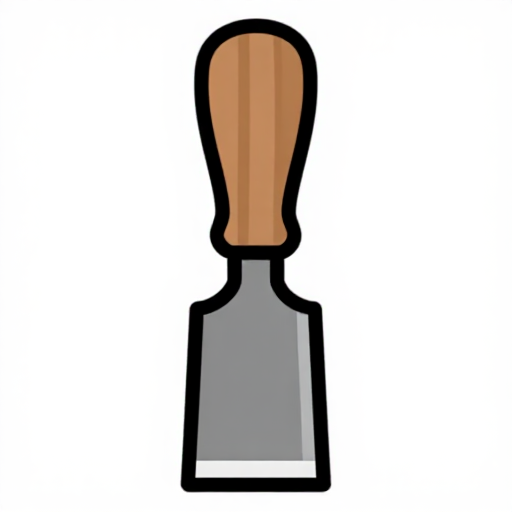 Chisel SetWooden Mallet
اضغط على المسامير المركزية في البوبتس
اضغط على المسامير المركزية في البوبتس
المواد لهذه الخطوة:
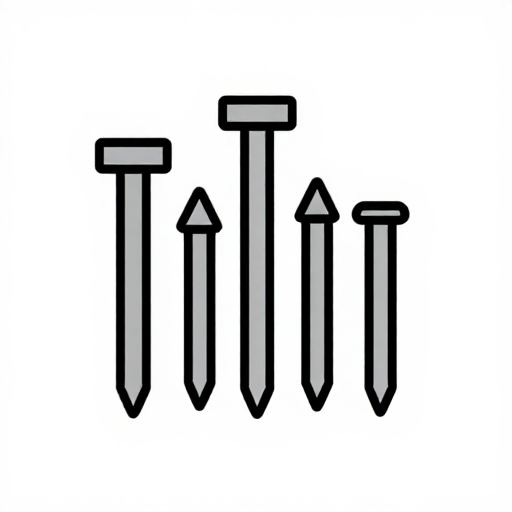 Nails2 قطع
الأدوات المطلوبة:
Wooden Mallet Metal File
تحضير أربعة أرجل الإطار
تحضير أربعة أرجل الإطار
المواد لهذه الخطوة:
Hardwood Logs (Oak, Maple, Beech)4 قطعالأدوات المطلوبة:
AxeDrawknifeقص الترقوات في الأعلى من الأرجل
قص الترقوات في الأعلى من الأرجل
الأدوات المطلوبة:
Chisel SetWooden MalletEarth Augerتجميع عارضات السرير على الأرجل
تجميع عارضات السرير على الأرجل
المواد لهذه الخطوة:
 Wooden Felling Wedge8 قطع
الأدوات المطلوبة:
Wooden Malletأضف عارضات تقوية بين الأرجل
أضف عارضات تقوية بين الأرجل
المواد لهذه الخطوة:
Ash Wood Log Section2 قطعالأدوات المطلوبة:
Chisel SetWooden MalletEarth Augerشكل لوحة الدواسة
شكل لوحة الدواسة
المواد لهذه الخطوة:
 Ash Board (1x4x24 inches)1 قطعة
الأدوات المطلوبة:
Drawknife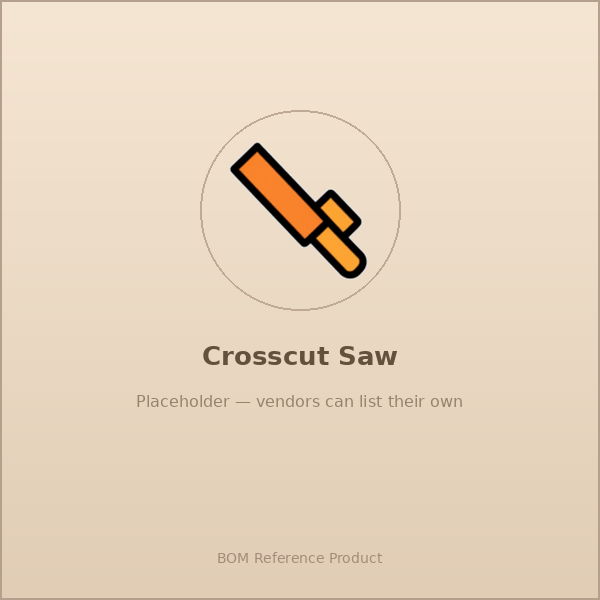 Crosscut Saw
مفصلة الدواسة على الإطار
مفصلة الدواسة على الإطار
المواد لهذه الخطوة:
 Dowel Rod1 قطعة
الأدوات المطلوبة:
Earth Augerتحضير حبل التحريك
تحضير حبل التحريك
المواد لهذه الخطوة:
 Hemp Cord3 metre
الأدوات المطلوبة:
 Knife
Knifeتثبيت العمود الزنبركي فوق الرأس
تثبيت العمود الزنبركي فوق الرأس
المواد لهذه الخطوة:
 Binding Rope2 metre
الأدوات المطلوبة:
Wooden Malletقم بتوصيل حبل التحريك من العمود إلى الدواسة
قم بتوصيل حبل التحريك من العمود إلى الدواسة
الأدوات المطلوبة:
Earth Augerتركيب قطعة اختبار بين البوبتس
تركيب قطعة اختبار بين البوبتس
الأدوات المطلوبة:
Wooden MalletKnifeلف حبل التحريك حول الجزء
لف حبل التحريك حول الجزء
اضبط جهد العمود الزنبركي
اضبط جهد العمود الزنبركي
اختبر الدوران باستخدام الإزميل
اختبر الدوران باستخدام الإزميل
الأدوات المطلوبة:
 Gouge
Gougeالمواد
8- 1 sapling 3-4m + 1 log for stretchers قطعةعنصر نائب
- 2-3 logs for rails, poppets, legs قطعةعنصر نائب
- 2-3 wedges قطعةعنصر نائب
- 1 plank for treadle قطعةعنصر نائب
- 2-3 metres for pole mounting قطعةعنصر نائب
الأدوات المطلوبة
11- عنصر نائب
- عنصر نائب
- عنصر نائب
- عنصر نائب
- عنصر نائب
- عنصر نائب
Related blueprints
Other builds that share materials, tools, or techniques with this one.

CC0 ملكية عامة
هذا المخطط مُصدر بموجب CC0. يحق لك نسخه وتعديله وتوزيعه واستخدامه لأي غرض، دون طلب إذن.
ادعم الصانع بشراء منتجات عبر مخططه حيث يكسب عمولة الصانع يحددها البائعون، أو أنشئ نسخة جديدة من هذا المخطط وضمّنه كرابط في مخططك لمشاركة الإيرادات.