ศิลปะ
ความงามและสุขภาพ
งานฝีมือ
วัฒนธรรมและประวัติศาสตร์
ความบันเทิง
สิ่งแวดล้อม
อาหารและเครื่องดื่ม
วิศวกรรมย้อนรอย
วิทยาศาสตร์
กีฬา
เทคโนโลยี
อุปกรณ์สวมใส่
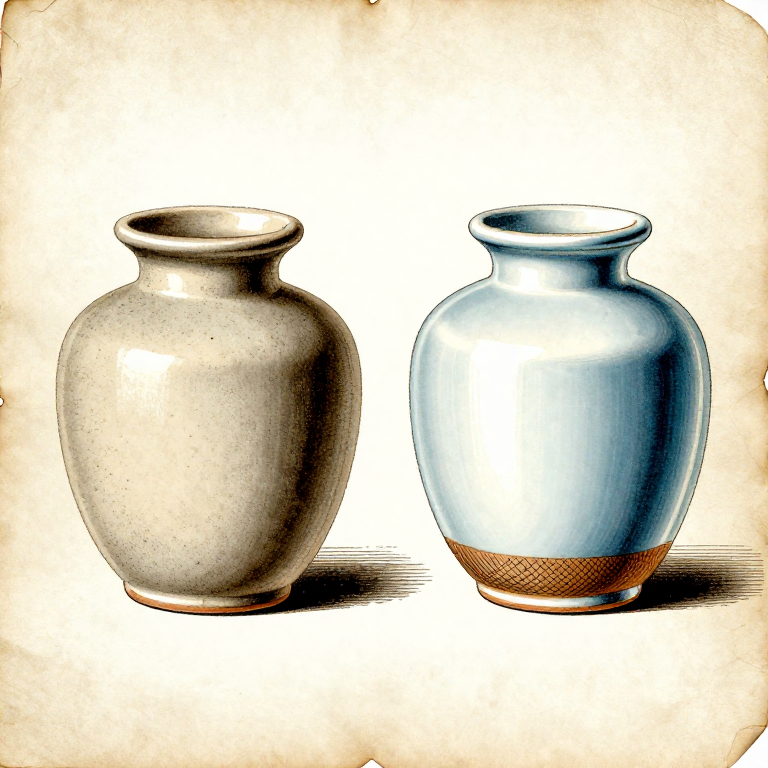
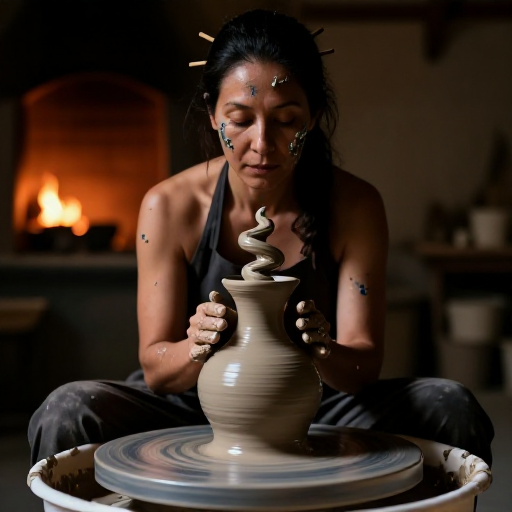
Two Firings: What Bisque Does That the Glaze Firing Cannot
Most pottery is fired twice, and the two firings do genuinely different jobs. Firing once is possible and is how most of history did it, but the two-firing route is easier and it is worth understanding why.
The BISQUE firing turns fragile dry clay into a hard porous solid. It drives off the chemically bound water permanently, so the piece can never be turned back into clay — and it leaves the piece POROUS, which is exactly what glazing needs.
The GLAZE firing melts a layer of glass onto that porous surface. It goes hotter, it matures the clay body itself, and it is where the piece becomes waterproof and its final size.
ระดับกลาง
4 hours
คำแนะนำ
1
1
Bone dry into the kiln, and go up slowly
Bone dry into the kiln, and go up slowly
Only bone-dry work goes into a bisque firing. Any remaining water becomes steam, and steam inside a sealed pot is the explosion that scatters shards across the shelf and into every other piece in the kiln.
Go up slowly to 200 degrees and hold there, or leave the vent open — this is the water-smoking stage, where the last physical water leaves. An hour of patience here saves a whole kiln load.
Between about 350 and 600 degrees the chemically bound water leaves the clay molecules themselves. That is the change that is irreversible, and it is why bisque ware cannot be slaked down and reclaimed.
วัสดุสำหรับขั้นตอนนี้:
 ภาชนะดินแห้งสนิท1 ชิ้น
เครื่องมือที่ต้องใช้:
 เตาเผา
 ไพโรมิเตอร์
2
2
Bisque low, glaze high — and why that order
Bisque low, glaze high — and why that order
Bisque is fired LOWER than the glaze firing, typically around 950 to 1000 degrees. That is hot enough to harden the piece and burn out organic matter, and cool enough to leave it porous.
Porosity is the whole point. A porous bisque pot dipped in glaze sucks water out of the glaze instantly and leaves an even coat of glaze powder on the surface. Dip a fully vitrified pot and the glaze runs straight off.
So the low firing must come first. Reversing the order — a high firing then a low one — gives a piece that cannot be glazed and a glaze that never melts, which is why the sequence is not a matter of preference.
วัสดุสำหรับขั้นตอนนี้:
ภาชนะดินแห้งสนิท1 ชิ้น เคลือบใส1 ชิ้น
เครื่องมือที่ต้องใช้:
เตาเผา เตาเผาอุณหภูมิสูงไพโรมิเตอร์
3
3
Applying glaze: thickness is the variable that matters
Applying glaze: thickness is the variable that matters
Stir the glaze thoroughly — the heavy minerals settle to the bottom of the bucket within hours, so an unstirred bucket gives water at the top and sludge below, and neither is the glaze you tested.
Dip for a COUNT, not by eye. Two seconds in, out, and let it drain. The bisque's porosity does the work, and the count is what makes the result repeatable — the same reason a recipe in grams beats one in spoons.
Too thin and the colour is weak and patchy; too thick and it crawls, runs off the pot, or seals the surface so trapped gases blister through it. Test tiles at one, two and three dips, fired alongside the work, tell you what your glaze wants on your clay.
วัสดุสำหรับขั้นตอนนี้:
เคลือบใส1 ชิ้น น้ำเคลือบเซรามิก1 ชิ้น
 น้ำ1 ลิตร
เครื่องมือที่ต้องใช้:
 ชุดเครื่องมือปั้นดิน
 ฟองน้ำ
 เครื่องชั่งความแม่นยำสูง
4
4
Wipe the foot, or the pot joins the shelf permanently
Wipe the foot, or the pot joins the shelf permanently
Glaze is glass. Anywhere it touches the kiln shelf it will weld the pot to the shelf, and separating them afterwards destroys the pot, the shelf, or both.
So wipe the foot and the bottom 3 to 5 mm of the wall completely clean with a damp sponge before firing. Check by feel as well as by eye — a thin film of glaze that is barely visible is quite enough to stick.
Leave space between pieces too. Glaze that runs, or two pots that touch as they expand, fuse into one object. That is the single most expensive mistake in loading a glaze kiln, and it is entirely preventable with a few centimetres.
วัสดุสำหรับขั้นตอนนี้:
เคลือบใส1 ชิ้นเครื่องมือที่ต้องใช้:
ฟองน้ำเตาเผาชุดเครื่องมือปั้นดินวัสดุ
4- 2 ชิ้นตัวยึดตำแหน่ง
- 3 ชิ้นตัวยึดตำแหน่ง
- น้ำเคลือบเซรามิกค่าคอมมิชชัน 10%1 ชิ้นตัวยึดตำแหน่ง
- 1 ลิตรตัวยึดตำแหน่ง
บลูพริ้นท์ที่เกี่ยวข้อง
บลูพริ้นท์เหล่านี้แบ่งปันความรู้ — เทคนิค วัสดุ หรือหลักการ
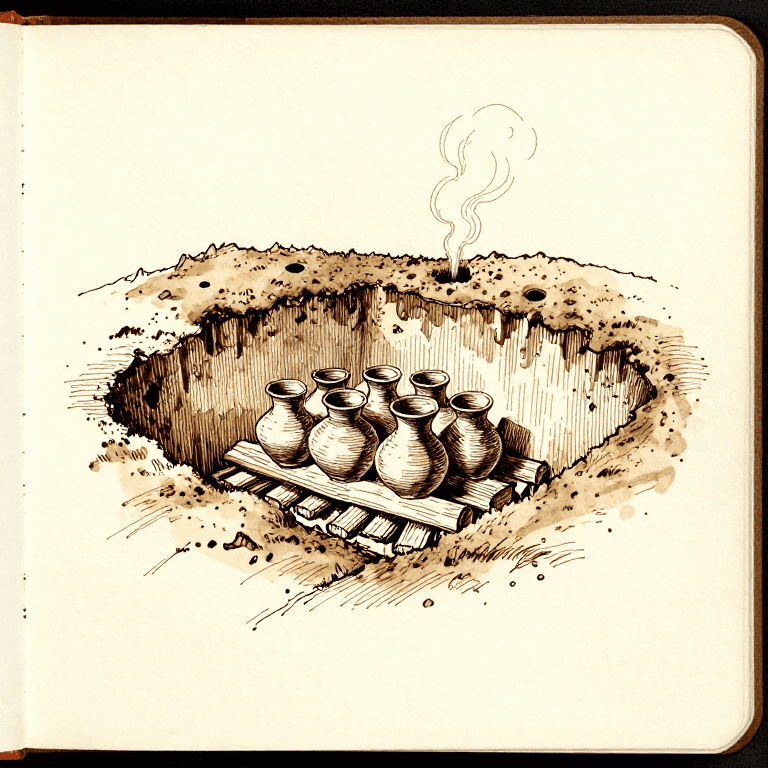
Building a Pit Kiln for Firing Pottery — Earth-Covered Open Firing
โดย Clay
เซรามิกและดินเหนียว
129
0
0
0
3
0
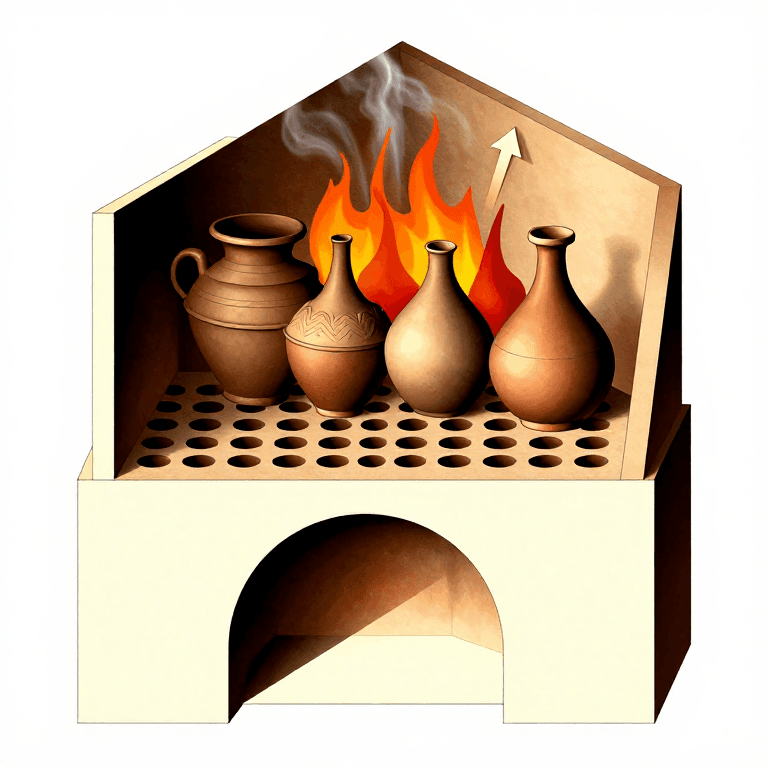
Constructing a Roman Updraft Pottery Kiln — Ceramic Firing Technology
โดย Clay
เซรามิกและดินเหนียว
117
0
0
0
0
0
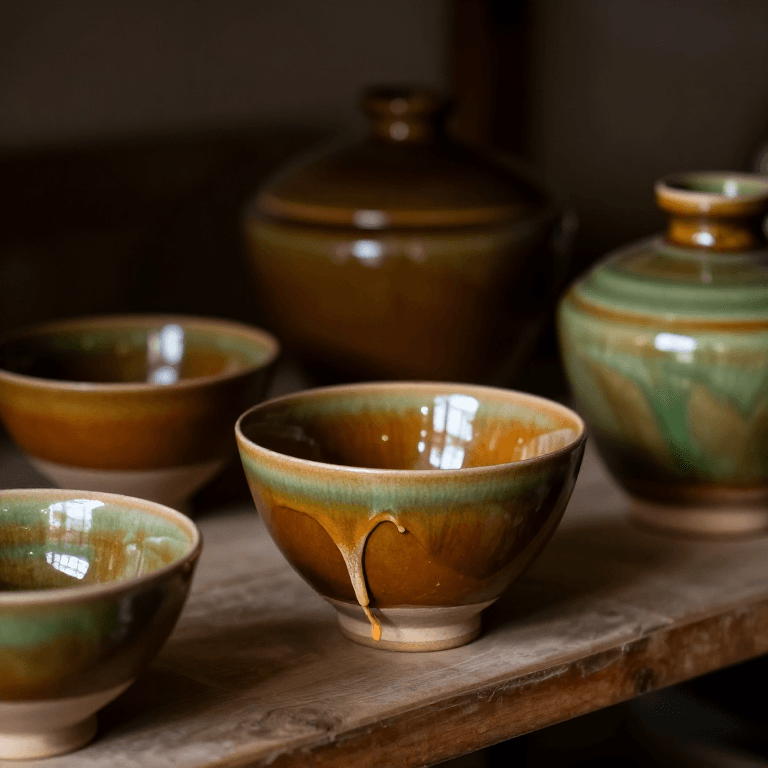
Ash Glazing Pottery — The Accidental Discovery That Made Ceramics Waterproof
โดย Clay
งานฝีมือ
65
0
0
0
0
0
CC0 สาธารณสมบัติ
พิมพ์เขียวนี้เผยแพร่ภายใต้ CC0 คุณสามารถคัดลอก แก้ไข แจกจ่าย และใช้งานผลงานนี้เพื่อวัตถุประสงค์ใดก็ได้ โดยไม่ต้องขออนุญาต
สนับสนุนเมกเกอร์โดยซื้อสินค้าผ่านพิมพ์เขียวของพวกเขา ซึ่งพวกเขาจะได้รับ ค่าคอมมิชชันเมกเกอร์ ที่ผู้ขายกำหนด หรือสร้างเวอร์ชันใหม่ของพิมพ์เขียวนี้และรวมเป็นการเชื่อมต่อในพิมพ์เขียวของคุณเพื่อแบ่งรายได้