ศิลปะ
ความงามและสุขภาพ
งานฝีมือ
วัฒนธรรมและประวัติศาสตร์
ความบันเทิง
สิ่งแวดล้อม
อาหารและเครื่องดื่ม
วิศวกรรมย้อนรอย
วิทยาศาสตร์
กีฬา
เทคโนโลยี
อุปกรณ์สวมใส่
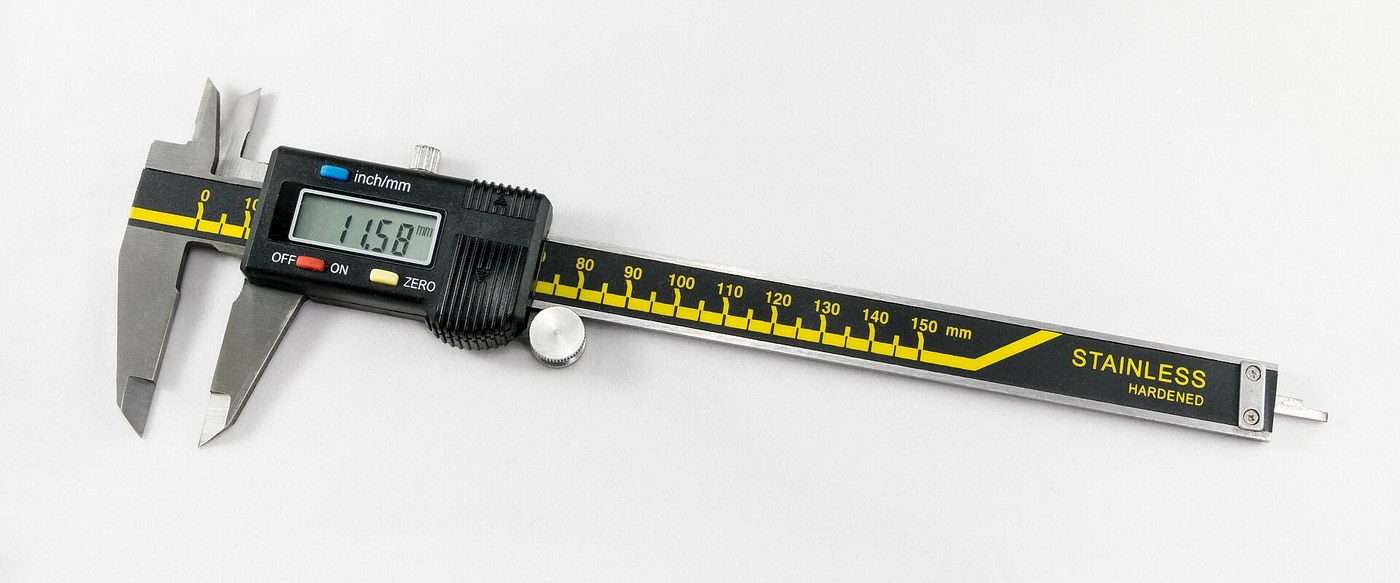


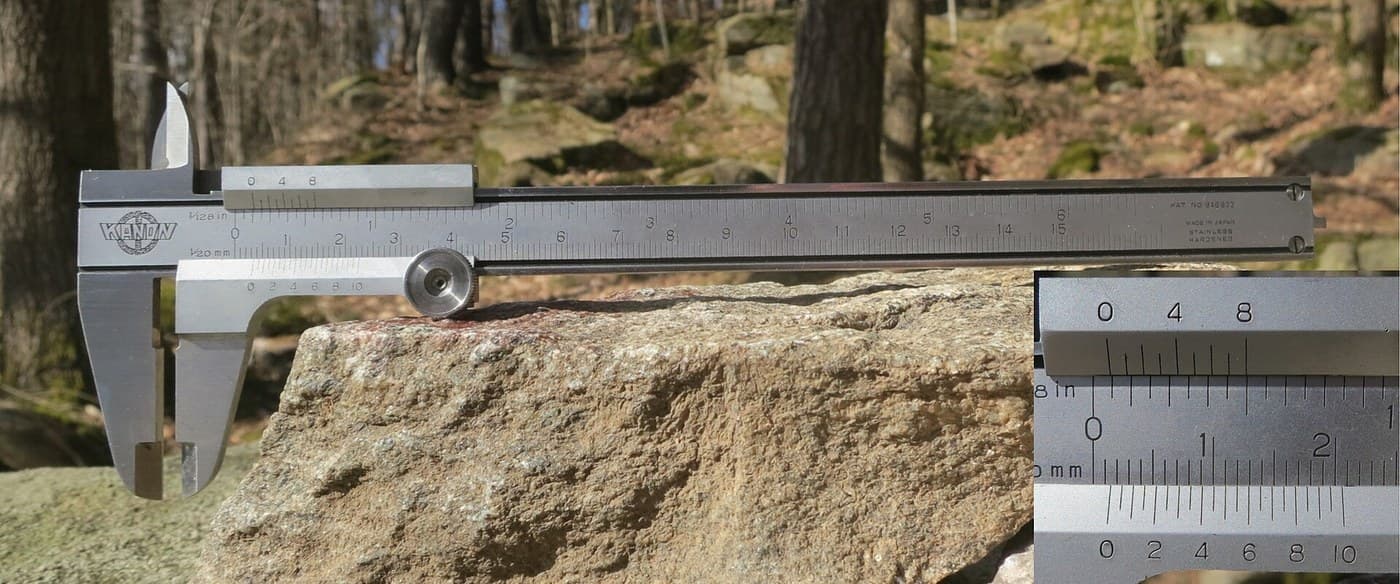
Digital Caliper: Capacitive Scale and Slider with Two-Chip Electronics (Baxter and Buehler, Starrett, 1986)
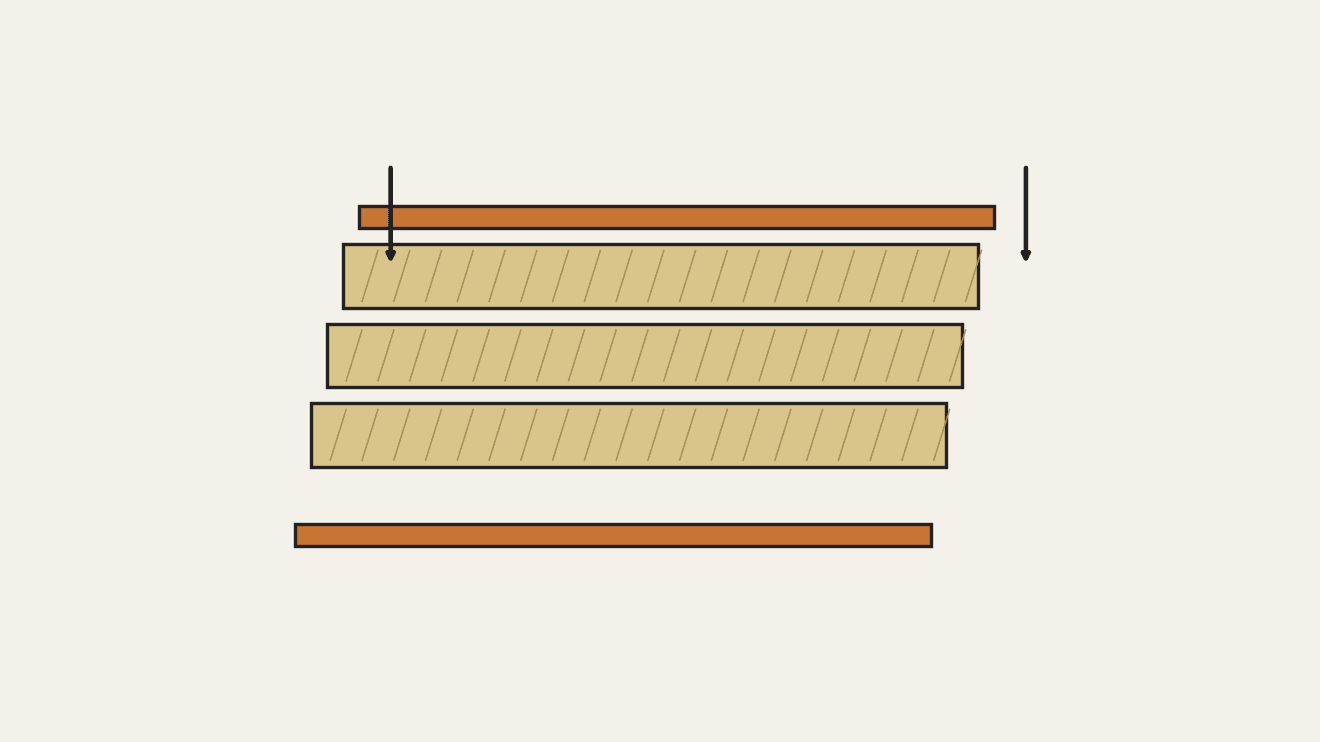
A six-inch caliper that reads out on a display. Under the slide, a strip of etched copper bars runs along the beam. Electrodes on the slider pass a signal through the bars by capacitance, and the slider's electronics count the bars crossed and work out the position in between.
Result: a digital caliper reading in inches or millimetres, repeatable to a ten-thousandth of an inch, with floating zero, peak hold and high/low limits. It runs on two 1.5 V cells at 10-50 microamps.
Source: L. K. Baxter and R. J. Buehler (L. S. Starrett Co.), US Patent 4,586,260 (1986). Unknown: the metal of the beam, slide and rod, their dimensions, the processor's program, and how the chips and display are made. Ours: the etchant, photoresist and glue. Picture: Wikimedia Commons.
ขั้นสูง
2 days
คำแนะนำ
1
1
Etch the scale
Etch the scale
Etch the scale pattern onto a strip of copper-clad epoxy fibreglass with photoresist and etchant. Each copper bar is 0.40 inch long, with a wider centre 0.12 inch long and two ends 0.14 inch long. Space the bars on 0.05 inch centres: the centres sit 0.004 inch apart, the ends 0.025 inch apart. Run the pattern the full length of the scale. Ours: dry film resist and ferric chloride.
วัสดุสำหรับขั้นตอนนี้:
 แผ่นวงจรพิมพ์เปล่า (เคลือบทองแดง)1 strip, length of the beam
เครื่องมือที่ต้องใช้:
 ฟิล์มแห้งไวแสง
 สารละลายเฟอร์ริกคลอไรด์
 ถุงมือกันสารเคมี
2
2
Fix the scale into the beam
Fix the scale into the beam
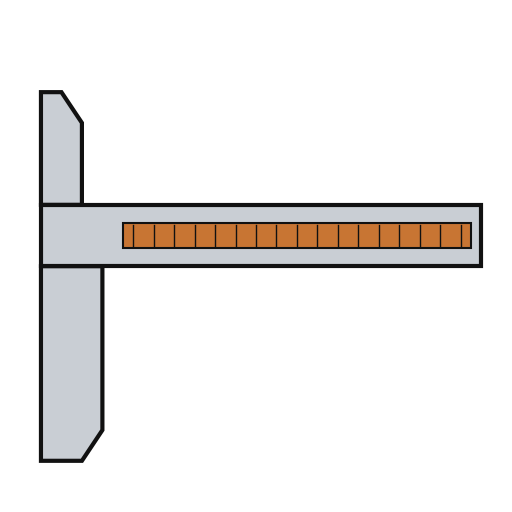
The beam is a metal bar with the fixed outside and inside jaws at one end, a wide shallow channel in its face and a second channel along its back. Fix the scale permanently into the face channel, copper up. The patent allows etching before or after this step. Not given: the metal, the dimensions and how the scale is fixed. Ours: epoxy.
วัสดุสำหรับขั้นตอนนี้:
 ก้านเวอร์เนียร์คาลิปเปอร์1 with integral jaws
 อีพ็อกซีสองส่วน1 a little
เครื่องมือที่ต้องใช้:
 ขนาดที่ไม่ทราบ
3
3
Fit the parts to the circuit
Fit the parts to the circuit
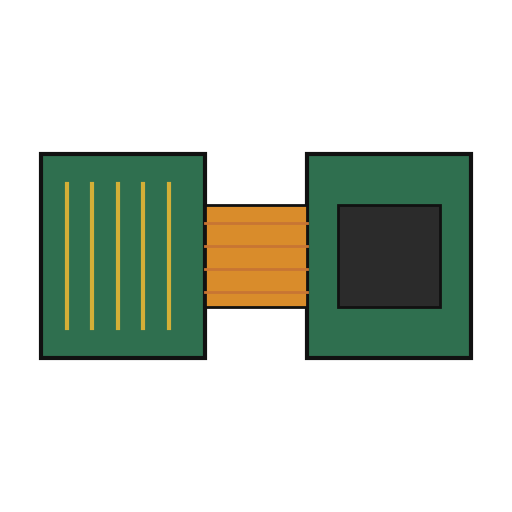
The circuit is one folded piece: a double-sided slider board joined by a flexible hinge to a circuit board. Its bottom face has two pickup electrodes, 0.750 x 0.110 inch and 0.0625 inch apart. On each side of them is an interdigitated transmitter array: fingers 0.115 inch long on 0.025 inch spacing, opening to 0.0375 inch at the centre. On the circuit board, solder or wire-bond the two chips: an NEC uPD7503 3 V processor (768 bits RAM, 2 kB ROM) and a CMOS gate array. Then fit the LCD, the 100 kHz crystal, the integrating capacitor and the MODE and SET buttons. Not given: the processor's program. Ours: a capacitor from a kit.
วัสดุสำหรับขั้นตอนนี้:
 แผงวงจรแบบแข็งผสมอ่อน1 slider board + circuit board
 วงจรรวม2 uPD7503 CPU, CMOS gate array
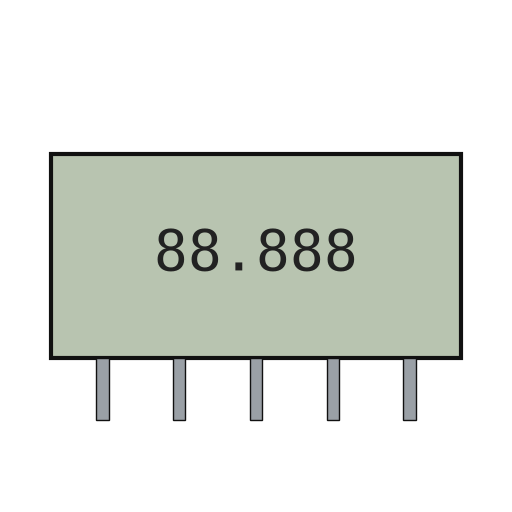 จอแอลซีดีแบบเซกเมนต์1 5 digits
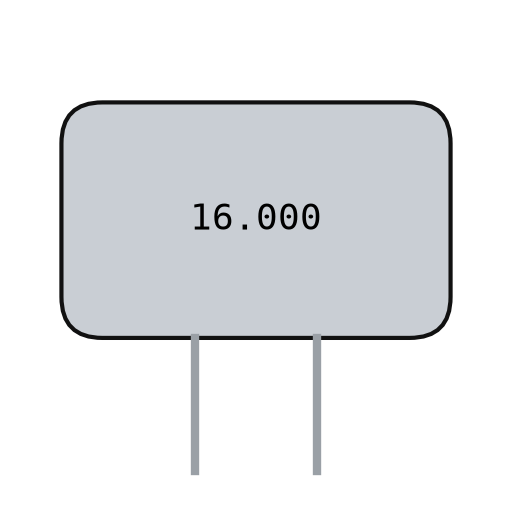 ผลึกควอตซ์1 100 kHz
 ชุดตัวเก็บประจุ1 one integrating capacitor
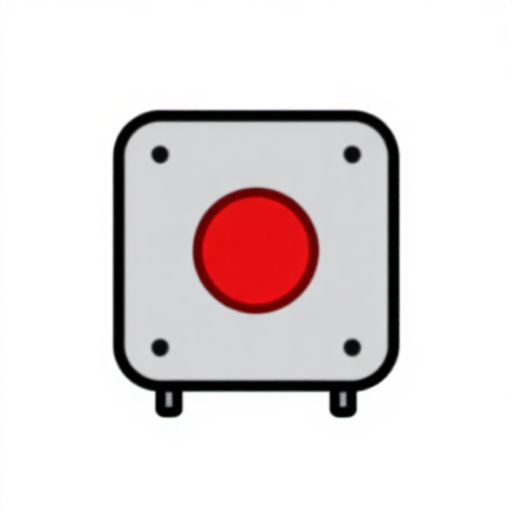 ปุ่มกด2 MODE, SET
 ลวดตะกั่วบัดกรี1 a little
เครื่องมือที่ต้องใช้:
 หัวแร้งบัดกรี
4
4
Build the slide
Build the slide
The slide frame wraps the back and edges of the beam and carries the movable jaws. Fix it to the depth rod, which runs in the back channel of the beam; the rod's free end is the depth gauge. Put the moulded plastic housing between the frame ends. Fasten two metal wear strips under the slider board, one on each side of the scale. They ride on the beam and connect the board's copper to it. Not given: the metal and sizes.
วัสดุสำหรับขั้นตอนนี้:
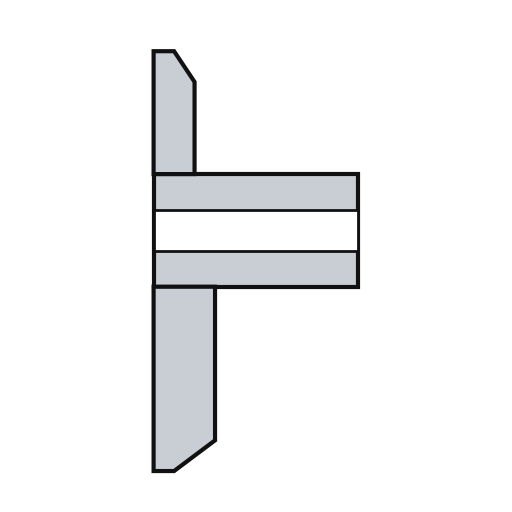 โครงตัวเลื่อน1 with jaws
 โลหะที่ไม่ทราบ1 depth rod and two wear strips
 ตัวเรือนตัวเลื่อน1 ชิ้น
เครื่องมือที่ต้องใช้:
ขนาดที่ไม่ทราบ ชุดไขควงความละเอียดสูง
5
5
Assemble and check
Assemble and check
Fold the circuit into the housing recess, slider board facing the scale, and screw it to the frame. The electrodes must lie parallel to the scale bars at every point of travel. Put the two 1.5 V cells (the patent says 'zinc oxide') in the battery pockets of the circuit. The display shows five digits, a ten-thousandths bar graph, a minus sign and 'mm', plus PEAK, LOW, HIGH and LIMIT. Ours: check the reading against a vernier caliper.
วัสดุสำหรับขั้นตอนนี้:
 สกรูเกลียวมิล2 ชิ้น
 ถ่านกระดุม 1.5 โวลต์2 ชิ้น
เครื่องมือที่ต้องใช้:
ชุดไขควงความละเอียดสูง เวอร์เนียคาลิเปอร์
วัสดุ
15- 1 strip, length of the beamตัวยึดตำแหน่ง
- 1 with integral jawsตัวยึดตำแหน่ง
- 1 a littleตัวยึดตำแหน่ง
- 1 slider board + circuit boardตัวยึดตำแหน่ง
- 2 uPD7503 CPU, CMOS gate arrayตัวยึดตำแหน่ง
- 1 5 digitsตัวยึดตำแหน่ง
- 1 100 kHzตัวยึดตำแหน่ง
- 1 one integrating capacitorตัวยึดตำแหน่ง
- ตัวยึดตำแหน่ง
- 1 a littleตัวยึดตำแหน่ง
- 1 with jawsตัวยึดตำแหน่ง
- 1 depth rod and two wear stripsตัวยึดตำแหน่ง
- 1 ชิ้นตัวยึดตำแหน่ง
- 2 ชิ้นตัวยึดตำแหน่ง
- 2 ชิ้นตัวยึดตำแหน่ง
เครื่องมือที่จำเป็น
7- ตัวยึดตำแหน่ง
- ตัวยึดตำแหน่ง
- ตัวยึดตำแหน่ง
- ตัวยึดตำแหน่ง
- 2 vendors sell this, none ship to you yetตัวยึดตำแหน่ง
- ตัวยึดตำแหน่ง
- ตัวยึดตำแหน่ง
วัสดุจากพิมพ์เขียวที่เชื่อมต่อ

พิมพ์เขียวนี้สร้าง

บลูพริ้นท์ที่เกี่ยวข้อง
บลูพริ้นท์เหล่านี้แบ่งปันความรู้ — เทคนิค วัสดุ หรือหลักการ
CC0 สาธารณสมบัติ
พิมพ์เขียวนี้เผยแพร่ภายใต้ CC0 คุณสามารถคัดลอก แก้ไข แจกจ่าย และใช้งานผลงานนี้เพื่อวัตถุประสงค์ใดก็ได้ โดยไม่ต้องขออนุญาต
สนับสนุนเมกเกอร์โดยซื้อสินค้าผ่านพิมพ์เขียวของพวกเขา ซึ่งพวกเขาจะได้รับ ค่าคอมมิชชันเมกเกอร์ ที่ผู้ขายกำหนด หรือสร้างเวอร์ชันใหม่ของพิมพ์เขียวนี้และรวมเป็นการเชื่อมต่อในพิมพ์เขียวของคุณเพื่อแบ่งรายได้