การทำงานร่วมกัน
ศิลปะ
ความงามและสุขภาพ
งานฝีมือ
วัฒนธรรมและประวัติศาสตร์
ความบันเทิง
สิ่งแวดล้อม
อาหารและเครื่องดื่ม
วิศวกรรมย้อนรอย
วิทยาศาสตร์
กีฬา
เทคโนโลยี
อุปกรณ์สวมใส่
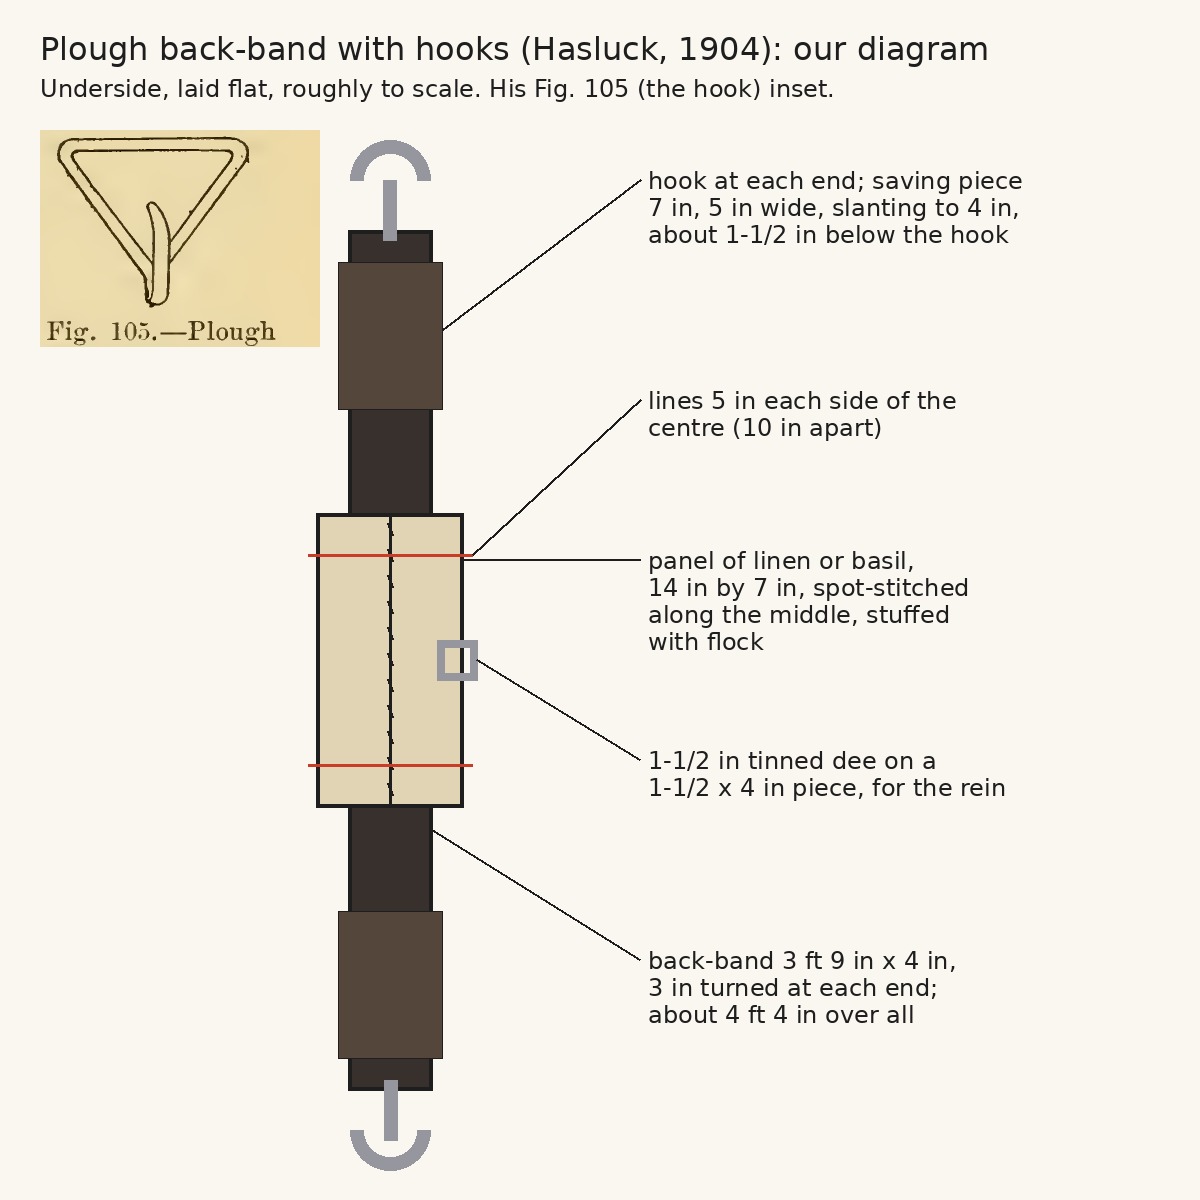


Plough Back-Band With Hooks: Faced, Flock-Padded Back-Band With a Rein Dee (Hasluck, Harness Making, 1904)
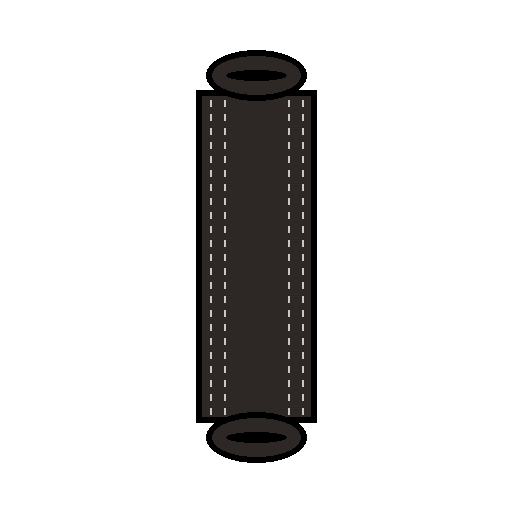
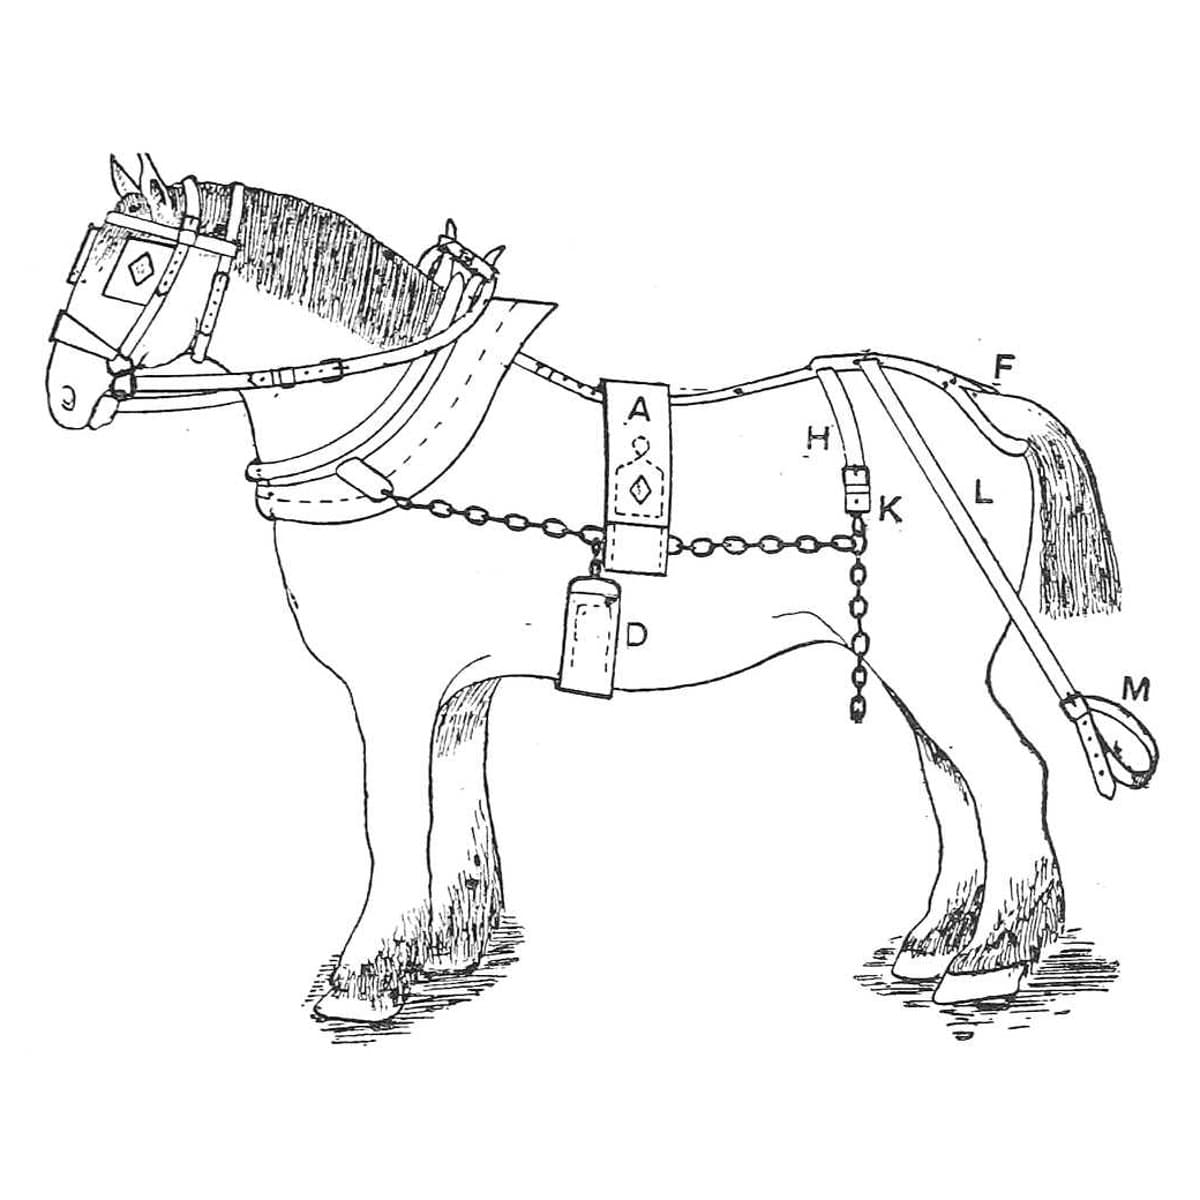
In plough harness the back-band carries the traces over the horse's back. This is the plough back-band with hooks from Paul N. Hasluck's Harness Making (1904): a 4 in band about 4 ft 4 in over all, with leather facings, a flock-stuffed panel to stop the back getting sore, a dee for the plough rein, and a hook sewn into each end. Every size is his; the picture is our diagram with his Fig. 105 inset.
ระดับกลาง
About 1 day
คำแนะนำ
1
1
His sizes in centimetres
His sizes in centimetres
กำลังโหลดสมุด Jupyter…
2
2
Read Harness Making, ch. IX
Read Harness Making, ch. IX
"In plough gears the ordinary bridle and collar are employed. The back-band is made in various ways. The method with hooks is taken first. The eye of the hook (Fig. 105) is 4 in. wide."
3
3
Cut and mark the back-band
Cut and mark the back-band
Cut the leather 3 ft 9 in long and 4 in wide. Turn down 3 in at each end, beat the bend slightly with the hammer to keep it down, and crease it with the screw race, two rows on each side. Mark the centre from each end and draw a line straight across there, then two lines 5 in each side of the centre, 10 in apart.
วัสดุสำหรับขั้นตอนนี้:
 หนังทำเครื่องม้า1 ชิ้น
เครื่องมือที่ต้องใช้:
 มีดตัดหนัง
 ค้อน
 เครื่องมือกรีดพับ
 หัวพ่นไฟโพรเพน
 ดินสอ
 ตลับเมตร
4
4
Stitch on the facings
Stitch on the facings
Cut two pieces 10-1/2 in long and 3/4 in wide; cut a small piece out of each corner of the working side, then dye and crease that side. Draw a line along the centre of each with the compasses and mark across the centre. Prick out where they go on the back-band, then place one underneath the back-band, centre to centre, as far as the drawn line, and tack it down; place the other the same way on the other side, so the pieces run a little over both lower lines at each end. Stitch, keeping the line close to the edge of the back-band, with thread of three or four cords of coarse hemp.
วัสดุสำหรับขั้นตอนนี้:
หนังทำเครื่องม้า1 ชิ้น สีย้อมหนัง1 ชิ้น
 ตะปูยึดขึ้นหุ่น1 ชิ้น
 เชือกป่าน1 ชิ้น
 ขี้ผึ้ง1 ชิ้น
เครื่องมือที่ต้องใช้:
มีดตัดหนังเครื่องมือกรีดพับ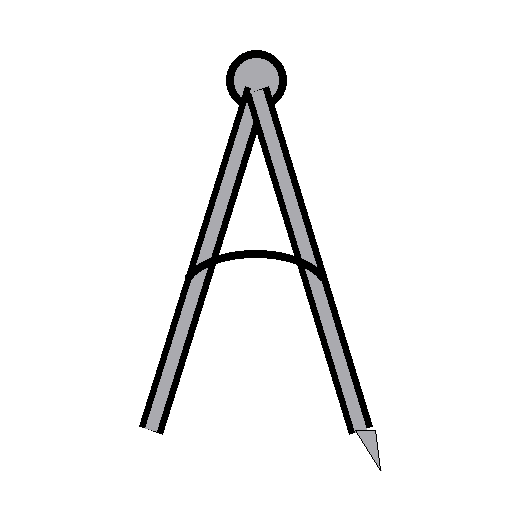 วงเวียนเซาะร่องช่างอานม้า
 สิ่วตอกรูหนังค้อน
 เหล็กหมาด (สว่านเจาะรูมือ)
 เข็มเย็บอานม้าสองเล่ม
 ปากคีบไม้สำหรับเย็บหนัง
5
5
Fit the rein dee
Fit the rein dee
Cut a piece of leather 1-1/2 in by 4 in, shave and point both ends, and crease, black and prick it like the side, eight or ten marks per inch. Put a 1-1/2 in tinned dee in the centre of it, lay it flat on the back-band in the centre (measured from both sides, or from the top line to either line below), tack it and stitch. The plough rein runs through this dee; for a pair of horses put the dee on the opposite side of each back-band, for a single horse one on each side of the same back-band.
วัสดุสำหรับขั้นตอนนี้:
 ห่วงตัว D เครื่องเทียมม้า1 ชิ้นหนังทำเครื่องม้า1 ชิ้นสีย้อมหนัง1 ชิ้นเชือกป่าน1 ชิ้นขี้ผึ้ง1 ชิ้น
เครื่องมือที่ต้องใช้:
มีดตัดหนังสิ่วตอกรูหนังเหล็กหมาด (สว่านเจาะรูมือ)เข็มเย็บอานม้าสองเล่มปากคีบไม้สำหรับเย็บหนัง6
6
Make the panel
Make the panel
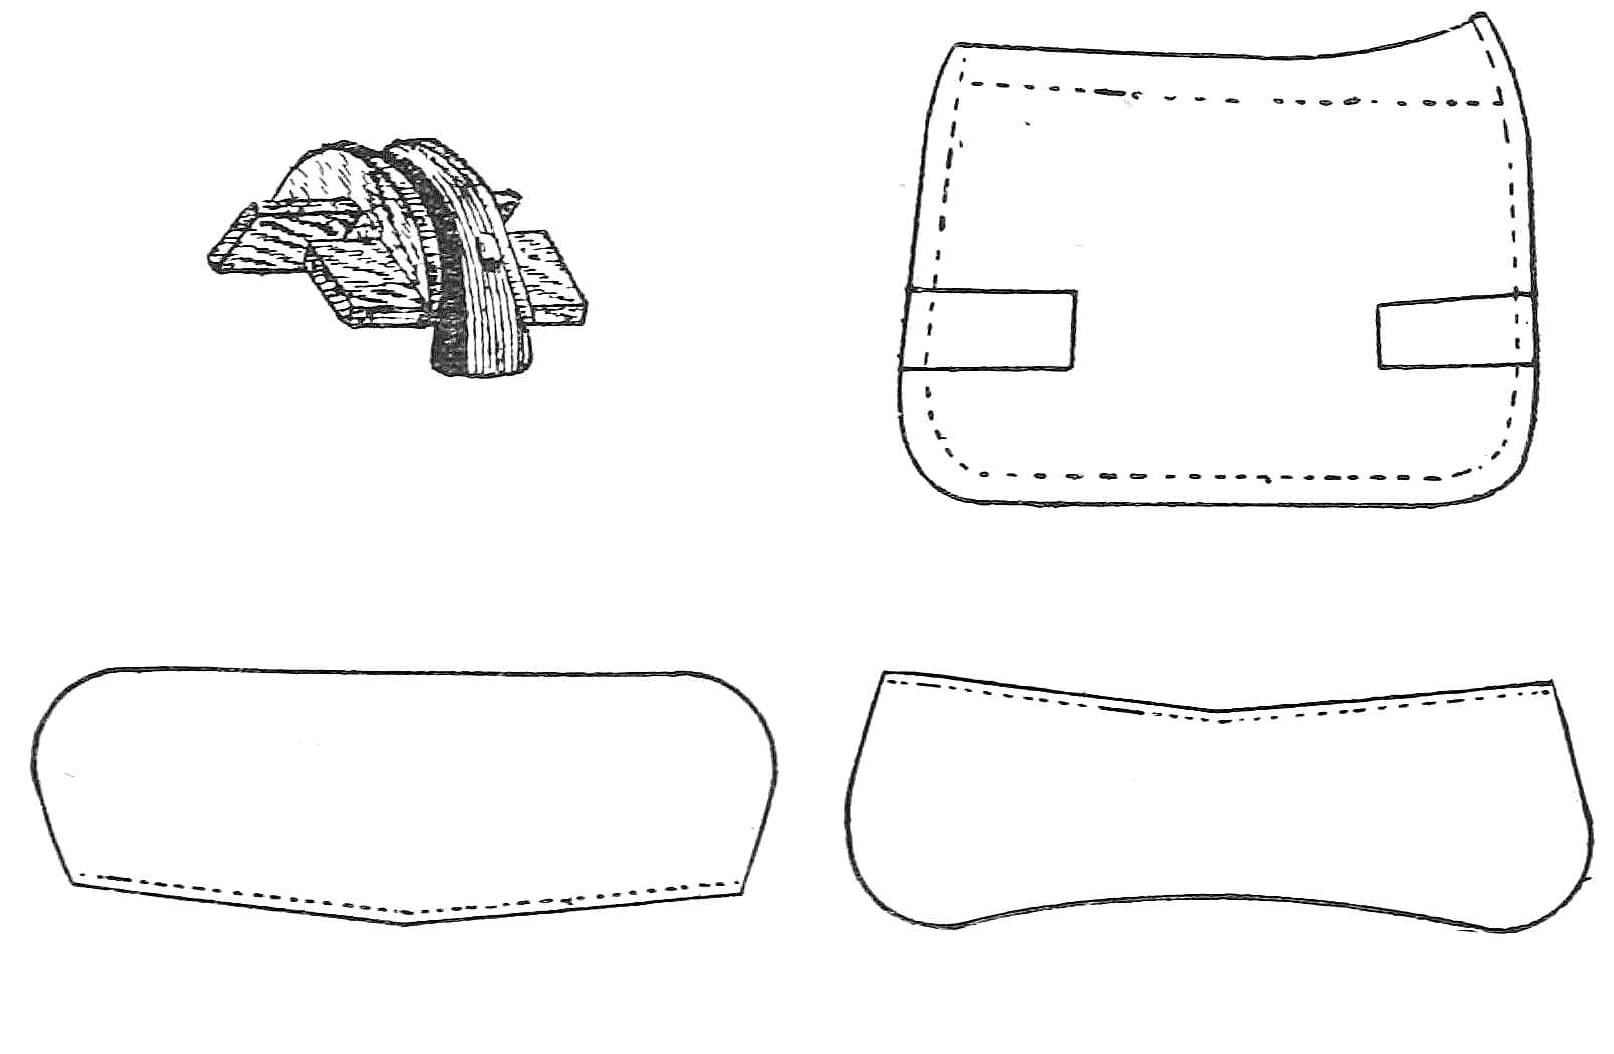
Take linen (or basil) 14 in by 7 in and lay the back-band on it centre to centre, even on both sides. Spot-stitch across the back-band and through the linen along the middle line, like this: // // //. Turn in the linen all round about 1/2 in (basil needs no turning). Make a pleat at each corner at the end of the facing, both exactly the same length, and another opposite each, so the width equals the back-band and facing together (for basil, cut the corner off and stitch the cut instead). Stitch all round, starting about 1-1/2 in from the centre on one side to leave an opening for stuffing, along the cross lines at the bottom, to within 1-1/2 in of the centre on the other side.
วัสดุสำหรับขั้นตอนนี้:
 ผ้าลินิน1 ชิ้นเชือกป่าน1 ชิ้นขี้ผึ้ง1 ชิ้น
เครื่องมือที่ต้องใช้:
 กรรไกรเหล็กหมาด (สว่านเจาะรูมือ)เข็มเย็บอานม้าสองเล่ม
7
7
Stuff the panel
Stuff the panel
Lay the back-band flat on the bench, leather side underneath, openings near the bench edge. Stuff each side rather tightly with flock through the openings, using the stuffing stick; smooth it well towards the sides, flatten with a mallet, and stitch along the openings to the starting point.
วัสดุสำหรับขั้นตอนนี้:
 ใยขนแกะสำหรับยัด1 ชิ้นเชือกป่าน1 ชิ้นขี้ผึ้ง1 ชิ้น
เครื่องมือที่ต้องใช้:
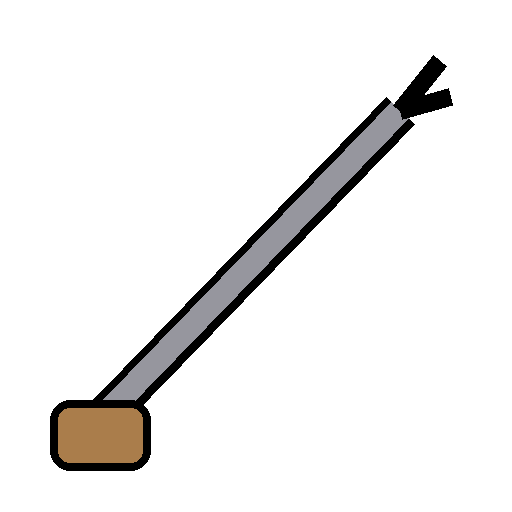 ไม้อัดไส้
 ค้อนไม้เหล็กหมาด (สว่านเจาะรูมือ)เข็มเย็บอานม้าสองเล่ม
8
8
Sew in the hooks
Sew in the hooks
Cut two saving pieces from a thick, firm face of hide (the face of a gear hide is best), 7 in long and, for a 4 in back-band, 5 in wide. Cut one end slanting to 4 in, the back-band's width, and shave it; round the corners of the other end, leaving it full width; black and crease the edges. Put the hooks in place with the saving pieces under them about 1-1/2 in lower than the end of the hook, and tack them down exactly in the centre. Mark and prick four rows from the hook up to the end of the saving pieces, stitch with four-cord thread, nine or ten stitches per inch, and stitch a line across close to the hook to bind it all together.
วัสดุสำหรับขั้นตอนนี้:
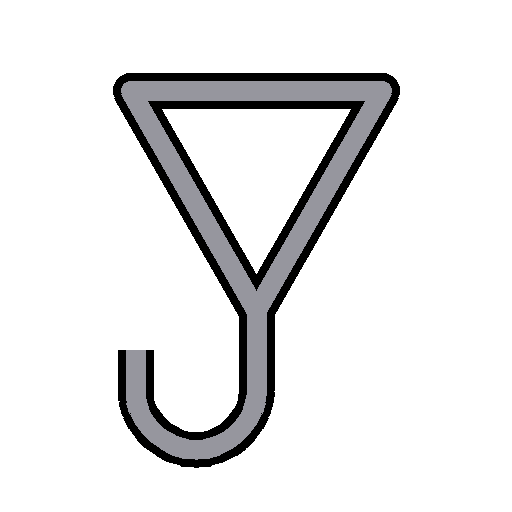 ตะขอสายพาดหลัง2 ชิ้นหนังทำเครื่องม้า1 ชิ้นสีย้อมหนัง1 ชิ้นตะปูยึดขึ้นหุ่น1 ชิ้นเชือกป่าน1 ชิ้นขี้ผึ้ง1 ชิ้น
เครื่องมือที่ต้องใช้:
มีดตัดหนังเครื่องมือกรีดพับหัวพ่นไฟโพรเพนสิ่วตอกรูหนังค้อนเหล็กหมาด (สว่านเจาะรูมือ)เข็มเย็บอานม้าสองเล่มปากคีบไม้สำหรับเย็บหนัง9
9
Troubleshooting
Troubleshooting
Plough back-band troubleshooting.
Flow
Loading...
10
10
History and honest limits
History and honest limits
From **Harness Making**, edited by Paul N. Hasluck, Cassell, 1904 (Project Gutenberg 70169), chapter IX, "Plough Harness", pp. 107-110, Fig. 105; every fraction was checked on the archive.org scan (harnessmaking00hasl). The back-band with chains instead of hooks and the coupling straps are not made here. Linen for the panel (he allows basil), the tools and metric figures are ours; the picture is our diagram with his Fig. 105 inset.
วัสดุ
9- 4 ชิ้นตัวยึดตำแหน่ง
- 3 ชิ้นตัวยึดตำแหน่ง
- 1 ชิ้นตัวยึดตำแหน่ง
- 5 ชิ้นตัวยึดตำแหน่ง
- 5 ชิ้นตัวยึดตำแหน่ง
- ตัวยึดตำแหน่ง
- 1 ชิ้นตัวยึดตำแหน่ง
- 1 ชิ้นตัวยึดตำแหน่ง
- 2 ชิ้นตัวยึดตำแหน่ง
เครื่องมือที่จำเป็น
14- ตัวยึดตำแหน่ง
- ตัวยึดตำแหน่ง
- ตัวยึดตำแหน่ง
- ตัวยึดตำแหน่ง
- 1 vendor sell this, none ship to you yetตัวยึดตำแหน่ง
- 1 vendor sell this, none ship to you yetตัวยึดตำแหน่ง
- ตัวยึดตำแหน่ง
- ตัวยึดตำแหน่ง
- ตัวยึดตำแหน่ง
- ตัวยึดตำแหน่ง
- ตัวยึดตำแหน่ง
- ตัวยึดตำแหน่ง
- ตัวยึดตำแหน่ง
- ตัวยึดตำแหน่ง
พิมพ์เขียวนี้สร้าง
บลูพริ้นท์ที่เกี่ยวข้อง
บลูพริ้นท์เหล่านี้แบ่งปันความรู้ — เทคนิค วัสดุ หรือหลักการ
CC0 สาธารณสมบัติ
พิมพ์เขียวนี้เผยแพร่ภายใต้ CC0 คุณสามารถคัดลอก แก้ไข แจกจ่าย และใช้งานผลงานนี้เพื่อวัตถุประสงค์ใดก็ได้ โดยไม่ต้องขออนุญาต
สนับสนุนเมกเกอร์โดยซื้อสินค้าผ่านพิมพ์เขียวของพวกเขา ซึ่งพวกเขาจะได้รับ ค่าคอมมิชชันเมกเกอร์ ที่ผู้ขายกำหนด หรือสร้างเวอร์ชันใหม่ของพิมพ์เขียวนี้และรวมเป็นการเชื่อมต่อในพิมพ์เขียวของคุณเพื่อแบ่งรายได้