การทำงานร่วมกัน
ศิลปะ
ความงามและสุขภาพ
งานฝีมือ
วัฒนธรรมและประวัติศาสตร์
ความบันเทิง
สิ่งแวดล้อม
อาหารและเครื่องดื่ม
วิศวกรรมย้อนรอย
วิทยาศาสตร์
กีฬา
เทคโนโลยี
อุปกรณ์สวมใส่
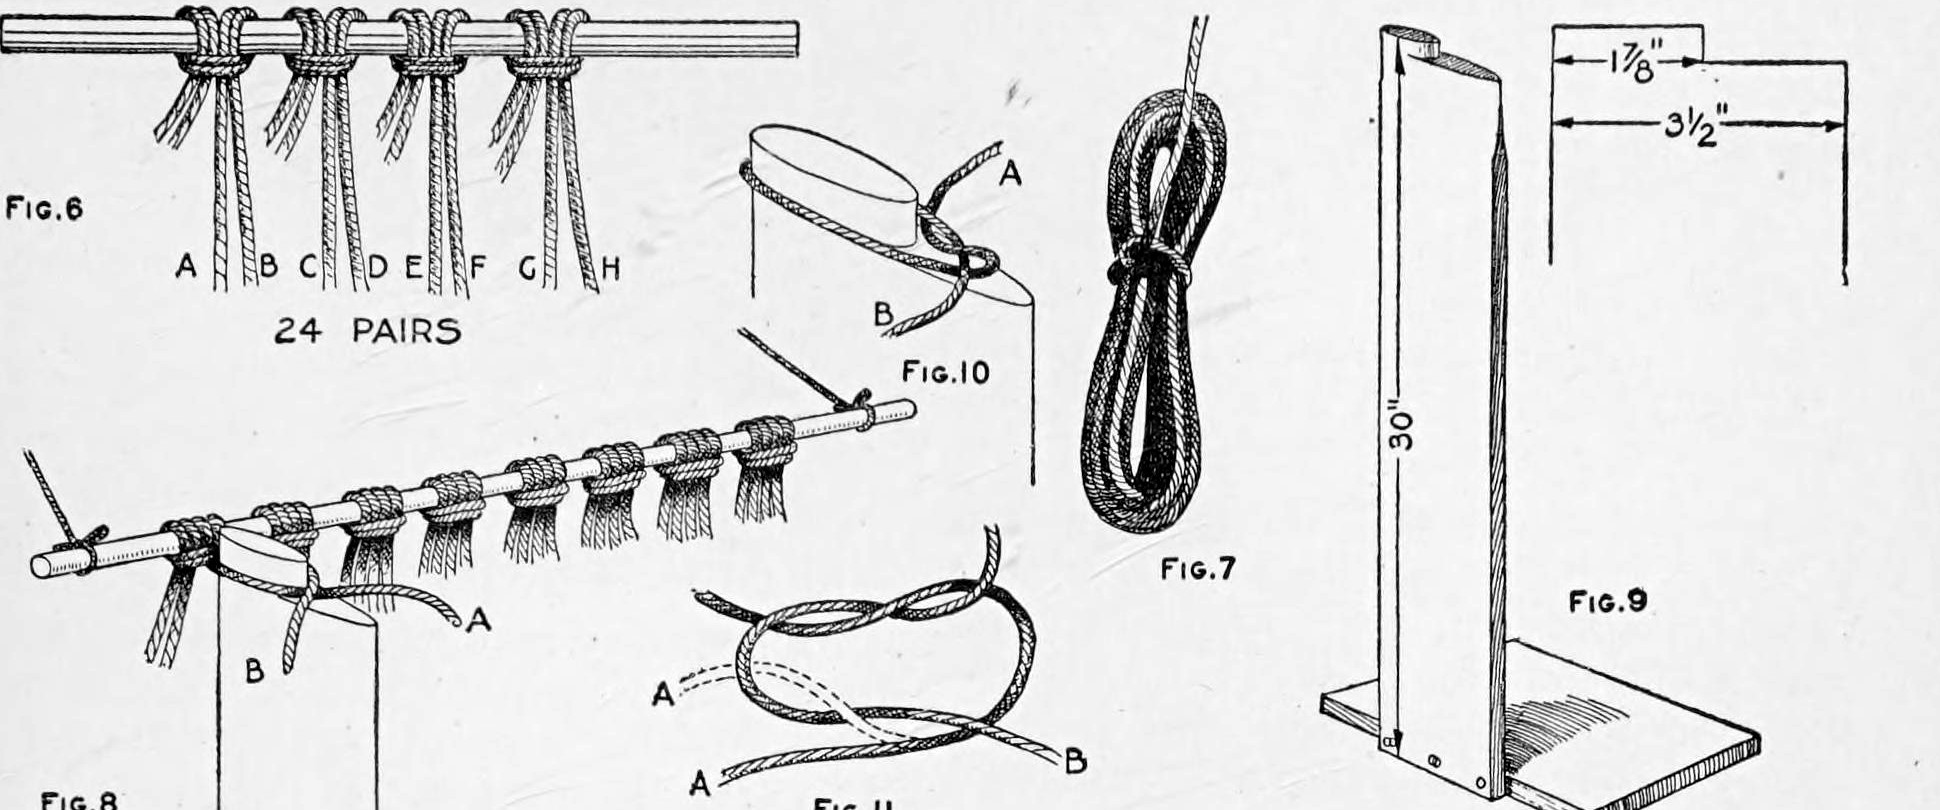


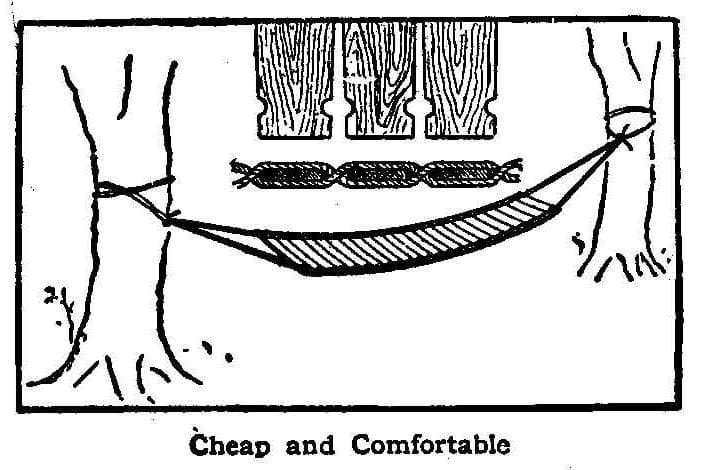
Knotted Twine Hammock: 48 Seine-Twine Cords Tied From a Centre Rod Over a Two-Size Mesh Post (Boy Mechanic, 1919)
Charles M. Miller's knotted hammock from The Boy Mechanic, Book 3 (1919): 24 pairs of 18 ft seine-twine cords looped over a centre rod and knotted toward each end with flat reef (or overhand, or Solomon's) knots over a 30 in mesh post, then gathered into a 2-1/2 in galvanized ring at each end and bound.
ระดับกลาง
Several days
คำแนะนำ
1
1
Cord budget
Cord budget
กำลังโหลดสมุด Jupyter…
2
2
Read The Boy Mechanic, Book 3
Read The Boy Mechanic, Book 3
"The flat reef knot is small, is easily tied and will not slip."
3
3
Make the mesh post and ring board
Make the mesh post and ring board
Make a mesh post 30 in high on a base you can rest a foot on, its top cut to two sizes: 1-7/8 in across for the first row of meshes and 3-1/2 in for all others (Fig. 9). Make a ring board 30 in long, 3 in or more wide and 1 in thick, with three nails driven slanting (Fig. 14).
วัสดุสำหรับขั้นตอนนี้:
 แผ่นไม้เนื้อแข็ง1 ชิ้น
 แผ่นไม้สน1 ชิ้น
 ตะปู4 ชิ้น
เครื่องมือที่ต้องใช้:
 เลื่อยมือ
 กบไสไม้
 ค้อน
 ตลับเมตร
4
4
Cut and hang the cords
Cut and hang the cords
Cut 48 cords of medium-hard 24-ply seine twine, each 18 ft long, and loop them in 24 pairs over a centre rod (an old broom handle) anchored to a wall (Figs. 6, 8). Loop the opposite halves up out of the way. Wind each working cord into a small bundle secured with a half hitch, leaving about 3 ft free (Fig. 7).
วัสดุสำหรับขั้นตอนนี้:
 ด้ายถักแห48 cord
 ไม้กวาด1 ชิ้น
เครื่องมือที่ต้องใช้:
ตลับเมตร กรรไกร
5
5
Knot the body
Knot the body
Set the post's small top between the first pair, A and B, and tie them with a flat reef knot: B over A, A tucked behind; B over again and A tucked under, drawn very hard (Figs. 8, 10, 11). Move along tying each pair, to the 24th (Y, Z). On the way back use the large top and tie neighbouring pairs together (Y with X, W with V ...). Alternate the rows to within 2-1/2 ft of the end. Then move the rod into the second row and knot the other half the same way. An overhand or Solomon's knot may be used instead (Figs. 1, 3, 12).
วัสดุสำหรับขั้นตอนนี้:
ด้ายถักแห1 ชิ้นเครื่องมือที่ต้องใช้:
 ไม้วัดขนาดตาข่าย
6
6
Fit the rings and bind
Fit the rings and bind
Put the centre rod in the last row of meshes and set it on the ring board with a 2-1/2 in galvanized ring tied by a string to the end nail, 2 ft from the rod. Tie the cords to the ring in pairs with flat reef knots, one cord under and one over its side. Turn the ends back along the cords and wind them about 1-1/2 in with an extra cord, starting with a loop and a flat reef knot and looping each turn through its own winding; finish with a double loop and draw the end back under the turns with an awl (Fig. 15). Do the other end the same way.
วัสดุสำหรับขั้นตอนนี้:
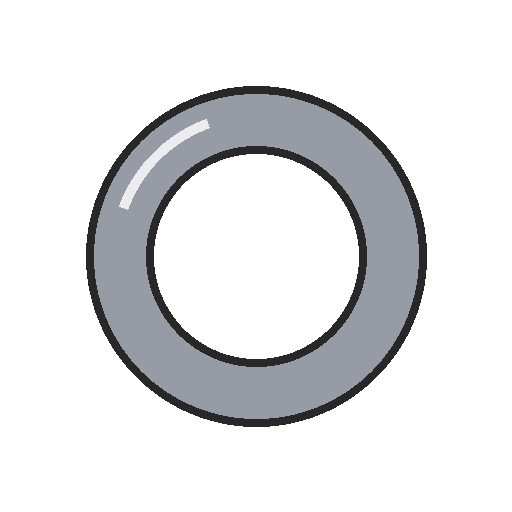 ห่วงโลหะ2 ชิ้นด้ายถักแห1 ชิ้น
เครื่องมือที่ต้องใช้:
 เหล็กหมาด (สว่านเจาะรูมือ)กรรไกร
7
7
Finishing and troubleshooting
Finishing and troubleshooting
Hammock troubleshooting.
Flow
Loading...
8
8
History and honest limits
History and honest limits
From "How to Make Hammocks, Part I: A Twine Hammock" by Charles M. Miller, in **The Boy Mechanic, Book 3**, Popular Mechanics, 1919 (Project Gutenberg 71856; checked on the archive.org scan boymechanic0003unse, pp. 277-280). He gives no size for the mesh post's base or the winding cord. The tools and metric figures are ours.
วัสดุ
6- 1 ชิ้นตัวยึดตำแหน่ง
- 1 ชิ้นตัวยึดตำแหน่ง
- 4 ชิ้นตัวยึดตำแหน่ง
- 2 ชิ้นตัวยึดตำแหน่ง
- 1 ชิ้นตัวยึดตำแหน่ง
- 2 ชิ้นตัวยึดตำแหน่ง
พิมพ์เขียวนี้สร้าง
บลูพริ้นท์ที่เกี่ยวข้อง
บลูพริ้นท์เหล่านี้แบ่งปันความรู้ — เทคนิค วัสดุ หรือหลักการ

CC0 สาธารณสมบัติ
พิมพ์เขียวนี้เผยแพร่ภายใต้ CC0 คุณสามารถคัดลอก แก้ไข แจกจ่าย และใช้งานผลงานนี้เพื่อวัตถุประสงค์ใดก็ได้ โดยไม่ต้องขออนุญาต
สนับสนุนเมกเกอร์โดยซื้อสินค้าผ่านพิมพ์เขียวของพวกเขา ซึ่งพวกเขาจะได้รับ ค่าคอมมิชชันเมกเกอร์ ที่ผู้ขายกำหนด หรือสร้างเวอร์ชันใหม่ของพิมพ์เขียวนี้และรวมเป็นการเชื่อมต่อในพิมพ์เขียวของคุณเพื่อแบ่งรายได้