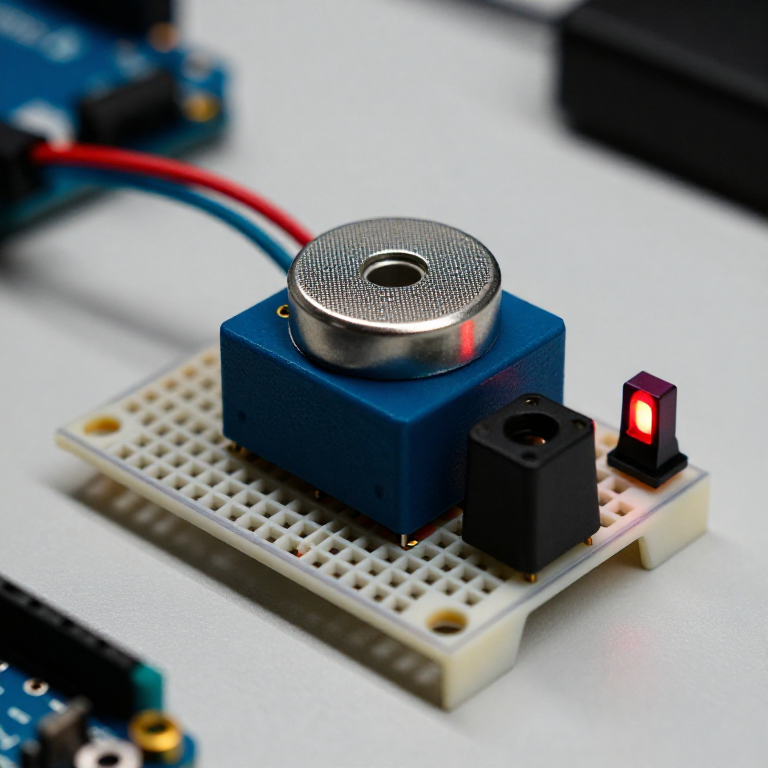


Building a Carbon Monoxide Detector
Build a circuit that senses carbon monoxide (CO) — the invisible, odourless gas from any incomplete combustion — and raises an alarm when it rises. An MQ-7 sensor gives the Arduino a reading that climbs with CO; the code compares it to a clean-air baseline and triggers a buzzer and red LED. A great way to learn gas sensing — but read the safety note: this is a demonstration, NOT a certified life-safety CO alarm.
Talimatlar
Wire the sensor, buzzer and LED
Wire the sensor, buzzer and LED
On the breadboard: MQ-7 VCC to Arduino 5V, GND to GND, and its analog output (AOUT) to Arduino A0. Active buzzer + to pin 8, - to GND. Red LED anode to pin 7 through a 330 Ω resistor, cathode to GND.
Bu adım için malzemeler:
 Arduino Uno R31 adet
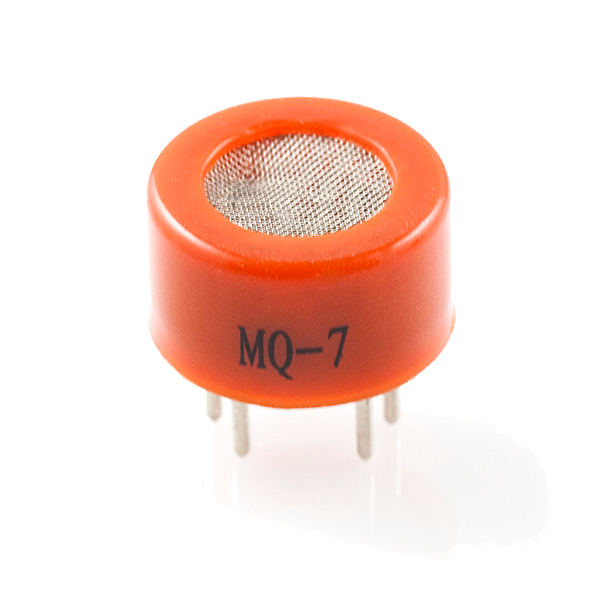 Carbon Monoxide Sensor - MQ-71 adet
 Aktif buzzer modülü1 adet
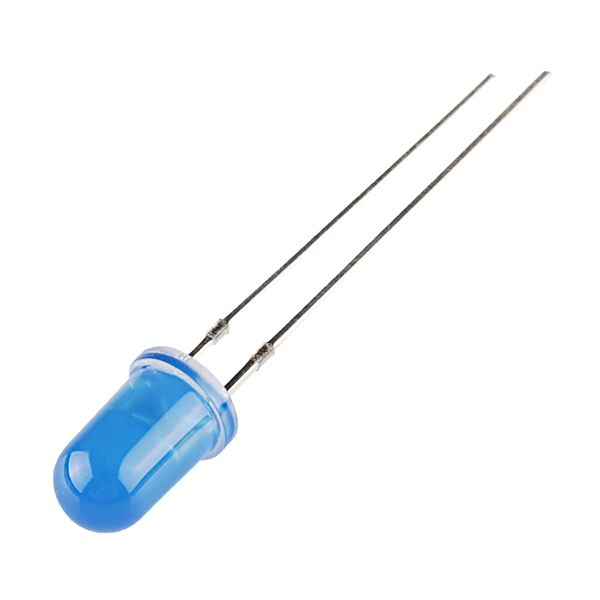 LED - Basic 5mm1 adet
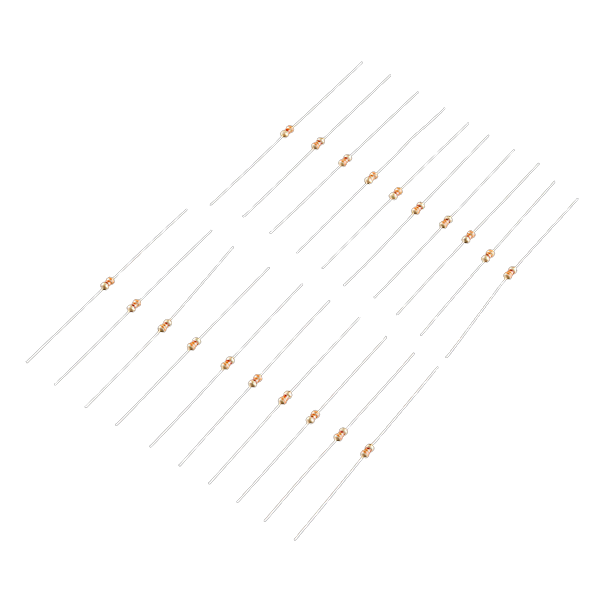 Resistor 330 Ohm 1/6 Watt PTH - 20 pack1 adet
 Breadboard1 adet
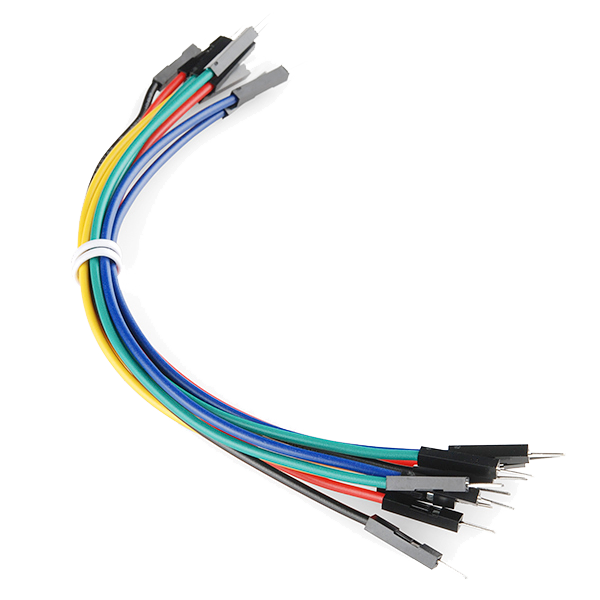 Jumper Wires (Male-to-Male)1 paket
Connect and open the IDE
Connect and open the IDE
Plug the Arduino into your computer with the USB cable, open the Arduino IDE, and select Arduino Uno and its serial port.
Bu adım için malzemeler:
 USB-B Cable1 adet
Gerekli aletler:
 Arduino IDE Kurulu Bilgisayar
Upload the detector sketch
Upload the detector sketch
Paste this sketch and upload. It warms the sensor for two minutes, records a clean-air baseline, then sounds the buzzer and lights the LED whenever the reading climbs above that baseline.
Warm up, baseline and test
Warm up, baseline and test
Power it in fresh air and let the 2-minute warm-up set the clean-air baseline (a brand-new MQ-7 also needs a longer 24–48 h burn-in before its readings settle). Then hold a small CO source nearby in a ventilated room — the smoke from a just-blown-out match works — and the buzzer and LED should trigger. Change ALARM_MARGIN to make it more or less sensitive.
Important safety limits
Important safety limits
This is a LEARNING project and, at best, a supplementary indicator — it is NOT a certified life-safety device. A hobby MQ-7 gives a relative reading, not a calibrated ppm; it drifts over time and needs regular re-baselining, and it also responds to smoke and other gases. Carbon monoxide is invisible, odourless and can be fatal: for real protection always use a UL- or EN-certified CO alarm. Never rely on this circuit to keep anyone safe.
Malzemeler
8- Arduino Uno R3 SMD%10 komisyon1 adet$26.69
- Carbon Monoxide Sensor - MQ-7%10 komisyon1 adet$6.95
- 1 adetYer Tutucu
- LED - Basic 5mm%10 komisyon1 adet$0.76
- Resistor 330 Ohm 1/6 Watt PTH - 20 pack%10 komisyon1 adet$1.18
- Breadboard - Classic%10 komisyon1 adet$9.38
- 1 paket$4.94
- SparkFun Cerberus USB Cable - 1.8 meter%10 komisyon1 adet$5.61
Gerekli Aletler
2- Yer Tutucu
- Breadboard - Classic%10 komisyon$9.38
İlgili Blueprint'ler
Bu blueprint'ler bilgi paylaşır — teknikler, malzemeler veya ilkeler


CC0 Kamu Malı
Bu plan CC0 lisansıyla yayınlanmıştır. İzin almadan kopyalayabilir, değiştirebilir, dağıtabilir ve herhangi bir amaçla kullanabilirsiniz.
Planı üzerinden ürün satın alarak Maker'ı destekleyin, böylece Maker Komisyonu Satıcılar tarafından belirlenen komisyonu kazanırlar veya bu Planın yeni bir versiyonunu oluşturun ve gelir paylaşımı için kendi Planınıza bağlantı olarak ekleyin.