SANAT
GÜZELLİK & SAĞLIK
ZANAAT
KÜLTÜR & TARİH
EĞLENCE
ÇEVRE
YİYECEK & İÇECEK
TERS MÜHENDİSLİK
BİLİMLER
SPOR
TEKNOLOJİ
GİYİLEBİLİR ÜRÜNLER
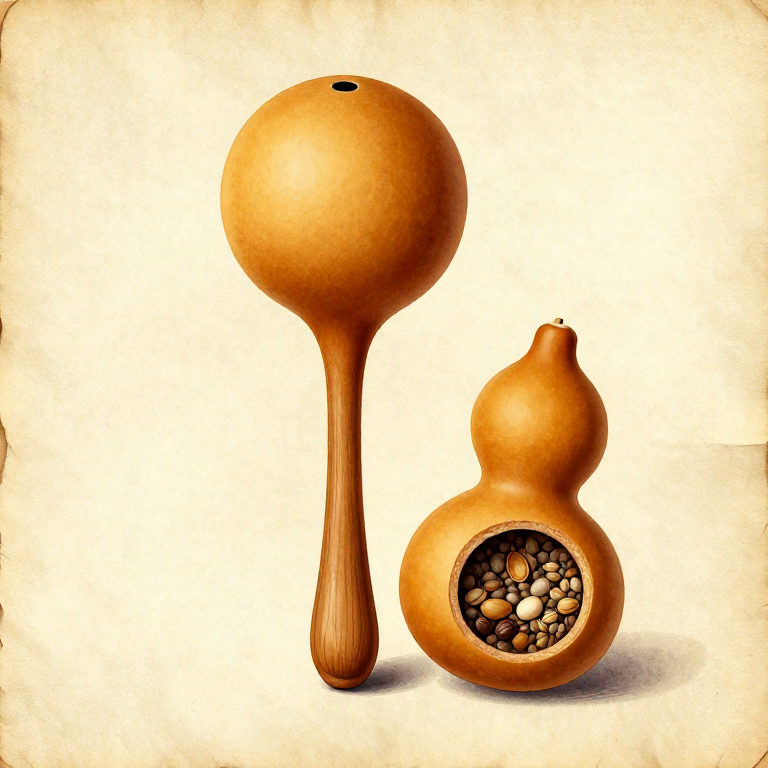
Making a Gourd Rattle — Prehistoric Seed-Pod Musical Instrument
A gourd rattle is one of humanity's oldest musical instruments, with archaeological examples found on every inhabited continent. The principle is simple: when a gourd (from the Cucurbitaceae family, particularly Lagenaria siceraria — the bottle gourd) dries naturally, the flesh desiccates and the seeds shrink, creating a hollow shell with loose seeds that rattle against the hard inner walls when shaken. Bottle gourds are among the earliest cultivated plants, domesticated independently in Africa, Asia, and the Americas by at least 10,000 years ago — and wild gourds floated across oceans, reaching the Americas from Africa long before human cultivation. The dried gourd shell is remarkably hard and durable, consisting mostly of lignified cellulose with a waxy outer skin (cuticle) that resists moisture. To create a louder, more controlled rattle with consistent tone, makers add small pebbles, dried seeds, or fired clay pellets through a small hole, then seal the hole and insert a wooden handle. The acoustic properties depend on the gourd size (larger gourds produce lower, resonant tones), wall thickness (thinner walls vibrate more), and the rattle material (heavier pellets produce a sharper, louder sound). Gourd rattles remain in active ceremonial and musical use across Africa, the Americas, Asia, and the Pacific Islands. This blueprint covers the complete process from selecting a fresh gourd through drying, cleaning, filling, sealing, and handle attachment.
Başlangıç
1-2 hours (plus gourd drying time)
Talimatlar
1
1
Select a Suitable Gourd
Select a Suitable Gourd
Choose a small, round bottle gourd (Lagenaria siceraria) approximately 8 to 15 cm in diameter. The gourd should be fully mature — indicated by a hard outer shell that resists fingernail scratching and a brown, woody stem. Immature gourds with green skin and soft flesh will collapse during drying rather than forming a hard shell. Round or egg-shaped gourds produce the most even, resonant sound. Avoid gourds with soft spots, insect holes, or mould — these will rot during drying.
2
2
Dry the Gourd Completely
Dry the Gourd Completely
Hang the gourd by its stem in a well-ventilated, dry location out of direct sunlight. Drying takes 3 to 6 weeks for small gourds and up to 3 months for larger ones. The gourd is ready when it feels light, the skin has turned uniformly tan or brown, and you can hear the seeds rattling loosely inside when shaken. During drying, surface mould may appear — this is normal and does not affect the final product. Wipe off mould with a dry cloth. The gourd loses approximately 90 percent of its weight during drying as the flesh desiccates to a thin, papery membrane inside the hard shell.
3
3
Clean the Exterior
Clean the Exterior
Scrub the dried gourd exterior with a rough stone or coarse sandstone to remove the dried outer skin, mould residue, and any discolouration. The shell underneath is smooth, hard, and pale tan. Scrub until the surface is clean and uniform. This step also thins the shell very slightly, which can improve the acoustic resonance by allowing the walls to vibrate more freely.
Gerekli aletler:
 Sandstone
4
4
Cut a Hole for the Handle
Cut a Hole for the Handle
At the bottom of the gourd (opposite the stem end), carefully carve a round hole approximately 2 to 3 cm in diameter using the tip of a flint knife. Work slowly — gourd shell is brittle and can crack if forced. Score a circle first with light repeated cuts, then deepen the score until you can push through. This hole will accept the handle. Save any large shell fragments — they can be used as stoppers or patching material.
Gerekli aletler:
 Flint Knife
5
5
Remove Interior Seeds and Dried Membrane
Remove Interior Seeds and Dried Membrane
Shake out the loose dried seeds through the hole. Use a thin stick or bone awl to break up and scrape out the dried interior membrane (the desiccated flesh). Turn the gourd upside down and tap firmly to dislodge debris. The interior should be clean and hollow, with smooth shell walls. Save a small handful of the dried seeds if you plan to use them as rattle material — they produce a softer, more traditional sound than pebbles.
Gerekli aletler:
 Bone Awl
6
6
Add Rattle Material
Add Rattle Material
Drop a small quantity of rattle material into the gourd through the handle hole. For a sharp, loud percussive sound, use 15 to 25 small pebbles (each approximately 5 to 8 mm diameter). For a softer, warmer sound, use dried seeds or small dried beans. For the loudest, crispest sound, use small fired clay pellets. Do not overfill — the rattle material should fill no more than one-tenth of the gourd interior volume. Too many pellets dampen the sound by preventing free movement. Shake the gourd and listen after each addition to test the tone.
7
7
Shape the Handle
Shape the Handle
Select a straight hardwood stick approximately 20 to 25 cm long and 2 to 3 cm in diameter. Carve one end to a slightly tapered point that fits snugly into the gourd hole — the fit should be tight enough to hold by friction alone before sealing. Smooth the handle with sandstone to remove splinters. The handle diameter should be comfortable to grip with one hand. Leave a slight bulge or carved ring at the bottom of the handle to prevent the hand from slipping off during vigorous shaking.
Bu adım için malzemeler:
 Hardwood Sapling1 adet
Gerekli aletler:
Flint KnifeSandstone8
8
Insert and Seal the Handle with Pine Pitch
Insert and Seal the Handle with Pine Pitch
Push the tapered handle end firmly into the gourd hole. It should penetrate approximately 5 to 8 cm into the gourd interior. Apply warm pine pitch glue generously around the joint where the handle meets the gourd shell, building up a thick ring of pitch that seals the gap completely. Pine pitch is waterproof and sets hard, creating both a structural bond and an airtight seal. An airtight seal is important — the trapped air inside the gourd acts as a resonance chamber that amplifies the rattle sound. Allow the pitch to cool and harden completely before handling, approximately 10 to 15 minutes.
Bu adım için malzemeler:
 Pine Pitch Glue1 adet
9
9
Seal the Stem End (if Open)
Seal the Stem End (if Open)
If the gourd stem broke off during drying and left a hole at the top, seal it with a plug of pine pitch mixed with finely crushed charcoal. The charcoal filler adds body to the pitch and prevents it from cracking. Press the mixture firmly into the hole and smooth the surface. Both openings must be sealed for maximum acoustic performance — any air leak reduces the resonance.
Bu adım için malzemeler:
Pine Pitch Glue1 adet10
10
Test and Tune the Sound
Test and Tune the Sound
Shake the rattle in different orientations — horizontal, vertical, and circular — and listen to the tone. A good rattle produces a clear, bright sound with each shake, not a muffled thump. If the sound is too quiet, the gourd may be too thick-walled (sand the exterior slightly thinner) or contain too few pellets. If the sound is muddy and dull, there may be too many pellets, or the interior still contains membrane residue that is dampening vibration. The handle should feel secure with no wobble — if it moves, add more pine pitch around the joint. A finished gourd rattle, properly made, will last for decades.
Malzemeler
2- 1 adetYer Tutucu
- 2 adetYer Tutucu
Bağlı Plan Malzemeleri
İlgili Blueprint'ler
Bu blueprint'ler bilgi paylaşır — teknikler, malzemeler veya ilkeler
Related blueprints
Other builds that share materials, tools, or techniques with this one.
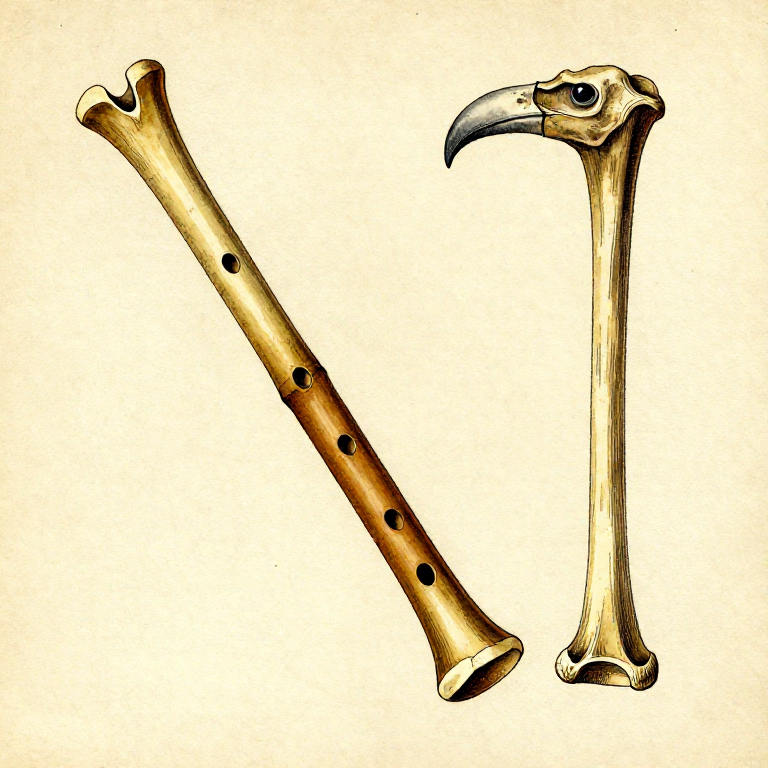
Carving a Bone Flute — Prehistoric Musical Instrumentwoodworking

Making a Bull-Roarer — Whirling Sound Instrumentwoodworking
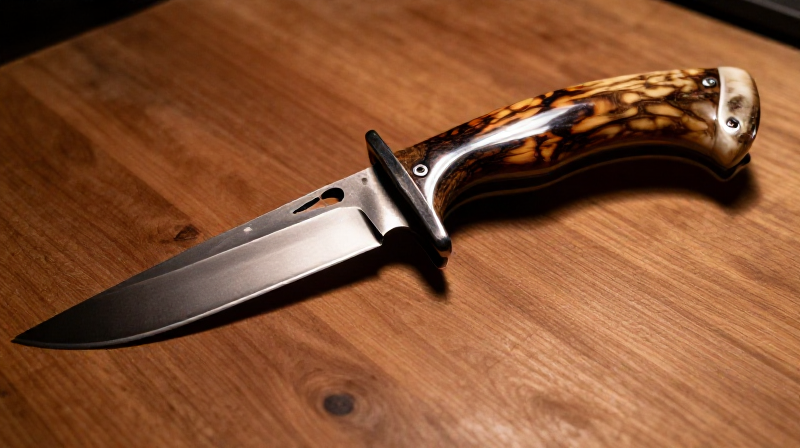
Making a Deer Antler Knife Handle — Drill, Shape, and Epoxy a Hidden-Tang Gripwoodworking
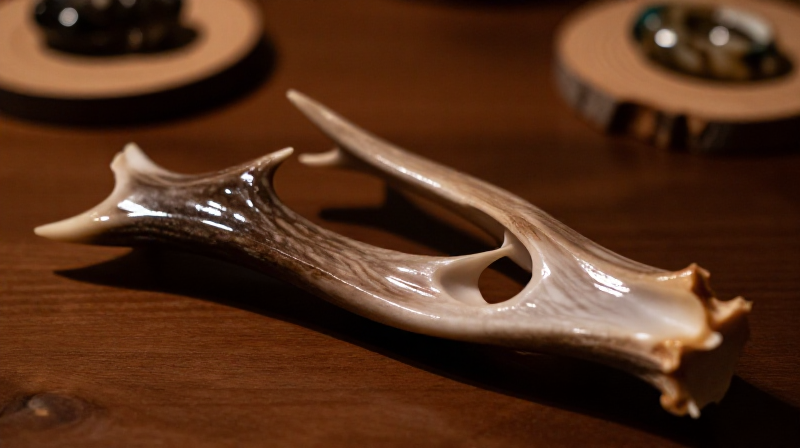
Cutting Decorative Deer Antler Slices — Polished Rounds for Display and Jewelrywoodworking
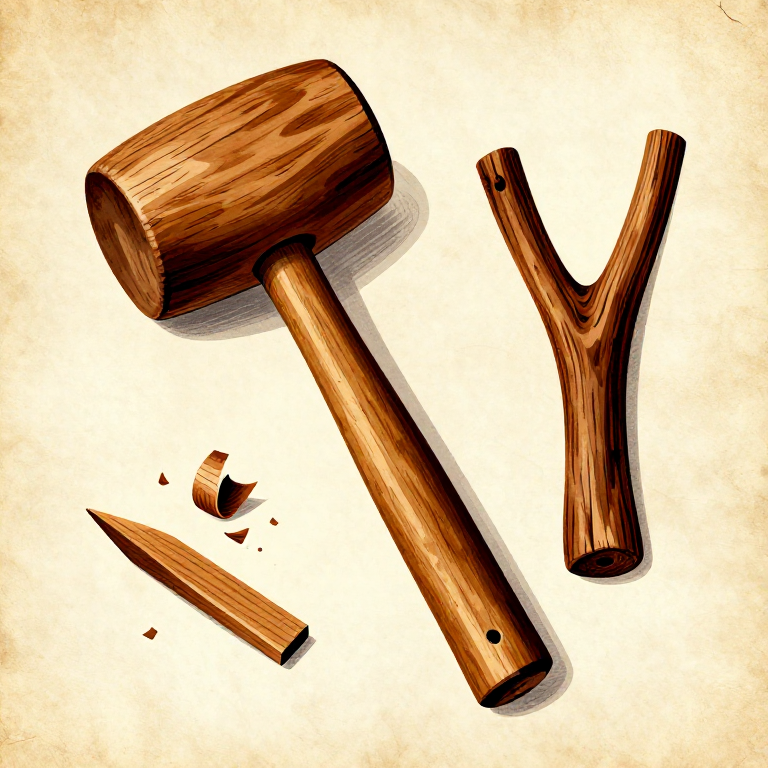
Making a Wooden Mallet — The Percussive Tool That Does Not Damagewoodworking
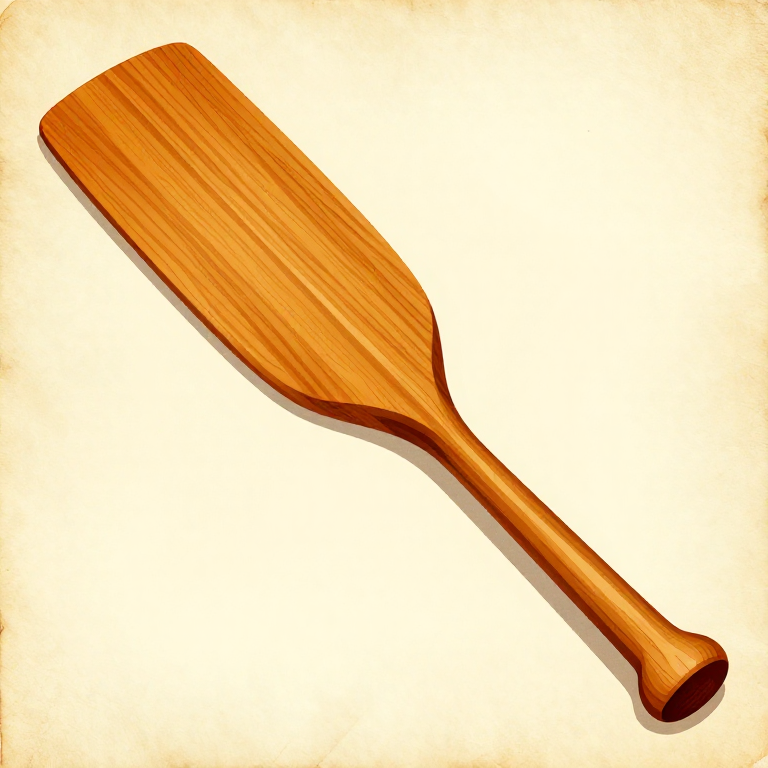
Carving a Wooden Paddle from a Single Piece of Hardwood — Prehistoric Watercraft Propulsionwoodworking
CC0 Kamu Malı
Bu plan CC0 lisansıyla yayınlanmıştır. İzin almadan kopyalayabilir, değiştirebilir, dağıtabilir ve herhangi bir amaçla kullanabilirsiniz.
Planı üzerinden ürün satın alarak Maker'ı destekleyin, böylece Maker Komisyonu Satıcılar tarafından belirlenen komisyonu kazanırlar veya bu Planın yeni bir versiyonunu oluşturun ve gelir paylaşımı için kendi Planınıza bağlantı olarak ekleyin.