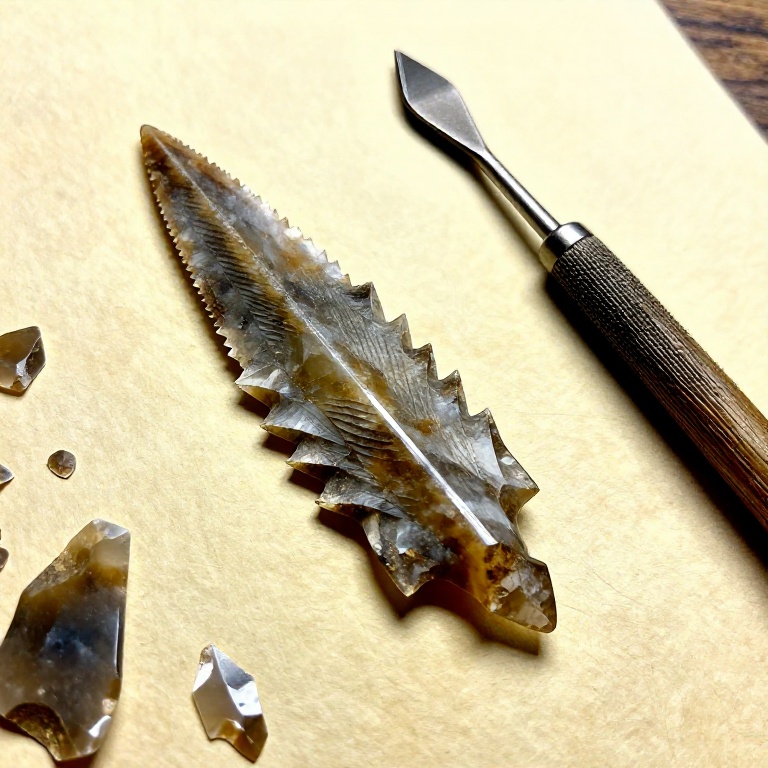
Knapping a Stone Arrowhead — Pressure-Flaked Projectile Point
Talimatlar
Select a Suitable Flint Nodule
Select a Suitable Flint Nodule
Bu adım için malzemeler:
 Flint Nodule1 adet
Prepare a Leather Pad and Work Surface
Prepare a Leather Pad and Work Surface
Bu adım için malzemeler:
 Raw Hide1 adet
Strike Off an Initial Flake Blank
Strike Off an Initial Flake Blank
Gerekli aletler:
 Hammerstone
Rough Out the Preform Shape by Percussion
Rough Out the Preform Shape by Percussion
Gerekli aletler:
HammerstonePrepare the Antler Pressure Flaker
Prepare the Antler Pressure Flaker
Bu adım için malzemeler:
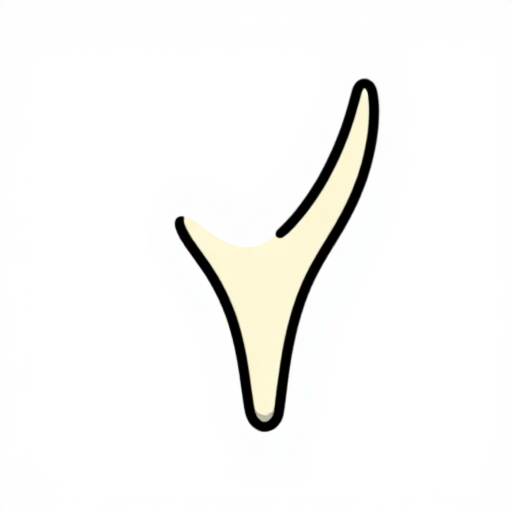 Antler Tine1 adet
Gerekli aletler:
 Sandstone
Prepare the Edge Platforms for Pressure Flaking
Prepare the Edge Platforms for Pressure Flaking
Gerekli aletler:
SandstoneBegin Pressure Flaking the Outline
Begin Pressure Flaking the Outline
Gerekli aletler:
Antler TineThin the Cross-Section
Thin the Cross-Section
Gerekli aletler:
Antler TineShape the Tip
Shape the Tip
Gerekli aletler:
Antler TineCreate the Hafting Notches
Create the Hafting Notches
Gerekli aletler:
Antler TineFinal Edge Refinement
Final Edge Refinement
Gerekli aletler:
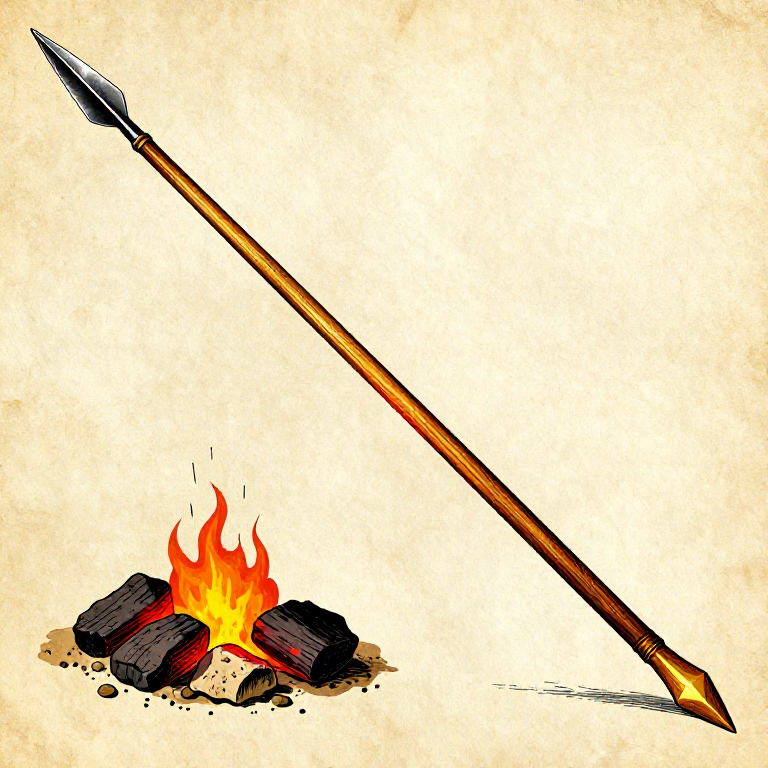
Antler TineTest Fit the Arrowhead to a Shaft
Test Fit the Arrowhead to a Shaft
Bu adım için malzemeler:
 Hardwood Sapling1 adet
Gerekli aletler:
 Flint Knife
Malzemeler
4- 1 adetYer Tutucu
- 1 adetYer Tutucu
- 1 adetYer Tutucu
Bağlı Plan Malzemeleri
İlgili Blueprint'ler
Bu blueprint'ler bilgi paylaşır — teknikler, malzemeler veya ilkeler
Related blueprints
Other builds that share materials, tools, or techniques with this one.


CC0 Kamu Malı
Bu plan CC0 lisansıyla yayınlanmıştır. İzin almadan kopyalayabilir, değiştirebilir, dağıtabilir ve herhangi bir amaçla kullanabilirsiniz.
Planı üzerinden ürün satın alarak Maker'ı destekleyin, böylece Maker Komisyonu Satıcılar tarafından belirlenen komisyonu kazanırlar veya bu Planın yeni bir versiyonunu oluşturun ve gelir paylaşımı için kendi Planınıza bağlantı olarak ekleyin.