
МИСТЕЦТВО
КРАСА ТА ЗДОРОВ'Я
РЕМЕСЛО
КУЛЬТУРА ТА ІСТОРІЯ
РОЗВАГИ
СЕРЕДОВИЩЕ
ЇЖА ТА НАПІЇ
ЗБОРНА ІНЖЕНЕРІЯ
НАУК
СПОРТ
ТЕХНОЛОГІЯ
НОСИМО
Craft Knife: Doniger's Hinged Handle and Reversible Blade
Forge

Створено

Forge

26. жовтень 2026NO
5
0
0
0
0

Craft Knife: Doniger's Hinged Handle and Reversible Blade

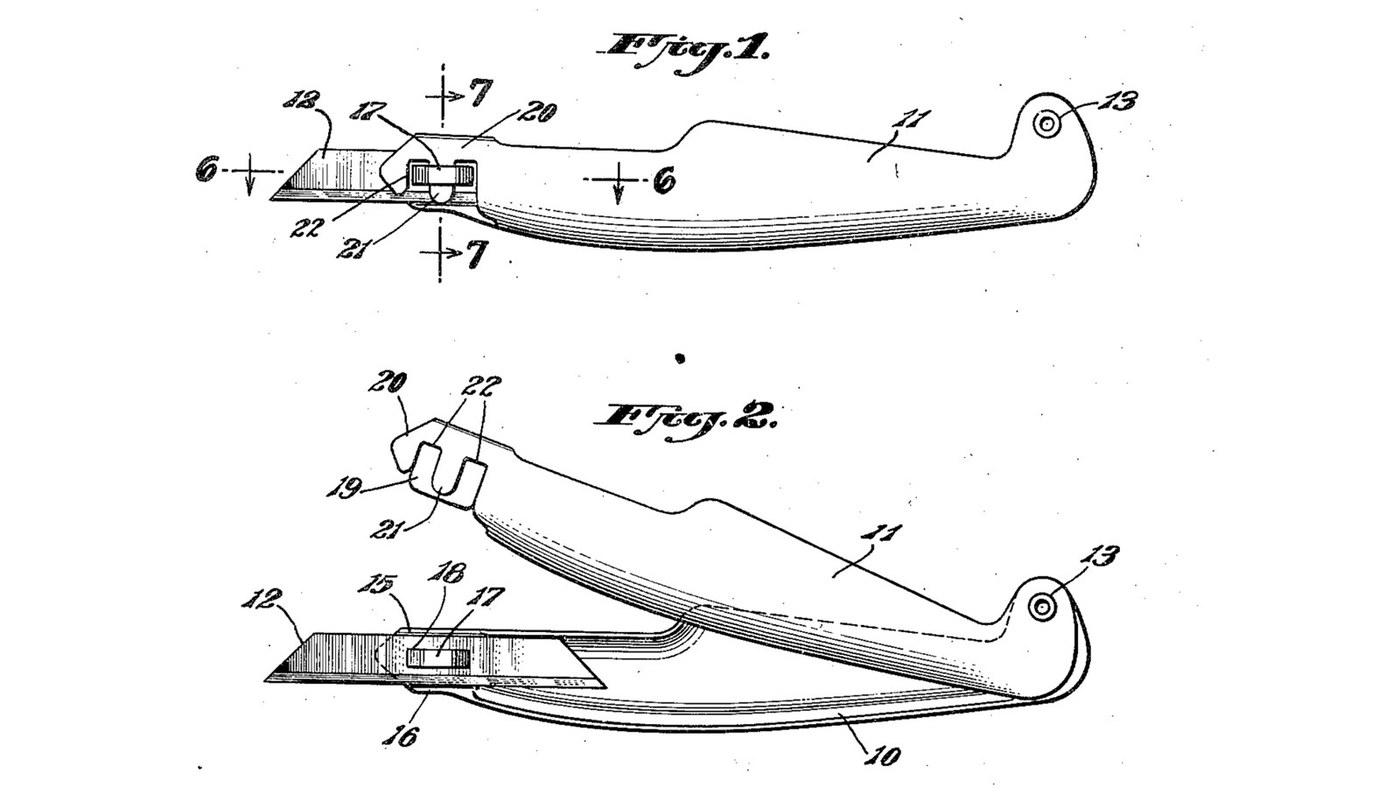
A knife for model carving and fine cutting, by Sundel Doniger of New York, founder of X-Acto (US 2,463,682, filed 1945, granted 1949). The handle is two shell-like metal halves pivoted at the rear. A thin blade with a slot in its middle drops over a small 'staple' pressed out of one half; closing the other half pushes a tongue into the staple and locks the blade solid. Swing it open to change the blade or turn it end for end: the spare end rests inside the handle. The patent gives no sizes or metals. Mild steel sheet, the rivet, the spring steel blade and the sizes are ours. The picture: Figs. 1 and 2 of the patent.
Середній
1 day

Інструкції

1

Mark out the two handle halves

Scribe two mirror-image halves, about 130 mm long, on mild steel sheet about 0.8 mm thick (ours). Give each a flat rear ear for the pivot and a nose at the blade end.

Матеріали для цього кроку:

Лист маловуглецевої сталіЛист маловуглецевої сталі1 штука

Необхідні інструменти ({count})

РисувалкаРисувалка
ЛінійкаЛінійка
2

Cut and file the halves

Cut both halves out with tin snips and file the edges smooth.

Необхідні інструменти ({count})

Ножиці по металуНожиці по металу
Напилок по металуНапилок по металу
Слюсарні лещатаСлюсарні лещата
3

Dome the grip, keep the ends flat

Hammer the middle of each half into a shallow bulge over a hollow in a hardwood block. Leave the pivot ends flat, so the pivot cannot wobble, and leave the noses flat.

Необхідні інструменти ({count})

Слюсарний молоток із кульковим бойкомСлюсарний молоток із кульковим бойком
Брусок твердої деревиниБрусок твердої деревини
4

Form the blade wall and its shoulders

On the mounting half (10), the nose is a flat wall (14) in the plane where the halves meet. Turn its top and bottom edges inward into shoulders (15, 16) just as far apart as the blade is wide.

Необхідні інструменти ({count})

ПлоскогубціПлоскогубці
Слюсарний молоток із кульковим бойкомСлюсарний молоток із кульковим бойком
Слюсарні лещатаСлюсарні лещата
5

Press out the staple

Slit the middle of the wall along two short parallel lines, lengthwise. Press the strip between the slits outward to form the staple (17).

Необхідні інструменти ({count})

Слюсарне зубилоСлюсарне зубило
КернерКернер
Слюсарний молоток із кульковим бойкомСлюсарний молоток із кульковим бойком
КовадлоКовадло
6

Bend the locking channel

Bend the nose of the locking half (11) into a springy channel: a broad rear flange (19) about the size of the wall, and a front flange (20) with a tongue (21) and a cut-out (22) each side of it to clear the staple's legs.

Необхідні інструменти ({count})

Ножиці по металуНожиці по металу
Набір надфілівНабір надфілів
ПлоскогубціПлоскогубці
7

Drill the pivot

Clamp the halves together, punch the centre of the rear ear and drill through both.

Необхідні інструменти ({count})

КернерКернер
Ручний дрильРучний дриль
Слюсарні лещатаСлюсарні лещата
8

Rivet the pivot

Rivet the flat ends together (Doniger used an eyelet; ours: a steel rivet). Close it firmly: the friction of the flat ends must hold the halves wherever you swing them.

Матеріали для цього кроку:

Сталеві заклепкиСталеві заклепки1 штука

Необхідні інструменти ({count})

Клепальний молотокКлепальний молоток
КовадлоКовадло
9

Anneal and cut the blade blank

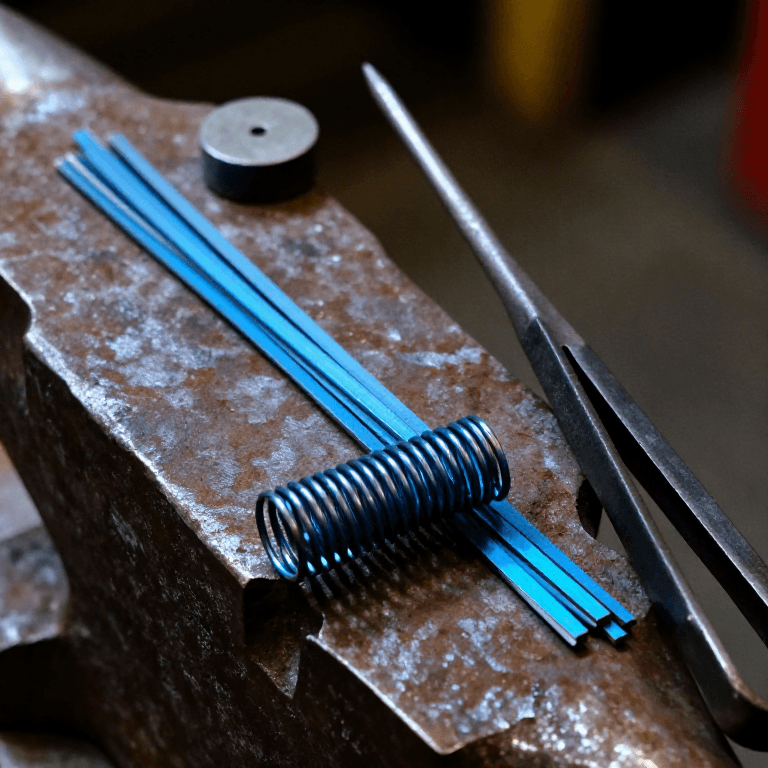
Soften a piece of spring steel strip about 0.4 mm thick (ours), as in the connected spring-steel blueprint. Cut a blank as wide as the gap between the shoulders.

Матеріали для цього кроку:

Смуга пружинної сталіСмуга пружинної сталі1 штука

Необхідні інструменти ({count})
ГорноГорно
Ковальські кліщіКовальські кліщі
Попіл твердої деревиниПопіл твердої деревини
Ножиці по металуНожиці по металу
Зварювальні рукавиціЗварювальні рукавиці
10

Cut the centre slot

Cut a slot (18) in the exact middle of the blank that fits closely over the staple. Drill its ends and file out between them.

Необхідні інструменти ({count})

КернерКернер
Ручний дрильРучний дриль
Набір надфілівНабір надфілів
Слюсарні лещатаСлюсарні лещата
11

Shape both points

Cut each end of the blank to a slanting point, as in Fig. 1, and grind a cutting bevel at both ends.

Необхідні інструменти ({count})

Ножиці по металуНожиці по металу

Точильний кругТочильний круг
Напилок по металуНапилок по металу
12

Harden and temper the blade

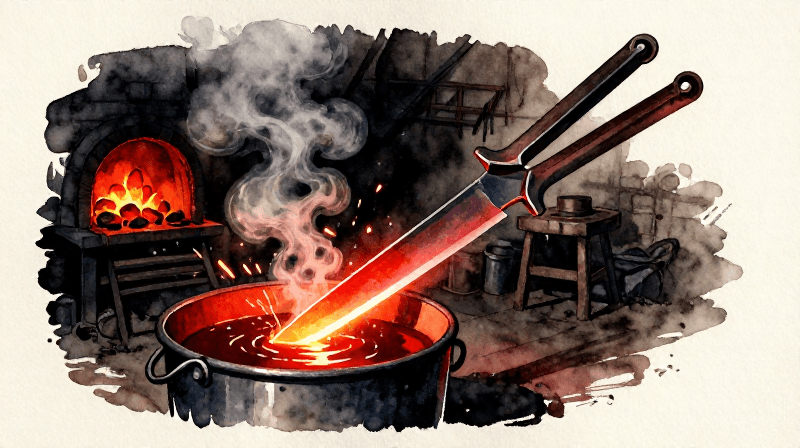
Harden the blade in oil as in the connected spring-steel blueprint. Temper it to the knife colour given in the connected heat-treatment blueprint, not to spring blue.

Необхідні інструменти ({count})

ГорноГорно
Ковальські кліщіКовальські кліщі
Ріпакова оліяРіпакова олія
Зварювальні рукавиціЗварювальні рукавиці
13

Hone both edges

Hone both ends keen on the sharpening stone.

Необхідні інструменти ({count})

Точильний каміньТочильний камінь
14

Fit and lock the blade

Swing the halves open. Lay the blade flat on the wall, its slot over the staple and its edges between the shoulders. Swing the locking half shut: the tongue enters the staple and the channel grips the blade. No tools needed.
15

Reverse or change the blade

Swing the locking half up, lift the blade off the staple and turn it end for end, or fit a new one. The spare end sits protected inside the handle.
16

What the patent says, and what is ours

The patent fixes the parts and how they lock: hinged shell halves, flat riveted pivot ends that hold by friction, a wall with shoulders and a pressed-out staple, a slotted double-ended blade, a springy channel with tongue and cut-outs. It gives no sizes, no metals and no blade making. All sizes, the mild steel, the rivet and the spring steel blade are our choices. Doniger's better-known X-Acto knives hold the blade in a round collet instead.

Матеріали

3

Необхідні інструменти

21

За цим кресленням виготовляють

CC0 Суспільне надбання

Це креслення випущено під ліцензією CC0. Ви можете вільно копіювати, змінювати, поширювати та використовувати цю роботу для будь-яких цілей без запиту дозволу.

Підтримайте мейкера, купуючи продукти через його креслення, де він отримує Комісію мейкера встановлену вендорами, або створіть нову ітерацію цього креслення та включіть його як зв'язок у власне креслення для розподілу доходу.

Обговорення

(0)

Увійти щоб приєднатися до обговорення

Завантаження коментарів...