МИСТЕЦТВО
КРАСА ТА ЗДОРОВ'Я
РЕМЕСЛО
КУЛЬТУРА ТА ІСТОРІЯ
РОЗВАГИ
СЕРЕДОВИЩЕ
ЇЖА ТА НАПІЇ
ЗБОРНА ІНЖЕНЕРІЯ
НАУК
СПОРТ
ТЕХНОЛОГІЯ
НОСИМО
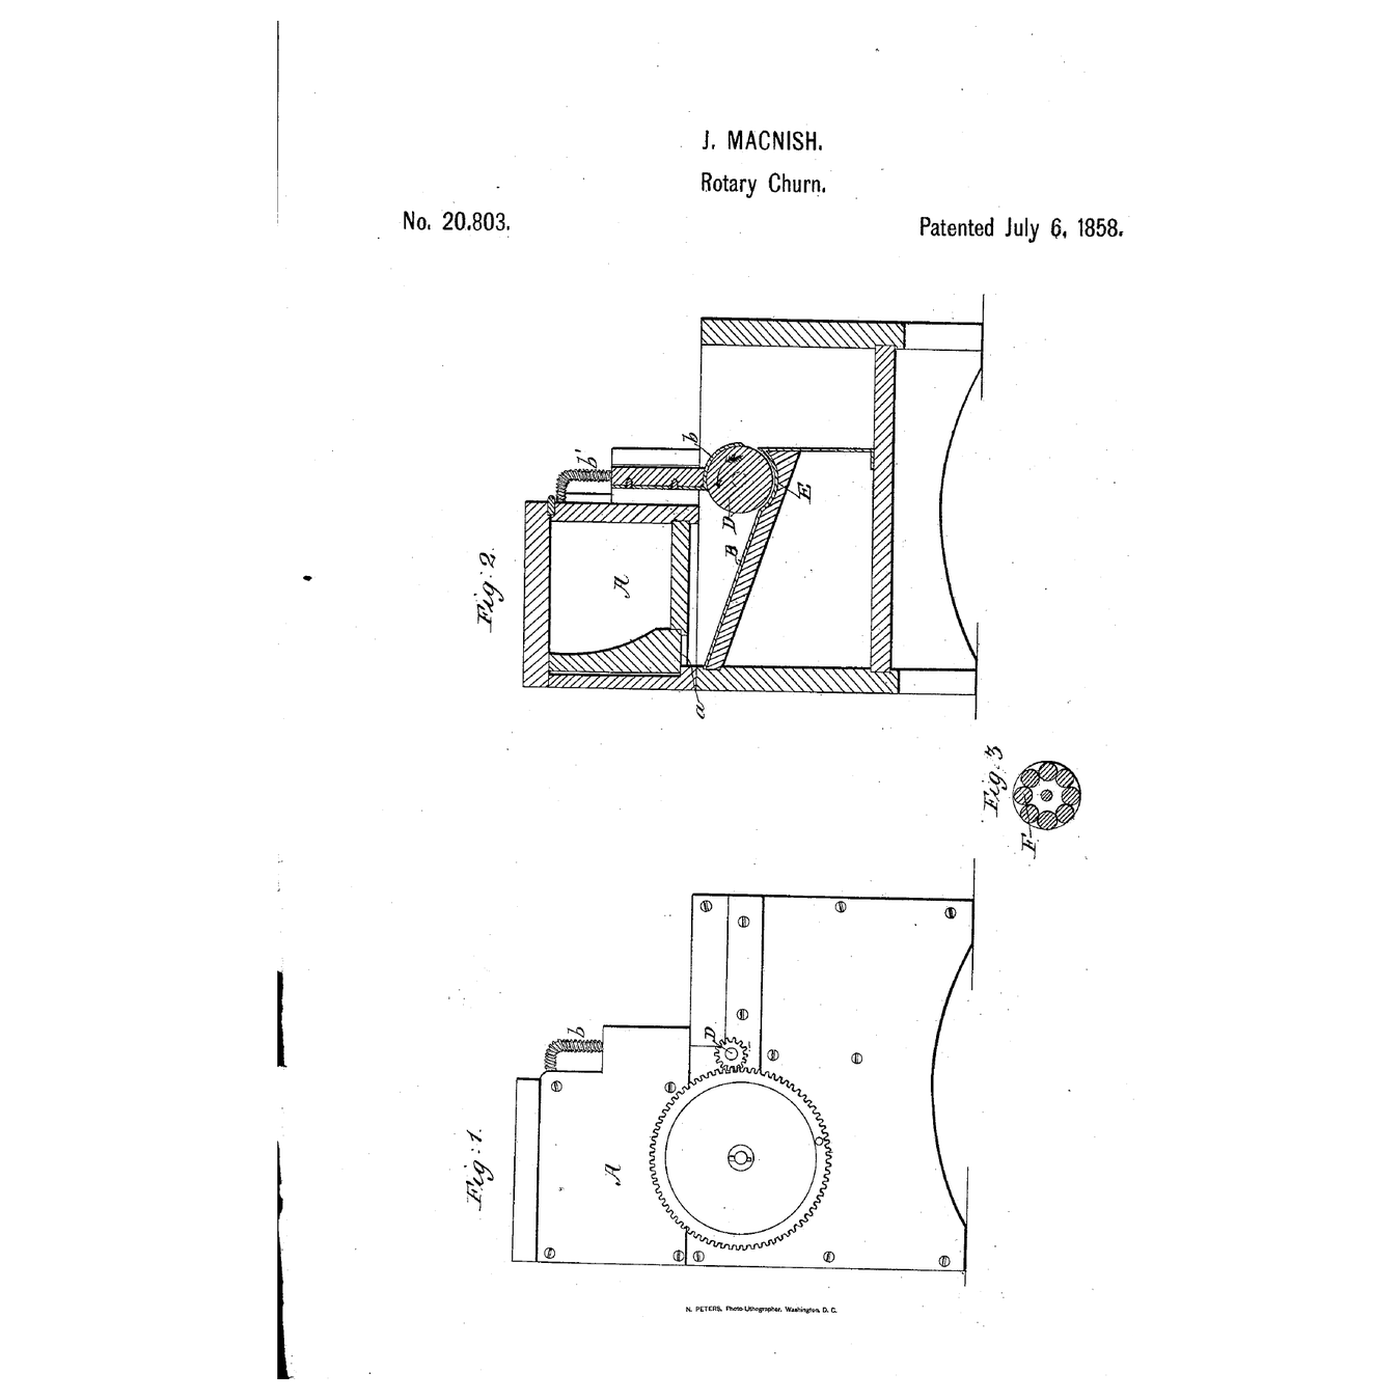


Roller-and-Concave Friction Churn: Cream Runs Once Between a Sprung Roller and a Fixed Concave
James MacNish of Berlin, Wisconsin, received US 20,803, dated 6 July 1858, for a churn that breaks the cream's fat globules by compression and friction: the cream runs down an apron into a fixed concave, where a roller held down by a sprung plate presses it through, and the plate scrapes the butter off the roller.
This rung prints the hopper, apron, concave, roller and gearing at tabletop scale, over a storage container.
Просунутий
About 5 hours, plus printing
Інструкції
1
1
Gearing and the roller's surface
Gearing and the roller's surface
Завантаження блокнота Jupyter…
2
2
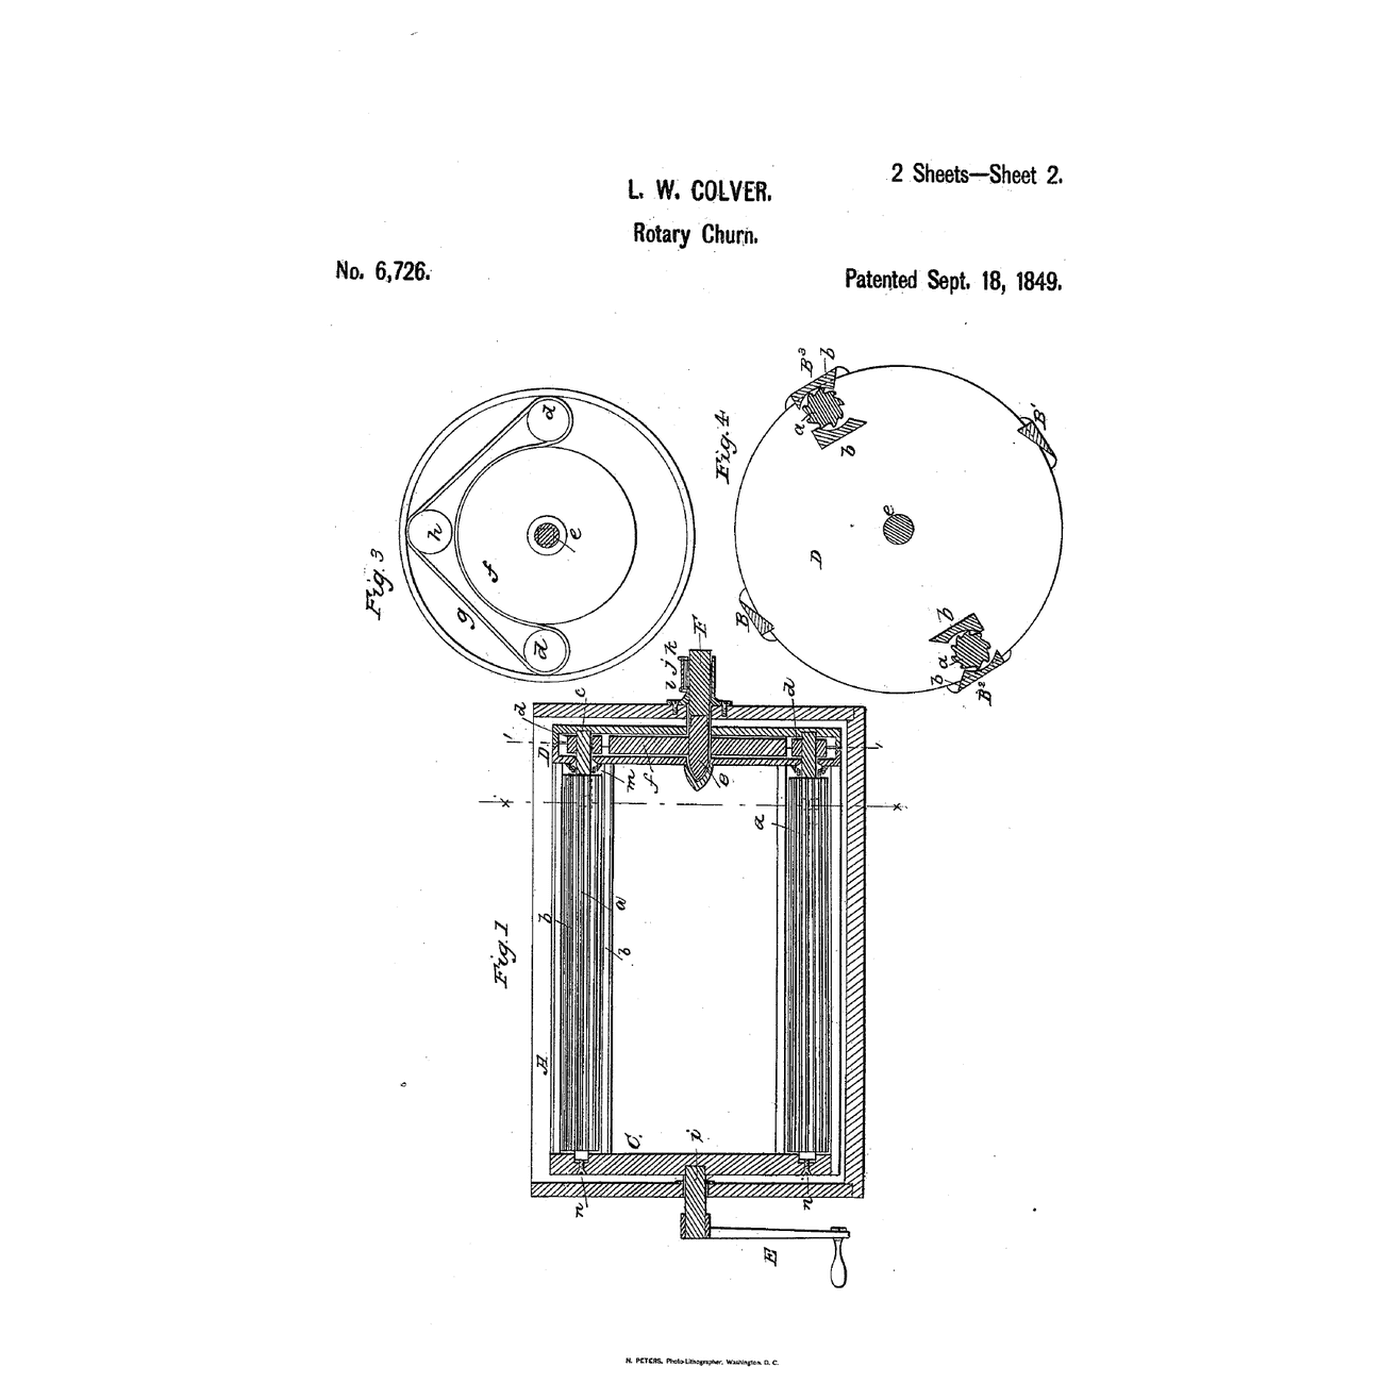
Churns with turning rollers, before it
Churns with turning rollers, before it
Those rollers worked inside a churn of cream; MacNish passes the cream once between a roller and a fixed concave.
3
3
Read US 20,803
Read US 20,803
"The cream only requires to pass between the roller and the concave once in order to produce butter."
4
4
Print the parts
Print the parts
Print the frame (/uploads/blueprints/roller-and-concave-friction-churn-frame.stl) lying on its cheek, the front cheek (/uploads/blueprints/roller-and-concave-friction-churn-cheek.stl), the roller (/uploads/blueprints/roller-and-concave-friction-churn-roller.stl), the shoe (/uploads/blueprints/roller-and-concave-friction-churn-shoe.stl), the pinion (/uploads/blueprints/roller-and-concave-friction-churn-pinion.stl), the wheel with its crank (/uploads/blueprints/roller-and-concave-friction-churn-wheel.stl) and the base (/uploads/blueprints/roller-and-concave-friction-churn-base.stl). The frame, cheek and base need a 240 mm print bed. Print in PETG at 0.2 mm layers, 30 % infill, 4 walls; wash before first use.
Матеріали для цього кроку:
 Філамент PETG1 штука
Необхідні інструменти ({count})
 3D-принтер FDM
5
5
Roller, shoe and cheek
Roller, shoe and cheek
Cut a 10 mm dowel 148 mm long as the axle and push it through the roller. Lay the roller in the concave with the axle in the back cheek's slot, and screw the front cheek on with five M4 screws. Lay the shoe over the roller, put a spring on each of two M4 screws, and screw them down through the bridge into the shoe until the springs press the roller into the concave.
Матеріали для цього кроку:
 Шканти з твердої деревини1 штука
 Машинні гвинти1 штука
 Набір пружин стиску1 штука
Необхідні інструменти ({count})
 Ручна пилка
 Наждачний папір
 Набір викруток
6
6
Gears and base
Gears and base
Fix the pinion on the axle behind the back cheek with an M3 screw drilled through the dowel. Glue a 10 mm dowel 19 mm long into the back cheek's stud hole, put the wheel on it meshing the pinion, and hold it with an M3 screw and washer through its crank arm into the stud's end. Screw the frame onto the base with four M4 screws and set the base on the container, its opening over the container.
Матеріали для цього кроку:
Шканти з твердої деревини1 штука Столярний клей1 штукаМашинні гвинти1 штука
 Плоска шайба1 штука
 Посудина для зберігання харчової якості1 штука
Необхідні інструменти ({count})
Ручна пилка Ручний дрильНабір викруток
7
7
The build in 3D
The build in 3D
FreeCAD model of this build: the base on the container, the frame with hopper A, the gap a, apron B and concave E, the roller with the sprung shoe over it, the bridge, and the wheel and pinion behind the back cheek. The front cheek is left off to show the inside.
8
8
Churn
Churn
Pour 0.5 litre of heavy cream at about 15 °C, checked with the thermometer, into the hopper and turn the crank steadily, timing it with the stopwatch. The cream runs out under the hopper's front wall, down the apron and between the roller and the concave, and falls with the scraped butter into the container. Gather the butter into a lump with the spatula, pour off the buttermilk, wash the butter in cold water until it runs clear, work in a pinch of salt and weigh it.
Матеріали для цього кроку:
 Жирні вершки0.5 l
 Крупна морська сіль1 штука
 Вода1 штука
Необхідні інструменти ({count})
 Термометр зі щупом, що лишається в страві
 Секундомір
 Лопатка
 Цифрові кухонні ваги
 Велика миска з нержавкої сталі
9
9
Troubleshooting
Troubleshooting
Roller-and-concave churn troubleshooting.
Flow
Loading...
10
10
History and honest limits
History and honest limits
**James MacNish** of Berlin, Marquette County, Wisconsin, US 20,803, 6 July 1858. His spring plate ran from end to end of the roller, partly encircling it, made yielding by spiral springs, and also scraped the butter off it. He showed a second roller (Fig. 3) and suggested placing it in an ordinary churn box with a concave bottom. His receptacle C had a faucet to let off the buttermilk. He claimed breaking the globules by compression and friction with a roller revolving in, and touching, a stationary concave. Our printed shoe, sizes, gearing and container are ours. FDM prints hold food in their layer lines, so wash well and replace when worn.
Матеріали
10- 1 штукаЗаповнювач
- 1 штукаЗаповнювач
- 2 штукЗаповнювач
- 1 штукаЗаповнювач
- 1 штукаЗаповнювач
- 1 штукаЗаповнювач
- Заповнювач
- 0.5 lЗаповнювач
- 1 штукаЗаповнювач
- 1 штукаЗаповнювач
Необхідні інструменти
10- Заповнювач
- Заповнювач
- Заповнювач
- Заповнювач
- Заповнювач
- Заповнювач
- Заповнювач
- Заповнювач
- Заповнювач
Файли дизайну
1Пов'язані креслення
Ці креслення діляться знаннями — техніки, матеріали або принципи



CC0 Суспільне надбання
Це креслення випущено під ліцензією CC0. Ви можете вільно копіювати, змінювати, поширювати та використовувати цю роботу для будь-яких цілей без запиту дозволу.
Підтримайте мейкера, купуючи продукти через його креслення, де він отримує Комісію мейкера встановлену вендорами, або створіть нову ітерацію цього креслення та включіть його як зв'язок у власне креслення для розподілу доходу.