Співпраця
МИСТЕЦТВО
КРАСА ТА ЗДОРОВ'Я
РЕМЕСЛО
КУЛЬТУРА ТА ІСТОРІЯ
РОЗВАГИ
СЕРЕДОВИЩЕ
ЇЖА ТА НАПІЇ
ЗБОРНА ІНЖЕНЕРІЯ
НАУК
СПОРТ
ТЕХНОЛОГІЯ
НОСИМО
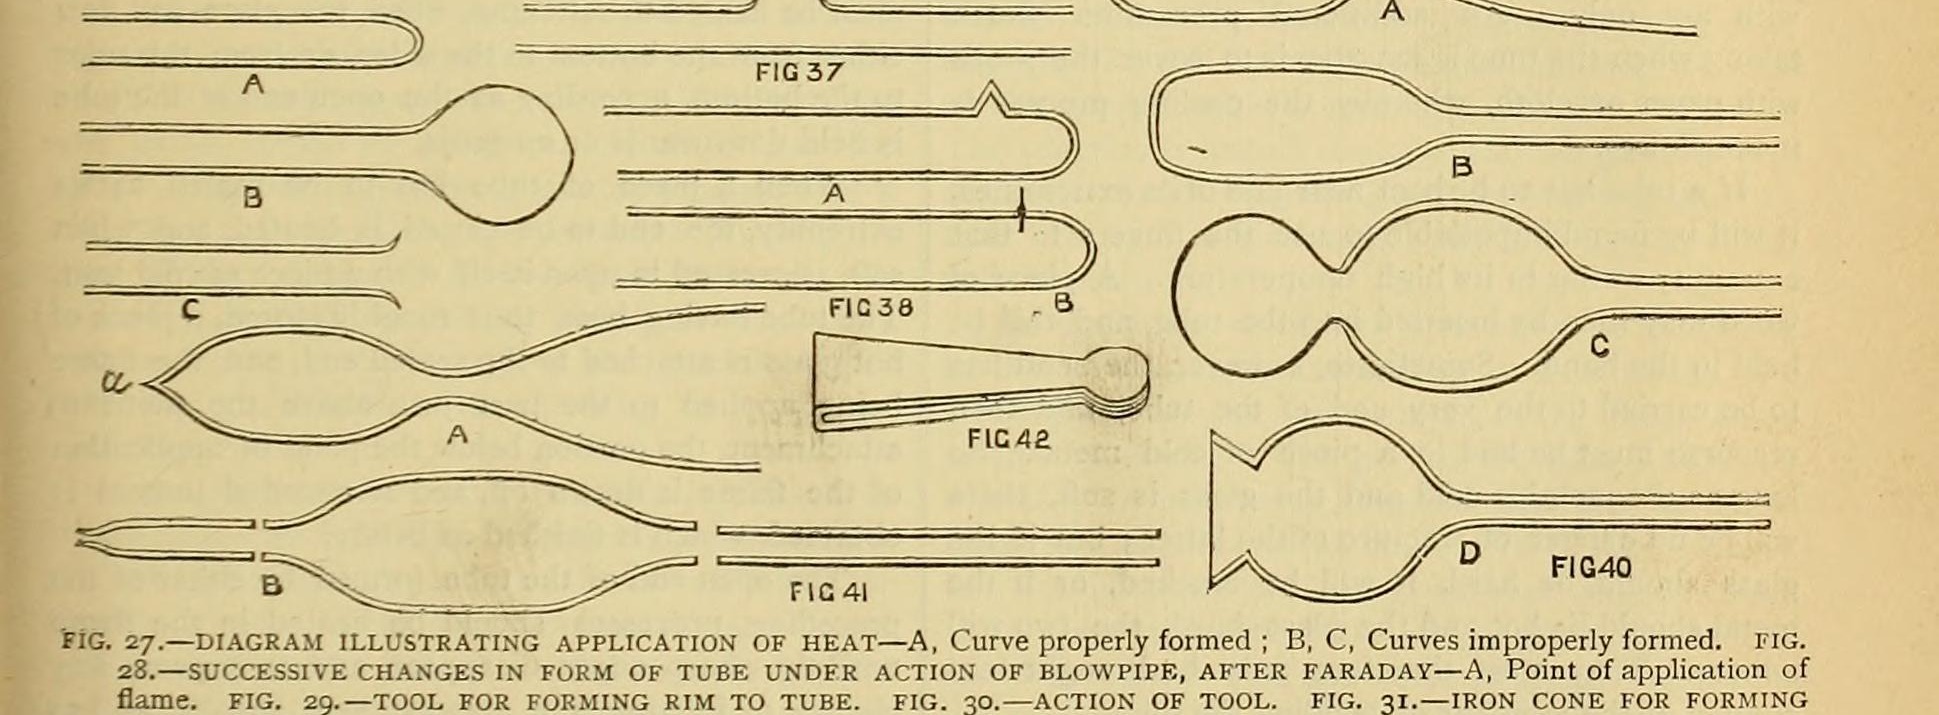


Bulb Pipette Blown at the Lamp: a Closed Tube Drawn, Bulbed, Pierced and Joined to Two Stems (Soward, 1886)
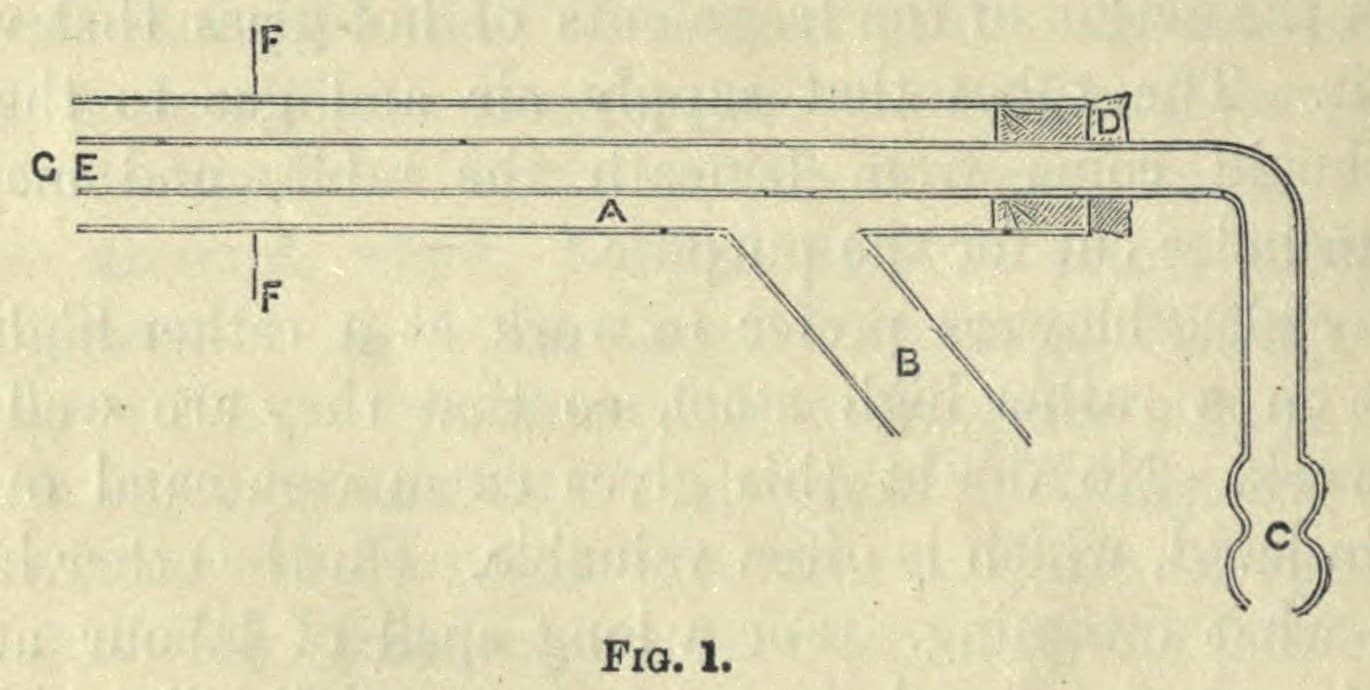
Alfred Soward's lampwork bulb pipette from Amateur Work (1886), made like his thistle funnel: a 3/8 in. bore tube closed and drawn down onto a 1/8 in. stem, blown into a bulb, a thin second bulb blown and broken off the far side to leave a short neck, and a second stem drawn to a fine capillary tip joined on.
Просунутий
An hour once the basic operations are mastered
Інструкції
1
1
Read Soward
Read Soward
"To make a pipette the process is very similar." (to the thistle funnel)
2
2
Prepare the tubes
Prepare the tubes
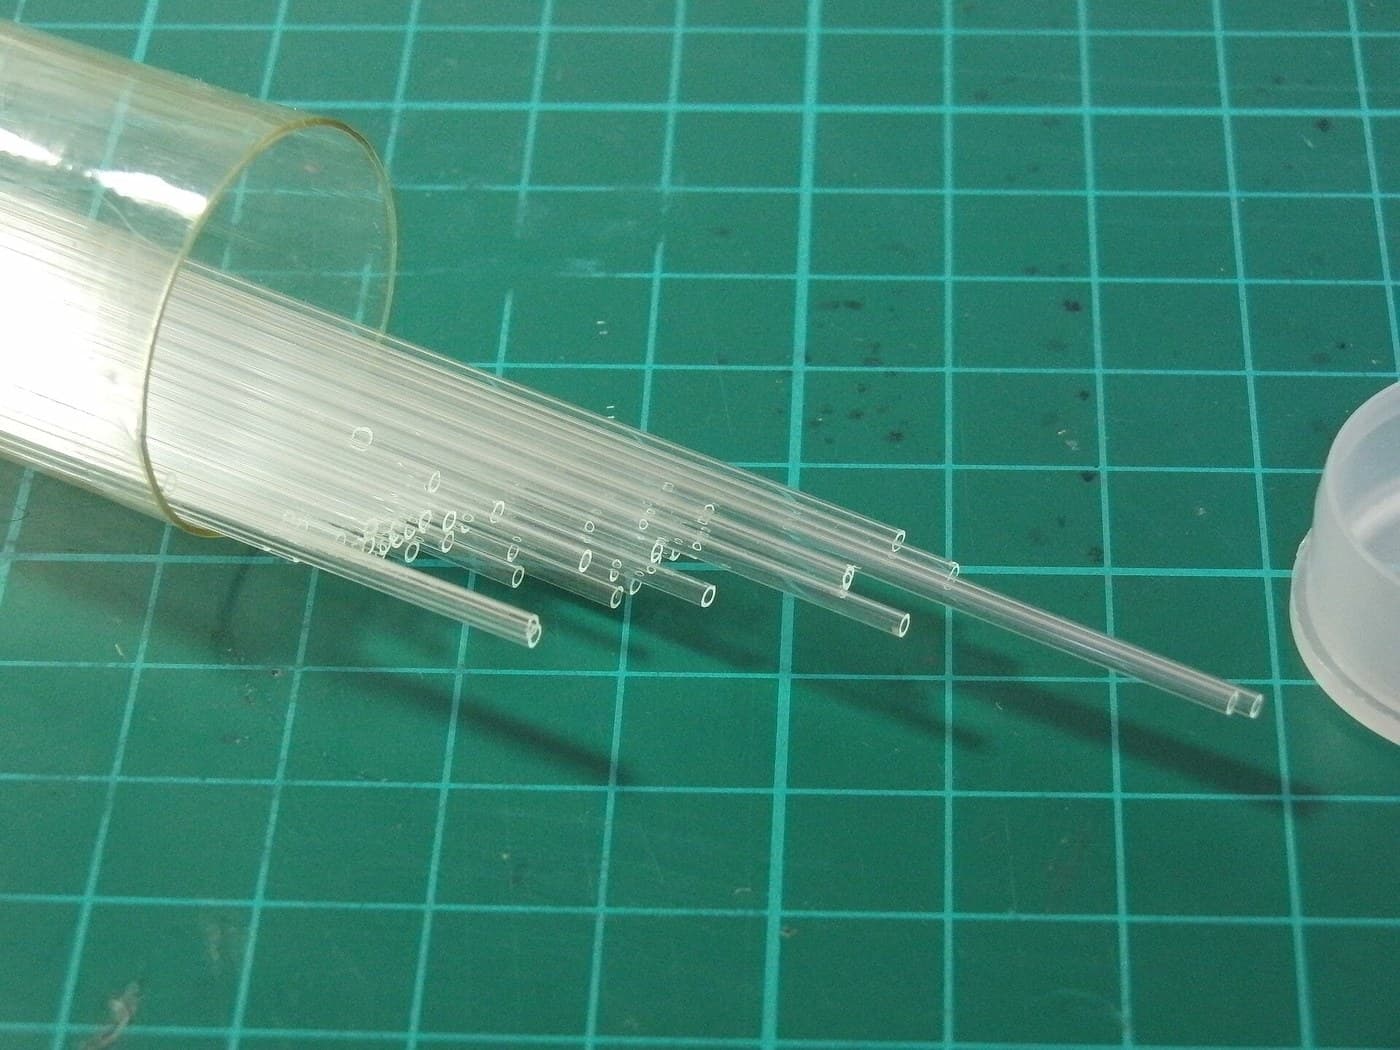
Take glass tube of about 1/8 in. (3 mm) bore for the stems and about 3/8 in. (10 mm) bore for the bulb. Close the wide tube at one end in the form of his fig. 41 A, then soften it about an inch from the end and draw it down to the small tube's diameter.
Матеріали для цього кроку:
 Скляна трубка1 штука
Необхідні інструменти ({count})
 Пальник Бунзена
 Склодувна трубка
3
3
Join the first stem
Join the first stem
Cut the drawn, flask-shaped piece off with a file and fuse it to a length of the narrow tube: soften both ends, press them together, pull gently to reduce the thickened joint, and blow a gentle stream of air in.
Матеріали для цього кроку:
Скляна трубка1 штукаНеобхідні інструменти ({count})
 Напилки (ручний напилок)Пальник БунзенаСклодувна трубка
4
4
Blow the bulb
Blow the bulb
Soften the flask part and blow it into a bulb through the stem.
Необхідні інструменти ({count})
Пальник БунзенаСклодувна трубка5
5
Open the far end
Open the far end
Play the flame on the point opposite the stem (A in fig. 41) and blow a very thin second bulb with a strong blast. Break it away: it leaves a small projecting tube (B).
Необхідні інструменти ({count})
Пальник БунзенаСклодувна трубка6
6
Draw and join the tip
Draw and join the tip
Draw a second piece of narrow tube to a capillary end: thicken it in the flame, pull the hands apart, cut with a file and hold the cut end a moment in the flame. Join this stem to the projecting tube as before.
Матеріали для цього кроку:
Скляна трубка1 штукаНеобхідні інструменти ({count})
Напилки (ручний напилок)Пальник БунзенаСклодувна трубка7
7
Troubleshooting
Troubleshooting
Pipette troubleshooting.
Flow
Loading...
8
8
History and honest limits
History and honest limits
From Alfred W. Soward, "Glass-Blowing for Amateurs" IV, **Amateur Work, Illustrated**, vol. V (1886), pp. 173-176, figs. 39-41 (checked on the archive.org scan amateurworkillus05lond). He gives no volume or graduation: calibrate it by weighing water if you need one (see the graduated-pipette blueprint). Metric figures are ours.
За цим кресленням виготовляють

Пов'язані креслення
Ці креслення діляться знаннями — техніки, матеріали або принципи

CC0 Суспільне надбання
Це креслення випущено під ліцензією CC0. Ви можете вільно копіювати, змінювати, поширювати та використовувати цю роботу для будь-яких цілей без запиту дозволу.
Підтримайте мейкера, купуючи продукти через його креслення, де він отримує Комісію мейкера встановлену вендорами, або створіть нову ітерацію цього креслення та включіть його як зв'язок у власне креслення для розподілу доходу.