Співпраця
МИСТЕЦТВО
КРАСА ТА ЗДОРОВ'Я
РЕМЕСЛО
КУЛЬТУРА ТА ІСТОРІЯ
РОЗВАГИ
СЕРЕДОВИЩЕ
ЇЖА ТА НАПІЇ
ЗБОРНА ІНЖЕНЕРІЯ
НАУК
СПОРТ
ТЕХНОЛОГІЯ
НОСИМО
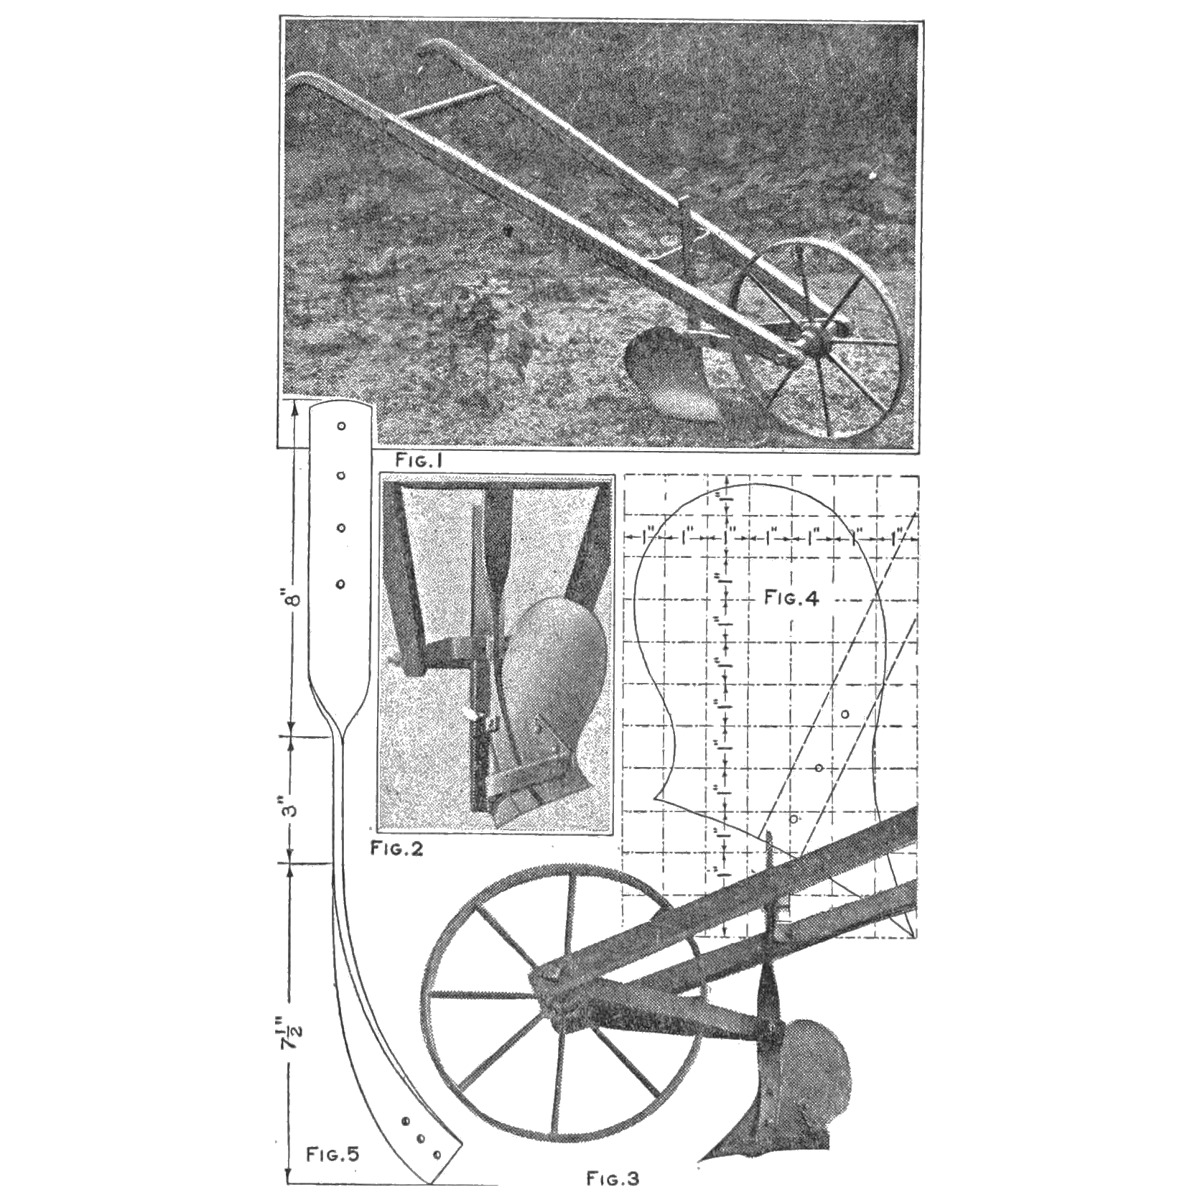


Garden Hand Plow From Scrap: Wheelbarrow Wheel, Ripped Spruce Handles and a Shovel-Blade Moldboard (Boy Mechanic, 1919)
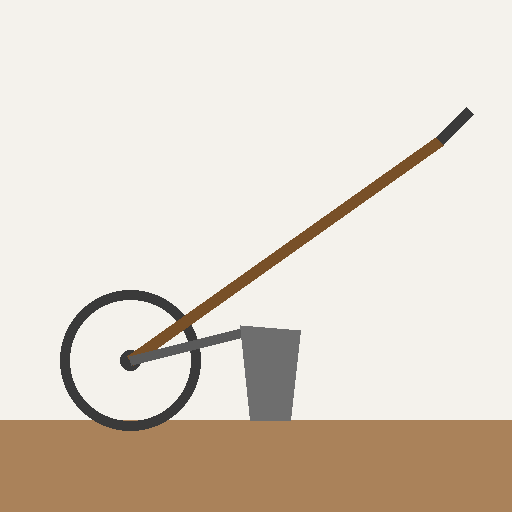
T. T. Sturgeon's hand plow from The Boy Mechanic, Book 3 (1919), "worth about $5 at an outlay of 25 cents": a 16 in wheelbarrow wheel, handles ripped from one spruce strip, iron-strap braces, an adjustable vertical strap, and a moldboard and share cut from an old shovel blade to his grid pattern.
Середній
About 1 day
Інструкції
1
1
His cut list in centimetres
His cut list in centimetres
Завантаження блокнота Jupyter…
2
2
Read The Boy Mechanic, Book 3
Read The Boy Mechanic, Book 3
"The labor of spading a garden of even moderate size is sufficient to warrant the person who undertakes the job in making a hand plow like that shown in the illustration."
3
3
Make the handles
Make the handles
Mark both handles on a 7/8 by 4 in spruce strip 5 ft long, one curved grip at each end on opposite edges. Cut the curves with a keyhole saw, then rip the board into the two handles; smooth them and trim the grips with a sharp knife. Cut a section of broomstick for the upper brace.
Матеріали для цього кроку:
 Дошка з твердої деревини1 штука
 Мітла1 штука
Необхідні інструменти ({count})
 Лобзикова пилка
 Ножівка для поздовжнього пиляння
 Ніж для шкіри
 Олівець
4
4
Make the iron parts
Make the iron parts
Lower brace: iron 1/4 by 1-1/4 by 12 in, drilled for 1/4 in bolts, bent at right angles 1-1/2 in from each end, with a 1/4 in hole at the middle. Vertical support: 1/4 by 1-1/4 by 18 in, four 1/4 in adjusting holes 1 in apart at the top, three 1/4 in holes at the bottom for the moldboard, and a 5/16 in hole at the 7-1/2 in mark. Two braces 14 in long of 1/4 by 1-1/4 in, a 3/8 in hole at the front of each for the 3/8 by 10 in axle bolt and a 5/16 in hole at the other end, each 1 in from the end. Landside: 1/8 by 3/4 by 12 in.
Матеріали для цього кроку:
 Смуга з маловуглецевої сталі3 штук
Необхідні інструменти ({count})
 Ножівка по металу
 Ручний дриль
 Слюсарні лещата
 Молоток
 Напилки (ручний напилок)
 Рулетка
5
5
Cut the moldboard
Cut the moldboard
Draw his moldboard (Fig. 4) on cardboard ruled in 1 in squares, tracing the outline square by square, and mark the bolt holes. Trace it on an old shovel blade, using the thickest part for the point of the share. Cut it out, smooth the edges and sharpen the cutting edge. Drill for 1/4 in bolts to the vertical strap and 3/16 in bolts to the landside.
Матеріали для цього кроку:
 Лопата1 штука
 Картонні аркуші для шаблонів1 штука
Необхідні інструменти ({count})
ОлівецьНожівка по металу Кутова шліфмашинаНапилки (ручний напилок)Ручний дриль
6
6
Shape and assemble
Shape and assemble
Curve the moldboard and fit it to the supports as in Figs. 1-3. Bend the 12 in landside strip under the moldboard and bolt it on. Assemble on the 16 in wheel and 3/8 in axle bolt, with wheel and landside in line (Fig. 2) and the landside's rear edge raised slightly (Fig. 3); set the vertical strap's height for the operator in its adjusting holes. Paint the plow and oil the smoothed cutting parts.
Матеріали для цього кроку:
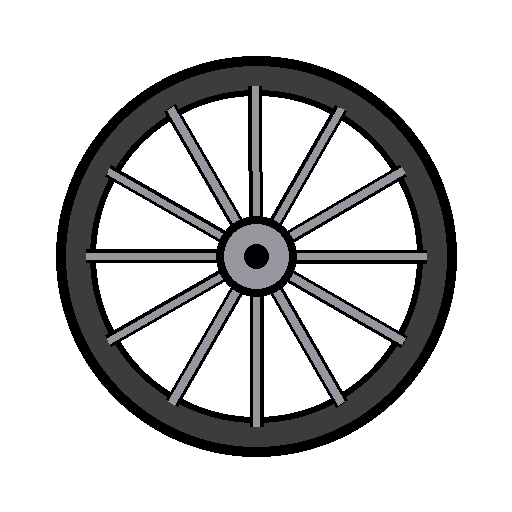 Колесо тачки1 штука
 Болт із півкруглою головкою6 штук
 Шестигранна гайка6 штук
 Плоска шайба6 штук
 Олійна фарба1 штука
 Машинне мастило1 штука
Необхідні інструменти ({count})
Слюсарні лещатаМолоток Широкий малярний пензель
7
7
Troubleshooting
Troubleshooting
Garden plow troubleshooting.
Flow
Loading...
8
8
History and honest limits
History and honest limits
From "Garden Plow Made of Pick-Up Material" by T. T. Sturgeon, in **The Boy Mechanic, Book 3**, Popular Mechanics, 1919 (Project Gutenberg 71856; checked on the archive.org scan boymechanic0003unse, pp. 227-228). The moldboard shape is his Fig. 4 grid. The keyhole saw is a coping saw here; the tools and metric figures are ours.
Матеріали
11- 1 штукаЗаповнювач
- 1 штукаЗаповнювач
- Заповнювач
- 1 штукаЗаповнювач
- 1 штукаЗаповнювач
- 1 штукаЗаповнювач
- Заповнювач
- 6 штукЗаповнювач
- 6 штукЗаповнювач
- 1 штукаЗаповнювач
- 1 штукаЗаповнювач
Необхідні інструменти
12- Заповнювач
- Заповнювач
- Заповнювач
- 1 vendor sell this, none ship to you yetЗаповнювач
- Заповнювач
- Заповнювач
- Заповнювач
- Заповнювач
- Заповнювач
- 1 vendor sell this, none ship to you yetЗаповнювач
- 1 vendor sell this, none ship to you yetЗаповнювач
- Заповнювач
За цим кресленням виготовляють
Пов'язані креслення
Ці креслення діляться знаннями — техніки, матеріали або принципи
CC0 Суспільне надбання
Це креслення випущено під ліцензією CC0. Ви можете вільно копіювати, змінювати, поширювати та використовувати цю роботу для будь-яких цілей без запиту дозволу.
Підтримайте мейкера, купуючи продукти через його креслення, де він отримує Комісію мейкера встановлену вендорами, або створіть нову ітерацію цього креслення та включіть його як зв'язок у власне креслення для розподілу доходу.